
1. Product Overview
This manual provides detailed instructions for the installation, operation, and maintenance of your WEELMOTO Headlights Set, model CVSB0706-New. These headlights are designed as a direct replacement for specific Chevrolet Avalanche, Suburban, and Tahoe models, ensuring optimal performance and compliance with DOT and SAE standards.
The set includes a pair of headlights (driver and passenger sides) with clear lenses, black housing, and amber reflectors. All necessary bulbs (High Beam: HB3, Low Beam: H11) are included and pre-installed.

Figure 1: WEELMOTO Headlights installed on a Chevrolet Tahoe, demonstrating fitment.
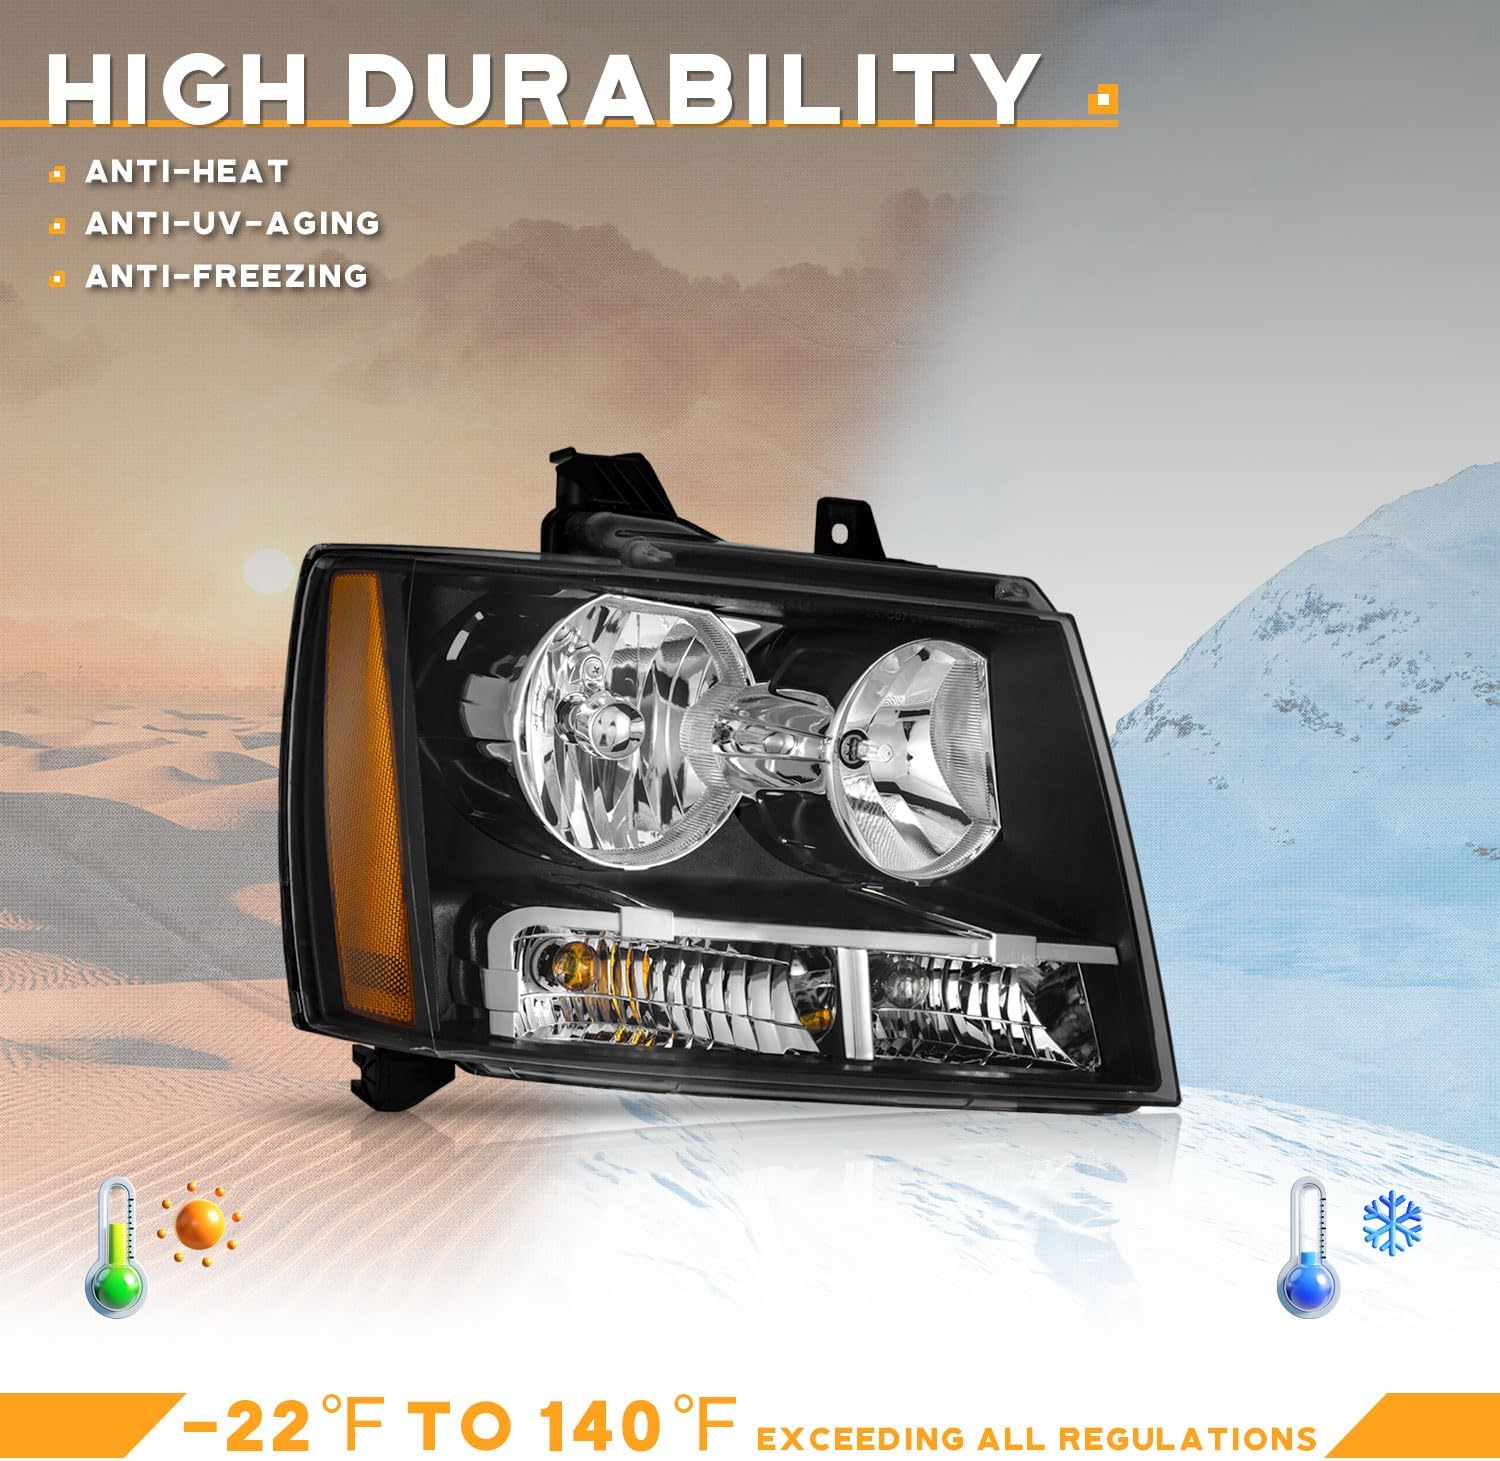
Figure 2: Front view of WEELMOTO headlight detailing key lighting components.
2. Compatibility
This headlight set is compatible with the following vehicle models:
- 2007-2013 Chevrolet Avalanche (LS/LT/LTZ models)
- 2007-2014 Chevrolet Suburban 1500 (LS/LT/LTZ models)
- 2007-2013 Chevrolet Suburban 2500 (LS/LT/LTZ models)
- 2007-2014 Chevrolet Tahoe (LS/LT/LTZ models)
- 2008-2013 Chevrolet Tahoe Hybrid
- 2012-2014 Chevrolet Tahoe SSV
OEM Part Numbers: 20760578, 20760579, GM2502263, GM2503263, GM2503264.
3. What's Included
Your package contains:
- 1x Driver Side Headlight Assembly (with pre-installed HB3 high beam and H11 low beam bulbs)
- 1x Passenger Side Headlight Assembly (with pre-installed HB3 high beam and H11 low beam bulbs)
- Installation Manual (PDF available online, link provided in the original product listing)
Note: Bulbs and wiring harnesses are installed in the headlights.
4. Installation Instructions
Professional installation is recommended. If you choose to install yourself, please follow these steps carefully. Refer to the official PDF installation manual for additional guidance.
Tools Required:
- 7mm socket/wrench (for fender screws)
- 10mm socket/wrench (for headlight bolts)
- Short-handled 1/4" drive ratchet (recommended for tight spaces)
- Channel locks (may be needed for wiring harness connection)
Step-by-Step Guide:
- Preparation: Ensure the vehicle is turned off and the battery is disconnected for safety. Do not touch the bulb with bare hands. If you accidentally touch the bulb, clean it with rubbing alcohol before installation.
- Remove Grille: Remove the screws, clips, or retainer springs that hold the grille in place.
- Access Inner Fender: On each inner fender, remove the two screws and three plastic push-in fasteners that secure the inner fender directly in front of the wheel and just above it. This provides access to the lower headlight bolt.
- Loosen Lower Headlight Bolt: Loosen the lower bolt that secures the old light unit to the vehicle until it is almost out, but do not remove it completely.
- Remove Upper Headlight Bolts: Remove the two bolts that hold the light unit in place under the hood and the bolt that secures the grille trim beside the light unit.
- Disconnect Wiring: Gently free the light unit a few inches from the vehicle. Squeeze and pull the existing wiring connector apart to disconnect it from the old headlight.
- Remove Old Headlight: Pull the bumper cover away at the very end where it meets the inner fender. This allows you to push down on the bumper cover to free the old light unit.
- Install New Headlight:
- First, hook the plastic extension on the new light unit (which will be secured by the bolt inside the inner fender) into the opening for the light unit.
- Once the light is partially in place, securely plug in the new wiring connector. Some users report that the wiring harness may require gentle pressure with channel locks to fully seat over the pin housing.
- Maneuver the light unit into its final position by pushing down on the bumper cover and adjusting the grille trim until the headlight assembly seats correctly.
- Secure Headlight:
- Verify that the tab on the light unit is correctly aligned to accept the bolt in the inner fender.
- Start all remaining bolts in their respective holes and tighten them evenly. Do not overtighten, especially into plastic components.
- Tighten the bolt in the inner fender last.
- Test Functionality: Reconnect the battery and test all headlight functions (high beam, low beam, turn signal).
- Reattach Components: Reattach the inner fender and the grille.
Important Note: Some aftermarket parts may have slight fitment variations. If you encounter difficulty, ensure all mounting points are aligned before applying force. Reinforce any loose wires behind the housing to prevent damage.
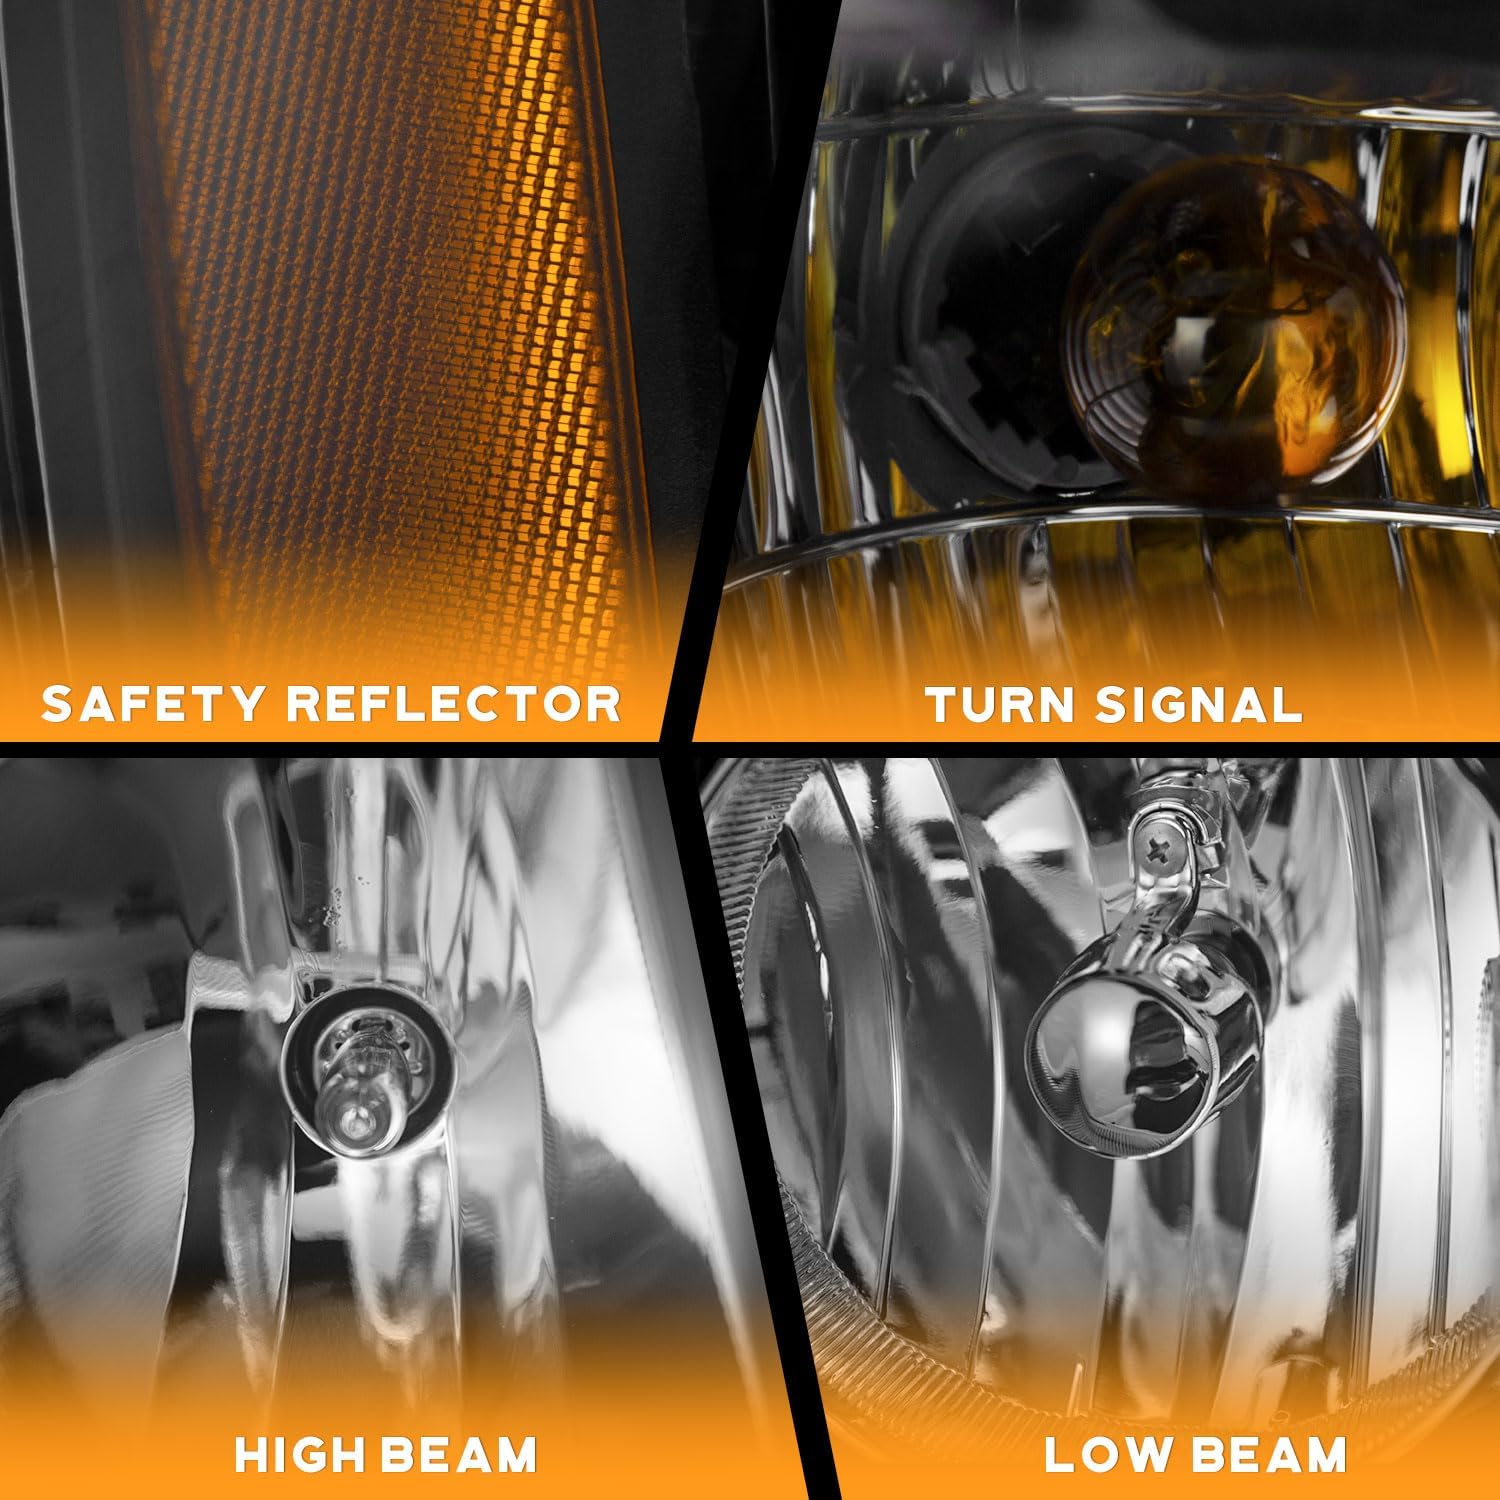
Figure 3: Rear view of the headlight assembly, illustrating the plug-and-play design and adjustment points.
5. Headlight Adjustment
The headlights are pre-adjusted from the factory. However, minor adjustments may be necessary after installation to ensure proper beam alignment. If the light pattern is unsatisfactory, follow these steps:
- Park your vehicle on a level surface facing a wall, approximately 25 feet (7.6 meters) away.
- Mark the center points of each low beam light on the wall with tape.
- Locate the adjustment screws on the back of each headlight. These typically allow for vertical and horizontal adjustments.
- Turn the adjustment screws to align the light beams with the marked points on the wall. The low beam should be slightly below the horizontal line, and the high beam should be centered.
- Caution: Do not adjust more than three times either clockwise or counter-clockwise to avoid damage to the adjuster mechanism.

Figure 4: Illustration of headlight beam adjustment against a wall.
6. Addressing Temporary Condensation
It is normal for headlight lenses to fog up due to temperature differences, air pressure, or other weather conditions. This is typically temporary and does not indicate a defect.
How to Drive Away Temporary Condensation:
- Check the one-way vents in the housing and ensure they are not blocked.
- Turn on the low beam for 20 minutes.
- Take the bulbs out and clear the moisture.
- Put a silica gel packet inside to help absorb moisture.

Figure 5: Example of condensation in a headlight and its resolution.
7. Important Safety Information
Do NOT Directly Replace with LED Bulbs: These headlight assemblies are designed for halogen bulbs (HB3 high beam, H11 low beam). Directly replacing them with LED bulbs may result in improper light patterns, reduced visibility, and potential damage to the headlight housing or vehicle's electrical system. Always use the specified bulb types.

Figure 6: Warning against using LED bulbs in halogen headlight assemblies.
8. Product Specifications
| Brand | WEELMOTO |
| Model Number | CVSB0706-New |
| OEM Equivalent Part Numbers | 20760578, 20760579, GM2502263, GM2503263, GM2503264 |
| Light Source Type | High Beam: HB3 / Low Beam: H11 (Bulbs Included) |
| Voltage | 12 Volts DC |
| Wattage | 120 Watts |
| Lens Material | Polycarbonate |
| Lens Color | Crystal Clear |
| Housing Color | Black |
| Reflector Color | Amber |
| Waterproof Rating | IP65 Certified |
| Certifications | DOT, SAE, IATF16949 |
9. Warranty and Support
WEELMOTO provides a 2-year manufacturer warranty for this headlight set. For any issues or questions regarding your product, please contact WEELMOTO customer support through the retailer's platform (e.g., "Ask a question" on Amazon) to ensure prompt assistance and avoid additional charges.
10. Additional Information and Testing
WEELMOTO headlights undergo rigorous testing to ensure durability and performance. These tests include drop, vibration, rain, ultraviolet radiation, and sand and dust spray tests. The manufacturing process adheres to IATF16949 quality system certification.
Video 1: Demonstrates the secure packaging of WEELMOTO headlight assemblies, ensuring product integrity during transit.
Video 2: Showcases the design and automated manufacturing process of WEELMOTO headlight assemblies, highlighting quality control.
Video 3: Details the comprehensive testing procedures for WEELMOTO headlights, including water resistance and optical performance.
Video 4: Provides an overview of the WEELMOTO headlight for 07-13 Avalanche/Suburban 2500, showcasing its features and fitment.
