Maxell MXES-FR230LBK
Maxell ACTIVEPAD MOTECARE Foot MXES-FR230LBK EMS Exercise Device User Manual
Model: MXES-FR230LBK | Brand: Maxell
1. Important Safety Information
Please read all instructions carefully before using the Maxell ACTIVEPAD MOTECARE Foot device. Failure to follow these instructions may result in injury or damage to the device.
- Do not use if you have a pacemaker, implanted defibrillator, or other electronic medical devices.
- Consult a doctor before use if you are pregnant, have heart disease, epilepsy, cancer, or any other medical condition.
- Do not use on broken skin, open wounds, or areas with swelling, redness, or inflammation.
- Keep out of reach of children.
- Do not use while sleeping or driving.
- Ensure the device is fully charged before use. Do not operate while charging.
- Only use the provided accessories (remote control, power adapter, charging cable).
- The device is designed for bare feet contact. Using socks may prevent proper operation.
- If you experience any discomfort, stop using the device immediately.
2. Package Contents
Verify that all items are present in the package:
- Main Unit (Foot Mat) x 1
- Storage Pouch x 1
- Remote Control x 1
- Power Adapter x 1
- Charging Cable (approx. 50cm) x 1
- Instruction Manual (with warranty) x 1
- Quick Start Guide x 1
- CR2032 Coin Cell Battery (for trial use) x 1
3. Product Overview
The Maxell ACTIVEPAD MOTECARE Foot is an EMS (Electrical Muscle Stimulation) device designed for exercising the muscles in your feet and legs. It features a unique thin and lightweight design, making it foldable and easy to store. The device offers multiple training modes and intensity levels to suit your needs.

Image: The Maxell ACTIVEPAD MOTECARE Foot device, a black mat with a central control unit, designed for foot placement.
Key Features:
- Versatile Training: Targets soles, calves, thighs, buttocks, and entire legs.
- Gel-Free Design: No need for messy gel sheets.
- Portable & Compact: Thin and lightweight, foldable for easy storage.
- Multiple Modes: Equipped with 4 modes, including training and relax modes.
- Antibacterial Surface: Electrode surface made with silver material for hygiene.
- Remote Control: Easy operation from a distance.
- Rechargeable & Cordless: Convenient for use anywhere.
4. Setup
4.1 Charging the Controller
Before first use, fully charge the controller unit.
- Connect the charging cable to the controller's charging port.
- Connect the other end of the charging cable to the power adapter, then plug the adapter into a power outlet.
- The indicator light on the controller will illuminate (usually red) to indicate charging.
- Charging takes approximately 2.5 hours. The indicator light will change color (usually green) or turn off when charging is complete.
Important: Do not use the device while it is charging.
Video: Demonstrates how to charge the NIPLUX LEG FIT controller (0:04-0:19). The process involves plugging a cable into the controller, and an indicator light changes color to show charging status.
4.2 Attaching the Controller to the Mat
Align the two metal snaps on the controller with the corresponding snaps on the foot mat and press firmly to attach.
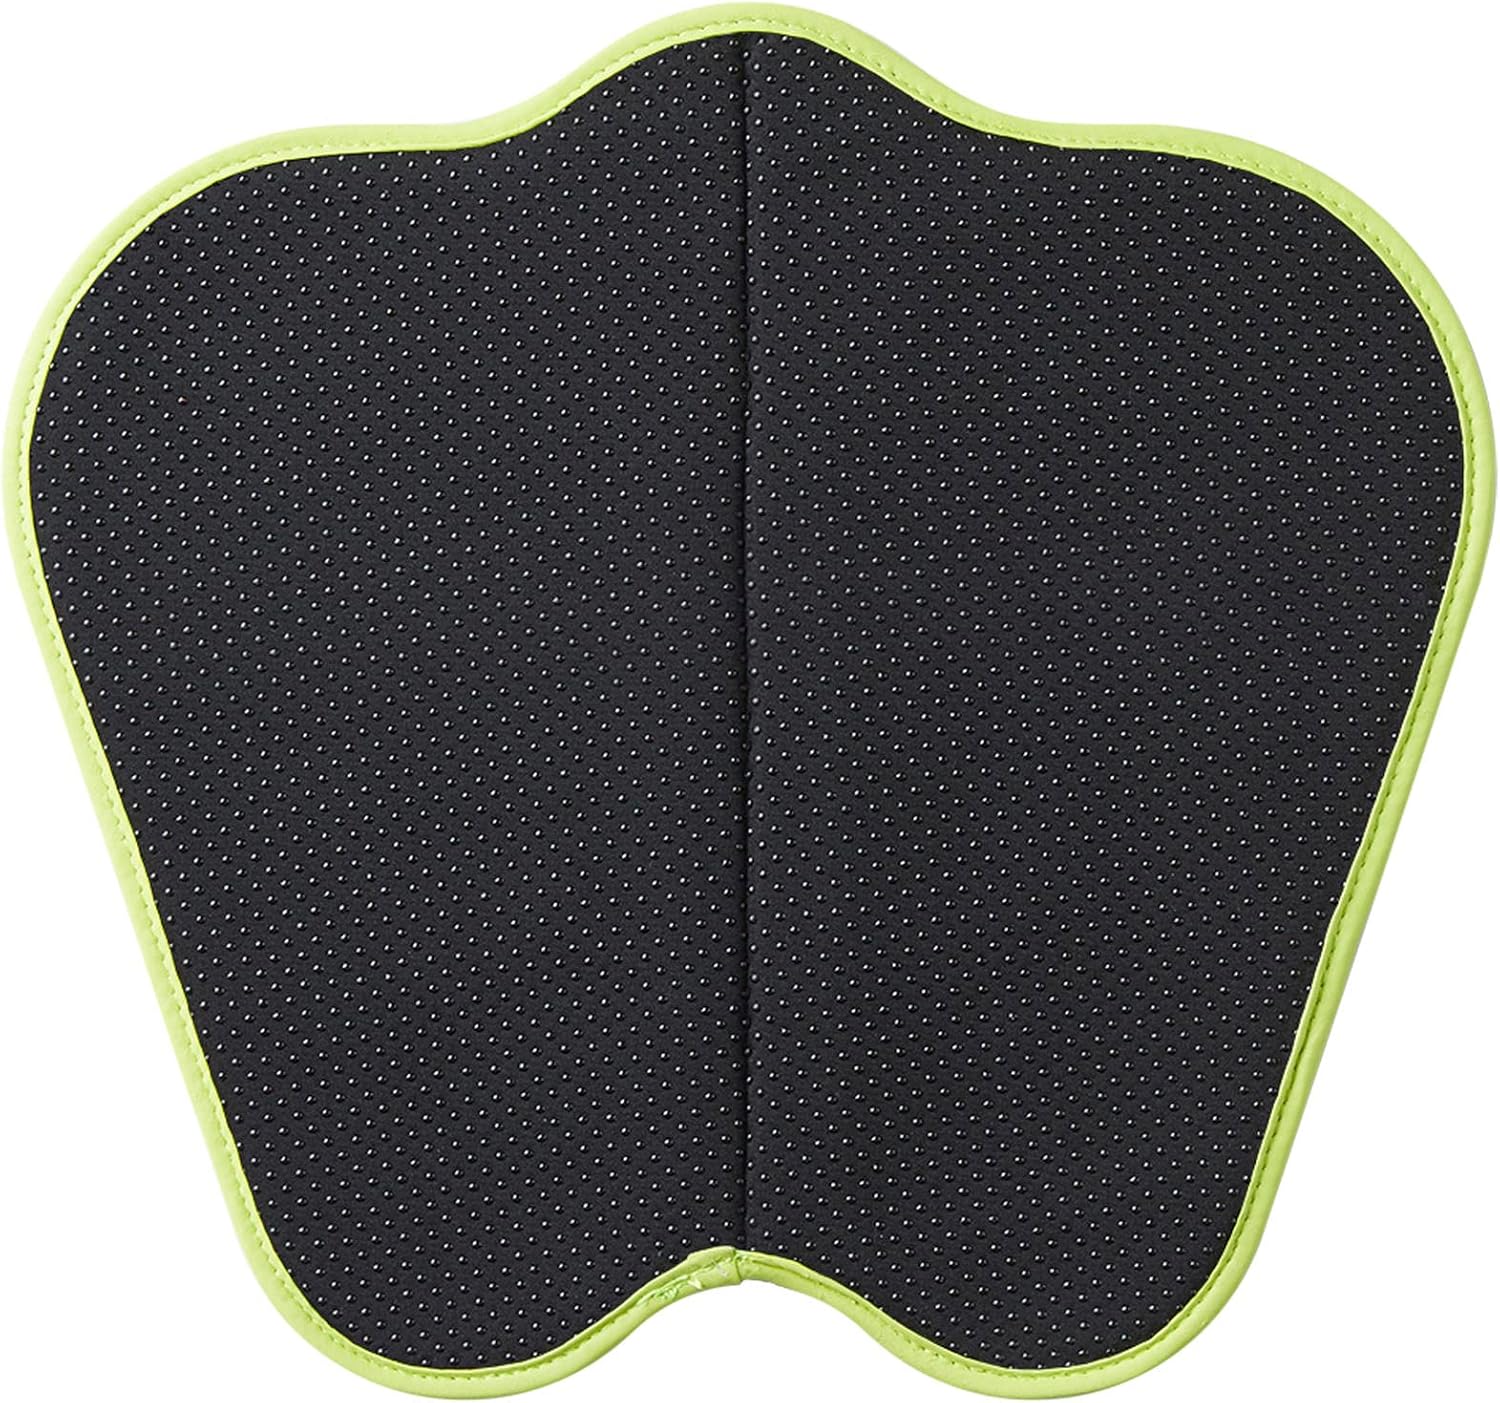
Image: The Maxell MOTECARE Foot mat with the controller unit securely attached in the center, ready for use.
5. Operating Instructions
5.1 Power On/Off
- Place your bare feet on the mat, ensuring good contact with the electrode areas.
- Press and hold the power button on the controller for 2-3 seconds to turn on the device. The display will light up.
- To turn off, press and hold the power button on the controller or the remote control. The device will also automatically shut off after approximately 10 minutes of continuous operation.
Note: The remote control cannot be used to power on the device initially. Always power on from the controller first.
Video: Demonstrates how to power on the NIPLUX LEG FIT device by pressing the power button on the controller (0:20-0:34). It also shows that the remote cannot power on the device.
5.2 Mode Selection
The device features 4 modes for different training experiences:
- Training Mode: For muscle strengthening.
- Relax Mode: For muscle relaxation.
- (Two other modes are available, refer to the quick guide for details.)
Press the 'M' button on the remote control or the mode button on the controller to cycle through the available modes.
Video: Illustrates how to change EMS modes using the 'M' button on the remote control (0:53-1:01). The display on the controller shows the current mode number.
5.3 Intensity Adjustment
The device offers 20 levels of intensity. Adjust the intensity to a comfortable level using the '+' and '-' buttons on the remote control or the controller.
- Press '+' to increase intensity.
- Press '-' to decrease intensity.
Video: Shows how to adjust the EMS intensity level using the '+' and '-' buttons on the remote control (1:02-1:15). The display on the controller indicates the current intensity level.
5.4 Using the EMS Pads (Optional)
The device comes with 8 reusable EMS pads that can be attached to other body parts like calves, arms, shoulders, or waist for targeted muscle stimulation. Connect the pads to the controller using the provided EMS cord.
Video: Demonstrates how to attach and use the reusable EMS pads on the arm, showing the muscle contractions (0:11-0:23). It highlights the 1.3-meter EMS cord and the 8 detachable pads.
6. Maintenance
6.1 Cleaning
Wipe the mat and controller with a soft, damp cloth. Do not use abrasive cleaners or immerse the device in water.
6.2 Storage
After each use, detach the controller from the mat. Fold the mat along its central crease with the patterned side inwards. Store the device in the provided pouch in a cool, dry place.
Caution: Do not fold the mat in areas other than the designated crease, as this may cause damage.
Video: Demonstrates how to remove the controller and fold the mat for storage (2:15-2:23). It emphasizes folding along the crease and storing it in a drawer.
To maintain battery health and device longevity, please use and charge the device at least once a month. Long-term disuse may lead to malfunctions.
7. Troubleshooting
If you encounter any issues, please refer to the following common problems and solutions:
| Problem | Possible Cause | Solution |
|---|---|---|
| Device does not turn on. | Low battery; Controller not properly attached. | Charge the controller; Ensure controller is securely snapped onto the mat. |
| No EMS sensation or weak sensation. | Dry skin; Feet not making full contact; Intensity too low; Terminal part is dirty. | Moisturize your feet; Ensure full contact with electrode areas; Increase intensity; Clean the terminal part. |
| Remote control not working. | Remote battery depleted; Remote not paired with controller. | Replace CR2032 battery; Re-pair the remote control (refer to quick guide). |
| Device stops unexpectedly. | Automatic shut-off after 10 minutes; Poor skin contact. | This is normal operation; Re-adjust feet for better contact. |
| Strong tingling sensation. | Intensity level is too high. | Decrease the intensity level. |
If the problem persists, please contact customer support.
8. Specifications
- Main Unit (Mat):
- Number of Electrodes: 2
- External Dimensions: Width 360mm × Height 340mm × Thickness 22mm (including controller, excluding protrusions)
- Weight: Approx. 150g (including controller)
- Controller:
- Power Source: Lithium-ion rechargeable battery 3.7V 120mAh
- Remote Control:
- External Dimensions: Width 37mm × Height 70mm × Thickness 11mm (excluding protrusions)
- Weight: Approx. 14g (excluding battery)
- Power Source: CR2032 coin cell battery
- Transmission Frequency: 315MHz
- Transmission Distance: Approx. 3m (line of sight)
- Power Adapter:
- Input: AC100-240V 50/60Hz
- Output: DC5V / Max 1A
- Charging Time: Approx. 2.5 hours
- Continuous Operation Time: Approx. 10 minutes (per session)
- Country of Origin: China
9. Warranty & Support
This product comes with a 1-year manufacturer's warranty. Please retain your proof of purchase for warranty claims.
For support, please refer to the contact information provided in the included instruction manual or visit the official Maxell website.
Ask a question about this manual
Ask about setup, troubleshooting, compatibility, parts, safety, or missing instructions. Manuals+ will review the question and use this page’s manual context to help answer it.