
1. Introduction
The POWLSOJX Solar Grid Tie Micro Inverter is designed to convert direct current (DC) from solar panels into alternating current (AC) for direct use in your home or to feed into the utility grid. This 700W model features Maximum Power Point Tracking (MPPT) to optimize power generation and produces a pure sine wave output, ensuring compatibility with various electrical appliances. This manual provides essential information for safe installation, efficient operation, and proper maintenance of your micro inverter.

Image 1: POWLSOJX 700W Solar Grid Tie Micro Inverter. This image shows the compact, silver-colored micro inverter unit with its input and output connectors.
2. Safety Information
- Read all instructions carefully before installation and operation.
- Installation must be performed by qualified personnel in accordance with local electrical codes and regulations.
- Ensure the DC input voltage from solar panels does not exceed the inverter's maximum input voltage (50V for this model).
- Disconnect all power sources (solar panels and AC grid) before performing any maintenance or wiring.
- The inverter can become hot during operation. Avoid touching it directly without proper precautions.
- Ensure proper ventilation around the inverter to prevent overheating.
- This inverter is designed for grid-tie applications only. Do not use it in off-grid systems without appropriate additional equipment.
- The inverter features island protection, which automatically shuts down the unit if the utility grid fails, preventing back-feeding into a de-energized grid.
3. Product Features
- Powerful MPPT Algorithm: The built-in Maximum Power Point Tracking (MPPT) optimizes power collection from solar panels, accurately capturing the point of maximum output power to significantly increase power generation.
- Reverse Transmission: Utilizes reverse transmission technology with high efficiency (99.9%), transmitting power in the reverse direction in grid-connected output mode. It automatically detects and prioritizes loads in the circuit, improving transmission efficiency.
- Pure Sine Wave Output: Employs SPWM technology to generate a pure sine wave directly, ensuring good waveform, low distortion, and low noise. This makes it suitable for sensitive electronic devices and communication equipment.
- Grid-connected Stacking Mode: Multiple inverters can be stacked and connected in parallel for grid-connected power generation. The inverters receive and synchronize with a main control signal from the monitoring system.
- Wide DC Input Range: Designed for 20-50V solar panels (Note: The 180W model supports a maximum of 30V).
- IP65 Waterproof Grade: Prevents rainwater intrusion and offers resistance to acid, alkali, and oxidation.

Image 2: Visual representation of key features including stable performance, quality assurance, anti-corrosion, multiple protections, cost-effectiveness, and frequency protection.
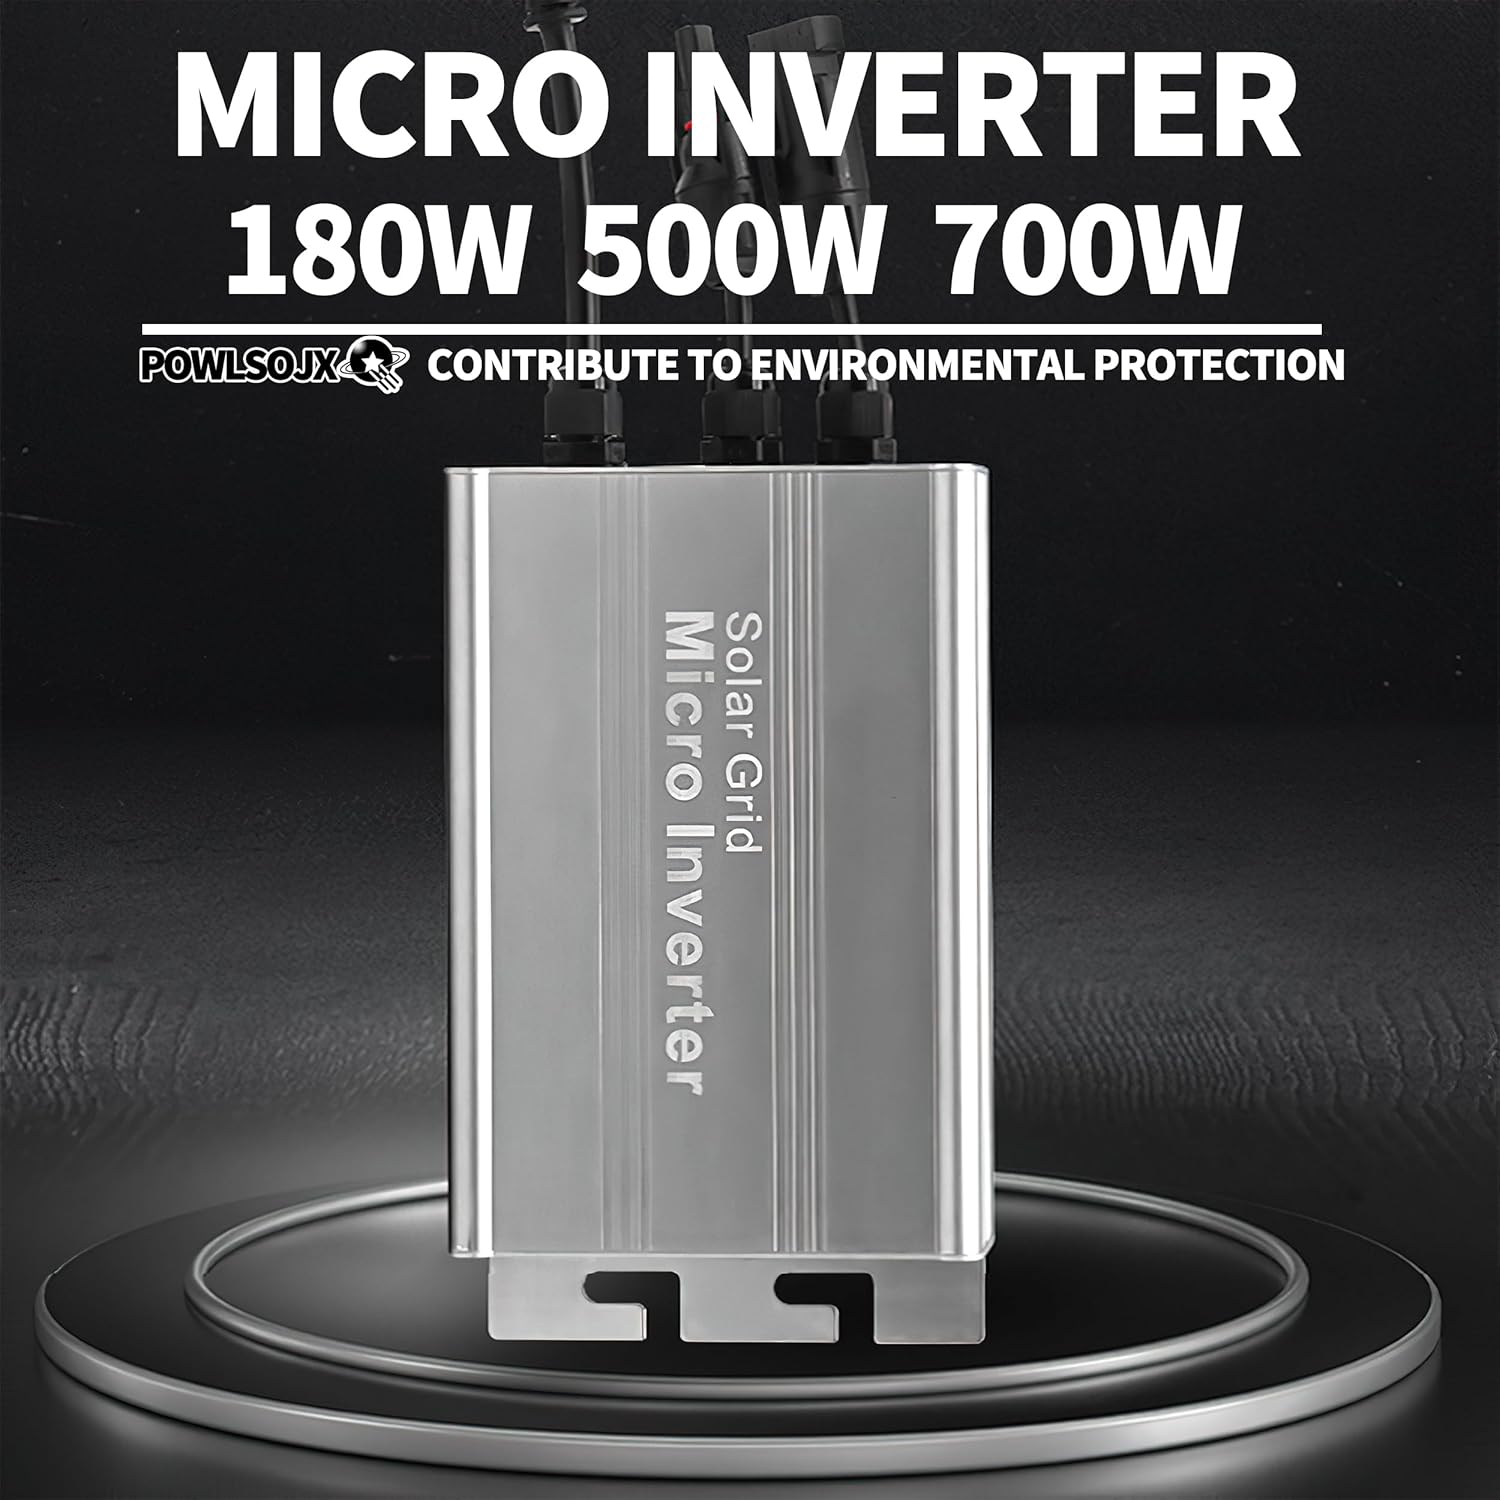
Image 3: The micro inverter demonstrating its IP65 waterproof rating, indicating protection against water and environmental elements.
4. Setup and Installation
Proper installation is crucial for the safe and efficient operation of your micro inverter. Follow these general steps. For detailed wiring diagrams and specific requirements, consult a qualified electrician.
- Mounting: Securely mount the micro inverter in a well-ventilated area, preferably out of direct sunlight to aid in heat dissipation. Ensure the mounting surface is stable and can support the weight of the unit.
- DC Connection: Connect the DC output cables from your solar panels to the DC input terminals of the micro inverter. Ensure correct polarity (+ to + and - to -). The input voltage should be within the specified range of 20-50V.
- AC Connection: Connect the AC output cable from the micro inverter to your home's electrical panel or a dedicated AC outlet, ensuring it is properly grounded. This connection must be made through a circuit breaker for safety.
- Grid Connection: The inverter is designed to synchronize with the utility grid. Once connected, it will automatically detect the grid and begin power generation.
- Multiple Units (Stacking): If installing multiple micro inverters, they can be connected in parallel to the AC grid. Ensure each inverter is properly connected and grounded.

Image 4: A detailed diagram illustrating the typical installation setup, including solar panel array, micro inverter, ground connection, switch, and utility meter.

Image 5: Dimensional drawings for the T180 and T700/T500 models, showing length, width, and height in centimeters/inches and millimeters/inches respectively.
5. Operating Instructions
Once properly installed and connected, the POWLSOJX Micro Inverter operates largely automatically. It will detect the presence of the utility grid and, if conditions are suitable (sufficient solar input, correct grid voltage/frequency), it will begin converting DC power from your solar panels into AC power.
- Automatic Start-up: The inverter will automatically start operating when sufficient DC power is supplied from the solar panels and the AC grid is detected.
- MPPT Function: The integrated MPPT algorithm continuously tracks the maximum power point of the solar panels to ensure optimal energy harvest throughout the day, adapting to changing sunlight conditions.
- Grid Synchronization: The inverter synchronizes its output frequency and voltage with the utility grid to ensure seamless power injection.
- Shutdown: The inverter will automatically shut down if the solar input is too low, the grid is disconnected (island protection), or if an internal fault is detected.
6. LED Indication Function
The LED indicator on the micro inverter provides visual feedback on its operational status and any potential issues. Observe the LED to understand the inverter's current state:
- Green Light (Solid): Indicates the micro inverter is powered on and operating normally.
- Green Light (Flashing): Indicates the micro inverter is generating power. The flash rate may vary with power output.
- Red Light (Solid): Indicates an island protection event or a general failure. The inverter has disconnected from the grid for safety.
- Red Light (Flashing): Indicates specific protection events:
- Flashes once: AC voltage undervoltage protection.
- Flashes twice: AC voltage overvoltage protection.
- Flashes three times: Frequency protection.

Image 6: Diagram explaining the different states of the LED indicator light on the micro inverter, corresponding to power status, power generation, and various protection modes.
7. Technical Specifications
The following table outlines the key technical specifications for the POWLSOJX Solar Grid Tie Micro Inverter 700W model:

Image 7: A comprehensive table detailing technical parameters for various POWLSOJX Micro Inverter models, including operating voltage, maximum power, output voltage, frequency, efficiency, and environmental conditions.
| Parameter | Value |
|---|---|
| Brand | POWLSOJX |
| Model Name | Solar Grid Micro Inverter |
| Output Power | 700 Watts |
| Peak Output Power Watts | 700 |
| Inverter Capacity Volt-Amp | 700 |
| Input Voltage | 18V-50V DC |
| Output Voltage | 120V / 230V AC (Auto) |
| Frequency | 50 Hz / 60 Hz (Auto) |
| Electrical Output Waveform | Pure Sine Wave |
| MPPT Efficiency | Optimized for >25% power generation increase |
| Reverse Transmission Efficiency | 99.9% |
| Item Weight | 1.03 Kilograms |
| Protection Grade | IP65 Waterproof |
| Energy Specifications Met | UL |
8. Maintenance
Regular maintenance ensures the longevity and optimal performance of your POWLSOJX Micro Inverter.
- Cleaning: Periodically clean the exterior of the inverter to remove dust and debris. Use a soft, dry cloth. Do not use harsh chemicals or abrasive cleaners.
- Inspection: Regularly inspect all electrical connections for tightness and signs of corrosion or damage. Ensure cables are not frayed or exposed.
- Ventilation: Ensure that the area around the inverter remains clear and well-ventilated to allow for proper heat dissipation. Blocked vents can lead to overheating and reduced performance.
- Heat Management: While the inverter is designed to dissipate heat, prolonged operation at high temperatures can affect its lifespan. Consider additional passive cooling measures (like mounting on a heat-dissipating surface) or active cooling (fans) if the inverter consistently runs very hot, especially in enclosed spaces or hot climates.

Image 8: An internal view highlighting components related to the cooling system, emphasizing the importance of heat dissipation for optimal performance.
9. Troubleshooting
If you encounter issues with your micro inverter, refer to the LED indication section (Section 6) for error codes. Here are some common troubleshooting steps:
- No Power Output / Inverter Not Starting:
- Check DC input from solar panels: Ensure sufficient sunlight and that panel connections are secure and correct polarity. Verify panel voltage is within the 20-50V range.
- Check AC grid connection: Ensure the AC cable is securely connected to the grid and the circuit breaker is on. Verify grid voltage and frequency are stable.
- Observe LED: A solid red light indicates a fault or island protection. A flashing red light indicates specific voltage/frequency issues.
- Low Power Output:
- Solar panel performance: Ensure panels are clean, free of shading, and optimally angled towards the sun.
- Overheating: If the inverter is excessively hot, it may reduce output to protect itself. Ensure adequate ventilation and consider additional cooling.
- DC input voltage: Ensure the solar panel voltage is within the optimal operating range for the inverter.
- Inverter Overheating:
- Ensure the inverter is mounted in a location with good airflow.
- Avoid direct exposure to intense sunlight, especially during peak operating hours.
- Consider mounting the inverter on a larger metal surface or adding a small fan for active cooling if operating in high ambient temperatures or enclosed spaces.
10. Warranty and Support
The POWLSOJX Solar Grid Tie Micro Inverter comes with a manufacturer's warranty. For specific details regarding warranty coverage, duration, and claims, please refer to the warranty card included with your product or contact POWLSOJX customer support directly. Keep your purchase receipt as proof of purchase.
For technical assistance, troubleshooting beyond this manual, or spare parts, please contact the seller or POWLSOJX customer service. Provide your product model number (700W) and serial number (if applicable) when seeking support.
