
1. Introduction
The AXAGON ADSA-DC is a versatile dual dock station designed for connecting two 2.5" or 3.5" SATA hard disk drives (HDDs) or solid-state drives (SSDs) to your computer via a USB 3.2 Gen1 interface. It supports data transfer speeds up to 5 Gbps and features an independent offline cloning function, allowing direct duplication of drives without a computer connection.
2. Package Contents
Please verify that all items listed below are included in your package:
- AXAGON ADSA-DC Dual HDD/SSD Dock Station
- USB-C to USB-A Cable with USB-C Adapter
- Power Adapter (12V/2.5A, 30W)
- Instruction Manual

Image: Contents of the AXAGON ADSA-DC package, showing the dock, USB cable, power adapter, and user manual.
3. Product Features
- Dual Drive Support: Accommodates two 2.5" or 3.5" SATA I/II/III HDDs or SSDs simultaneously.
- High-Speed Interface: USB 3.2 Gen1 (USB 3.0) with data transfer rates up to 5 Gbps.
- Offline Cloning: Standalone drive duplication without requiring a computer connection.
- ASMedia Chipset: Ensures reliable performance and compatibility.
- UASP Support: Enhances data transfer speeds, especially with SSDs.
- TRIM Support: Optimizes SSD performance and longevity.
- SMART Disk Information: Allows monitoring of drive health.
- LED Indicators: Provides status for power, drive activity, and cloning progress.
- Durable Construction: Features an aluminum body for heat dissipation and durability.
- Anti-slip Pads: Ensures stability on surfaces.

Image: Overview of the dock station's capabilities, including 5Gbps USB speed, compatibility with 3.5" HDDs and 2.5" SSDs/HDDs, and the cloning function.

Image: Underside of the dock, illustrating advanced features such as SMART, UASP, and TRIM support, and its ability to handle drives of any capacity.
4. Setup
- Connect Power: Plug the provided power adapter into the DC 12V port on the back of the dock station and then into a power outlet.
- Connect to Computer (for data transfer): Use the included USB-C to USB-A cable (or USB-C to USB-C if using the adapter) to connect the dock station's USB-C port to an available USB port on your computer.
- Insert Drives: Gently slide your 2.5" or 3.5" SATA HDDs/SSDs into the drive slots until they are firmly seated. Ensure the SATA connectors align correctly.

Image: The dock station with both a 3.5" HDD and a 2.5" SSD correctly inserted into their respective slots.

Image: The back panel of the dock, detailing the USB-C port, power input, power button, and clone button, alongside the included connectivity accessories.
5. Operating Instructions
5.1. Data Transfer Mode
- Ensure the dock station is powered on and connected to your computer via the USB cable.
- Insert your SATA HDD(s) or SSD(s) into the available slots.
- The drives will appear as removable storage devices in your computer's operating system.
- You can now access, read, and write data to the drives as you would with any other external storage device.
- To safely remove drives, always eject them through your operating system before physically removing them from the dock.

Image: The dock station in data transfer mode, connected to a laptop, demonstrating its capability for high-speed data access.
5.2. Offline Cloning Function
Important: The target drive will be completely overwritten during the cloning process. Ensure you have backed up any important data from the target drive before proceeding.
The target drive must have a capacity equal to or greater than the source drive.
- Power Off and Disconnect: Ensure the dock station is powered off and disconnected from your computer.
- Insert Source Drive: Insert the drive you wish to clone (Source Drive) into the Slot 1 (Source).
- Insert Target Drive: Insert the drive you wish to clone to (Target Drive) into the Slot 2 (Target).
- Power On: Connect the power adapter and turn on the dock station. Do NOT connect the USB cable to a computer.
- Initiate Cloning: Press and hold the "CLONE" button for approximately 3-5 seconds until the cloning progress LEDs begin to flash.
- Monitor Progress: The cloning progress LEDs (25%, 50%, 75%, 100%) will illuminate sequentially to indicate the completion status.
- Cloning Complete: Once all four progress LEDs are solid, the cloning process is complete.
- Power Off and Remove: Power off the dock station and safely remove both drives.

Image: The dock station during an offline cloning operation, with LED indicators showing the percentage of completion (25%, 50%, 75%, 100%).
6. Maintenance
- Cleaning: Use a soft, dry cloth to clean the exterior of the dock station. Avoid using liquid cleaners or solvents.
- Storage: Store the device in a cool, dry place away from direct sunlight and extreme temperatures.
- Handling: Handle the dock station and drives with care to prevent physical damage.
- Ventilation: Ensure the dock station has adequate ventilation during operation to prevent overheating.

Image: Detail of the dock station's aluminum body, highlighting its robust and easy-to-maintain surface.
7. Troubleshooting
| Problem | Possible Cause | Solution |
|---|---|---|
| Drives not recognized by computer. |
|
|
| Cloning process does not start or fails. |
|
|
| Slow data transfer speeds. |
|
|
8. Specifications
- Model: ADSA-DC
- Brand: AXAGON
- Hardware Interface: USB 3.2 Gen1 (USB 3.0)
- Compatible Drives: 2.5" and 3.5" SATA I/II/III HDDs/SSDs
- Max Data Transfer Rate: 5 Gbps
- Chipset: ASMedia
- Power Input: DC 12V / 2.5A (30W)
- Product Dimensions: 3.94 x 1.97 x 0.5 inches (100 x 50 x 12.7 mm)
- Item Weight: 3.53 ounces (100 g)
- Features: UASP, TRIM, SMART, Offline Cloning
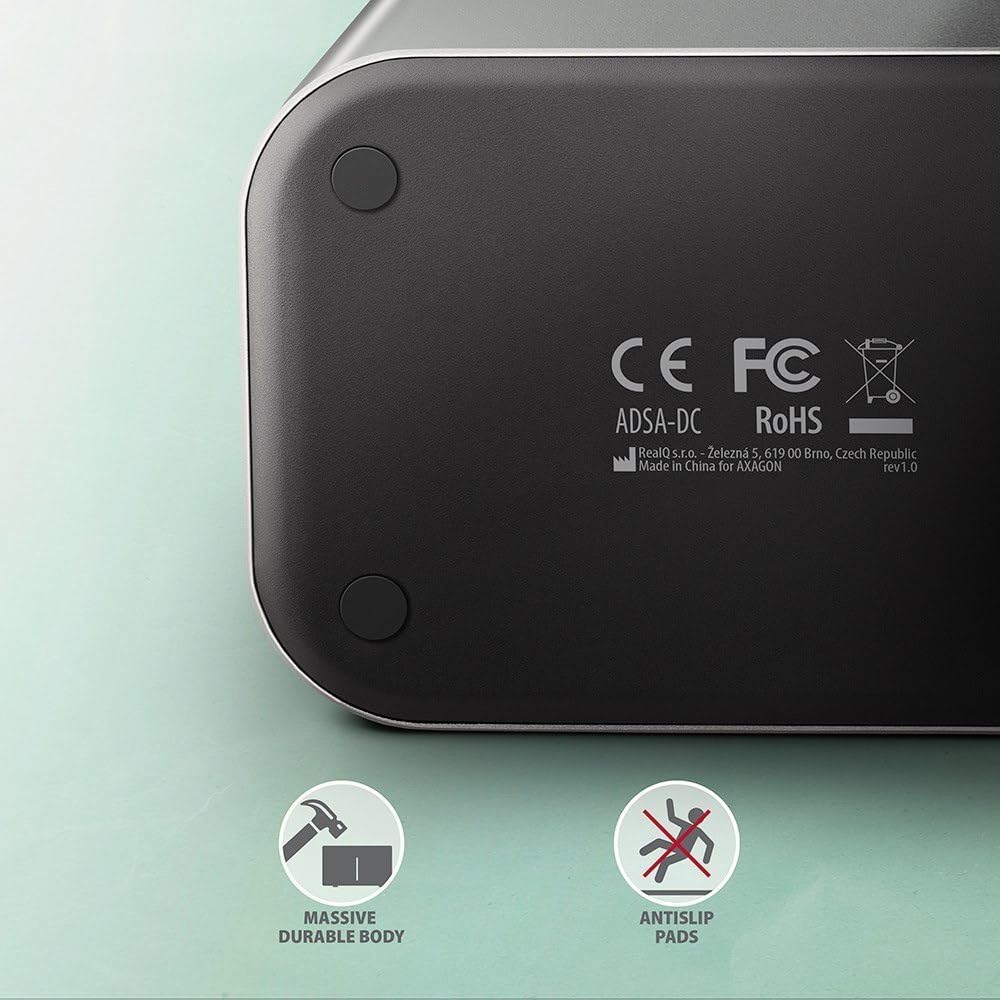
Image: The robust construction and anti-slip base of the dock station, ensuring stability during use.
9. Warranty and Support
AXAGON products are designed and manufactured with high quality standards. For warranty information and technical support, please refer to the official AXAGON website or contact your local distributor. Keep your purchase receipt for warranty claims.
For further assistance, please visit: AXAGON Support Page


