1. Introduction
Thank you for choosing the RALAN HD-151 Pro X Wireless Controller. This controller is designed to enhance your PC gaming experience with advanced features such as ALPS joysticks, Hall Effect sensing triggers, customizable buttons, and a 2.4G wireless connection. This manual provides detailed instructions for setup, operation, and maintenance to ensure optimal performance.
2. Package Contents
Please verify that all items are present in your package:
- RALAN HD-151 Pro X Wireless Controller
- 2.4G Wireless Adapter
- USB Charging Cable
- User Manual
3. Controller Layout
Familiarize yourself with the buttons and ports on your RALAN HD-151 Pro X Wireless Controller:

Figure 3.1: Front and bottom view of the controller with labeled components including HOME, Start, Back, ABXY buttons, L3/R3 joysticks, D-Pad, Turbo button, M1/M2 paddles, RB/LB, RT/LT triggers, and USB Charging port.
- HOME Button: Powers on/off the controller and returns to the system menu.
- Start Button: Used for in-game menu access or starting games.
- Back Button: Used for in-game menu access or system functions.
- ABXY Buttons: Standard action buttons.
- L3/R3 (Left/Right Joysticks): For movement and camera control. Pressing down on the joysticks activates L3/R3 buttons.
- D-Pad: Directional input.
- Turbo Button: Activates rapid fire for assigned buttons.
- M1/M2 Paddles: Customizable back paddles for macro programming.
- RB/LB (Right/Left Bumper): Shoulder buttons.
- RT/LT (Right/Left Trigger): Analog triggers with Hall Effect sensing.
- USB Charging Port: For charging the controller.
- 3.5mm Headphone Jack: For connecting compatible headsets.
4. Setup and Connection
4.1 PC Wireless Connection
The controller connects to your PC using a 2.4G wireless adapter, ensuring a stable connection within 30 feet.
- Insert the 2.4G wireless adapter into an available USB port on your PC.
- Press the HOME button on the controller to power it on. The controller will automatically attempt to connect to the adapter.
- Once connected, the indicator light on the controller will stabilize, indicating a successful connection.

Figure 4.1: The controller utilizes 2.4G wireless technology for a stable connection to your PC.
4.2 3.5mm Headphone Jack
The controller includes a 3.5mm audio jack for connecting a compatible headset.
- Plug your 3.5mm headset into the audio jack located on the bottom of the controller.
- Ensure your PC's audio settings are configured to output sound through the controller's audio device.
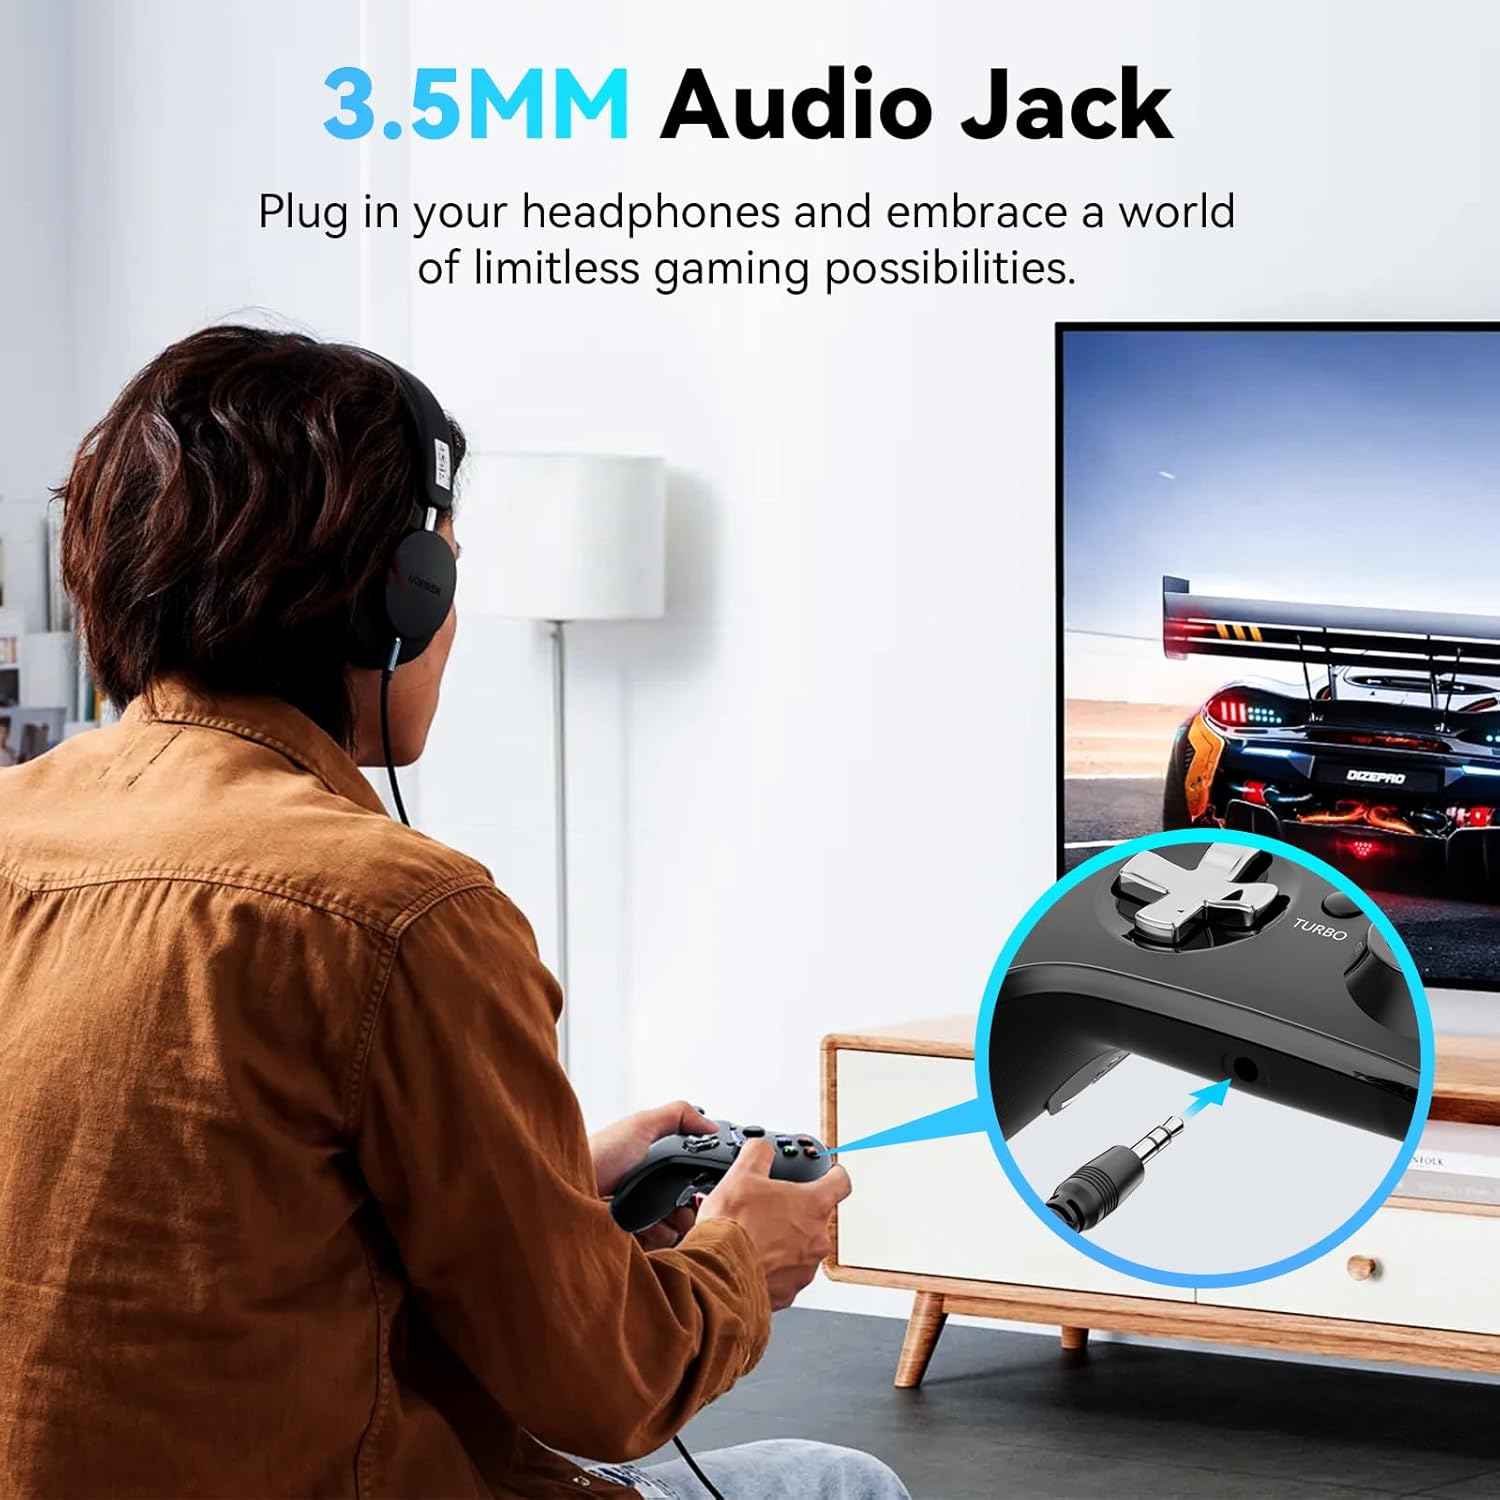
Figure 4.2: Connecting a headset to the 3.5mm audio jack on the controller.
5. Operating Instructions
5.1 Charging the Controller
The controller features a built-in 700mAh rechargeable battery, providing 8-10 hours of gameplay on a 2-hour charge.
- Connect the USB charging cable to the controller's USB port and to a power source (e.g., PC USB port, USB wall adapter).
- The indicator light will show charging status and turn off or change color when fully charged.
- The controller can be used while charging.

Figure 5.1: Battery specifications and usage duration.
5.2 Macro Programming Function
The M1 and M2 back paddles can be programmed to execute a series of commands (macros).
- Enter Programming Mode: Press and hold the 'Program' button (if available, or a specific combination as per advanced instructions not provided here, typically a small button on the back or a combination of existing buttons) until the indicator light blinks.
- Record Macro: Press the sequence of buttons you wish to record (e.g., A+B+X+Y).
- Assign Macro: Press either the M1 or M2 paddle to assign the recorded sequence.
- Exit Programming Mode: Press the 'Program' button again (or the same combination) to save and exit.

Figure 5.2: The M1/M2 paddles can be programmed for complex button sequences.
5.3 TURBO Function
The TURBO button allows for rapid, repeated input of a selected button.
- Activate TURBO: Press and hold the TURBO button, then press the desired action button (e.g., A, B, X, Y, L/R, ZL/ZR). The assigned button will now rapidly repeat its input when held down.
- Deactivate TURBO: To remove the TURBO function from a button, press and hold the TURBO button again, then press the same action button.

Figure 5.3: Customizing the TURBO button for various inputs.
5.4 Vibration Adjustment
The dual-motor vibration feedback can be adjusted to suit your preference.
- To adjust vibration intensity, press and hold the R3 (right joystick click) button and simultaneously move the left joystick up or down. Moving up increases intensity, moving down decreases it.

Figure 5.4: Dual-motor vibration provides realistic feedback, adjustable via R3 + left stick.
6. Advanced Features Overview
6.1 ALPS Joysticks and Hall Effect Sensing Triggers
The controller is equipped with high-precision ALPS joysticks and Hall Effect sensing triggers for enhanced durability and accuracy.
- ALPS Joysticks: Designed for precision and a long lifespan of up to 50 million clicks, minimizing dead zones and drift.
- Hall Effect Sensing Triggers: Provide fast and accurate response, utilizing magnetic sensors for smooth and consistent input without physical contact wear.

Figure 6.1: ALPS Joysticks and Hall Effect Sensing Triggers ensure high precision and durability.

Figure 6.2: ALPS joysticks are engineered for longevity and drift-free performance.

Figure 6.3: Hall Effect Sensing Triggers offer rapid and precise input.
6.2 Customizable Buttons
The controller features five sets of extra buttons with distinct tactile sensations and varying heights, allowing for a customizable grip and personalized control.

Figure 6.4: Interchangeable button caps for personalized tactile feedback and height.
6.3 Ergonomic Anti-slip Design
The controller is designed with an ergonomic anti-slip pattern to ensure a comfortable and secure grip, even during extended gaming sessions.
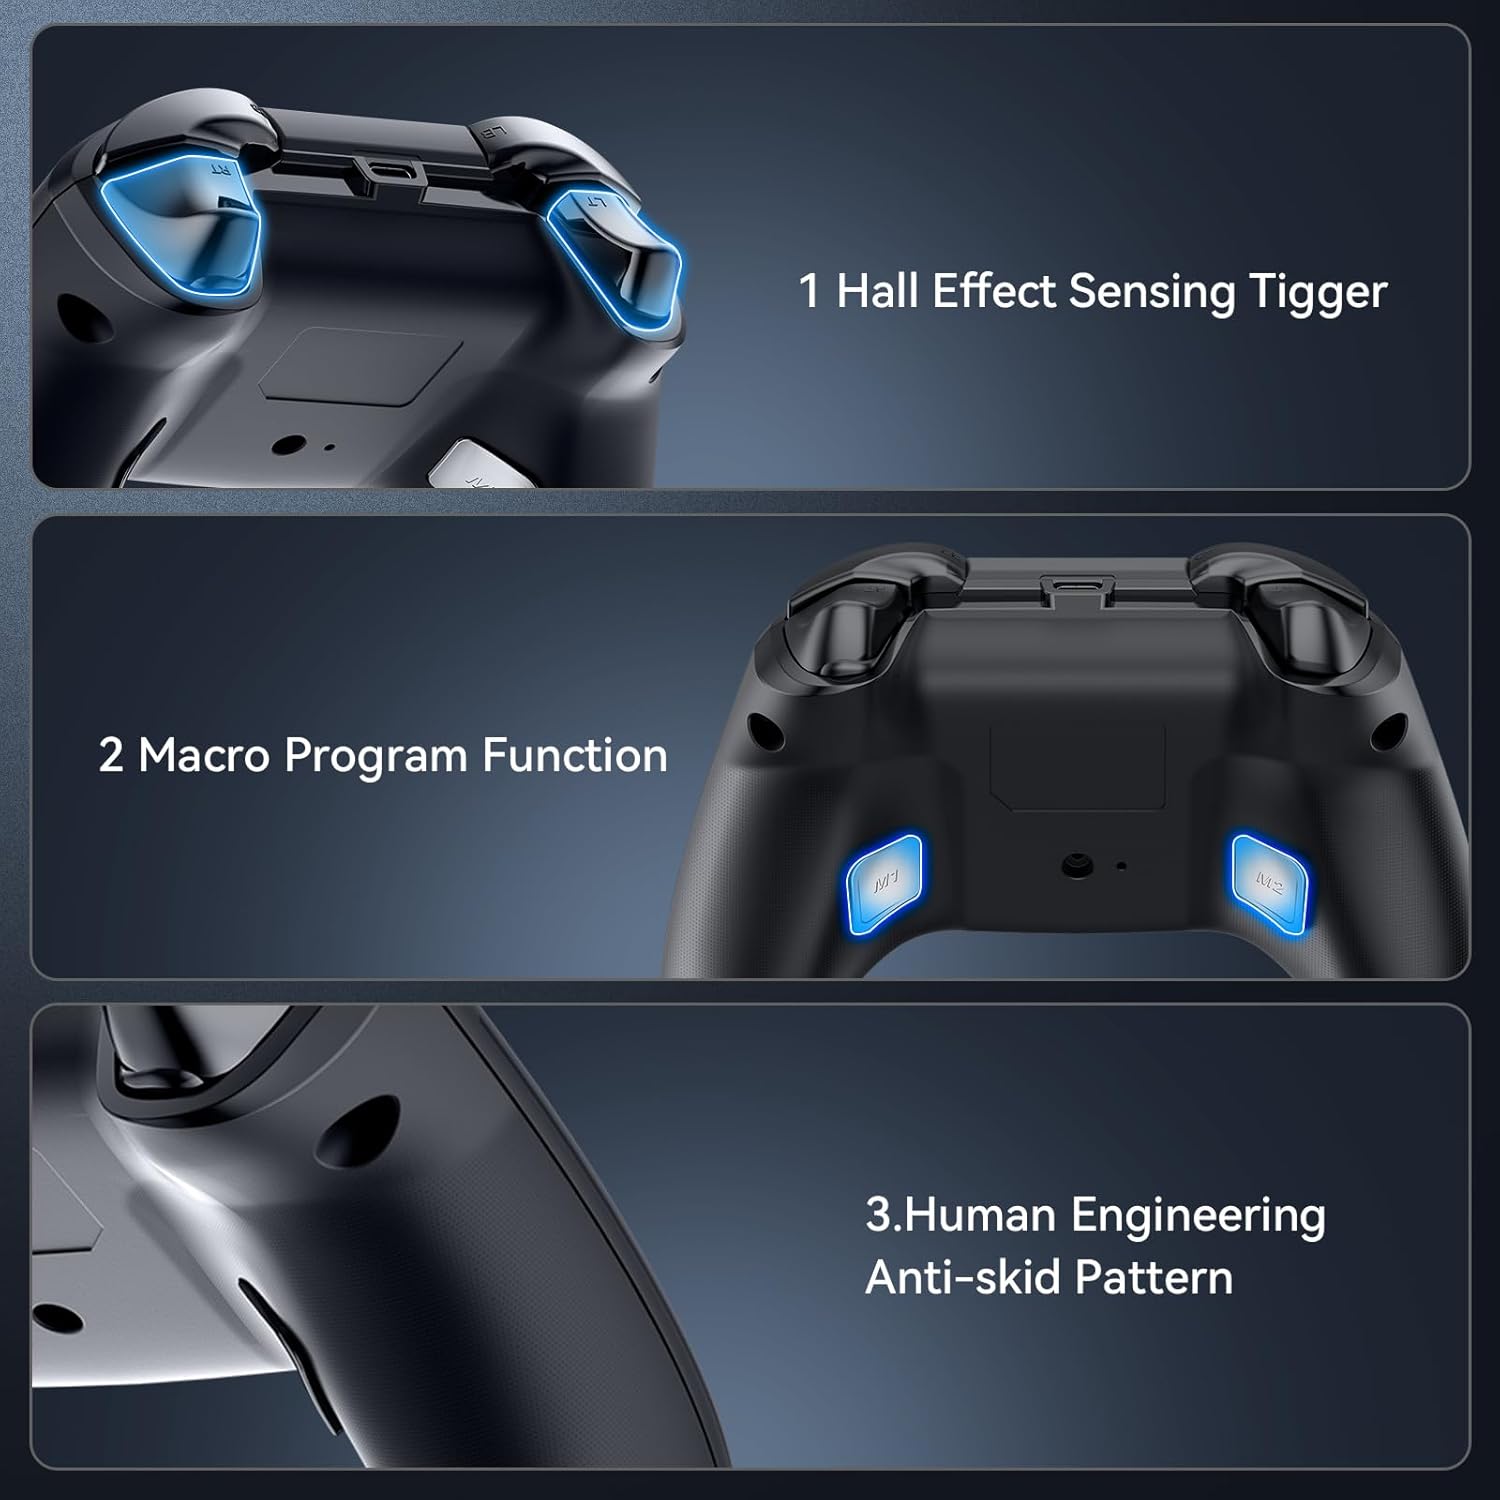
Figure 6.5: The controller features Hall Effect triggers, macro programming, and an ergonomic anti-skid pattern for comfort.
7. Specifications
| Feature | Detail |
|---|---|
| Model | HD-151 Pro X |
| Connectivity | 2.4G Wireless |
| Compatibility | PC (Windows 10) |
| Battery | 3.7V 700mAh Rechargeable |
| Charging Time | Approx. 2 hours |
| Operating Time | 8-10 hours |
| Joysticks | ALPS Joysticks (50 million clicks lifespan) |
| Triggers | Hall Effect Sensing Triggers |
| Audio Port | 3.5mm Headphone Jack |
| Weight | 12.3 ounces (approx. 348 grams) |
| Dimensions | 6.93 x 6.02 x 2.72 inches (Package) |
8. Troubleshooting
If you encounter issues with your controller, please refer to the following common solutions:
- Controller Not Connecting:
- Ensure the 2.4G wireless adapter is securely plugged into a working USB port on your PC.
- Verify the controller is powered on.
- Try plugging the adapter into a different USB port.
- Restart your PC and try connecting again.
- Buttons Not Responding or Sticking:
- Ensure the controller is fully charged.
- Check for any physical obstructions around the buttons.
- If a button feels stuck, gently press it multiple times to dislodge any debris.
- Ensure the controller firmware is up to date (check the manufacturer's website for updates).
- No Audio from Headphone Jack:
- Confirm your headset is fully plugged into the 3.5mm jack.
- Check your PC's sound settings to ensure the controller's audio output is selected as the default device.
- Test the headset with another device to ensure it is functioning correctly.
- Vibration Not Working or Too Weak/Strong:
- Ensure vibration is enabled in your game settings.
- Adjust the vibration intensity using the R3 + left joystick method described in Section 5.4.
9. Maintenance
To ensure the longevity and optimal performance of your RALAN HD-151 Pro X Wireless Controller, follow these maintenance guidelines:
- Cleaning: Use a soft, dry cloth to clean the controller. For stubborn dirt, slightly dampen the cloth with water. Avoid using harsh chemicals or abrasive materials.
- Storage: Store the controller in a cool, dry place away from direct sunlight and extreme temperatures.
- Battery Care: Avoid fully discharging the battery frequently. Charge the controller regularly, even if not in use for extended periods, to maintain battery health.
- Avoid Drops: Protect the controller from drops and impacts, which can damage internal components.
10. Warranty and Support
RALAN products are designed for reliability and performance. For warranty information, technical support, or service inquiries, please refer to the contact information provided with your purchase or visit the official RALAN website. Please retain your proof of purchase for warranty claims.


