
1. Introduction
This manual provides instructions for the installation, operation, and maintenance of the YOOPAI LED-L-Kit 3D Printer Enclosure LED Light. This LED light strip is designed to illuminate the interior of 3D printer enclosures, improving visibility during the printing process.
2. Safety Information
- Ensure the power source is a standard USB-A port (5V DC).
- Do not expose the LED light strip to water or excessive moisture.
- Avoid direct eye exposure to the LED light for prolonged periods.
- Keep out of reach of children.
- Do not attempt to modify or disassemble the product.
3. Package Contents
Verify that all components are present in the package:
- 1 x YOOPAI LED Light Strip with integrated USB cable and inline switch
- 2 x Metal Mounting Clips
4. Specifications
| Model Number | LED-L-Kit |
| Brand | YOOPAI |
| Product Dimensions | 14 x 1.57 x 1.57 inches (35.56 x 3.99 x 3.99 cm) |
| Item Weight | 6.4 ounces (181.44 grams) |
| Color | White |
| Power Source | USB-A (5V DC) |
5. Setup Instructions
Follow these steps to install your LED light strip:
- Prepare the Enclosure: Identify a suitable location inside your 3D printer enclosure, typically along the top frame, to mount the LED light.
- Attach Mounting Clips: Securely attach the provided metal mounting clips to the LED light strip. Ensure they are evenly spaced for stable installation.
- Mount the Light Strip: Carefully clip the LED light strip onto the fiberglass rods of your 3D printer enclosure.

Image showing the metal mounting clips and a warning about the 8mm diameter limit for enclosure rods. Note: The light mounting clips are designed for fiberglass rods with a diameter of 8mm or less. For other diameters, custom clips may be required.
- Connect Power: Plug the USB-A connector of the LED light strip into a compatible USB power source, such as a laptop, personal computer, or a USB wall adapter.

Image displaying the USB connector and the inline power switch for easy operation.
- Position for Optimal Illumination: Adjust the position of the light strip to ensure the print bed and active printing area are adequately illuminated.

Image illustrating the LED light strip installed inside a 3D printer enclosure, providing enhanced visibility of the print area.
6. Operating Instructions
The YOOPAI LED-L-Kit features a simple one-button operation:
- Power On: Once connected to a USB power source, press the inline switch button to turn the LED light on.
- Power Off: Press the inline switch button again to turn the LED light off.
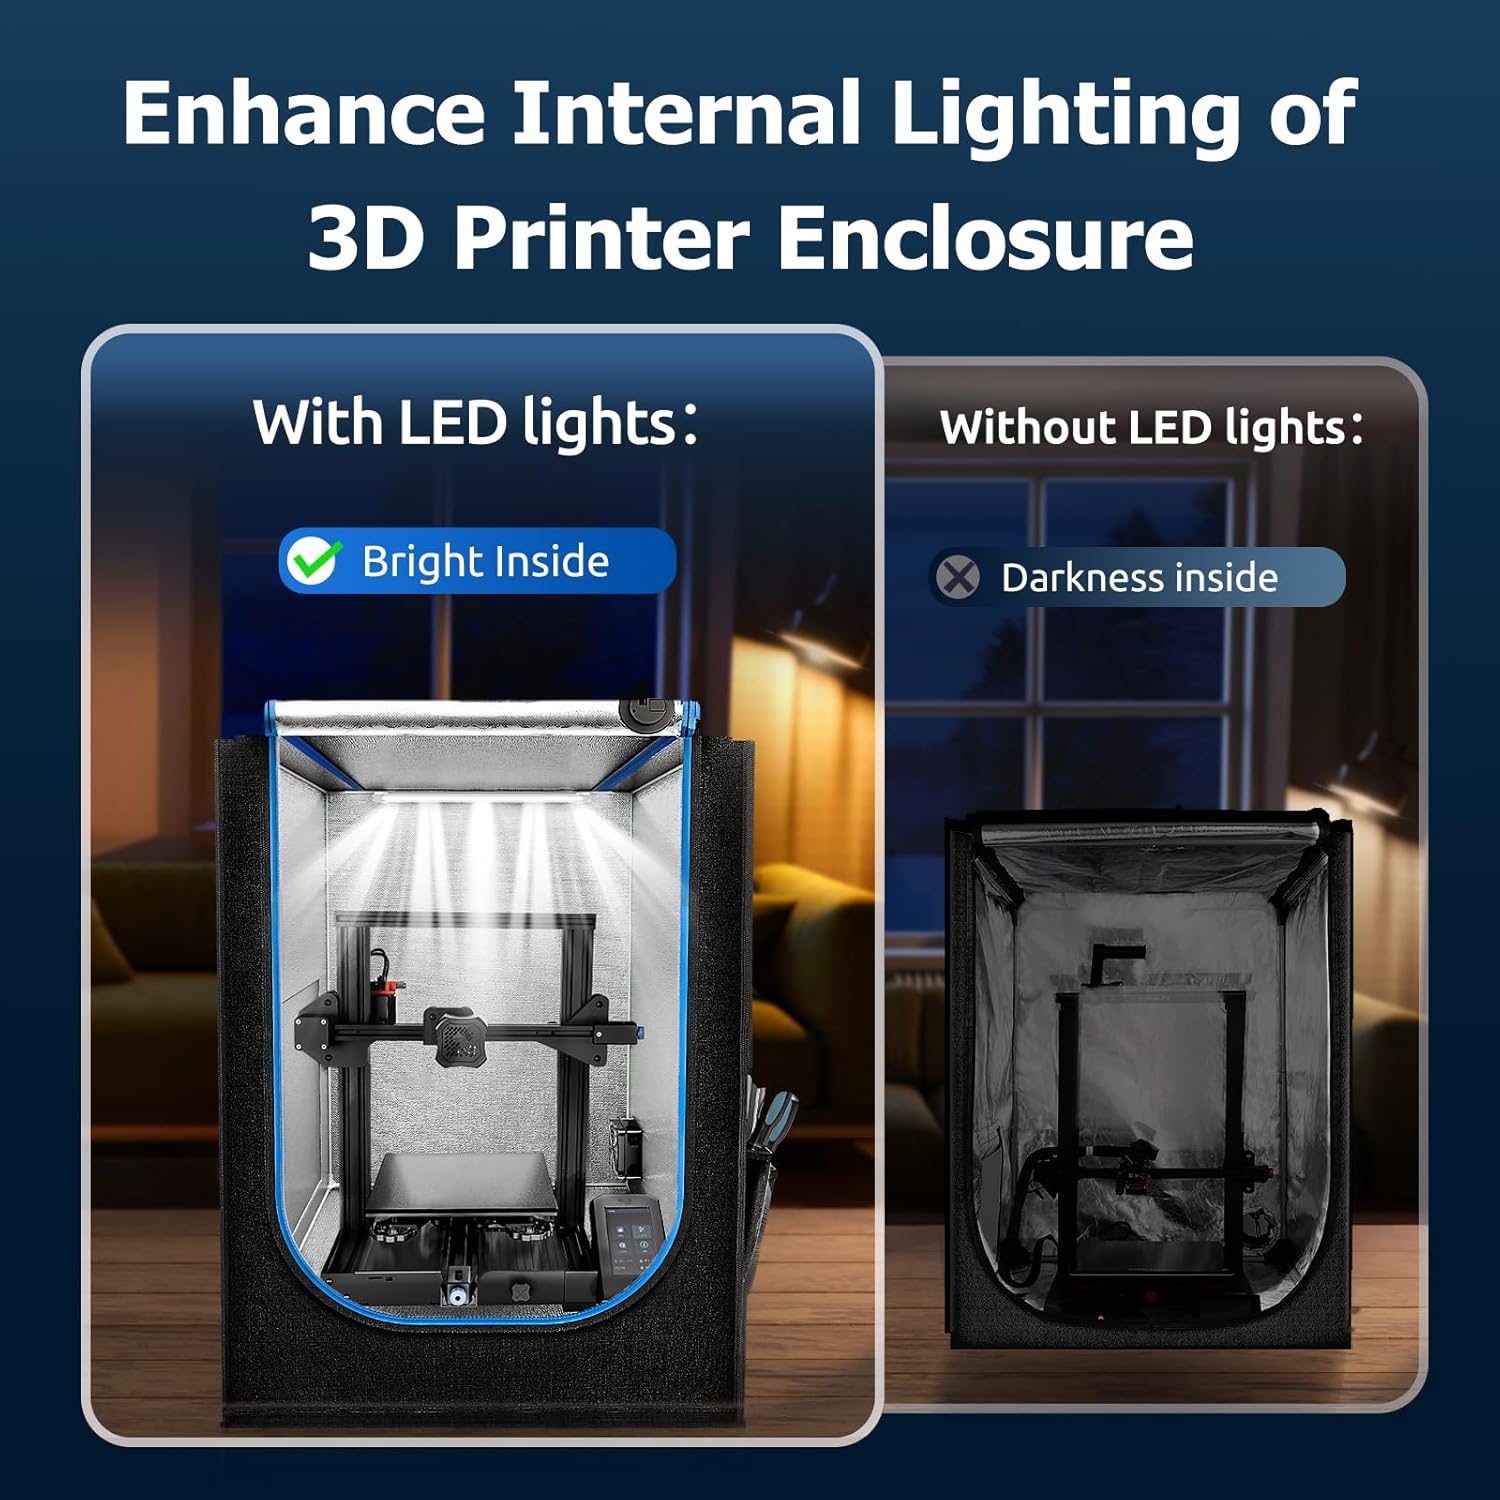
Image comparing a 3D printer enclosure with and without the LED light, demonstrating improved visibility for monitoring prints.
7. Maintenance
To ensure the longevity and optimal performance of your LED light strip:
- Cleaning: Gently wipe the LED light strip with a dry, soft cloth to remove dust or debris. Do not use liquid cleaners directly on the light strip.
- Inspection: Periodically check the USB cable and connections for any signs of wear or damage.
8. Troubleshooting
- Light Does Not Turn On:
- Ensure the USB cable is securely plugged into a functional USB power source.
- Verify that the power source is providing 5V DC.
- Press the inline switch to ensure it is in the 'on' position.
- Light Flickers:
- Check the USB connection for looseness.
- Try a different USB power source to rule out power supply issues.
9. Warranty Information
The YOOPAI LED-L-Kit 3D Printer Enclosure LED Light is covered by a manufacturer's warranty against defects in materials and workmanship. Please refer to your purchase documentation for specific warranty terms and duration. Damage resulting from improper use, unauthorized modifications, or accidents is not covered.
10. Customer Support
For technical assistance, warranty claims, or any questions regarding your YOOPAI LED-L-Kit, please contact YOOPAI customer support through the retailer where the product was purchased or visit the official YOOPAI website for contact information.