
Introduction
This manual provides detailed instructions for the operation and maintenance of your BMDSAE 128GB Digital Voice Recorder, Model V300. Please read this manual thoroughly before using the device to ensure proper functionality and to maximize your user experience. Keep this manual for future reference.
Product Overview
The BMDSAE V300 is a high-fidelity digital voice recorder designed for clear audio capture. It features a dual microphone system, 3072 Kbps recording capability, and a user-friendly interface.

Figure 1: Front view of the BMDSAE V300 Digital Voice Recorder, showing the display, control buttons, and microphone.
Key Features
- High-Fidelity Recording: Up to 3072 Kbps recording format with dual microphones for enhanced sound quality.
- Large Storage Capacity: 128GB internal memory, capable of storing approximately 300 hours of recording files.
- User-Friendly Design: Intuitive front-mounted buttons and an easy-to-navigate operating system.
- Voice-Activated Recording (VOR): Automatically starts recording when sound is detected and pauses when silent.
- Timing Recording: Schedule recordings to start and stop at specific times.
- A-B Repeat Function: Allows for repeated playback of a specific segment of an audio file, useful for learning.
- Recording Monitoring: Listen to your voice in real-time during recording to adjust pronunciation or tone.
- Noise Reduction: Advanced technology to minimize background noise for clearer recordings.
- File Management: Recording files are named by time for easy organization and retrieval.
Setup
1. Charging the Device
Before first use, fully charge the recorder. Connect the device to a USB power adapter (not included) or a computer's USB port using the provided USB cable. The battery indicator on the screen will show charging status.
2. Powering On/Off
- To Power On: Press and hold the Power button (usually located on the side or top) until the screen illuminates.
- To Power Off: Press and hold the Power button until the device shuts down, or select "Power Off" from the menu if available.
3. Initial Settings
Upon first power-on, you may need to set the date, time, and language. Navigate through the menu using the directional buttons and confirm with the Play/Pause button.
- Language: Access the 'Settings' menu to select your preferred language.
- Date & Time: Ensure the date and time are correctly set for accurate file naming.
- Recording Quality: In 'Settings', navigate to 'Recording Quality' to choose between 512kbps, 1536kbps, or 3072kbps. Higher kbps values result in better audio quality but consume more storage space.

Figure 2: Screen showing recording quality options (512kbps, 1536kbps, 3072kbps).
Operating Instructions
1. Basic Recording
- Start Recording: Press the REC button (red circle) on the front of the device. The recording indicator will light up, and the timer will start.
- Pause/Resume Recording: During recording, press the Play/Pause button to pause. Press it again to resume.
- Save Recording: Press the STOP button (square) to stop and save the current recording. The file will be automatically named with the date and time.

Figure 3: Key functions: Return key, Recording key (REC), and Confirm key (Play/Pause).
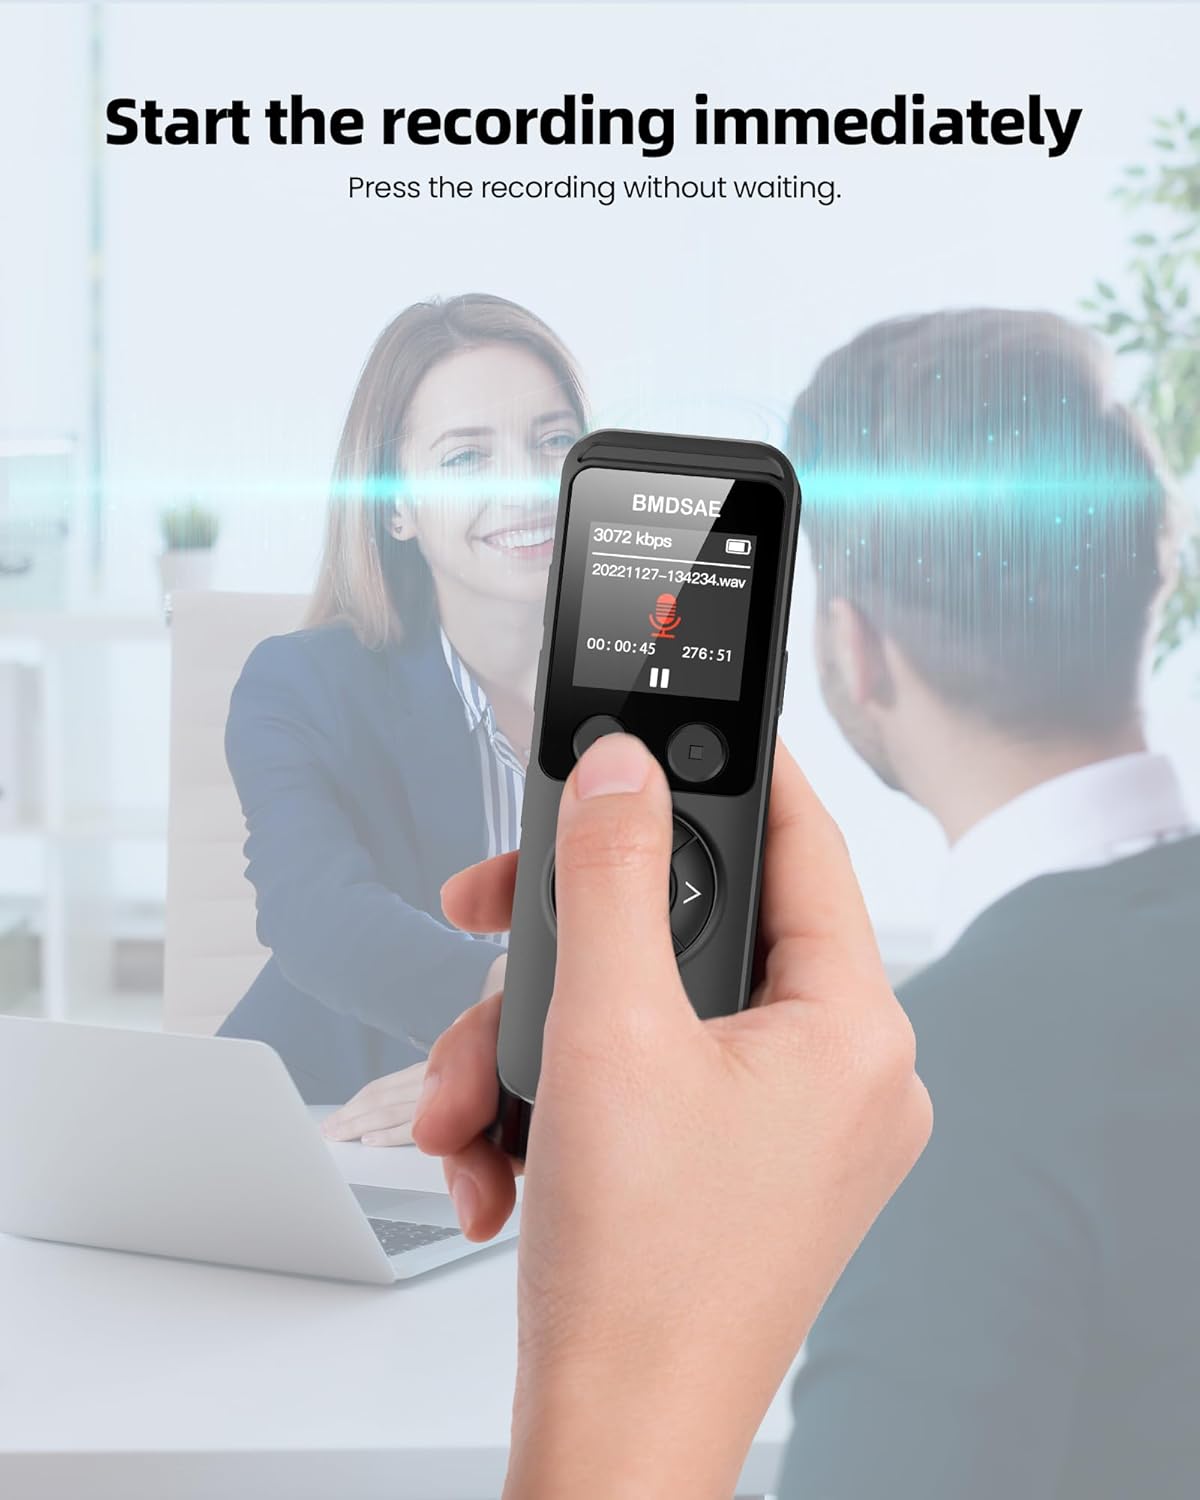
Figure 4: The device is designed for immediate recording with a single press.
2. Voice-Activated Recording (VOR)
Voice-Activated Recording (VOR) allows the recorder to start recording automatically when sound is detected and pause when there is silence, conserving memory and battery life.
- Access the 'Settings' menu.
- Navigate to 'VOR Mode' or 'Voice Activation'.
- Enable VOR and adjust the sensitivity level as needed. Higher sensitivity will detect quieter sounds.
- Exit the menu. The device is now ready for voice-activated recording.

Figure 5: Illustration of Voice-Activated Recording (VOR) and Timing Recording features.
3. Timing Recording
Schedule the recorder to start and stop recording at specific times.
- Go to the 'Settings' menu.
- Select 'Timing Recording' or 'Scheduled Recording'.
- Set the desired start time, end time, and frequency (e.g., once, daily, weekdays).
- Confirm your settings. The device will automatically begin recording at the scheduled time.

Figure 6: Setting up a recording schedule with start and finish times, and frequency options.
4. A-B Repeat Function
The A-B Repeat function is useful for transcribing or language learning, allowing you to loop a specific section of an audio file.
- During playback, press the 'A-B' button (or designated button/menu option) at the desired starting point (A).
- Press the 'A-B' button again at the desired ending point (B).
- The section between A and B will now loop continuously.
- Press the 'A-B' button a third time or the Stop button to exit A-B repeat mode.
5. Recording Monitoring
This feature allows you to listen to the audio being recorded in real-time through headphones, enabling immediate adjustments to your speaking or recording environment.
- Connect headphones to the 3.5mm headphone jack.
- Start a recording.
- The audio being captured by the microphones will be output to your headphones.

Figure 7: Using the recorder with headphones for real-time monitoring or pronunciation correction.
6. File Management
All recorded files are saved with a timestamp for easy identification.
- Accessing Files: From the main menu, navigate to 'Recordings' or 'File Browser'.
- Playback: Select a file and press the Play/Pause button to listen.
- Deleting Files: Select a file, then access the 'Options' menu (often by long-pressing the Return key or a dedicated menu button) to find the 'Delete' option.
- Transferring Files: Connect the recorder to a computer using the USB cable. The device will appear as a removable disk. You can then drag and drop files to your computer.

Figure 8: The 128GB storage capacity allows for extensive recording.
Maintenance
- Cleaning: Use a soft, dry cloth to clean the device. Do not use liquid cleaners or solvents.
- Storage: Store the recorder in a cool, dry place away from direct sunlight and extreme temperatures.
- Battery Care: To prolong battery life, avoid fully discharging the battery frequently. Charge the device regularly, even if not in use for extended periods.
- Data Backup: Regularly back up important recordings to a computer or external storage device to prevent data loss.
Troubleshooting
| Problem | Possible Cause | Solution |
|---|---|---|
| Device does not power on. | Low battery; device frozen. | Charge the device for at least 30 minutes. If still unresponsive, try a hard reset (refer to manual for specific reset instructions, if any, or hold power button for 10-15 seconds). |
| Poor recording quality. | Low recording bitrate; high background noise; microphone obstruction. | Increase recording quality setting (e.g., to 3072kbps). Record in a quieter environment. Ensure microphones are not covered. |
| Cannot transfer files to computer. | Faulty USB cable; incorrect connection mode; driver issue. | Try a different USB cable. Ensure the device is connected directly to the computer (not via a hub). Check if the device is in 'Mass Storage' or 'Data Transfer' mode if prompted. Restart computer. |
| Voice-activated recording not working. | VOR disabled; sensitivity too low. | Enable VOR in settings. Increase VOR sensitivity level. |
| Screen is unresponsive or frozen. | Software glitch. | Perform a soft reset by holding the power button until the device restarts. If a reset button is available (small pinhole), use a thin object to press it. |
Specifications
| Feature | Detail |
|---|---|
| Brand | BMDSAE |
| Model Number | V300 |
| Screen Size | 1.8 Inches |
| Memory Storage Capacity | 128 GB |
| Recording Format | MP3, WAV, WMA (up to 3072 Kbps) |
| Microphone Form Factor | Integrated (Dual Microphone) |
| Interface Hardware | USB 2.0 |
| Headphone Jack | 3.5 Millimeter |
| Compatible Devices | Earphone |
| Battery Composition | Lithium-Polymer |
| Rechargeable Battery | Yes |
| Product Dimensions | 7P x 40l x 10H millimeters |
| Item Weight | 65 Grams |
Warranty and Support
Warranty Information
Please refer to the warranty card included with your product packaging for detailed warranty terms and conditions. Typically, BMDSAE products come with a standard manufacturer's warranty covering defects in materials and workmanship for a specified period from the date of purchase.
Customer Support
For technical assistance, troubleshooting not covered in this manual, or warranty claims, please contact BMDSAE customer support. Contact information can usually be found on the product packaging, the official BMDSAE website, or the warranty card.
When contacting support, please have your product model (V300) and purchase details ready.