1. Introduction
This manual provides essential information for the safe and efficient operation of your UPGENT GA5048MHB Off-Grid Solar Inverter. Please read this manual thoroughly before installation and use, and retain it for future reference. This inverter is designed to convert DC power from solar panels and batteries into AC power for home use.
2. Safety Information
- Installation must be performed by qualified personnel in accordance with all local electrical codes and regulations.
- Do not attempt to disassemble or repair the inverter yourself. Refer all servicing to qualified service personnel.
- Ensure proper grounding of the inverter.
- Avoid exposing the inverter to water, rain, snow, or any liquids.
- Operate the inverter in a well-ventilated, dry environment, away from flammable materials.
- Always disconnect all power sources (solar, battery, AC) before performing any maintenance or wiring.
3. Product Overview
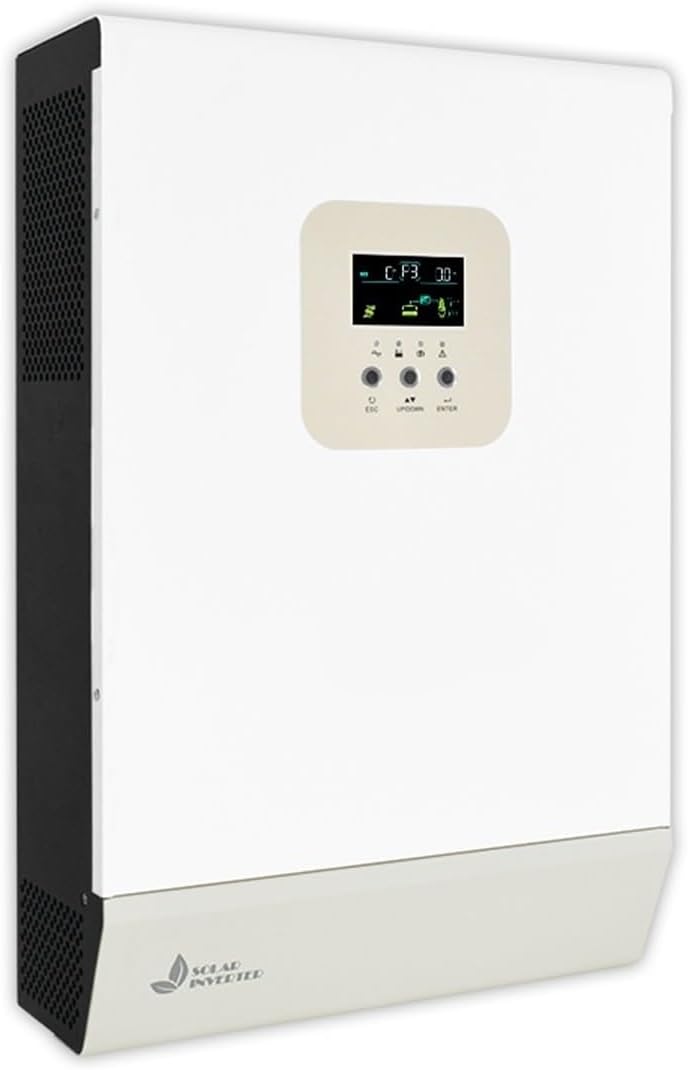
Front view of the UPGENT 2KW 24V MPPT Off-Grid Solar Inverter. The device is white with black ventilation grilles on the left side. A light-colored control panel with an LCD screen and three buttons (ESC, UP/DOWN, ENTER) is visible on the front. The bottom section features a 'SOLAR INVERTER' logo with a leaf icon.
The UPGENT GA5048MHB is an integrated off-grid solar inverter designed for photovoltaic systems. It combines an inverter, solar charger, and AC charger into one unit, providing a compact power conversion solution for various applications.
4. Specifications
| Feature | Description |
|---|---|
| Model Number | GA5048MHB (2KW 24V MPPT) |
| Protection Type | High and low temperature, overload, high and low voltage |
| Application Scope | Home use |
| Communication Protocol | RS485 (External WiFi/GPRS optional) |
| External Battery Type | Lead acid, Lithium battery |
| Product Certification | CE |
| Item Weight | 39.2 pounds (17.78 kg) |
| Cooling Type | Air cooling |
| Working Environment | Indoor, ventilated and dry |
| Display Mode | LCD |
| Built-in Controller | MPPT (optional PWM) |
| Assembly Required | No (unit is pre-assembled) |
| Number of Pieces | 1 |
5. Setup
- Mounting: Select a suitable location that is dry, well-ventilated, and protected from direct sunlight and moisture. Ensure adequate clearance around the inverter for air circulation. Securely mount the inverter to a sturdy vertical surface using appropriate fasteners.
- Battery Connection: Connect the battery bank to the inverter's battery terminals. Ensure correct polarity (positive to positive, negative to negative). Use appropriately sized cables and fuses.
- Solar Panel Connection: Connect the solar panel array to the inverter's PV input terminals. Verify correct polarity and ensure the open-circuit voltage and short-circuit current of the solar array are within the inverter's specifications.
- AC Output Connection: Connect your AC loads or home electrical panel to the inverter's AC output terminals. Ensure proper wiring and grounding.
- AC Input Connection (Optional): If using the inverter with a grid or generator as a backup, connect the AC input to the designated terminals.
- Initial Power-Up: Once all connections are secure and verified, connect the battery power first, then the solar power, and finally the AC input (if applicable). Observe the LCD display for status indicators.
Note: It is highly recommended to have a qualified electrician perform the installation to ensure safety and compliance with electrical standards.
6. Operating Instructions
- Power On/Off: After successful installation, the inverter will typically power on automatically when battery and/or solar power is supplied. To shut down, reverse the power-up sequence: disconnect AC input, then solar, then battery.
- LCD Display: The LCD screen provides real-time information on system status, battery voltage, solar input, AC output, and error codes. Use the UP/DOWN buttons to navigate through different display screens.
- Settings Configuration: Press the ENTER button to access the settings menu. Use UP/DOWN to select parameters and ENTER to confirm changes. The ESC button is used to exit menus. Refer to the detailed settings section in the full manual for specific parameter adjustments (e.g., battery type, charging current, output voltage).
- Operating Modes: The inverter supports various operating modes (e.g., Solar priority, Utility priority, Battery priority). Configure the desired mode via the settings menu to optimize power flow according to your needs.
7. Maintenance
- Regular Cleaning: Keep the inverter's ventilation openings clear of dust and debris to ensure proper airflow and cooling. Use a soft, dry cloth for cleaning the exterior.
- Connection Checks: Periodically inspect all electrical connections for tightness and signs of corrosion. Loose connections can lead to overheating and poor performance.
- Battery Health: Monitor battery voltage and ensure proper charging. Follow the battery manufacturer's maintenance guidelines for your specific battery type.
- Environmental Conditions: Ensure the operating environment remains within the specified temperature and humidity ranges.
8. Troubleshooting
| Problem | Possible Cause | Solution |
|---|---|---|
| Inverter not turning on | No battery power, loose connections, blown fuse | Check battery connections and voltage. Inspect fuses. Ensure correct power-up sequence. |
| No AC output | Overload, low battery voltage, inverter fault | Reduce load. Check battery charge. Refer to LCD error codes. |
| Solar charging not working | Solar panels disconnected, insufficient sunlight, PV voltage too low/high | Check PV connections. Ensure panels are clean and receiving adequate sunlight. Verify PV voltage is within range. |
| Error code displayed | Specific system fault | Consult the full manual for a list of error codes and their corresponding solutions. |
9. Warranty and Support
For warranty information, technical support, or service inquiries, please contact your UPGENT product supplier or authorized service center. Keep your purchase receipt as proof of purchase. Do not attempt to service the unit yourself, as this may void the warranty.


