
Prexiso 11.5-inch Digital Level, 10-inch Torpedo Level
Prexiso WORKPRO 11.5-inch Digital Level and 10-inch Torpedo Level Instruction Manual
Model: 11.5-inch Digital Level, 10-inch Torpedo Level
Introduction
Thank you for choosing the Prexiso WORKPRO 11.5-inch Digital Level and 10-inch Torpedo Level. This manual provides essential information for the safe and effective operation, maintenance, and care of your new measuring tools. Please read this manual thoroughly before use and retain it for future reference.
Safety Information
- Always handle tools with care to prevent damage or injury.
- Keep the tools clean and dry to ensure accurate readings and prolong lifespan.
- Do not expose the digital level to extreme temperatures or moisture.
- Store tools in a safe place, out of reach of children.
Package Contents
Your package should contain the following items:
- 1 x Prexiso 11.5-inch Digital Level
- 1 x WORKPRO 10-inch Torpedo Level
- Instruction Manual (this document)
Product Overview and Features
1. Prexiso 11.5-inch Digital Level
This digital level provides precise angle measurements with a clear LCD display.
- Bright LCD Display: Large, bright green LCD for enhanced visibility in various lighting conditions.
- Automatic Display Reversal: The display value automatically inverts when the level is used upside down.
- Multiple Measurement Units: Switch between degrees (°), percentage (%), and inches per foot (in/ft).
- Relative Measurement (REF): Allows setting a new zero reference point for comparative measurements.
- Absolute Angle (HOLD): Freezes the current measurement on the display.
- Audible Indicator: Provides an audible signal at 0° and 90° for convenience when the display is not visible.

Figure 1: Prexiso 11.5-inch Digital Level (top) and WORKPRO 10-inch Torpedo Level (bottom).

Figure 2: Bright LCD display of the digital level, showing measurement units.

Figure 3: Digital level with 'REF' for relative measurement and 'HOLD' for absolute angle function.
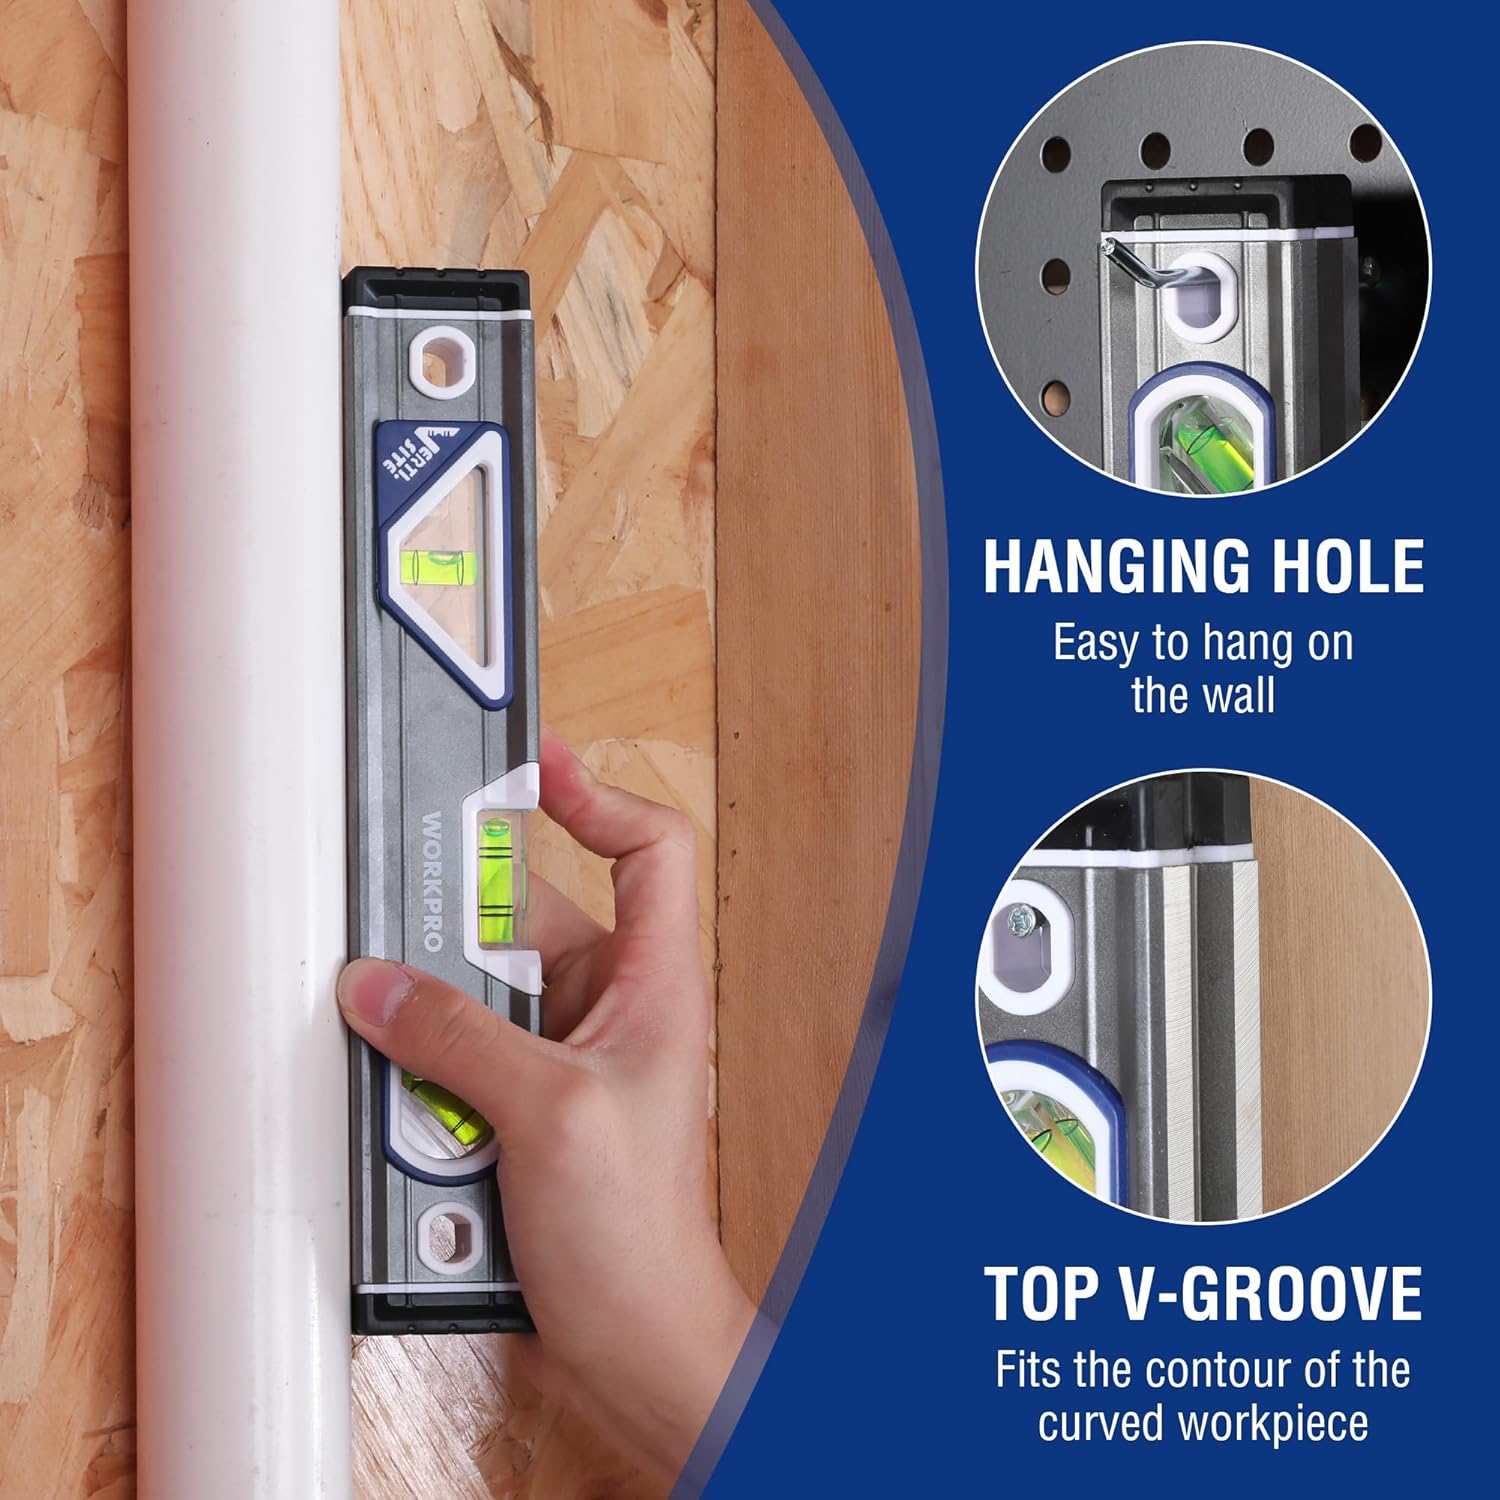
Figure 4: The digital level features an audible indicator for 0° and 90° angles.
2. WORKPRO 10-inch Torpedo Level
This compact torpedo level is designed for quick and accurate leveling tasks.
- Three Vials: Equipped with horizontal, vertical, and 45-degree vials for versatile leveling.
- Top View Vial Window: Allows observation of the horizontal vial in confined spaces.
- Lightweight Aluminum Body: Durable and easy to handle.
- Overmolded Rubber End Caps: Provide protection against impacts.
- Hanger Holes: For convenient storage.
- Magnified Center Block Vial: Designed for maximum accuracy (0.5mm) with a convex design for clearer viewing.
- Verti-Site (Plumb View/Double View): Patent-pending design with mirrors for reading the vertical bubble from the front or side.
- Top V-Groove: Fits the contour of curved workpieces for stable placement.

Figure 5: Key features of the WORKPRO 10-inch Torpedo Level.

Figure 6: The Verti-Site feature allows for plumb view and double view readings.
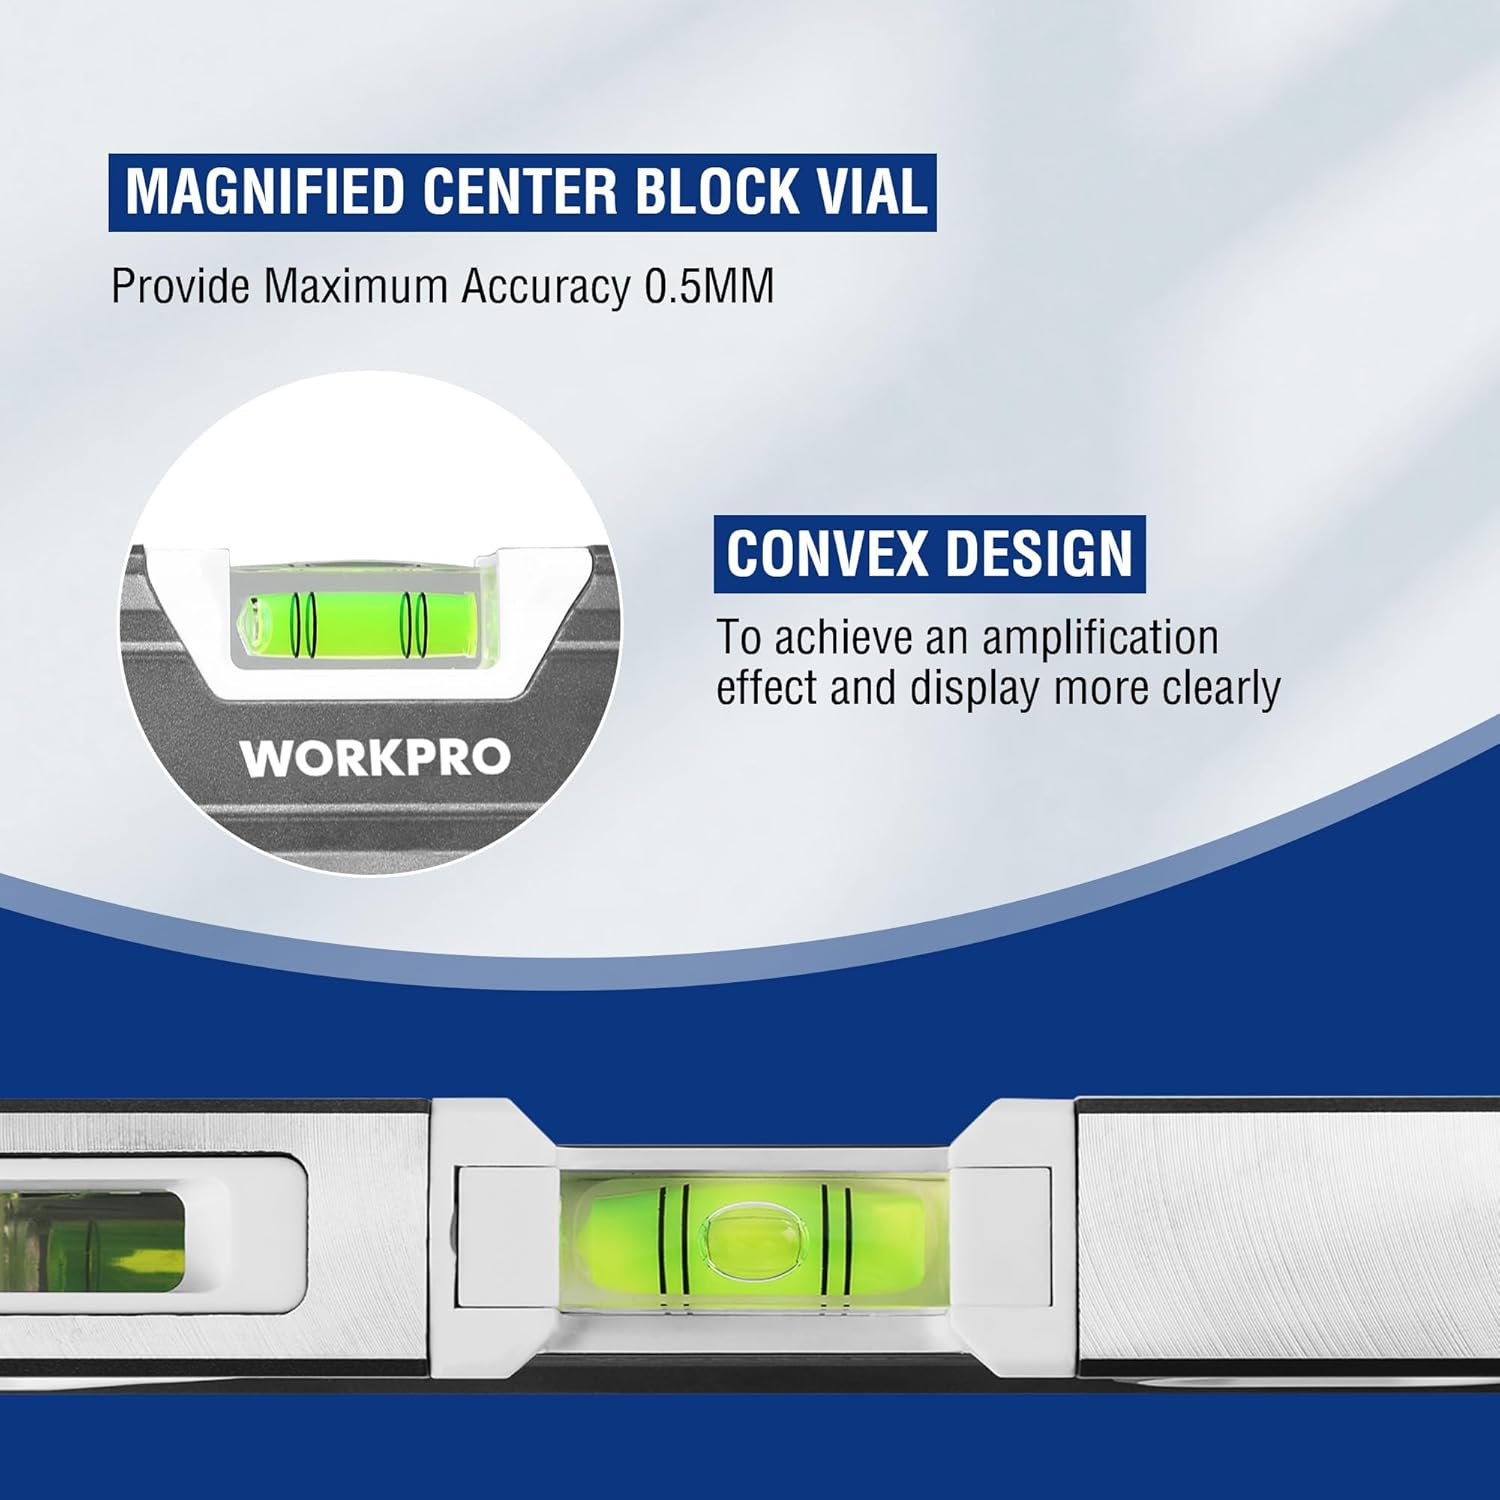
Figure 7: Magnified center block vial with convex design for enhanced accuracy and clarity.
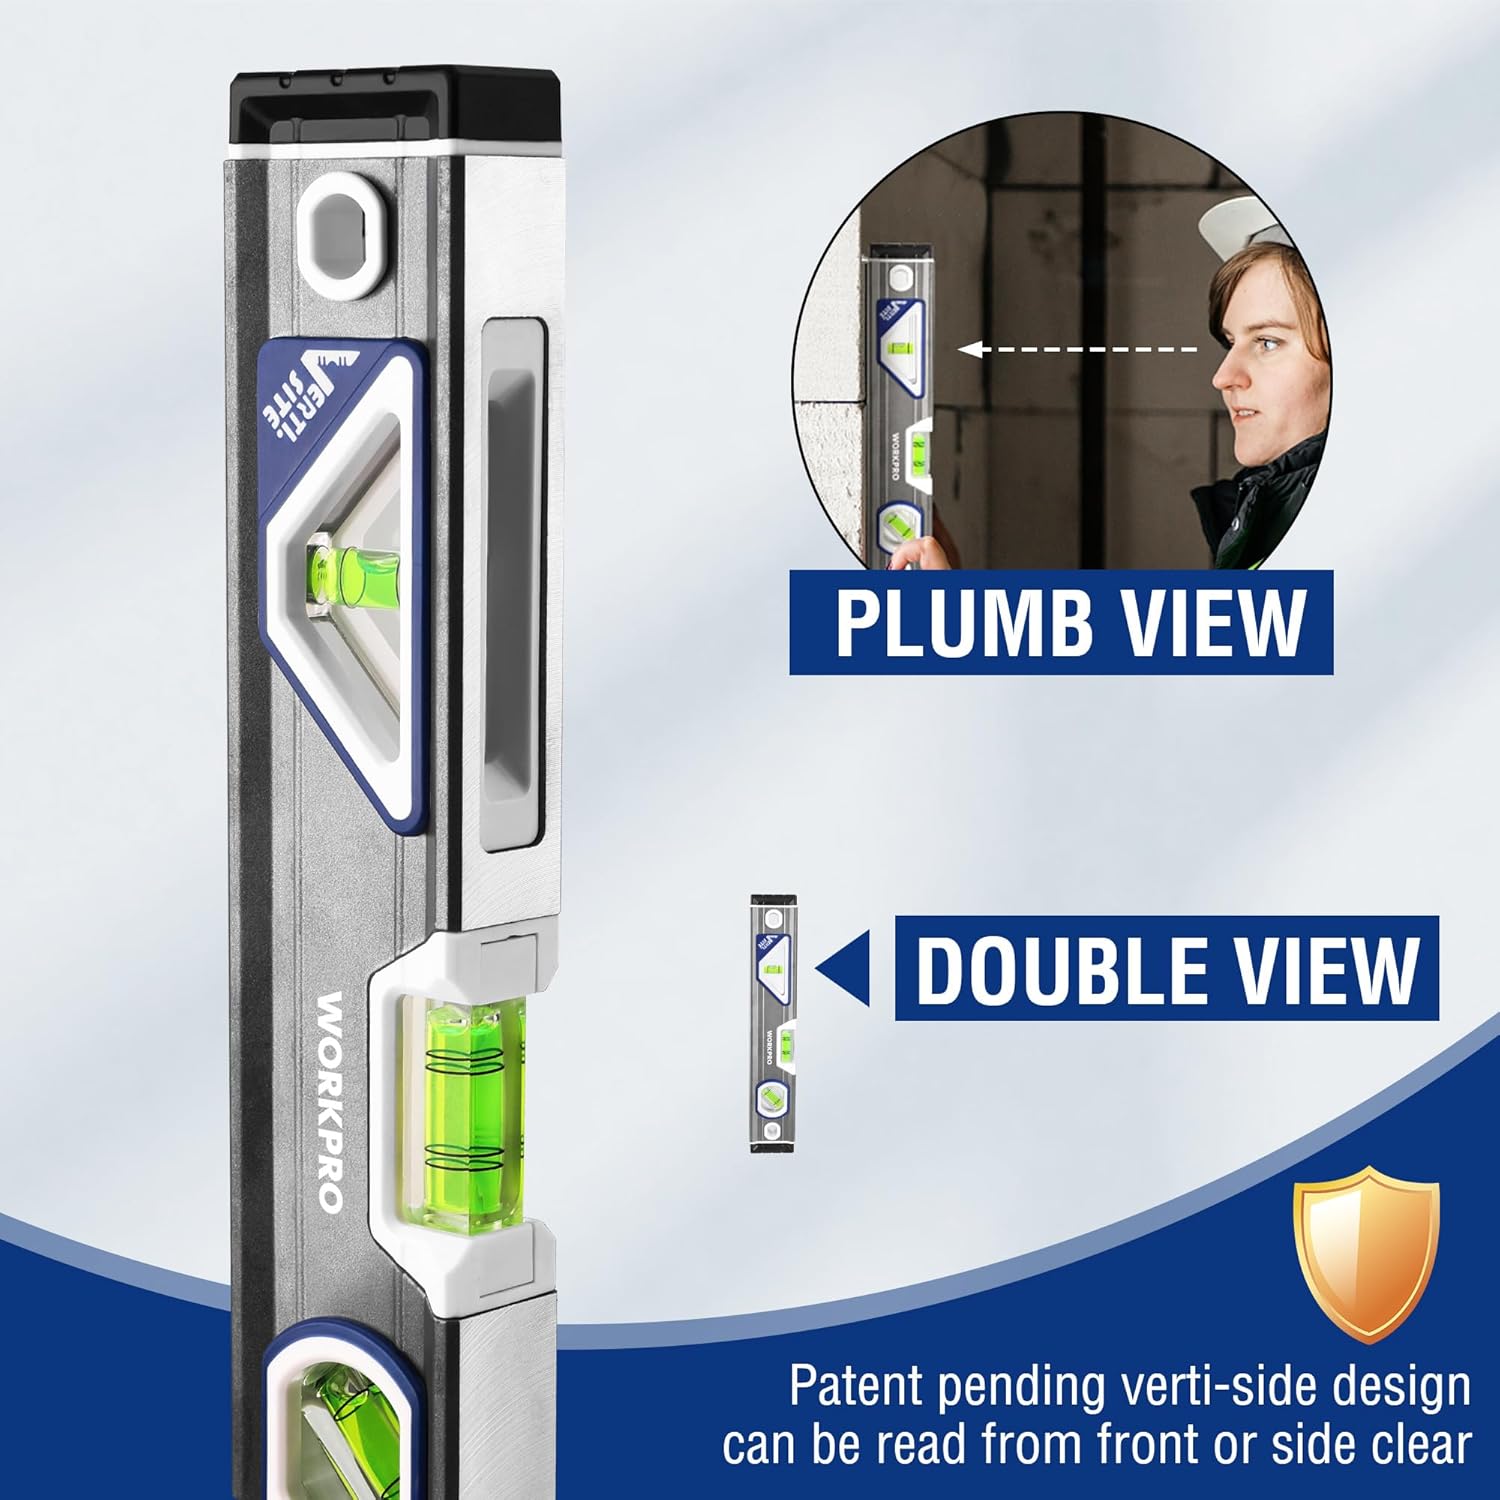
Figure 8: The torpedo level includes a hanging hole for storage and a V-groove for curved surfaces.
Setup
1. Digital Level Battery Installation
- Locate the battery compartment cover on the digital level.
- Open the cover and insert the required batteries. Ensure correct polarity (+/-).
- Close the battery compartment cover securely.
Note: Batteries are usually not included and must be purchased separately. Refer to the battery compartment for specific battery type requirements.
2. Initial Check (Both Levels)
Before first use, place each level on a known flat, level surface to verify basic functionality. The bubbles in the vials should center, and the digital display should read close to 0.0°.
Operating Instructions
1. Using the Prexiso 11.5-inch Digital Level
- Power On/Off: Press the ON/OFF button to turn the level on or off.
- Changing Units: Press the UNIT button to cycle through measurement units: degrees (°), percentage (%), and inches per foot (in/ft).
- Absolute vs. Relative Measurement:
- Absolute Measurement: This is the default mode, measuring the angle relative to true horizontal.
- Relative Measurement (REF): Press the REF button to set the current position as a new 0° reference. This is useful for measuring the difference in angle between two surfaces. Press REF again to return to absolute measurement.
- Hold Function: Press the HOLD button to freeze the current reading on the display. Press HOLD again to release.
- Audible Indicator: The level will emit an audible tone when it is close to 0° or 90°, helping you achieve level or plumb without constantly viewing the display.

Figure 9: Using the digital level with its audible indicator for precise alignment.
2. Using the WORKPRO 10-inch Torpedo Level
- Horizontal Leveling: Place the level on the surface to be checked. The bubble in the horizontal vial should be centered between the two lines for a level surface.
- Vertical Leveling (Plumb): Hold the level vertically against the surface. The bubble in the vertical vial should be centered for a plumb surface. Utilize the Verti-Site feature for easier viewing from the front or side.
- 45-Degree Angle: Position the level to align with a 45-degree angle. The bubble in the 45-degree vial should be centered.
- Curved Surfaces: The integrated V-groove on the top edge allows the level to sit securely on pipes or other rounded objects for accurate measurements.
Figure 10: Checking vertical alignment using the torpedo level's Verti-Site feature.
Maintenance
- Cleaning: Wipe the levels with a soft, damp cloth. Do not use abrasive cleaners or solvents, as they may damage the finish or the display.
- Storage: Store the levels in a dry place, away from direct sunlight and extreme temperatures. Remove batteries from the digital level if it will not be used for an extended period to prevent leakage.
- Inspection: Periodically check the levels for any signs of damage or wear. Ensure the vials are clear and the digital display functions correctly.
Troubleshooting
| Problem | Possible Cause | Solution |
|---|---|---|
| Digital level does not power on. | Dead or incorrectly installed batteries. | Replace batteries with new ones, ensuring correct polarity. |
| Inaccurate readings on digital level. | Level not calibrated or placed on an unstable surface. | Ensure the level is on a stable surface. If issues persist, consult manufacturer for calibration instructions (if applicable). |
| Bubble in vial is difficult to read. | Dirt or debris on the vial, or poor lighting. | Clean the vial surface. Ensure adequate lighting. |
Specifications
| Feature | Detail |
|---|---|
| Brand | Prexiso / WORKPRO |
| Digital Level Length | 11.5 inches |
| Torpedo Level Length | 10 inches |
| Material | Acrylic, Plastic (Vials), Aluminum (Torpedo Level Body) |
| Operation Mode | Automatic (Digital Level) |
| Digital Display | Bright Green LCD |
| Torpedo Level Vials | Horizontal, Vertical, 45-degree |
| Torpedo Level Accuracy | 0.5mm (Magnified Center Block Vial) |
Warranty and Support
For warranty information or technical support, please refer to the documentation included with your purchase or visit the official Prexiso website. Keep your proof of purchase for any warranty claims.
Prexiso Store: https://www.amazon.com/stores/PREXISO
Related documents11.5-inch Digital Level, 10-inch Torpedo Level


Ask a question about this manual
Ask about setup, troubleshooting, compatibility, parts, safety, or missing instructions. Manuals+ will review the question and use this page’s manual context to help answer it.