1. Introduction
This manual provides instructions for the iTOMA Model CKS507 Clock Radio. This device combines an alarm clock with a large LED display, FM radio, dual alarms, two USB charging ports, a night light, and both automatic and manual dimmer functions. It also features APP control for enhanced functionality and ease of use.

Figure 1: iTOMA CKS507 Clock Radio overview.
2. Key Features
- Ultra Clear 1.4-inch White LED Display: Large numbers for easy readability from any angle, with 4-level manual and auto brightness adjustment.
- APP Control: Manage alarms, radio, and other settings via the dedicated iTOMA App for iOS and Android.
- Dual Alarms: Set two independent alarms with customizable wake-up modes (radio or buzzer) and 4 alarm week modes (Every day, single day, weekdays, weekends).
- FM Radio: Digital tuning with memory storage for up to 20 programmable stations (87.5-108MHz). Features a sleep-to-music timer (10-90 minutes).
- Bluetooth Connectivity: Stream audio wirelessly from your Bluetooth-enabled devices.
- Two USB Charging Ports: Includes one USB Type-A and one USB Type-C port (2.1A 5V) for charging mobile devices.
- Night Light: Two-level night light for ambient illumination.
- Snooze Function: 9-minute snooze, up to 6 times.
- Crescendo Wake-up Control: Alarm volume gradually increases.
3. Package Contents
Verify that all items are present in the package:
- 1 x iTOMA CKS507 Clock Radio
- 1 x Power Adapter
- 1 x User Manual (Six languages)
4. Setup
4.1 Power Connection
- Unpack the iTOMA CKS507 Clock Radio and its power adapter.
- Connect the power adapter to the DC input port on the back of the clock radio.
- Plug the power adapter into a standard electrical outlet. The clock will automatically set itself to the correct year, month, date, day, and time upon initial power-up and after any power interruption.
4.2 App Control Setup
The iTOMA App provides convenient control over various clock functions.
- Download the App: Search for "iTOMA" in the App Store (iOS) or Google Play Store (Android) and download the application.
- Power On and Bluetooth Activation: Ensure the clock radio is powered on. Press the BT button on the clock. The Bluetooth indicator on the clock display should flash, indicating it is in pairing mode.
- Connect via App:
- Open the iTOMA App on your mobile device.
- Tap "Connect" within the App.
- In the pop-up interface, select "Settings" and then connect to the Bluetooth device named "507".
- Confirmation: A successful connection will be indicated by an audible tone from the clock. The App and Bluetooth indicator lights on the clock will remain steadily on.
- Troubleshooting Connection: If the App cannot connect, ensure your mobile device's Bluetooth is enabled and the clock's Bluetooth is active (indicator flashing or steady).

Figure 2: Steps for connecting the iTOMA App.
5. Operating Instructions
5.1 Time and Date Setting
The clock automatically sets the time upon power-up. Manual adjustment is also possible.
- Manual Time Set: Use the TIME SET button to adjust the year, date, day of the week, and time. Refer to the detailed instructions in the included multi-language manual for specific button sequences.
- Time Zone: Adjust the time zone according to your location.
- 12/24 Hour Format: Select your preferred time display format.
5.2 Alarm Functions
The clock radio features two independent alarms.

Figure 3: Dual alarm clock functionality.
- Setting Alarms: Use the dedicated alarm buttons or the iTOMA App to set Alarm 1 and Alarm 2.
- Wake-up Modes: Choose to wake up to the FM radio or a buzzer sound.
- Alarm Week Modes: Select from four options: Every day, single day only, weekdays only, or weekends only.
- Alarm Volume: Adjust the alarm volume (16 levels). The alarm sound will gradually increase (crescendo wake-up).
- Snooze: When an alarm sounds, press the SNOOZE button to temporarily silence it for 9 minutes. This can be repeated up to 6 times.
- Disabling Alarm: To turn off an alarm, use the physical alarm switch on the back of the unit or disable it via the App. Remember to re-enable it for the next day if needed.
5.3 FM Radio
Enjoy your favorite radio stations with digital tuning.

Figure 4: FM Radio tuning and presets via App.
- Tuning: Use the tuning controls on the unit or the App to find FM stations (87.5-108MHz).
- Presets: Store up to 20 favorite radio stations for quick access.
- Volume: Adjust the radio volume from 0-16 levels.
- Antenna: Ensure the external cable antenna is properly extended for optimal reception.
- Sleep Timer: Set a programmable sleep-to-music timer (10-90 minutes) to fall asleep to your chosen radio station. The radio will automatically turn off after the set duration.
5.4 Bluetooth Audio Streaming
Connect your mobile device to stream music wirelessly.

Figure 5: Bluetooth music streaming.
- Press the BT button on the clock radio to enter Bluetooth pairing mode. The Bluetooth indicator will flash.
- On your mobile device, go to Bluetooth settings and select "507" from the list of available devices to pair.
- Once paired, the Bluetooth indicator on the clock will stop flashing and remain steady. You can now stream audio from your device to the clock radio.
5.5 Display Dimmer
Adjust the display brightness for comfort.

Figure 6: Display brightness levels and auto dimmer.
- Manual Dimmer: Use the DIMMER button to cycle through 4 brightness levels (L-1, L-2, L-3, OFF).
- Auto Dimmer: The clock features an auto-dimmer function that adjusts the display brightness based on ambient light conditions, reducing brightness for uninterrupted sleep.
5.6 Night Light
The integrated night light provides soft illumination.
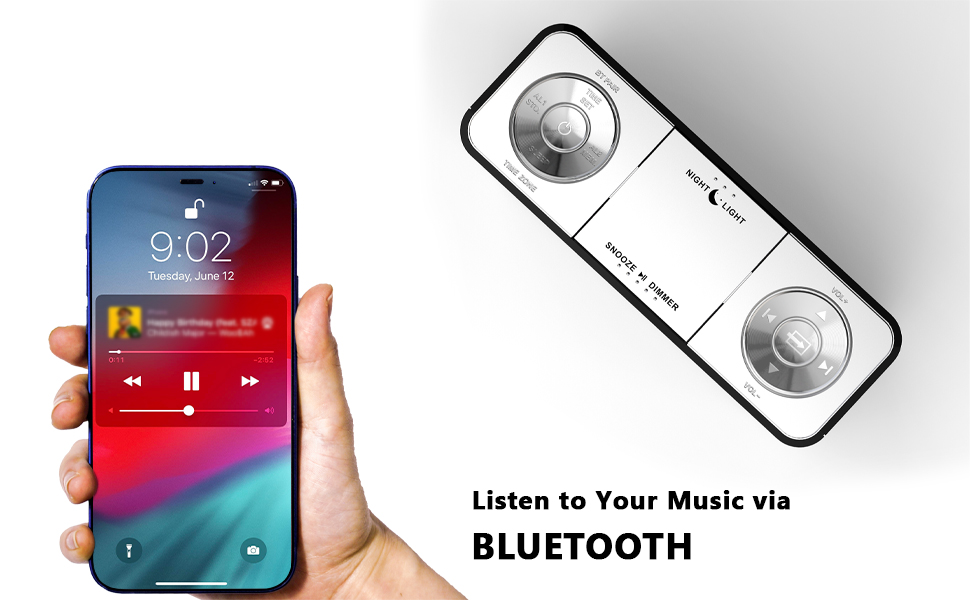
Figure 7: Night light feature.
- Press the NIGHT LIGHT button to activate or adjust the two-level night light.
5.7 USB Charging Ports
Charge your mobile devices conveniently.
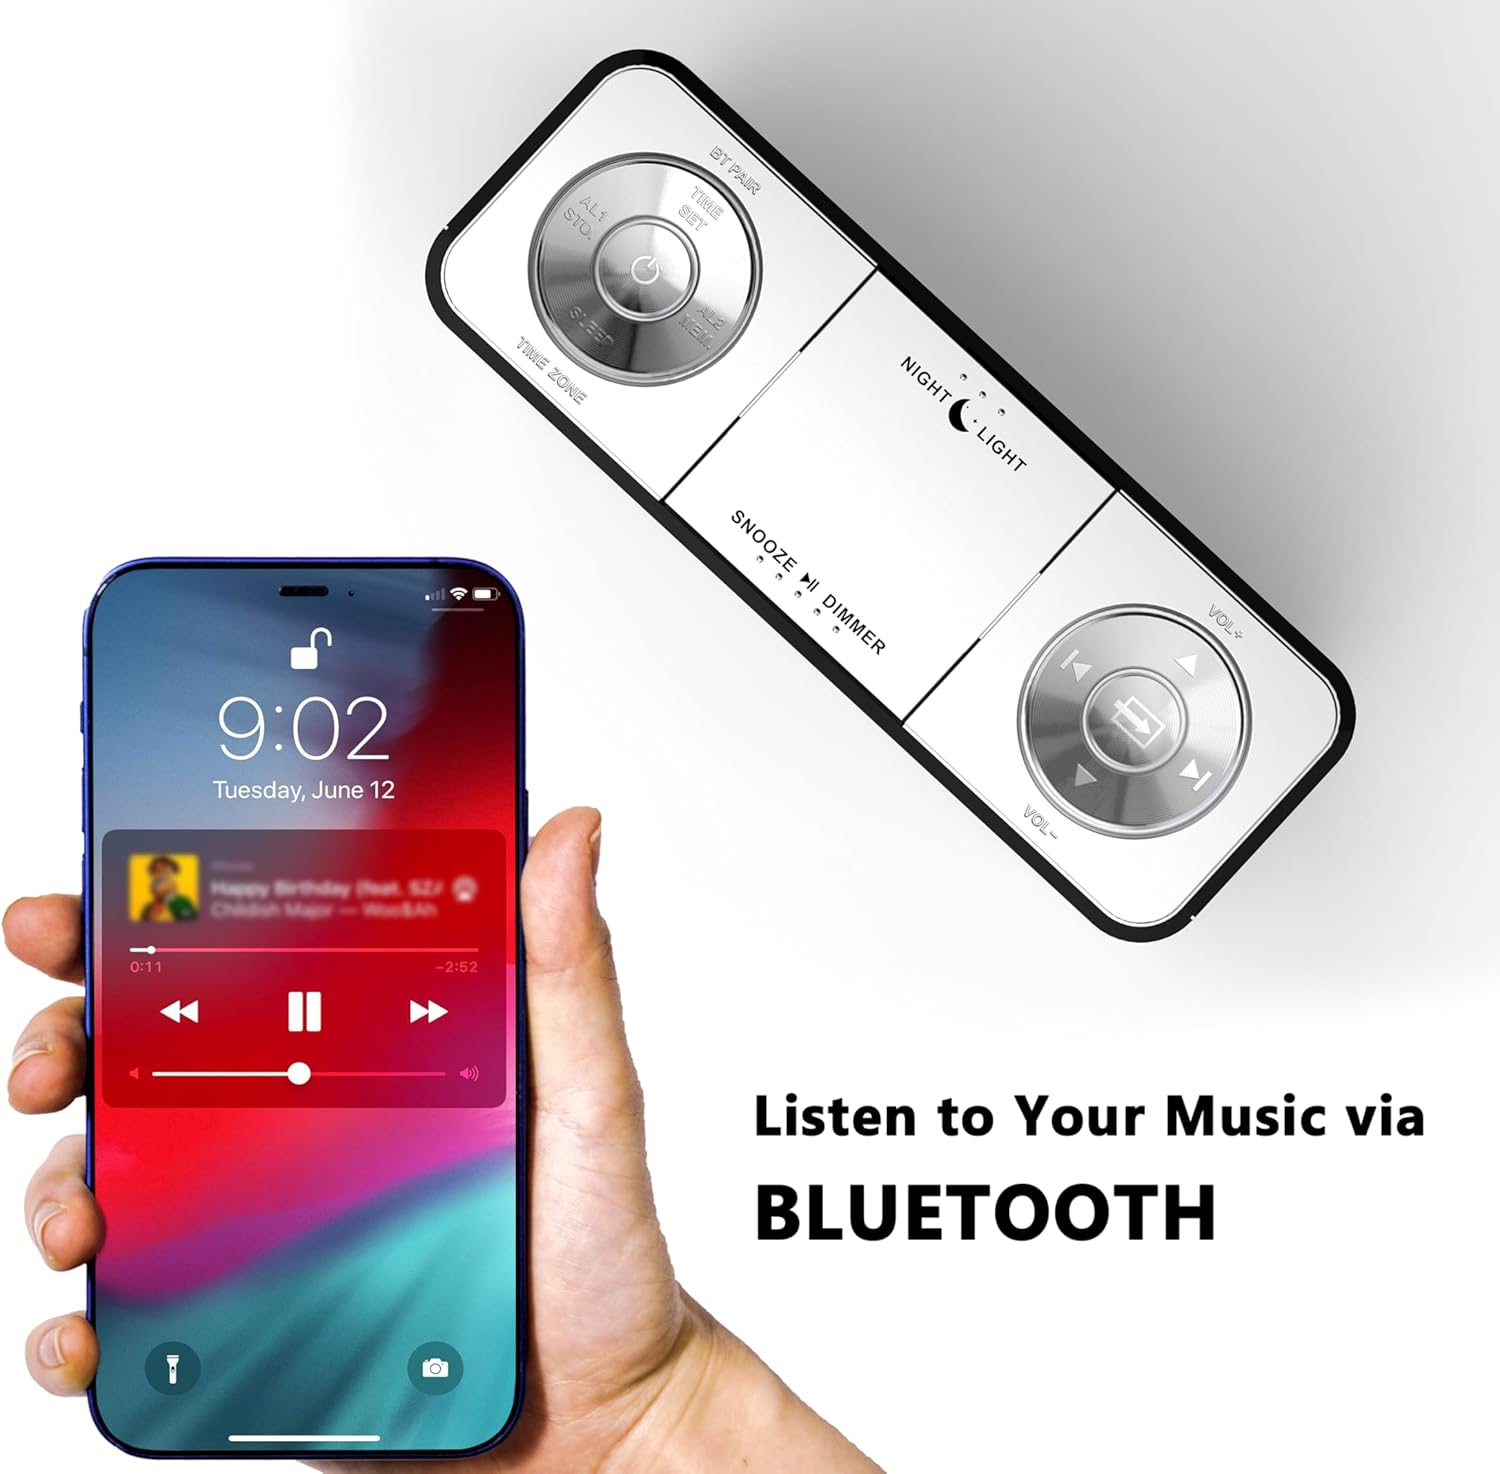
Figure 8: USB charging ports in use.
- The clock radio includes one USB Type-A and one USB Type-C charging port (2.1A 5V total output).
- Connect your mobile phone, tablet, or other USB-powered devices to these ports for charging.
6. Maintenance
- Cleaning: Wipe the unit with a soft, dry cloth. Do not use abrasive cleaners or solvents.
- Power Disconnection: Disconnect the power adapter from the wall outlet if the unit will not be used for an extended period.
- Placement: Place the clock radio on a stable, flat surface away from direct sunlight, heat sources, and moisture.
7. Troubleshooting
| Problem | Possible Cause | Solution |
|---|---|---|
| Clock display is blank or not working. | No power or power interruption. | Ensure the power adapter is securely plugged into the clock and a working electrical outlet. |
| Time/Date is incorrect after power interruption. | No battery backup for settings. | The clock automatically resets time upon power restoration. If manual settings were lost, re-enter them using the TIME SET button or App. |
| Cannot connect to the iTOMA App. | Bluetooth is off on the clock or mobile device; incorrect pairing process. | Ensure Bluetooth is enabled on your mobile device. Press the BT button on the clock to activate pairing mode. Follow App connection steps carefully. |
| Poor FM radio reception. | Antenna not extended or poor signal area. | Fully extend the external cable antenna. Try repositioning the antenna or the clock radio for better signal. |
| Alarm does not sound. | Alarm is not set, turned off, or volume is too low. | Verify alarm settings (time, mode, active days) via the clock or App. Ensure alarm volume is set to an audible level. Check the physical alarm switch on the back. |
| USB charging not working. | Device not compatible or cable faulty. | Ensure your device is compatible with 5V USB charging. Try a different USB cable. Confirm the clock radio is powered on. |
8. Specifications
| Brand | iTOMA |
| Model Number | CKS507 |
| Color | White Led |
| Display Type | Digital LED |
| Product Dimensions | 6.22"W x 3.54"H (158mm x 90mm) |
| Power Source | Corded Electric |
| Frame Material | Plastic |
| Item Weight | 1.19 pounds |
| FM Frequency Range | 87.5-108 MHz |
| USB Charging Output | 2.1A 5V (Type-A and Type-C ports) |

Figure 9: Product dimensions.
9. Customer Support
For further assistance, troubleshooting, or warranty information, please contact iTOMA customer support.
- Manufacturer: iTOMA
- Online Support: Refer to the official iTOMA website or the contact information provided in your product packaging for the most up-to-date support channels.


