1. Introduction
Thank you for choosing the Hisense 45 Liter 1100 Watt Microwave Oven with Grill, model H45MOMK9. This appliance is designed to provide efficient and convenient cooking, reheating, and defrosting. To ensure safe operation and optimal performance, please read this instruction manual thoroughly before using the appliance and retain it for future reference.
2. Important Safety Instructions
When using electrical appliances, basic safety precautions should always be followed to reduce the risk of fire, electric shock, burns, or injury to persons.
- Read all instructions before using the appliance.
- Do not operate the oven if it has a damaged cord or plug, if it is not working properly, or if it has been damaged or dropped.
- Do not use corrosive chemicals or vapors in this appliance. This type of oven is specifically designed to heat, cook, or dry food. It is not designed for industrial or laboratory use.
- Do not attempt to tamper with or make any adjustments or repairs to the door, control panel, safety interlock switches, or any other part of the oven.
- Ensure the appliance is properly grounded.
- Always supervise children when the appliance is in use. This model includes a Child Safety Lock feature to prevent accidental operation by children.
- Do not heat liquids or other foods in sealed containers as they are liable to explode.
- Clean the oven regularly and remove any food deposits. Failure to maintain the oven in a clean condition could lead to deterioration of the surface that could adversely affect the life of the appliance and possibly result in a hazardous situation.
- Only use utensils that are suitable for use in microwave ovens. Metal containers or utensils are not suitable for microwave cooking.
- The appliance operates on 220V. Ensure your power supply matches this requirement.
3. Product Overview
Familiarize yourself with the components of your Hisense Microwave Oven.

Front view of the Hisense H45MOMK9 Microwave Oven, showcasing its sleek silver design and digital display.

Angled view of the microwave, highlighting its compact yet spacious design suitable for various kitchen setups.

Interior view of the microwave with the door open, showing the glass turntable and the spacious 45-liter capacity.

Close-up of the digital control panel and the microwave's interior, detailing the user interface and internal components.

Diagram illustrating the 5 available microwave power levels, allowing for precise cooking control for various food types.

Overview of key features including Membrane Digital Control, LED Display, Defrost Function, Child Safety Lock, 8 Auto-cooking Menus, and 5 Microwave Power Levels.

Graphic displaying the 8 convenient auto-cooking menus for popular dishes like Pizza, Steak, Vegetables, Pasta, Baked Potato, Popcorn, Milk Tea, and Roast Chicken Wings.

Illustration of the Child Safety Lock feature, providing peace of mind by preventing unintended operation by children.
Visual representation of the Defrost Function, showing its effectiveness in preparing frozen foods for cooking.

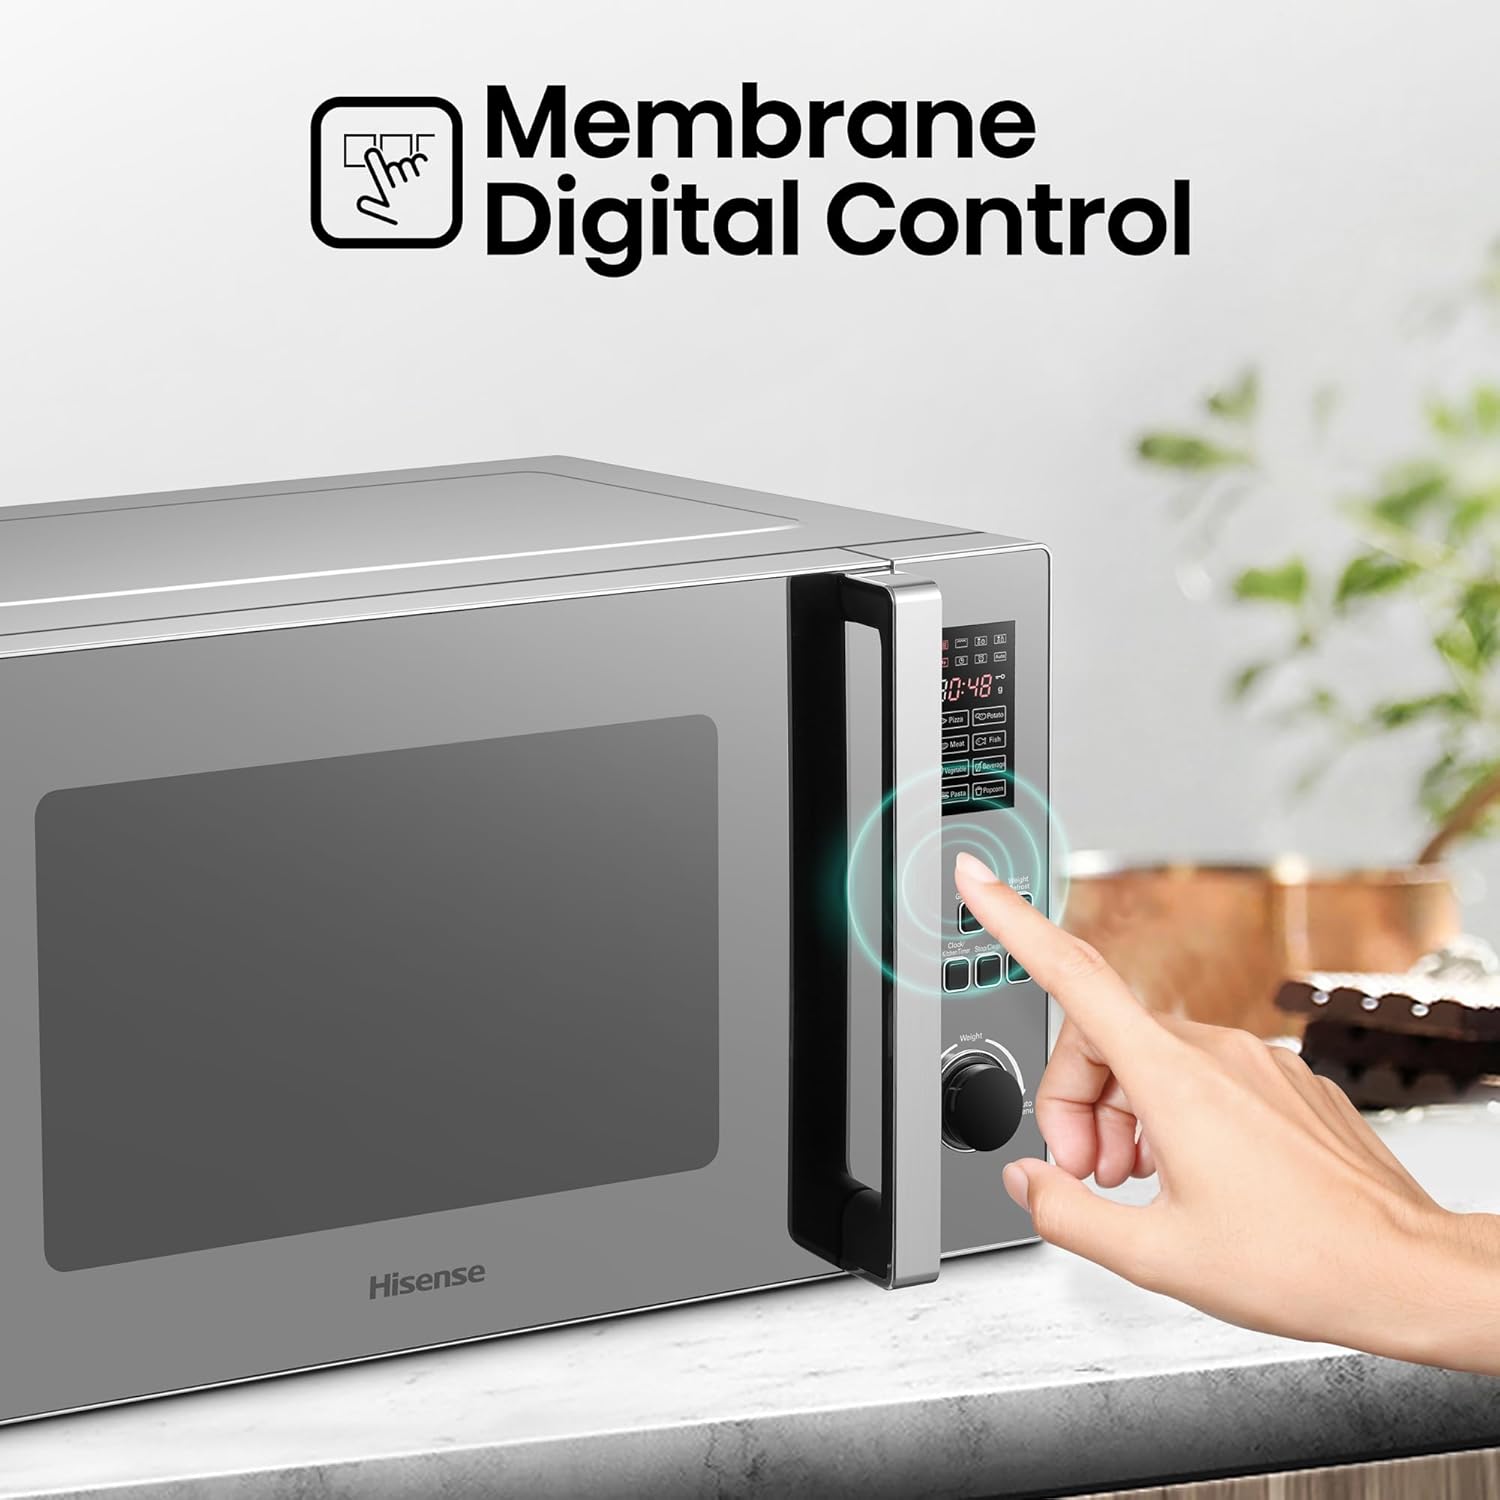
Close-up of the Membrane Digital Control panel, demonstrating the intuitive interface for easy operation.
4. Setup
Follow these steps to set up your microwave oven:
- Unpacking: Carefully remove the microwave oven and all packing materials from the carton. Check the oven for any damage, such as dents or a broken door. Do not operate the oven if it is damaged.
- Placement: Place the oven on a flat, stable surface that can support its weight and the heaviest food likely to be cooked in the oven. Ensure there is adequate ventilation around the appliance. Maintain a minimum clearance of 20 cm (7.9 inches) above the oven, 10 cm (3.9 inches) at the rear, and 5 cm (2 inches) on each side.
- Power Connection: Plug the power cord into a standard 220V AC electrical outlet. Ensure the outlet is properly grounded.
- Initial Cleaning: Before first use, wipe the interior and exterior of the oven with a soft, damp cloth. Clean the glass turntable and roller ring with warm, soapy water.
5. Operating Instructions
Your Hisense microwave oven offers various cooking functions:
5.1 Basic Microwave Cooking
- Setting Time: Use the 'Time/Defrost' button or the 'Timer' dial to set the desired cooking time.
- Setting Power Level: Press the 'Microwave' button repeatedly to cycle through the 5 power levels (P10, P30, P50, P80, P100). P100 is full power.
- Start Cooking: Press the 'Start/+30Sec/Confirm' button to begin cooking.
5.2 Grill Function
The grill function is ideal for browning and crisping food. This model features a thermal grill for even cooking.
- Place food on the grill rack provided.
- Press the 'Grill/Combi' button to select the grill mode.
- Set the desired grilling time using the 'Timer' dial.
- Press 'Start/+30Sec/Confirm' to begin.
5.3 Combination Cooking
Combine microwave and grill functions for faster cooking with browning results.
- Press the 'Grill/Combi' button repeatedly to select the desired combination mode (e.g., C-1 for microwave + grill).
- Set the cooking time.
- Press 'Start/+30Sec/Confirm' to begin.
5.4 Defrost Function
The Defrost Function allows you to defrost food by weight or time.
- Defrost by Weight: Press the 'Weight/Defrost' button. Use the 'Weight' dial to select the food weight. The oven will automatically set the defrosting time.
- Defrost by Time: Press the 'Time/Defrost' button. Use the 'Timer' dial to set the defrosting time.
- Press 'Start/+30Sec/Confirm' to begin defrosting.
5.5 Auto-Cooking Menus
The oven features 8 pre-programmed auto-cooking menus for common foods. Simply select the menu and the oven will set the optimal cooking time and power level.
- Rotate the 'Auto Menu' dial to select the desired food category (e.g., Pizza, Steak, Vegetables, Pasta, Baked Potato, Popcorn, Milk Tea, Roast Chicken Wings).
- Press 'Start/+30Sec/Confirm' to begin cooking.
5.6 Child Safety Lock
To activate the Child Safety Lock, press and hold the 'Stop/Clear' button for 3 seconds. The lock indicator will appear on the display. To deactivate, press and hold the 'Stop/Clear' button again for 3 seconds.
6. Maintenance and Cleaning
Regular cleaning and maintenance will ensure the longevity and efficient operation of your microwave oven.
- Interior Cleaning: The stainless steel interior is designed for easy cleaning. After each use, wipe the interior with a damp cloth to remove food splatters. For stubborn stains, use a mild detergent and a soft cloth, then wipe with a clean, damp cloth. Do not use abrasive cleaners or scouring pads.
- Exterior Cleaning: Clean the exterior surface with a soft, damp cloth. Do not allow water to enter the ventilation openings.
- Turntable and Roller Ring: The glass turntable and roller ring can be removed for cleaning. Wash them in warm, soapy water or in the dishwasher. Ensure they are completely dry before placing them back in the oven.
- Door Seal: Regularly clean the door seal and adjacent parts with a soft, damp cloth to ensure proper sealing and prevent microwave leakage.
- Always unplug the oven from the power outlet before cleaning.
7. Troubleshooting
If you encounter issues with your microwave oven, refer to the following table for common problems and solutions:
| Problem | Possible Cause | Solution |
|---|---|---|
| Oven does not start | Power cord not plugged in; Door not closed properly; Fuse blown or circuit breaker tripped; Child Safety Lock activated. | Ensure plug is firmly in outlet; Close door securely; Check household fuse/circuit breaker; Deactivate Child Safety Lock. |
| Food is not cooking evenly | Food not stirred or turned; Incorrect power level or cooking time. | Stir or turn food halfway through cooking; Adjust power level and time as needed. |
| Light not working | Bulb is loose or burned out. | Contact qualified service personnel for bulb replacement. |
| Condensation inside oven door | Normal during cooking, especially with high moisture foods. | Wipe dry after use. |
| Microwave body electrifies (tingling sensation) | Grounding issue or internal electrical fault. | Immediately unplug the appliance. Do not use. Contact qualified service personnel for inspection and repair. This indicates a serious safety concern. |
If the problem persists after attempting these solutions, please contact Hisense customer service or a qualified service technician. Do not attempt to repair the appliance yourself.
8. Specifications
| Feature | Specification |
|---|---|
| Brand | Hisense |
| Model | H45MOMK9 |
| Capacity | 45 Liters |
| Microwave Power Output | 1100 Watts |
| Power Consumption | 900 Watts |
| Voltage | 220 Volts |
| Installation Type | Freestanding |
| Material (Exterior) | Glass, Stainless Steel |
| Material (Interior) | Stainless Steel |
| Color | Silver |
| Product Dimensions (D x W x H) | 45 cm x 63 cm x 35 cm (approximate, based on available data) |
| Item Weight | 15 Kilograms |
| Special Features | Timer, Digital Control, Grill Function, Defrost Function, Child Safety Lock, 8 Auto-cooking Menus, 5 Microwave Power Levels |
| Included Components | Grill Rack |
9. Warranty and Support
Hisense products are manufactured to the highest quality standards. This product comes with a manufacturer's warranty against defects in materials and workmanship. Please refer to the warranty card included with your purchase for specific terms, conditions, and duration of the warranty.
For technical support, service, or warranty claims, please contact Hisense customer service through their official website or the contact information provided in your product documentation. Always have your model number (H45MOMK9) and purchase details ready when contacting support.