
Introduction
Thank you for choosing the Newentor Q8 Wireless Indoor Outdoor Thermometer. This device provides accurate temperature and humidity readings for both indoor and outdoor environments, featuring a large, easy-to-read display and MAX/MIN record functions. This manual will guide you through the setup, operation, and maintenance of your new thermometer.
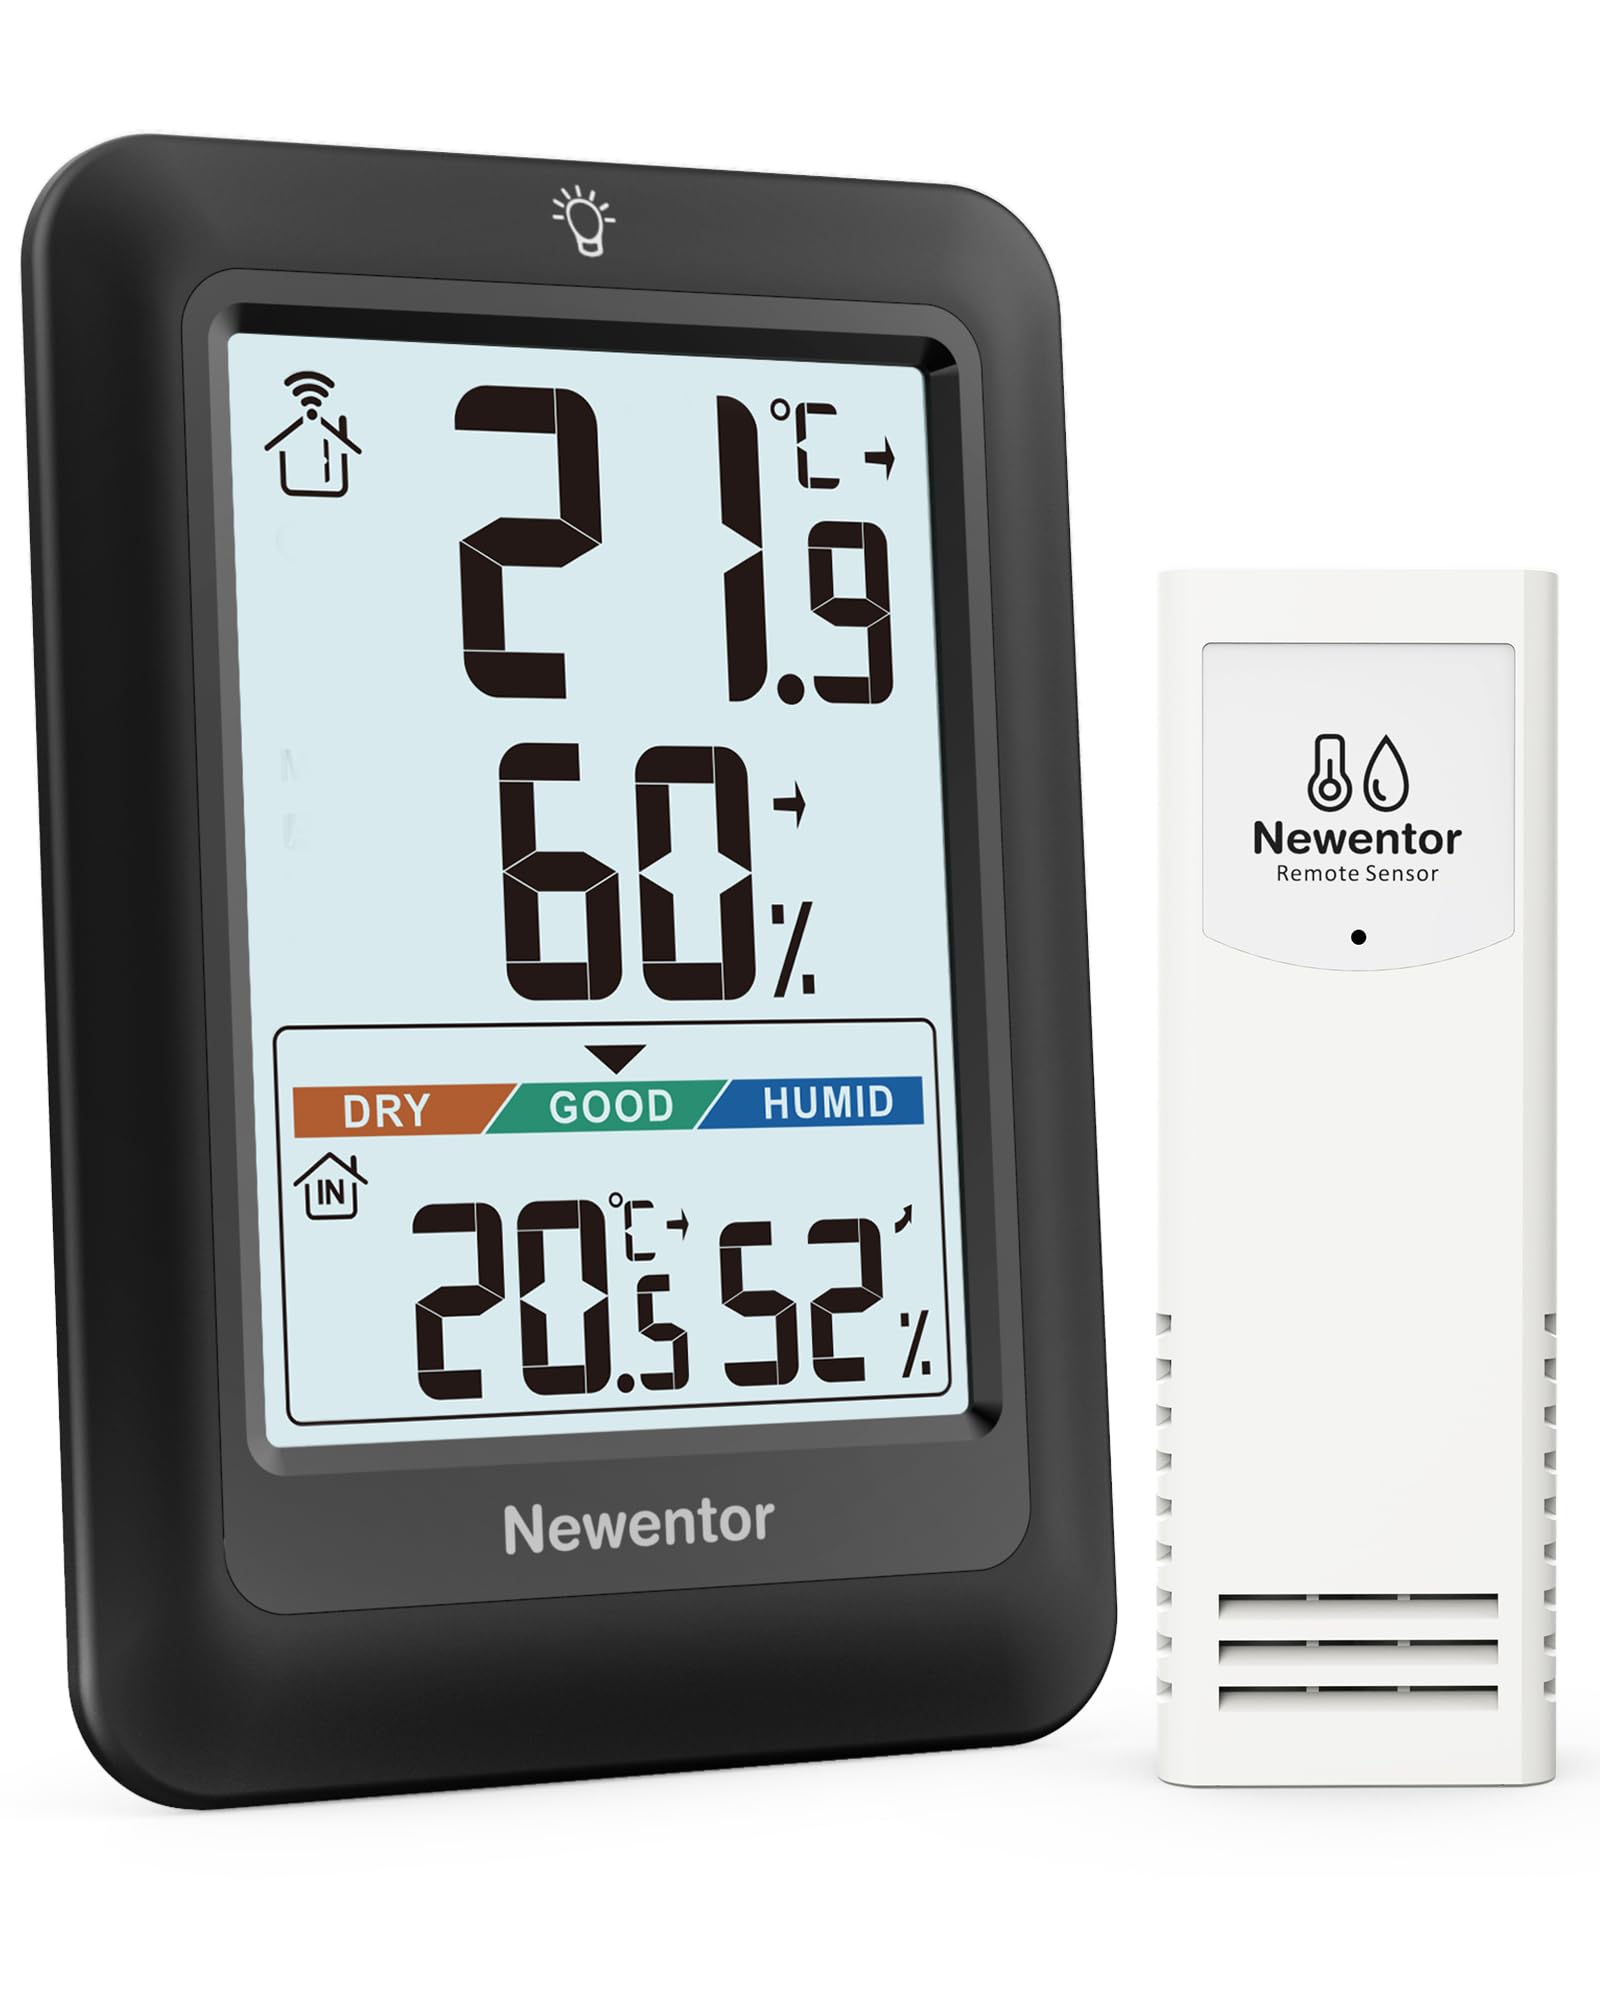
Image: The Newentor Q8 main display unit and its accompanying wireless remote sensor.
Package Contents
- 1 x Indoor Thermometer (Main Unit)
- 1 x Remote Sensor
- 1 x User Manual
Product Features
- Accurate Readings: Provides precise indoor and outdoor temperature and humidity measurements. Temperature accuracy: ±1°C. Humidity accuracy: ±3%.
- Large LCD Display: Features large digits for easy readability.
- Backlight Function: Temporary backlight for visibility in low-light conditions.
- MAX/MIN Records: Displays maximum and minimum temperature and humidity values for the past 24 hours, 48 hours, and all-time.
- Comfort Indicator: Graphical representation of indoor air comfort levels (Dry, Good, Humid).
- Wireless Connectivity: Remote sensor transmits data wirelessly up to 330 feet (100 meters) in open air.
- Multi-Channel Support: Capable of connecting with up to 3 remote sensors (one sensor included).
- Flexible Placement: Designed for both tabletop standing and wall mounting.

Image: Icons illustrating key features such as thermometer, hygrometer, comfort indicator, MAX/MIN records, °C/°F switcher, trend arrows, backlight, and low battery indicator.
Setup Instructions
- Install Batteries in Remote Sensor:
- Open the battery compartment on the back of the remote sensor.
- Insert 2 x AA batteries (not included), observing the correct polarity (+/-).
- Set the channel switch (CH) inside the battery compartment to '1'.
- Close the battery compartment.
- Install Batteries in Main Unit:
- Open the battery compartment on the back of the main unit.
- Insert 3 x AAA batteries (not included), observing the correct polarity (+/-).
- Close the battery compartment.
- Synchronization: The main unit will automatically search for the remote sensor. This process may take a few minutes. Once connected, the outdoor temperature and humidity will appear on the main unit's display.
- Placement:
- Place the main unit indoors on a flat surface using its integrated stand or mount it on a wall using the hanging hole.
- Place the remote sensor outdoors in a shaded, dry location, protected from direct sunlight and rain. Ensure it is within the 330ft (100m) wireless range of the main unit. Avoid placing it near large metal objects or electronic devices that could interfere with the signal.

Image: The main unit can be placed on a tabletop or mounted on a wall for flexible positioning.

Image: The remote sensor should be placed outdoors in a shaded area to ensure accurate readings.
Operating Instructions
Display Overview
The main unit's display shows the following information:
- Indoor Temperature and Humidity
- Outdoor Temperature and Humidity (from the remote sensor)
- Temperature Trend Arrows (indicating rising, stable, or falling temperature)
- Humidity Trend Arrows (indicating rising, stable, or falling humidity)
- Comfort Level Indicator (Dry, Good, Humid)
- MAX/MIN Records
- Low Battery Indicator for both main unit and sensor

Image: The large display of the Newentor Q8 thermometer, showing indoor and outdoor readings, and comfort levels.
Temperature Unit Selection (°C/°F)
Press the °C/°F button on the back of the main unit to switch between Celsius and Fahrenheit temperature display.
MAX/MIN Records
The device records the maximum and minimum temperature and humidity values. Press the MAX/MIN button on the back of the main unit to cycle through the following displays:
- Current readings
- Maximum readings for the past 24 hours
- Minimum readings for the past 24 hours
- Maximum readings for the past 48 hours
- Minimum readings for the past 48 hours
- All-time maximum readings
- All-time minimum readings
To clear the MAX/MIN records, press and hold the MAX/MIN button for 3 seconds while viewing the records. This will reset all stored maximum and minimum values.

Image: The display showing current temperature and humidity, with indicators for MAX/MIN records.
Backlight
Press the light bulb button on the top of the main unit to activate the backlight. The backlight will remain on for approximately 10 seconds.

Image: The thermometer display with its backlight activated, showing readability in the dark.
Comfort Indicator
The comfort indicator provides a quick visual reference for indoor humidity levels:
- DRY: Humidity between 20% and 44%
- GOOD: Humidity between 45% and 65% (optimal comfort range)
- HUMID: Humidity between 66% and 95%

Image: The comfort indicator on the display, showing ranges for Dry, Good, and Humid conditions.
Channel Selection (for multiple sensors)
If you have purchased additional remote sensors (up to 3 total), press the CH button on the back of the main unit to cycle through the outdoor sensor channels (1, 2, 3) or to activate auto-cycle mode, which displays readings from each connected sensor sequentially.

Image: The main unit displaying readings, with an illustration of monitoring up to three different zones using multiple sensors.
Maintenance
- Cleaning: Wipe the main unit and sensor with a soft, damp cloth. Do not use abrasive cleaners or solvents.
- Battery Replacement: Replace batteries in both the main unit and remote sensor when the low battery indicator appears on the display. Ensure correct polarity.
- Storage: If storing the device for an extended period, remove all batteries to prevent leakage.
- Environmental Protection: Keep the remote sensor protected from extreme weather conditions, direct sunlight, and heavy rain to prolong its lifespan and ensure accuracy.
Troubleshooting
| Problem | Possible Cause | Solution |
|---|---|---|
| No outdoor temperature/humidity reading or '---' displayed. | Sensor out of range, low sensor battery, interference, incorrect channel. | 1. Check and replace sensor batteries. 2. Move sensor closer to the main unit. 3. Ensure no large metal objects or strong electronic signals are between units. 4. Press the CH button on the main unit to ensure it's on the correct channel (Channel 1 for single sensor). |
| Inaccurate outdoor temperature. | Sensor exposed to direct sunlight or heat source. | Relocate the remote sensor to a shaded area, away from direct sunlight, heat sources, or reflective surfaces. |
| Main unit display is blank or dim. | Low main unit battery. | Replace the AAA batteries in the main unit. |
| Readings are inconsistent or fluctuating. | Environmental changes, initial stabilization period. | Allow up to 30 minutes for readings to stabilize after setup or relocation. Ensure stable placement and environment. |
Specifications
- Model Number: Q8
- Indoor Temperature Range: -10°C to 50°C (14°F to 122°F)
- Outdoor Temperature Range: -40°C to 60°C (-40°F to 140°F)
- Temperature Accuracy: ±1°C
- Humidity Range: 10% to 99% RH
- Humidity Accuracy: ±3% RH
- Wireless Range: Up to 330 feet (100 meters) in open air
- Frequency: 433 MHz
- Main Unit Power: 3 x AAA batteries (not included)
- Remote Sensor Power: 2 x AA batteries (not included)
- Display Type: LCD with backlight
- Material: Acrylonitrile Butadiene Styrene (ABS)
- Dimensions (Main Unit): Approximately 14.7 x 14.4 x 3.6 cm
Warranty
This Newentor Q8 Wireless Indoor Outdoor Thermometer comes with a 1-year warranty from the date of purchase. This warranty covers manufacturing defects and workmanship. It does not cover damage caused by misuse, accident, unauthorized modification, or improper installation. Please retain your proof of purchase for warranty claims.
Support
If you encounter any issues not covered in this manual or require further assistance, please contact Newentor customer support. Refer to the product packaging or the official Newentor website for contact details.