Victoper V8000
Victoper Rechargeable Headlamp User Manual
Model: V8000
1. Introduction
Thank you for choosing the Victoper Rechargeable Headlamp. This manual provides essential information for the safe and effective operation, maintenance, and troubleshooting of your headlamp. Designed for outdoor enthusiasts, this headlamp offers powerful illumination, multiple lighting modes, and a durable, waterproof design, making it ideal for activities such as camping, hiking, running, fishing, and repairing.

Image 1.1: Victoper Rechargeable Headlamp (2 Pack)
This image displays two Victoper headlamps, highlighting their compact design and the multi-LED light array. The headlamps feature a red and black adjustable strap with the Victoper logo.
2. Package Contents
- Victoper Headlamp (2 units for 2-pack)
- Rechargeable Batteries (pre-installed)
- USB Charging Cable
- Adjustable Head Band (pre-attached)
3. Setup and Charging
3.1 Initial Battery Preparation
Before first use, it is crucial to open the battery compartment and remove any clear plastic protective wrapping from each battery. Failure to do so will prevent the headlamp from charging or operating correctly.
3.2 Charging the Headlamp
- Locate the USB charging port on the headlamp.
- Connect the provided USB charging cable to the headlamp's charging port.
- Plug the other end of the USB cable into a compatible USB power source (e.g., wall adapter, computer USB port, power bank).
- The charging indicator light will illuminate during charging. A full charge typically takes 3-6 hours, providing 5-8 hours of runtime depending on the mode used.

Image 3.1: Headlamp Charging Port and Buttons
This image details the key components of the headlamp: the charging port, the main switch button, the adjustable loop buckle for the head strap, and the rear warning light.
4. Operating Instructions
4.1 Power On/Off and Mode Selection
The headlamp features a single button for power control and cycling through its 8 distinct lighting modes. Press the button to turn on the headlamp and cycle through the modes. Press and hold to turn off.
4.2 Lighting Modes
The Victoper Headlamp offers 8 versatile lighting modes to suit various needs:
- 2*T6 White: Two central white LEDs illuminate.
- 4*XPE White: Four outer white LEDs illuminate.
- 2*T6 + 4*XPE White: All six white LEDs illuminate for maximum brightness.
- 2*T6 + 4*XPE White (Strobe): All six white LEDs flash for signaling or emergency.
- 2*COB Red: Two COB (Chip-on-Board) LEDs emit red light, ideal for preserving night vision.
- 2*COB Red (Strobe): Two COB LEDs flash red for emergency signaling.
- 2*COB White (Strong): Two COB LEDs emit strong white light for broad area illumination.
- 2*COB White (Standard): Two COB LEDs emit standard white light for general use.

Image 4.1: 8 Modes of Lighting
This image visually demonstrates the eight different lighting modes available on the headlamp, showing which LEDs are active for each setting, including white, red, and COB light options.
4.3 Adjustable Head Angle
The headlamp's light unit can be tilted up to 90 degrees, allowing you to direct the beam precisely where needed without adjusting your head position. This feature is particularly useful for various tasks and terrains.

Image 4.2: 90 Degree Adjustable Head
This image illustrates the headlamp's ability to pivot the light unit up to 90 degrees, providing flexible illumination angles for different activities.
4.4 Rear Warning Light
The battery pack located at the rear of the head strap includes a warning light. This light enhances visibility from behind, improving safety during nighttime activities such as running, cycling, or hiking, especially in low-light conditions.
5. Maintenance
- Cleaning: Wipe the headlamp with a soft, damp cloth. Do not use abrasive cleaners or solvents.
- Storage: Store the headlamp in a cool, dry place when not in use. If storing for extended periods, charge the batteries every 3-6 months to maintain battery health.
- Battery Care: Ensure the battery compartment is sealed properly to maintain IPX5 waterproof rating.
6. Troubleshooting
| Problem | Possible Cause | Solution |
|---|---|---|
| Headlamp does not turn on or charge. | Protective plastic film on batteries not removed. | Open the battery compartment and remove the clear plastic wrapping from each battery. Ensure batteries are inserted with correct polarity. |
| Short battery life. | Battery not fully charged or aged battery. | Ensure the headlamp is fully charged before use. Consider replacing batteries if they are old and no longer hold a charge effectively. |
| Light output is dim. | Low battery charge or dirty lens. | Recharge the headlamp. Clean the lens with a soft, lint-free cloth. |
7. Specifications
| Feature | Detail |
|---|---|
| Model Number | V8000 |
| Light Source Type | LED |
| Brightness | Up to 18000 Lumens (Max) |
| Beam Range | Up to 400 meters (approx. 1312 feet) |
| Lighting Modes | 8 Modes (including white, red, and strobe) |
| Power Source | Battery Powered (Rechargeable Lithium Polymer) |
| Battery Life | 5-8 hours (depending on mode) |
| Charging | USB Charging |
| Water Resistance | IPX5 (Waterproof) |
| Material | ABS |
| Item Weight | 5.3 Ounces (approx. 150g) |
| Product Dimensions | 3"D x 3"W x 3"H (approx.) |
| Adjustable Angle | 90 degrees |
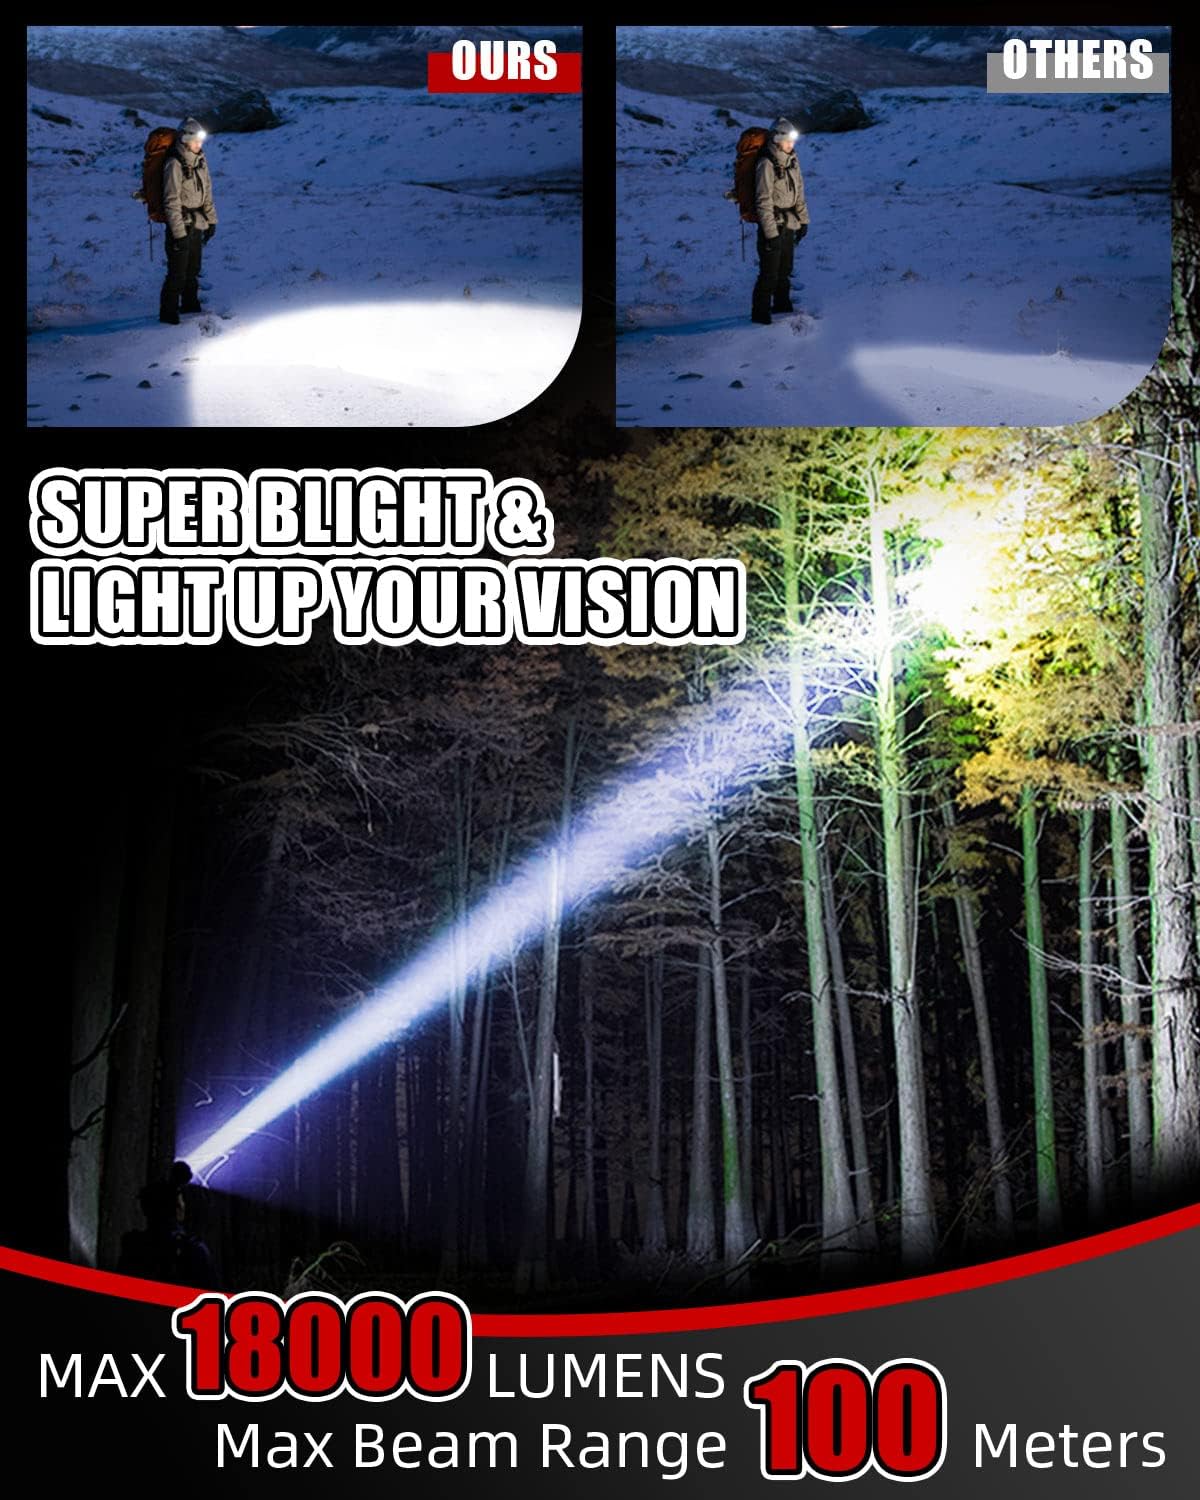
Image 7.1: Headlamp Beam Range
This image illustrates the powerful beam of the headlamp illuminating a wide area in a dark forest, demonstrating its extensive light projection capability up to 100 meters (328 feet).

Image 7.2: IPX5 Waterproof Rating
This image shows the headlamp being splashed with water, visually confirming its IPX5 waterproof rating, indicating resistance to water jets from any direction.
8. Safety Information
- Do not look directly into the LED light when it is on, as it can cause temporary vision impairment.
- Keep out of reach of children.
- Do not disassemble or modify the headlamp.
- Avoid exposing the headlamp to extreme temperatures or direct sunlight for prolonged periods.
- Dispose of batteries responsibly according to local regulations.
9. Warranty and Support
Victoper products are manufactured with high-quality materials and undergo strict quality control. For warranty information, technical support, or any inquiries regarding your headlamp, please contact Victoper customer service through the retailer's platform or the official Victoper website. Please retain your proof of purchase for warranty claims.
Related Documents - V8000
 |
Icom IC-V8000 VHF FM Transceiver Service Manual This service manual provides detailed technical information, specifications, circuit diagrams, and parts lists for the Icom IC-V8000 VHF FM Transceiver. It covers maintenance, disassembly, and repair procedures for the device, including its various components and accessories. |
 |
RT Systems Product Guide 2024: Radio Programming Software Explore the comprehensive 2024 product guide from RT Systems, detailing their radio programming software and USB cables. Learn about features, compatibility, and how to enhance your radio experience. |
 |
Sigtronics Universal Y Adapter 8 Pin (900118) - Installation and Compatibility Guide Comprehensive installation instructions and a detailed compatibility list for the Sigtronics Universal Y Adapter 8 Pin (Model 900118). This adapter facilitates the connection of Sigtronics Emergency Intercom Systems or MRIM-2 units to a wide range of mobile radio models from manufacturers like Motorola, Kenwood, ICOM, and more. |
 |
SignaLink USB Product Compatibility Guide Comprehensive guide to find compatible SignaLink USB, Radio Cable, and Jumper Module part numbers for various radio models from manufacturers like Icom, Kenwood, Yaesu, and more. Includes important notes for selecting parts and configuring your SignaLink device. |
 |
Panasonic and Technics Product Model Catalog A comprehensive catalog of Panasonic and Technics product model numbers, covering a wide range of audio and video electronics manufactured by the company. |
 |
Pioneer Pro DJ Equipment Range Overview Explore the Pioneer Pro DJ range, featuring industry-leading digital decks, mixers, effectors, and software designed for professional DJs and VJs. |
Ask a question about this manual
Ask about setup, troubleshooting, compatibility, parts, safety, or missing instructions. Manuals+ will review the question and use this page’s manual context to help answer it.