
Introduction
Thank you for choosing the Newday 116cm Ceiling Fan with Light and Remote Control. This manual provides essential information for the safe installation, operation, and maintenance of your new ceiling fan. Please read these instructions thoroughly before installation and keep them for future reference.
Safety Information
- Ensure the ceiling can support a weight greater than 45 kg (99 lbs).
- Maintain a minimum clearance of 76 cm (30 inches) between the fan blades and any obstacles.
- Ensure the fan blades are at least 213 cm (7 feet) from the floor.
- Always disconnect power at the circuit breaker before installation or maintenance.
- Consult a qualified electrician if you are unsure about wiring or installation procedures.
Package Contents
Verify that all components are present and undamaged:
- Fan Motor Housing
- 5 Reversible Fan Blades (Wood/Black finish)
- LED Light Kit
- Remote Control (AAA batteries not included)
- Mounting Bracket and Hardware
- Instruction Manual

Figure 1: Included components and remote control functions.
Setup and Installation
This ceiling fan is designed for flat mount installation. Follow these general steps. Refer to the detailed diagram for specific component placement.
- Prepare the Installation Site: Ensure power is off at the circuit breaker. Securely attach the mounting bracket to a ceiling joist or a suitable electrical junction box capable of supporting the fan's weight.
- Assemble the Fan Blades: The blades are reversible with a wood finish on one side and black on the other. Choose your desired finish and attach the blades to the motor housing using the provided screws.
- Wire the Fan: Connect the fan's electrical wires to your household wiring according to local electrical codes. Ensure all connections are secure.
- Mount the Fan: Carefully lift the fan assembly and attach it to the mounting bracket.
- Install the Light Kit: Connect the light kit wiring and secure the LED light panel to the fan housing.
- Test Operation: Restore power and test all fan and light functions using the remote control.
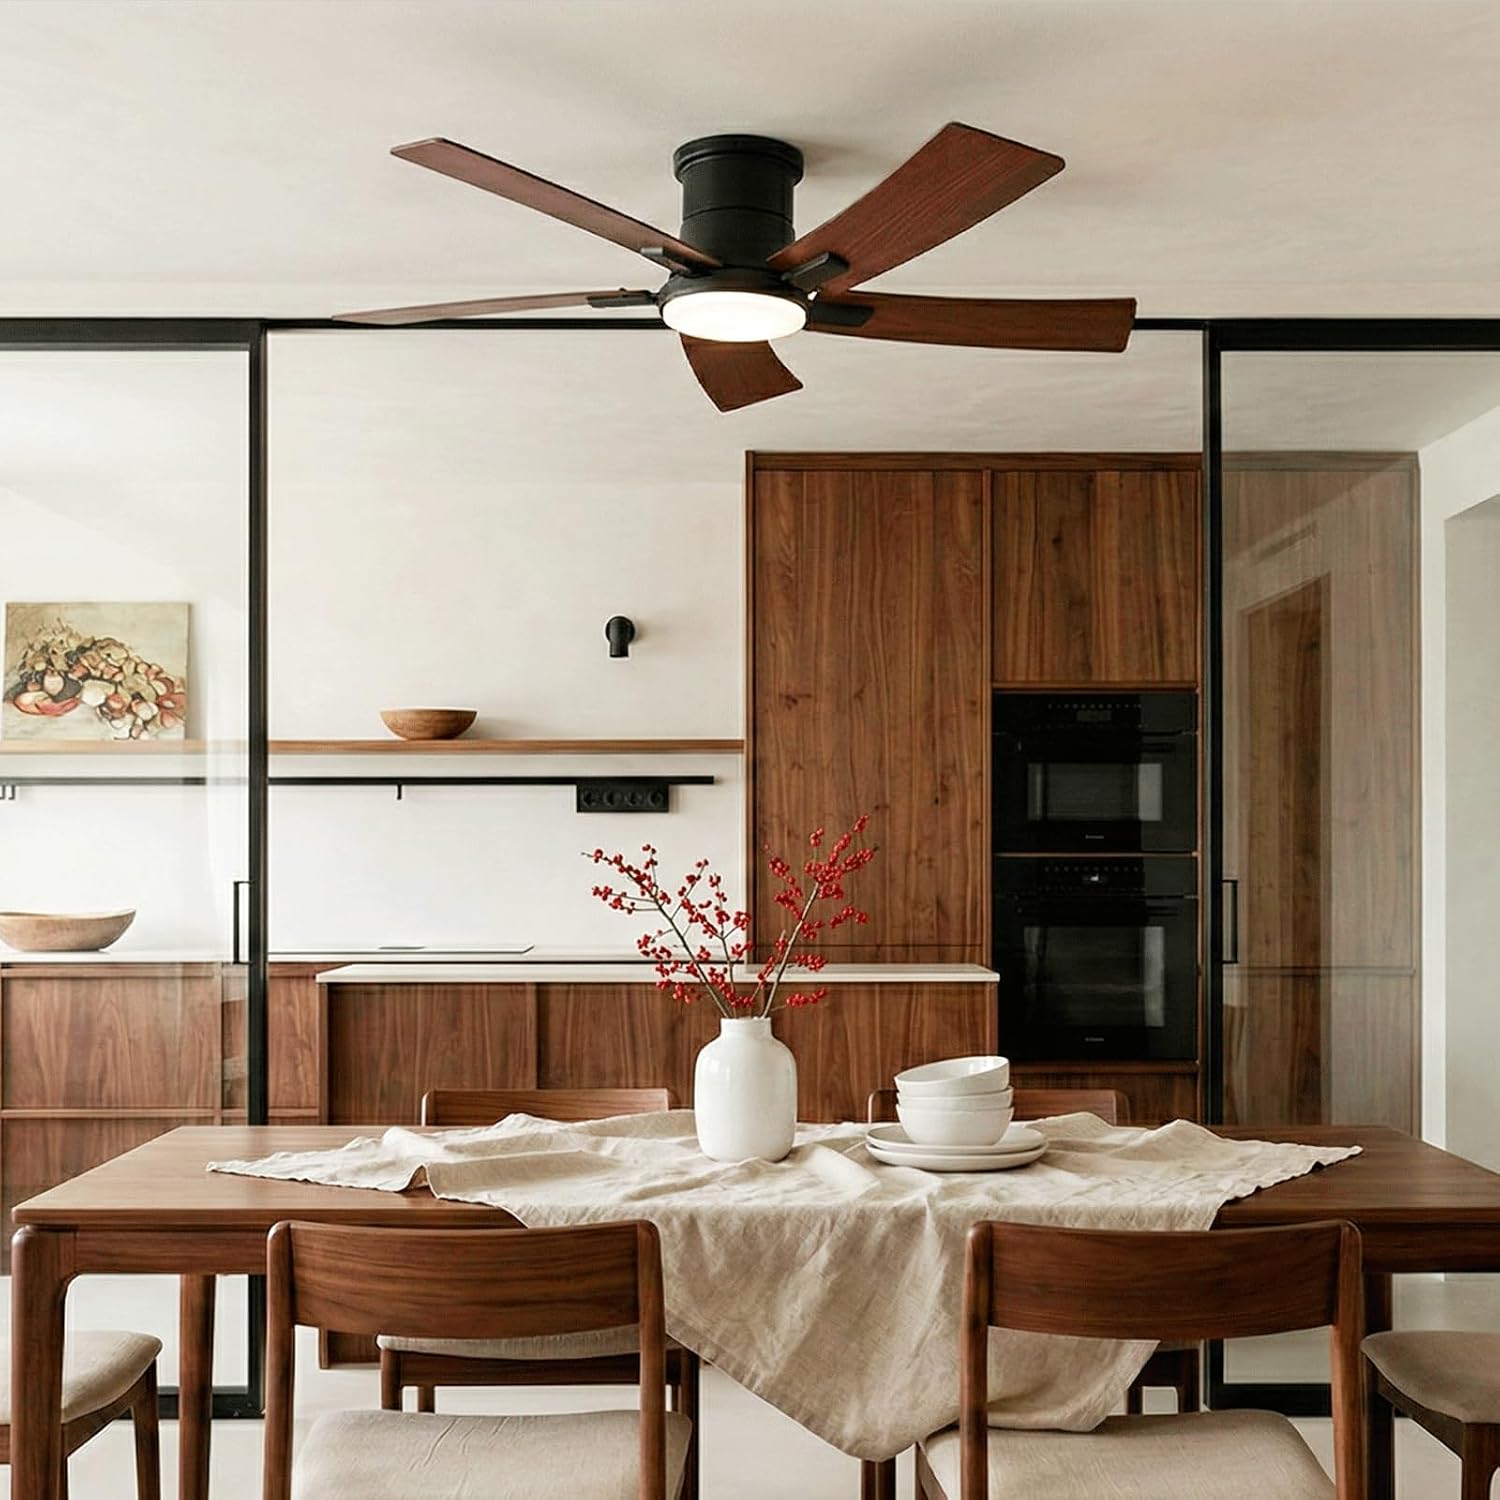
Figure 2: Example of installed ceiling fan in a dining area.

Figure 3: Fan dimensions and reversible blade options.
Operating Instructions
Your Newday ceiling fan is operated via the included remote control. Insert two AAA batteries (not included) into the remote control.
Fan Operation
- Power On/Off: Press the fan power button to turn the fan on or off.
- Speed Control: Select from 6 fan speeds (1-6) using the numbered buttons on the remote.
- Sleep Mode: Activate sleep mode for a gentle breeze. In this mode, the fan cycles automatically between speeds 1, 2, and 3 every 20 seconds to simulate natural wind.
- Timer Function: Set the fan to turn off automatically after 1, 3, or 6 hours. Note: Once the timer is set, do not press any other remote buttons, as this will cancel the timer.
- Summer/Winter Mode (Reversible Function): Press the reverse button on the remote. The fan will slowly stop and then begin rotating in the opposite direction.
- Summer Mode (Counter-clockwise): Creates a downward airflow for a cooling effect.
- Winter Mode (Clockwise): Creates an upward airflow to circulate warm air, balancing room temperature. In winter mode, the direct wind sensation will be minimal, which is normal.

Figure 4: Fan speed modes for different needs.

Figure 5: Reversible function for summer and winter use.
Light Operation
- Light On/Off: Press the light power button to turn the LED light on or off.
- Color Temperature Adjustment (Stepless Dimmer): The LED light offers stepless adjustment from 3000K (warm white) to 6500K (cool white).
- Press and hold "DW" to decrease color temperature (warmer).
- Press and hold "WW" to increase color temperature (cooler).
- Brightness Adjustment (Stepless Dimmer): Adjust brightness from 20% to 100%.
- Press "+" to increase brightness.
- Press "-" to decrease brightness.

Figure 6: Stepless color temperature adjustment from 3000K to 6500K.

Figure 7: Example of 20% brightness at 3000K CCT.
Maintenance
Regular maintenance ensures optimal performance and longevity of your ceiling fan.
- Cleaning: Dust the fan blades and motor housing periodically with a soft, damp cloth. Do not use abrasive cleaners or solvents.
- Blade Balance: If the fan wobbles, check that all blade screws are tight. A balancing kit (often included) can be used to correct minor wobbles.
- Light Source: The integrated LED light is designed for long life (approximately 30,000 hours). If replacement is needed, contact customer support.
Troubleshooting
If you encounter issues, refer to the following common problems and solutions:
| Problem | Possible Cause | Solution |
|---|---|---|
| Fan does not start | No power; loose wiring; remote control issues. | Check circuit breaker. Ensure all wiring connections are secure. Replace remote control batteries. |
| Light does not work | No power; loose wiring; LED module failure. | Check circuit breaker. Ensure light kit wiring is secure. Contact support if LED module is faulty. |
| Fan wobbles excessively | Loose blade screws; unbalanced blades; improper mounting. | Tighten all blade screws. Use a blade balancing kit. Re-check mounting bracket security. |
| Remote control not responding | Dead batteries; remote not paired. | Replace AAA batteries. Refer to remote pairing instructions (if applicable, not detailed in provided data). |
| Timer function cancels | Other remote buttons pressed after setting timer. | Avoid pressing other buttons on the remote after activating the timer. |
Specifications
| Brand | Newday |
| Model Number | ND-116L5F |
| Dimensions (L x W x H) | 116L x 116W x 25H cm (46L x 46W x 10.63H inches) |
| Net Weight | 4.7 kg |
| Material | Acrylic, Wood (MDF), Metal |
| Blade Type | 5 Reversible Blades (Wood/Black finish) |
| Motor Type | 32W DC Motor |
| Fan Speeds | 7 (6 regular speeds + Sleep Mode) |
| Max Airflow | 4100 CFM |
| Light Source | 24W Dimmable LED |
| Color Temperature | 3000K - 6500K (Stepless adjustment) |
| Brightness | 20% - 100% (Stepless adjustment, 460LM-2300LM) |
| Timer Functions | 1H, 3H, 6H |
| Control Method | Remote Control |
| Voltage | 220 Volts |
| Energy Efficiency Class | E |
| Recommended Room Size | 16-36 m² |
| Installation Type | Flat Mount, Surface Mount |

Figure 8: Technical specifications and dimensions.

Figure 9: Energy Efficiency Label.
Warranty and Support
Newday provides a 2-year warranty for this product. We are committed to offering reliable customer service. If you require assistance with your ceiling fan, please contact us. We will provide the best possible solution.

Figure 10: Warranty and Support Information.
