1. Introduction
This manual provides instructions for the proper installation, operation, and maintenance of your KarmoP Floor Brush Assembly. This accessory is designed for use with Dreame VVN3, VVN4, VVN5, VVN6, and VVT1 handheld wireless vacuum cleaners. Please read this manual thoroughly before use to ensure optimal performance and longevity of the product.
The floor brush assembly is engineered to efficiently remove dust, debris, and hair from various floor surfaces, enhancing your vacuum cleaner's cleaning effectiveness.
2. Compatibility Information
This floor brush assembly is compatible with the following Dreame vacuum cleaner models:
- Dreame VVN3
- Dreame VVN4
- Dreame VVN5
- Dreame VVN6
- Dreame VVT1
Please verify the pin pitch of your current vacuum cleaner's brush head to ensure proper fit:
- For a total pin pitch of 1.0 CM (middle pitch 0.8 CM), this 1.0mm version is suitable.
- For a total pin pitch of 1.3 CM (middle pitch 1.0 CM), a wider pin version would be required.
3. Setup and Installation
Follow these steps to install the KarmoP Floor Brush Assembly onto your Dreame vacuum cleaner.
- Ensure your vacuum cleaner is powered off and unplugged from any charging source.
- Locate the release mechanism for the existing floor brush head on your vacuum cleaner. This is typically a button or latch.
- Press the release mechanism and carefully detach the old floor brush head.
- Align the new KarmoP Floor Brush Assembly with the connection point on your vacuum cleaner.
- Push the new brush head firmly until it clicks into place, indicating a secure connection.
- Verify that the brush head is securely attached and does not wobble.
Image 1: Underside of the floor brush assembly.
This image illustrates the underside of the floor brush assembly, highlighting the roller brush and connection points, which are essential for proper installation.
Image 2: Attaching the new brush head.

This image displays the floor brush assembly connected to the vacuum cleaner's extension tube, demonstrating how it should appear once correctly installed.
4. Operating Instructions
Once installed, the KarmoP Floor Brush Assembly operates in conjunction with your Dreame vacuum cleaner.
- Power on your Dreame vacuum cleaner according to its manufacturer's instructions.
- The floor brush will begin to rotate, providing enhanced cleaning action.
- Guide the vacuum cleaner over the desired cleaning area. The brush head is designed to effectively pick up various types of debris.
- For optimal cleaning, move the vacuum cleaner at a steady pace.
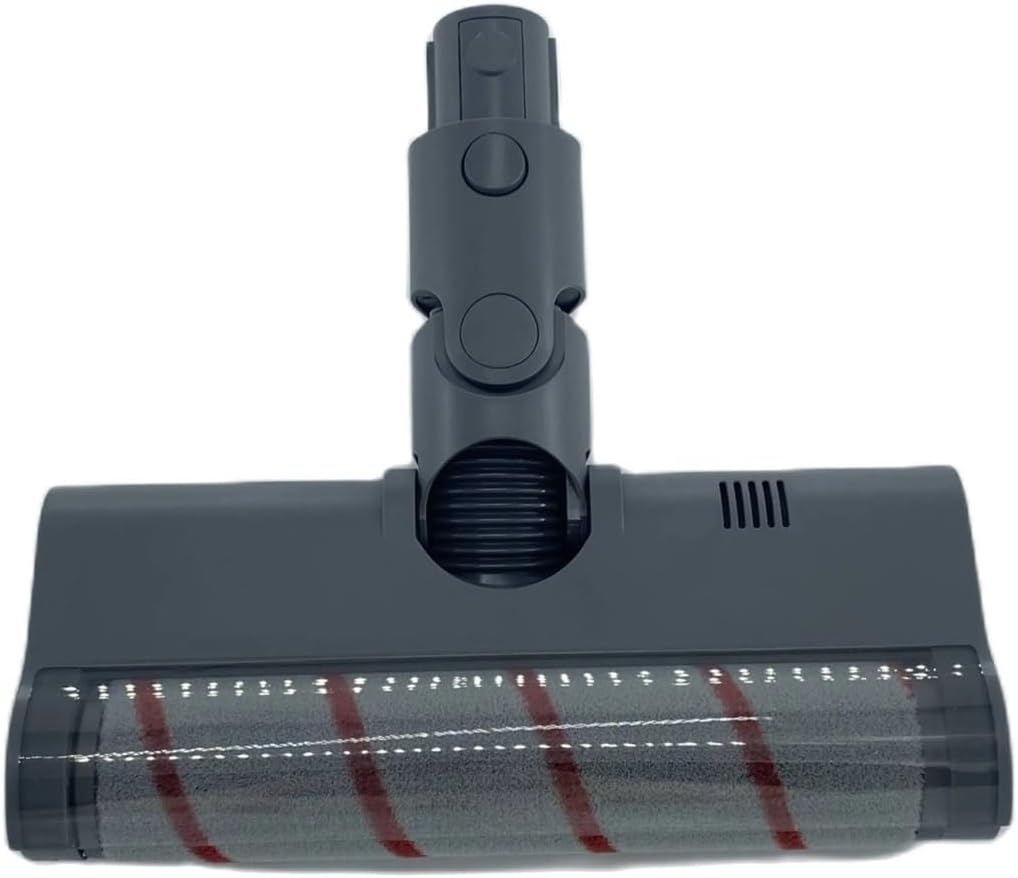
Image 3: Top view of the floor brush assembly.

This image provides a top-down view of the brush head, illustrating its design and the swivel mechanism that allows for flexible movement during operation.
5. Maintenance and Care
Regular maintenance ensures the longevity and optimal performance of your floor brush assembly.
5.1. Cleaning the Roller Brush
- Power off and unplug the vacuum cleaner.
- Detach the floor brush assembly from the vacuum cleaner.
- Locate the release tabs or screws on the underside of the brush head that secure the roller brush.
- Carefully remove the roller brush.
- Use scissors or a brush to remove any tangled hair, threads, or debris from the roller brush.
- Wipe down the inside of the brush head cavity with a dry or slightly damp cloth.
- Reinsert the clean roller brush, ensuring it is properly seated and secured.
Image 4: Underside view of the brush head with roller brush removed.

This image shows the brush head with the roller brush detached, illustrating the area that needs to be cleaned and where debris can accumulate.
Image 5: Underside view of the brush head with roller brush installed.

This image displays the underside of the brush head with the roller brush correctly installed, ready for use.
5.2. General Cleaning
- Wipe the exterior of the floor brush assembly with a soft, dry cloth.
- Do not immerse the brush head in water or use harsh cleaning agents.
- Regularly check the wheels for any trapped debris that might hinder movement.
6. Troubleshooting
If you encounter issues with your KarmoP Floor Brush Assembly, refer to the following common problems and solutions.
| Problem | Possible Cause | Solution |
|---|---|---|
| Brush not rotating | Debris tangled in roller brush | Clean the roller brush as described in the Maintenance section. |
| Brush head not attaching securely | Incorrect alignment or debris in connection port | Ensure proper alignment and clear any obstructions from the connection point. Push firmly until it clicks. |
| Reduced suction | Blockage in brush head or vacuum cleaner | Check the brush head for blockages. Refer to your vacuum cleaner's manual for further troubleshooting on suction issues. |
| Unusual noise | Foreign object caught in brush or worn parts | Inspect the roller brush for foreign objects. If the noise persists, contact customer support. |
7. Specifications
| Feature | Detail |
|---|---|
| Brand | KarmoP |
| Compatible Models | Dreame VVN3, VVN4, VVN5, VVN6, VVT1 |
| Item Type | Floor Brush Assembly |
| Pin Pitch (Total) | 1.0 CM (Middle Pitch 0.8 CM) |
| Material | High-quality, durable materials |
| Item Weight | Approximately 50 Grams (1.76 ounces) |
| Package Dimensions | 1.18 x 0.79 x 0.39 inches (approximate) |
| Assembly Required | No (simple attachment) |
| Number of Pieces | 1 |
8. Warranty and Support
For warranty information or technical support, please refer to the seller's policies on the purchase platform or contact KarmoP customer service directly. Keep your purchase receipt as proof of purchase.


