
1. Introduction
This manual provides detailed instructions for the installation, operation, and maintenance of your JOYING JY-UZS08N4 10.1 Inch Android Car Stereo. Please read this manual thoroughly before using the product to ensure proper function and to prevent damage.
2. Safety Information
- Always ensure the vehicle is parked safely before operating the device's advanced features.
- Do not attempt to disassemble or modify the unit. This may cause damage and void the warranty.
- Consult a professional for installation if you are unsure about any wiring or electrical connections.
- Keep the unit away from water and excessive moisture.
3. Package Contents
Verify that all items are present in the package:
- JOYING JY-UZS08N4 Head Unit
- Power Harness
- 4G Antenna (x2)
- USB Cable (x2)
- External Microphone
- GPS Antenna
- Installation Kit
- User Manual
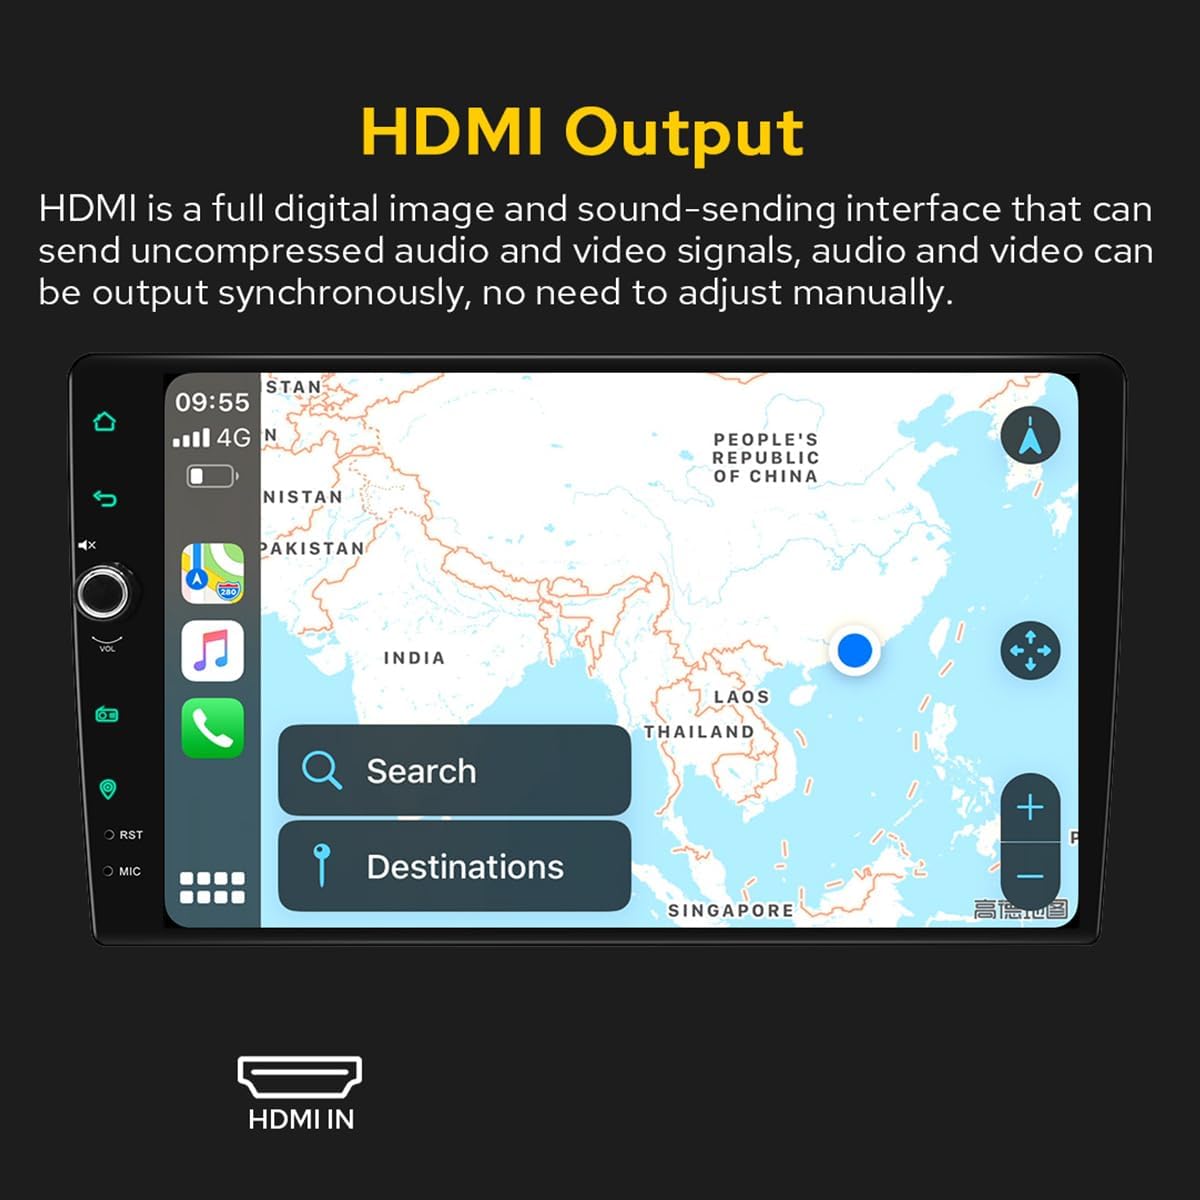
Figure 3.1: Included accessories and components in the JOYING JY-UZS08N4 package.
4. Setup and Installation
4.1 Pre-Installation Notes
- Installation may require an additional installation frame kit, special ISO harness, amplifier adapter, or CANbus decoder depending on your vehicle's specific requirements.
- This unit does not support factory car GPS antenna, backup rear camera, Bluetooth, USB, or microphone. Only JOYING accessories are supported.
- DAB+ digital radio adapter, DVR, OBDII scanner, reverse camera, TPMS, and steering wheel controller are not included and must be ordered separately.
4.2 Wiring Diagram
Refer to the following diagram for proper wiring connections. Ensure all connections are secure before powering on the unit.

Figure 4.1: Rear panel connections and wiring diagram for the head unit.
4.3 SIM Card Installation (for 4G Module)
The unit features a built-in 4G module for internet access. To install a SIM card:
- Locate the 4G SIM card slot, typically connected via a cable.
- Insert a Micro-SIM (3FF) card into the slot as shown in the diagram.
- Ensure the SIM card is correctly oriented and fully inserted.
Note: The 4G module supports internet access only and cannot be used for phone calls or SMS messages. Supported bands include FDD-LTE: B2/B4/B5/B7/B12/B13/B14/B17/B25/B26/B38/B66/B71 and TDD-LTE: B41.

Figure 4.2: 4G SIM card installation process.
4.4 Removable Screen Adjustment
The screen can be moved up and down to suit your installation requirements. Each movement is 0.7cm. Based on the middle position, the screen can be moved up 2.5cm and down 2.5cm.

Figure 4.3: Removable screen adjustment options.
5. Operating Instructions
5.1 Initial Boot-up
The first boot-up may take approximately 30-40 seconds. Subsequent boot-ups, once the car key is inserted, will enter the user interface in about 2 seconds.
5.2 User Interface Overview
The unit features a deep-optimized user interface customized for car driving habits. Key controls and display elements include:
- HOME: Returns to the main screen.
- Back: Navigates to the previous screen.
- Mute: Mutes audio output.
- VOL+/VOL-: Adjusts volume.
- Radio: Accesses the AM/FM radio function.
- Navigation: Launches the navigation application.
- RST: Reset button (often a small pinhole).
- MIC: Microphone input.
- Settings: Accesses system settings.
- Split-screen function: Allows two applications to run side-by-side.
Figure 5.1: Main User Interface and controls.
5.3 Car-Smartphone Connectivity (Carplay & Android Auto)
Connect your mobile phone to the car radio via USB cable or Bluetooth to utilize Wireless Carplay and Android Auto. This allows you to share phone applications on the larger screen, access navigation, make phone calls, and listen to music. The unit has built-in Android Auto and Carplay modules, requiring no extra device or dongle.

Figure 5.2: Wireless Carplay and Android Auto in operation.
5.4 GPS Navigation
The unit features precise GPS engines and includes a GPS antenna for accurate positioning and faster real-time navigation. Offline maps are supported: if you are in an area where downloading Google offline map data is available, you can save it to the car stereo for offline use. You can also synchronize mobile phone map data via Carplay/Android Auto.
5.5 Audio Features (DSP & EQ)
The built-in Digital Sound Processor (DSP) offers a 48-band EQ and 20 preset sound effects. You can independently adjust the subwoofer output and fine-tune ultra-bass, bass, mid-bass, mid-sound, mid-treble, treble, and super-treble. DTS5.1 panoramic surround sound effects and sound field correction system are included for an immersive audio experience.

Figure 5.3: DSP and Equalizer settings interface.

Figure 5.4: DTS Scenes and advanced EQ settings.
5.6 HDMI Output
The unit provides an HDMI output, a full digital image and sound-sending interface that can transmit uncompressed audio and video signals synchronously without manual adjustment. This allows for projection to rear screens for passengers.

Figure 5.5: HDMI Output functionality.
The HDMI output supports projection screen display for passengers (e.g., on headrest monitors) while the driver uses the main screen for navigation. The on-screen display provides a 1080P clear picture with zero delays. Due to chassis design, a straight-head HDMI cable is not supported; an L-shaped or angled HDMI adapter is required (HDMI cable not included).

Figure 5.6: HDMI output for external displays.
5.7 Day & Night Mode
The unit supports Day and Night modes. Daytime mode provides sufficient brightness for clear visibility even in direct sunlight, while Night mode reduces brightness to prevent glare and eye strain during nighttime driving.

Figure 5.7: Day and Night Mode display comparison.
5.8 Colorful Lights Setting
You can customize the button illumination color to match your vehicle's dashboard lighting.
Figure 5.8: Button light color settings.
5.9 AR Camera (Optional)
If an AR camera is connected, you can freely switch between front and rear camera views during driving to observe the surrounding environment. For optimal compatibility and stable images, it is recommended to purchase JOYING's AR camera.

Figure 5.9: AR Camera display and functionality.
6. Maintenance
- Clean the screen regularly with a soft, dry cloth. Avoid abrasive cleaners.
- Ensure proper ventilation around the unit to prevent overheating.
- Periodically check all wiring connections for looseness or damage.
- Keep the unit's software updated for optimal performance and security. Refer to the manufacturer's website for update instructions.
7. Troubleshooting
7.1 Common Issues and Solutions
- Unit does not power on: Check power connections and vehicle's fuse box. Ensure the unit is properly installed.
- No sound: Verify speaker connections, volume levels, and EQ settings. Check if the mute function is active.
- Touchscreen unresponsive: Perform a system reset using the RST button (often a small pinhole requiring a thin object to press).
- GPS signal issues: Ensure the GPS antenna is properly connected and has a clear view of the sky.
- Carplay/Android Auto not connecting: Ensure your phone's Bluetooth and Wi-Fi are enabled. Try reconnecting the USB cable or re-pairing via Bluetooth.
7.2 Factory Reset
If experiencing persistent issues, a factory reset may resolve them. Be aware that a factory reset will erase all user data and settings. Consult the on-screen settings menu for the factory reset option.
8. Specifications
| Feature | Specification |
|---|---|
| Brand | JOYING |
| Model Number | JY-UZS08N4 |
| Screen Size | 10.1 Inch |
| Screen Resolution | 1280x800P |
| Controller Type | Android |
| Connectivity Technology | Bluetooth, Ethernet, HDMI, USB, Wi-Fi, 4G |
| Special Features | Equalizer, Touchscreen |
| Output Power | 45 Watts |
| Number of Channels | 4 |
| Audio Output Mode | Stereo |
| Audio Output Type | Optical |
| Video Encoding | RM |
| Total HDMI Ports | 1 |

Figure 8.1: Product dimensions.

Figure 8.2: Core hardware parameters.

Figure 8.3: Multimedia and network parameters.
9. Warranty and Support
For warranty information and technical support, please refer to the official JOYING website or contact their customer service directly. Keep your purchase receipt as proof of purchase for warranty claims.
