
1. Safety Information
Welding and cutting processes can be hazardous. Always follow safety precautions to prevent personal injury. This welding helmet is designed to protect your eyes and face from sparks, spatter, and harmful radiation under normal welding conditions. It is not suitable for laser welding or overhead applications.
- Eye Protection: Always wear appropriate eye protection under the helmet, such as safety glasses, to protect against impact hazards.
- Arc Rays: Arc rays can cause eye injury and burn skin. Always ensure the auto-darkening filter (ADF) is functioning correctly before welding.
- Fumes and Gases: Welding fumes and gases can be hazardous to your health. Work in a well-ventilated area.
- Heat and Spatter: Hot metal and spatter can cause burns. Wear protective clothing, gloves, and footwear.
- Inspection: Inspect the helmet and lens for any damage before each use. Replace any damaged parts immediately.
2. Product Overview
The YESWELDER True Colour Auto-Darkening Welding Helmet (Model LYG-9600A-FS) offers advanced protection and enhanced visibility for various welding applications. Its true color lens technology provides a clearer, more natural view of the weld puddle.
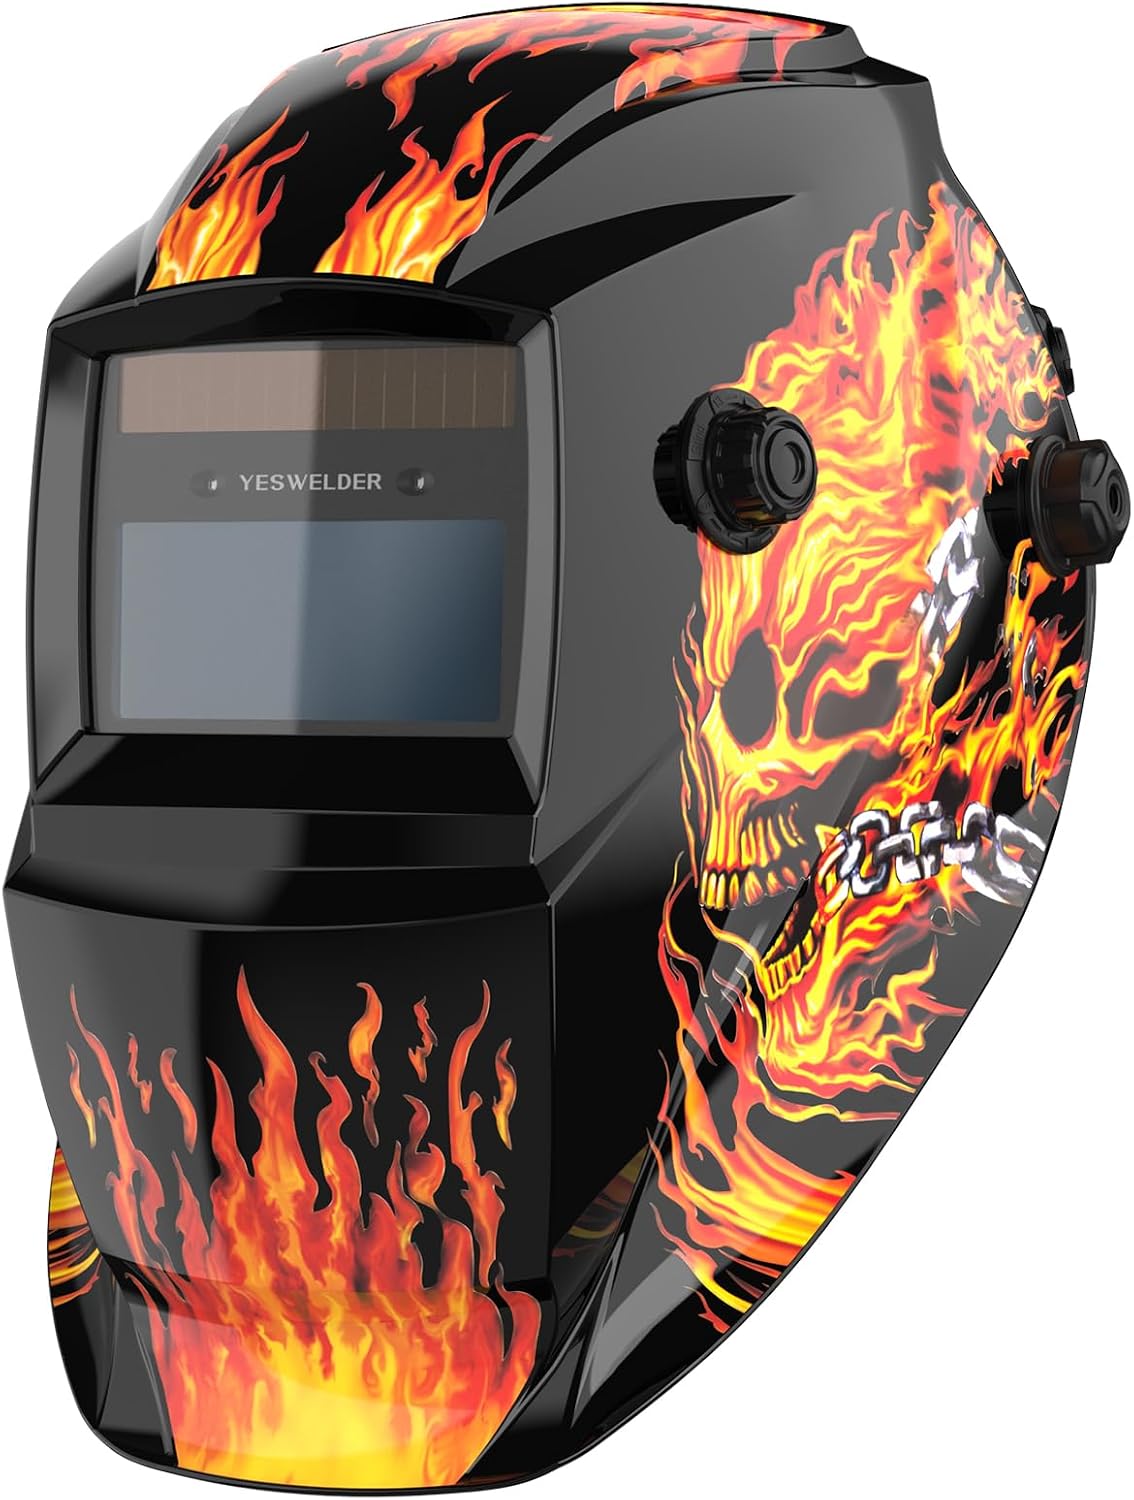
Image: YESWELDER True Colour Auto-Darkening Welding Helmet LYG-9600A-FS with a distinctive flame design on a black shell.
Key Features:
- True Colour Technology: Provides better clarity and a real color view of the welding area.
- Fast Darkening: Reaction time of 1/30,000 seconds for immediate eye protection.
- Adjustable Delay: Dark-to-light delay adjustable from 0.1 to 0.8 seconds.
- Wide Shade Range: Variable shade control from DIN 9-13 for welding, and DIN 4 for grind mode.
- Versatile Application: Suitable for TIG, MIG, MMA (Stick) welding, and grinding.
- Dual Power Source: Solar powered with a replaceable CR2450 lithium battery.
- Durable Construction: Made from high-quality PP material, meeting ANSI Z87.1, EN 379, CSA Z94.3, and EN ISO 16321 standards.
- Comfortable Design: Lightweight (500g) with a pivot-style headwear for superior comfort.
3. Components and Controls
Understand the functions of each component and control for optimal use.

Image: Close-up view of the auto-darkening lens controls, showing the Test button, Low Battery indicator, Sensitivity dial, Delay dial, and the battery compartment.
- Auto-Darkening Filter (ADF): The core component that automatically darkens upon arc strike.
- Sensitivity Control: An internal dial to adjust the sensor's reaction to the welding arc and ambient light.
- Delay Control: An internal dial to set the time for the lens to return from dark to light state.
- Shade Control: An external knob to select the desired darkness level (DIN 9-13 for weld mode).
- Grind Mode Switch: An external switch to activate grind mode, keeping the lens in a light state (DIN 4).
- Test Button: Press to verify ADF function and battery status.
- Low Battery Indicator: An LED that illuminates when the battery needs replacement.
- Solar Panel: Assists in powering the ADF and extends battery life.
- Headgear: Adjustable straps and ratchet system for a secure and comfortable fit.
4. Setup and Adjustment
4.1 Headgear Adjustment
Proper headgear adjustment is crucial for comfort and stability during welding.
- Adjust the top strap to position the helmet correctly on your head, ensuring the viewing area is at eye level.
- Rotate the ratchet knob at the back of the headgear to tighten or loosen the headband until it feels snug and secure.
- Adjust the distance between the helmet and your face using the side knobs for optimal viewing and comfort.
4.2 Battery Installation/Check
The helmet is powered by a solar cell and a replaceable CR2450 lithium battery.
- Locate the battery compartment on the auto-darkening filter.
- Ensure the CR2450 battery is correctly installed with the positive (+) side facing up.
- Press the Test Button on the ADF. The lens should momentarily flash dark and then return to its clear state. If the low battery indicator lights up, replace the battery.
5. Operation
5.1 Pre-Operation Check
Before each welding session, perform the following checks:
- Inspect the helmet shell and headgear for any cracks or damage.
- Ensure the inner and outer cover lenses are clean and free from scratches. Replace if necessary.
- Perform the battery test using the Test Button to confirm the ADF is functioning.
5.2 Adjusting Shade Level
The shade level can be adjusted from DIN 9 to 13 using the external knob. Select the appropriate shade based on your welding process and current. Refer to standard welding shade charts for guidance.
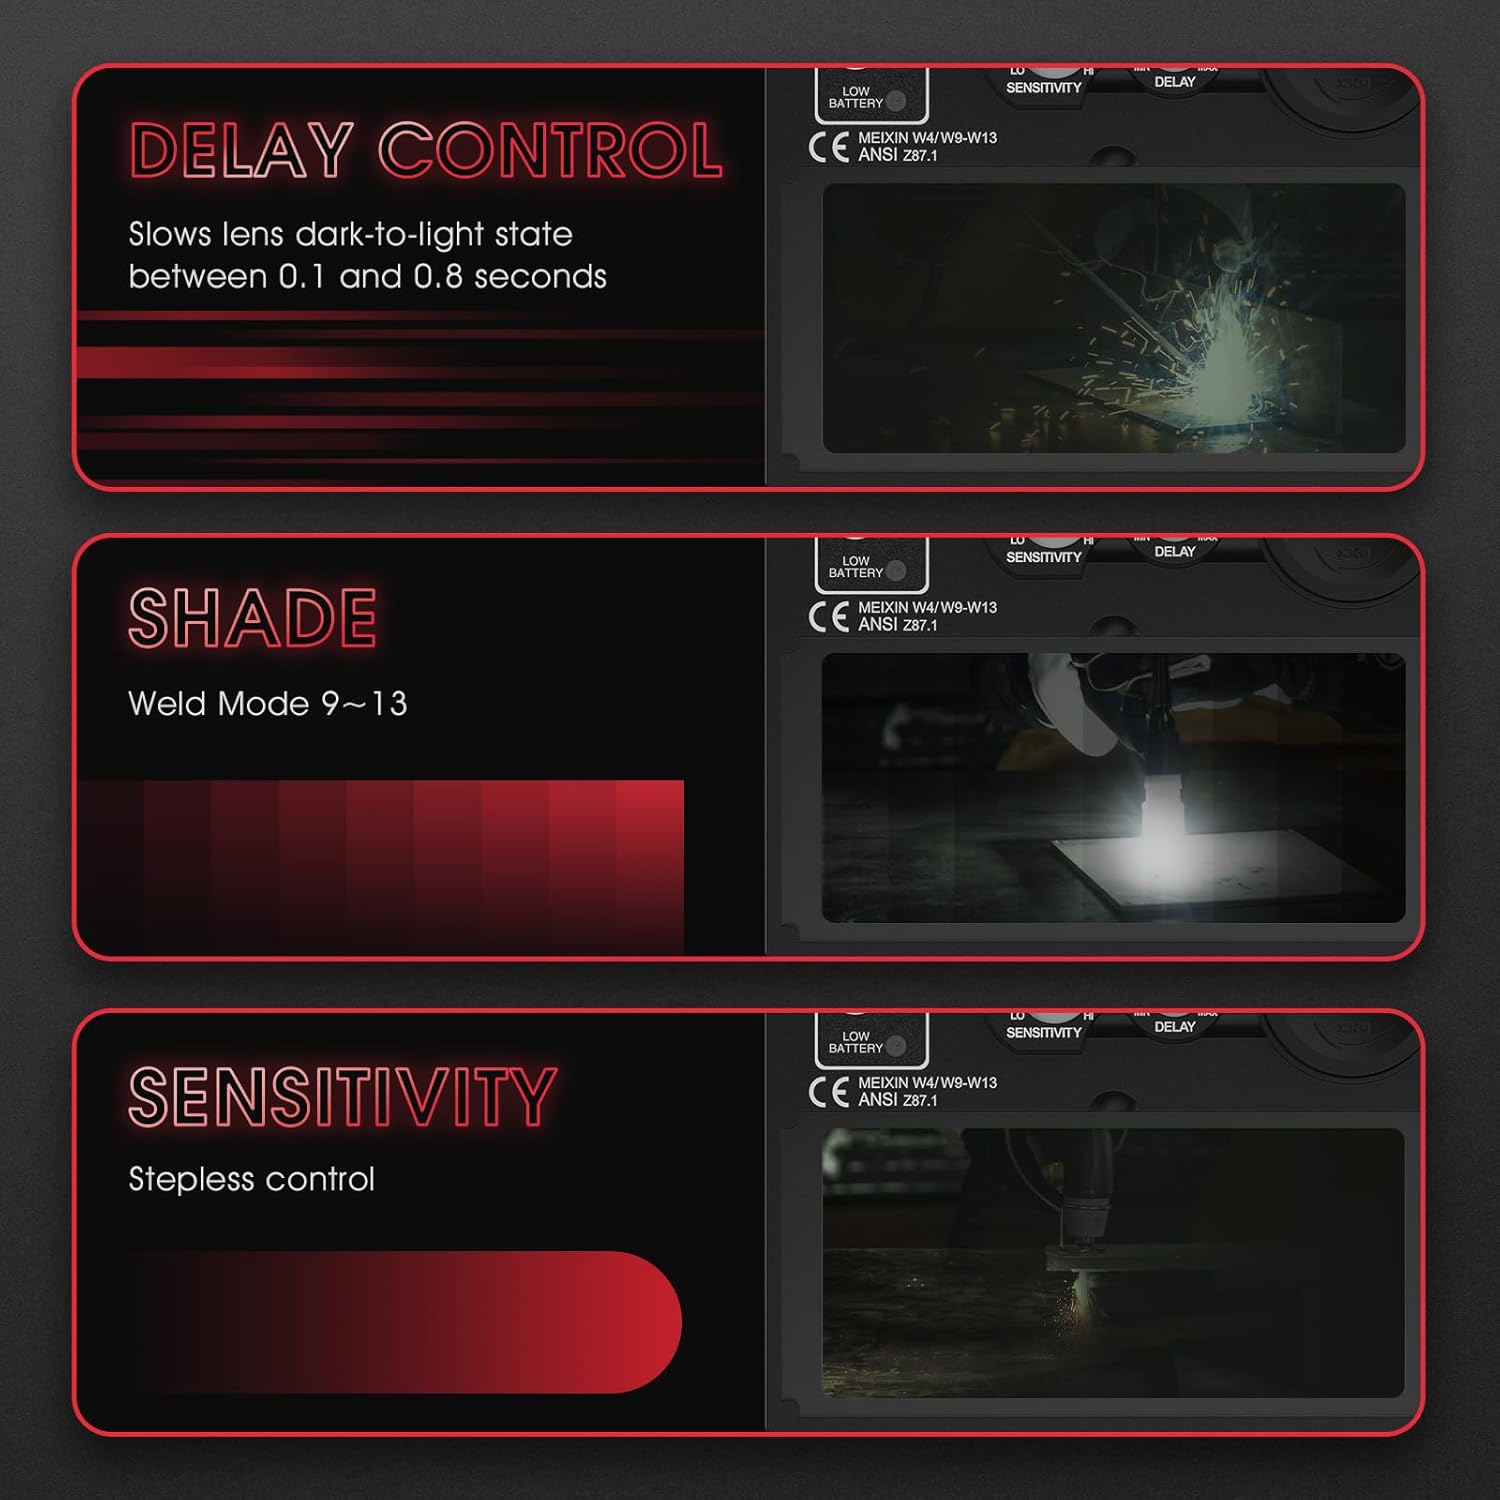
Image: Diagrams illustrating the stepless control for Sensitivity, the adjustable range for Shade (9-13), and the Delay control (0.1-0.8 seconds).
5.3 Adjusting Sensitivity
The sensitivity control adjusts how readily the filter reacts to the welding arc. This is typically an internal dial.
- High Sensitivity: Use for low amperage TIG welding or when ambient light is low.
- Low Sensitivity: Use for high amperage welding or when ambient light is bright to prevent false triggering.
5.4 Adjusting Delay
The delay control determines how long the lens remains dark after the welding arc ceases. This is typically an internal dial.
- Short Delay (0.1s): Suitable for tack welding or short welds where quick return to clear vision is desired.
- Long Delay (0.8s): Recommended for high amperage welding or when welding in areas with residual glow to protect eyes from post-arc brightness.
5.5 Grind Mode
For grinding operations, switch the helmet to grind mode using the external switch. In this mode, the auto-darkening function is deactivated, and the lens remains in a light state (shade 4) to provide eye protection from grinding debris without darkening.

Image: Visual representation of the helmet being used for various applications including grinding, stick welding (MMA), MIG welding, and TIG welding.
6. Maintenance
6.1 Cleaning
Regular cleaning ensures optimal performance and longevity of your helmet.
- Clean the helmet shell with mild soap and water. Avoid harsh solvents or abrasive cleaners.
- Clean the auto-darkening filter and cover lenses with a soft, clean cloth and a non-abrasive cleaner.
- Do not immerse the ADF in water or any cleaning solution.
- Ensure the solar panel is kept clean for efficient charging.
6.2 Battery Replacement
When the low battery indicator illuminates, replace the CR2450 lithium battery promptly.
- Locate and open the battery compartment cover on the auto-darkening filter.
- Carefully remove the old CR2450 battery.
- Insert a new CR2450 battery with the positive (+) side facing up.
- Close the battery compartment cover securely.
- Perform the test button check to confirm the new battery is functioning correctly.
7. Troubleshooting
Refer to the table below for common issues and their solutions.
| Problem | Possible Cause | Solution |
|---|---|---|
| Lens does not darken | Battery low or dead | Replace the CR2450 battery. |
| Lens does not darken | Sensors blocked or dirty | Clean the sensors on the front of the ADF. |
| Lens does not darken | Sensitivity set too low | Adjust the sensitivity control to a higher setting. |
| Inconsistent darkening | Sensors blocked or dirty | Clean the sensors. |
| Inconsistent darkening | Ambient light interference | Adjust sensitivity or reposition to minimize interference. |
| Poor visibility | Cover lenses dirty or scratched | Clean or replace the inner and outer cover lenses. |
| Poor visibility | Incorrect shade setting | Adjust the shade level to suit the welding process. |
8. Specifications
Technical specifications for the YESWELDER True Colour Auto-Darkening Welding Helmet LYG-9600A-FS.

Image: Diagram detailing the lens specifications, including a viewing area of 92.5mm x 42.5mm, shade control range, solar power, arc sensors, and UV/IR filter.
| Feature | Specification |
|---|---|
| Model | LYG-9600A-FS |
| Lens Type | True Colour Auto-Darkening Filter |
| Optical Clarity | 1/1/1/2 |
| Viewing Area | 92.5mm x 42.5mm |
| Light State Shade | DIN 4 |
| Dark State Shade | DIN 9-13 (Adjustable) |
| Reaction Time | 1/30,000s |
| Delay Time | 0.1s - 0.8s (Adjustable) |
| Sensitivity Control | Stepless Adjustment |
| Arc Sensors | 2 |
| Power Supply | Solar Cell & Replaceable CR2450 Lithium Battery |
| Material | PP (Polypropylene) |
| Weight | 500g |
| Standards | ANSI Z87.1, EN 379, CSA Z94.3, EN ISO 16321 |
9. Warranty and Support
For warranty information, technical support, or service inquiries regarding your YESWELDER True Colour Auto-Darkening Welding Helmet, please contact YESWELDER customer service directly. Keep your purchase receipt as proof of purchase for any warranty claims.
Manufacturer: YESWELDER
Model: LYG-9600A-FS
Refer to the official YESWELDER website or your product packaging for the most current contact information and warranty details.