Introduction
This manual provides essential instructions for the assembly, operation, maintenance, and troubleshooting of your GYMAX Garden Shed. Please read these instructions carefully before beginning assembly and retain them for future reference. This shed is designed for outdoor storage of garden tools, equipment, and other items, offering protection from the elements.

Image: The GYMAX Garden Shed, a steel and zinc structure, positioned in a green garden next to a house.
Setup and Assembly
Careful assembly is crucial for the stability and longevity of your garden shed. We recommend two people for assembly. Ensure you have all components and tools listed in the packaging before starting.
Before You Begin:
- Site Selection: Choose a level, stable surface for installation. Ensure adequate drainage.
- Safety First: Wear appropriate safety gear, including gloves, during assembly.
- Component Check: Verify all parts against the packing list. If any parts are missing or damaged, contact customer support.
Assembly Steps (General Guidelines):
- Base Assembly: Construct the base frame on your chosen level surface.
- Wall Panel Installation: Attach the wall panels to the base frame, ensuring they are securely fastened.
- Door Frame and Door Installation: Install the sliding door frame and then the sliding door panels. Ensure smooth operation.
- Roof Assembly: Assemble and attach the roof panels. The roof is designed with a slope to prevent water accumulation.
- Ventilation Installation: Securely attach the ventilation grilles to ensure proper air circulation.
- Final Checks: Inspect all connections and fasteners to ensure the shed is stable and secure.
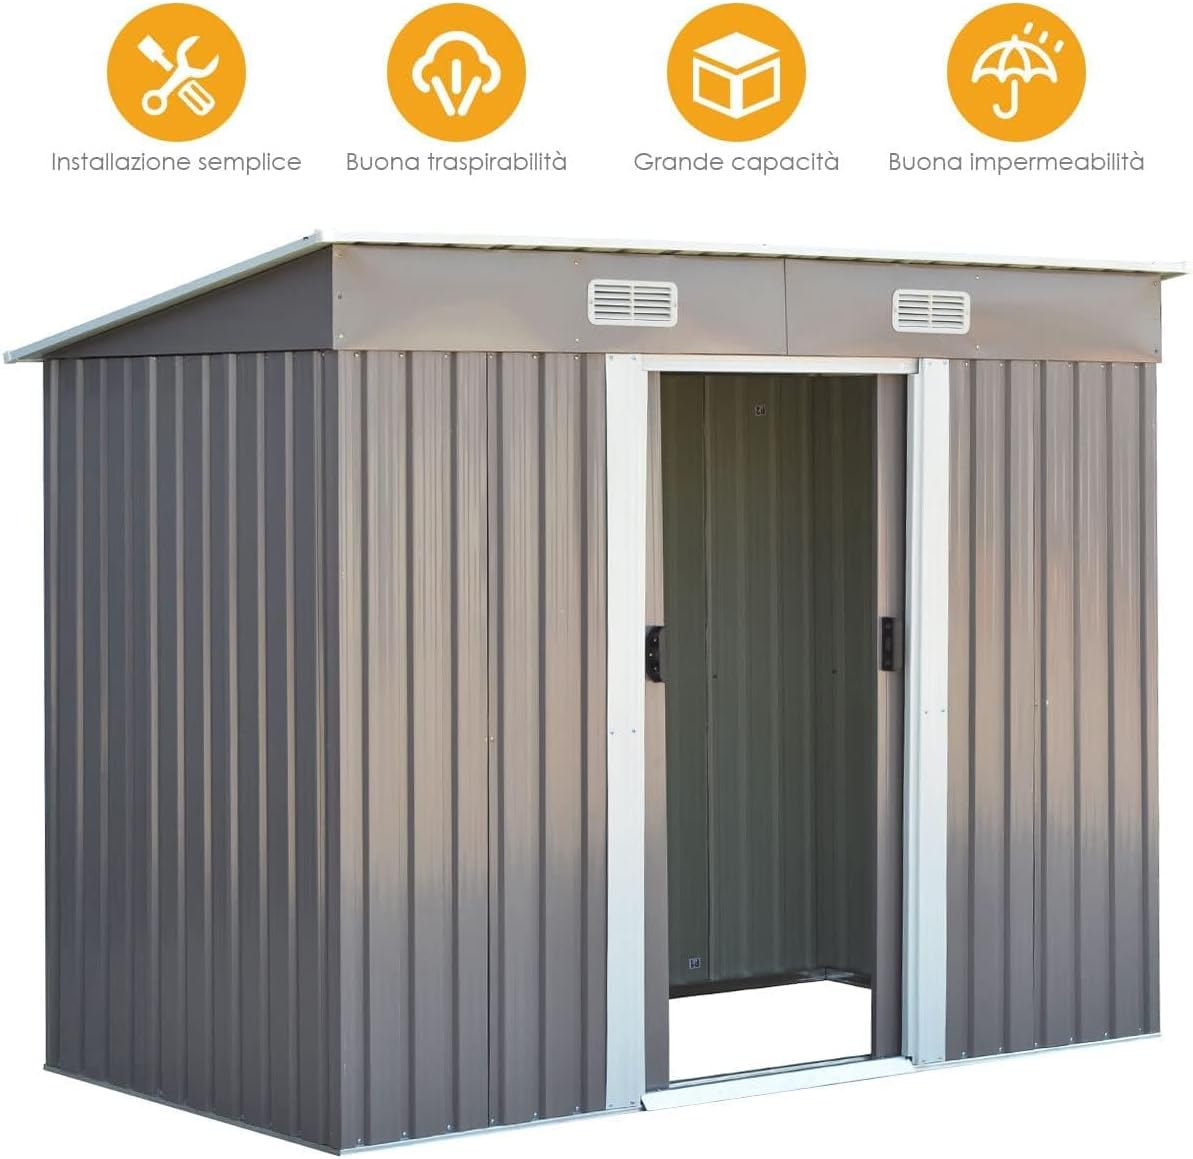
Image: A partially assembled GYMAX Garden Shed, illustrating the construction of the wall panels and roof structure.
Note: Detailed step-by-step instructions with diagrams are included in the physical packaging. If you encounter any difficulties, please refer to the contact information in the Support section.
Operation
Your GYMAX Garden Shed is designed for convenient and secure storage.
Sliding Door:
The shed features a smooth-gliding sliding door for easy access. To open, gently slide the door along its track. To close, slide it back until it is fully shut. The door handles provide a comfortable grip.
Ventilation:
Integrated ventilation grilles ensure air circulation within the shed, helping to reduce moisture buildup and prevent mold or mildew. Do not obstruct these vents.

Image: Detailed view of the shed's features, highlighting the sliding door handle, roof vents for air circulation, and the sloped roof design for water runoff.
Storage Capacity:
The spacious interior is suitable for various items, including:
- Garden tools (shovels, rakes, hoes)
- Lawnmowers and small garden machinery
- Bicycles
- Pots, planters, and other gardening supplies
- Household sundries

Image: Graphic representation of the shed's ample storage capacity, showing icons for installation tools, gardening tools, and domestic sundries.

Image: The GYMAX Garden Shed with its sliding door open, revealing a lawnmower and other garden equipment stored neatly inside.
Maintenance
Regular maintenance will extend the life of your GYMAX Garden Shed.
- Cleaning: Clean the exterior periodically with mild soap and water. Avoid abrasive cleaners or harsh chemicals.
- Door Tracks: Keep the sliding door tracks clear of debris to ensure smooth operation. Lubricate if necessary.
- Fasteners: Periodically check all screws and bolts for tightness and re-tighten as needed.
- Rust Prevention: Although made of steel and zinc, inspect for any signs of rust, especially in areas where the coating might be scratched. Touch up with rust-inhibiting paint if necessary.
- Ventilation: Ensure the ventilation grilles remain unobstructed for proper airflow.
Troubleshooting
Here are solutions to common issues you might encounter:
- Door Sticking: Check the door tracks for debris or obstructions. Clean the tracks and ensure they are properly aligned. Lubricate with a silicone-based spray if needed.
- Water Accumulation on Roof: The roof is designed to be sloped. Ensure the shed is installed on a level surface. If water still accumulates, check for any blockages in the roof's drainage path or damage to the roof panels.
- Excessive Moisture Inside: Ensure ventilation grilles are clear and unobstructed. Consider adding a desiccant if humidity is consistently high.
- Loose Panels: Re-tighten any loose screws or bolts. If a panel is damaged, contact customer support for replacement options.
For complex issues or if problems persist, please contact GYMAX customer support.
Specifications
| Model Number | B0CP5BMQ42 |
| Dimensions (L x W x H) | 238 x 131 x 181 cm (93.7 x 51.6 x 71.3 inches) |
| Material | Steel and Zinc Alloy |
| Color Options | Green or Grey |
| Door Type | Sliding Door |
| Ventilation | Integrated Vents |
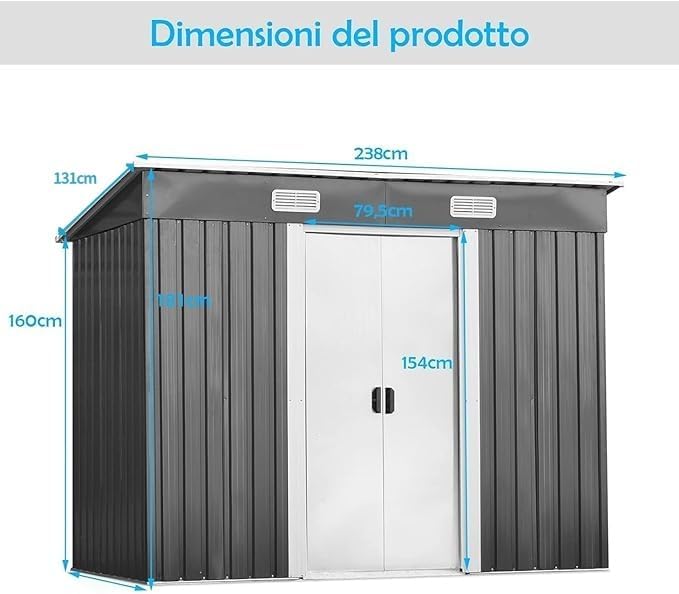
Image: A diagram illustrating the key dimensions of the GYMAX Garden Shed, including length, width, and height.
Warranty Information
GYMAX products are manufactured to high-quality standards. For specific warranty details, please refer to the warranty card included with your product or contact GYMAX customer support. Keep your proof of purchase for any warranty claims.
Customer Support
If you have any questions regarding the assembly, operation, or maintenance of your GYMAX Garden Shed, or if you require assistance with missing or damaged parts, please do not hesitate to contact our customer support team.
We aim to respond to all inquiries within 24 hours and provide a satisfactory solution.
Contact Information: Please refer to the contact details provided in your product packaging or on the official GYMAX website.


