Thamtu L100
Thamtu L100 Robot Vacuum Cleaner User Manual
Model: L100
1. Important Safety Instructions
Before using this product, please read all safety instructions and operating instructions. Failure to follow these instructions may result in electric shock, fire, or serious injury.
- Do not operate the robot vacuum cleaner in wet environments or near water.
- Keep the robot vacuum cleaner away from heat sources, open flames, and flammable materials.
- Ensure the charging dock is placed on a level surface against a wall, with adequate clear space around it.
- Do not allow children or pets to play with the robot vacuum cleaner.
- Unplug the charging dock during lightning storms or when not in use for extended periods.
- Only use the original battery and charging dock provided by the manufacturer.
- Before cleaning, remove loose cables, small objects, and fragile items from the floor.
- Do not use the robot vacuum cleaner to pick up large debris, liquids, or burning/smoking objects.
2. Package Contents
Verify that all components are present and in good condition upon opening the package.
- Thamtu L100 Robot Vacuum Cleaner
- Charging Dock
- Power Adapter
- Remote Control (with batteries)
- Side Brushes (2 pairs)
- High-Efficiency Filter (1 extra)
- Cleaning Tool
- User Manual
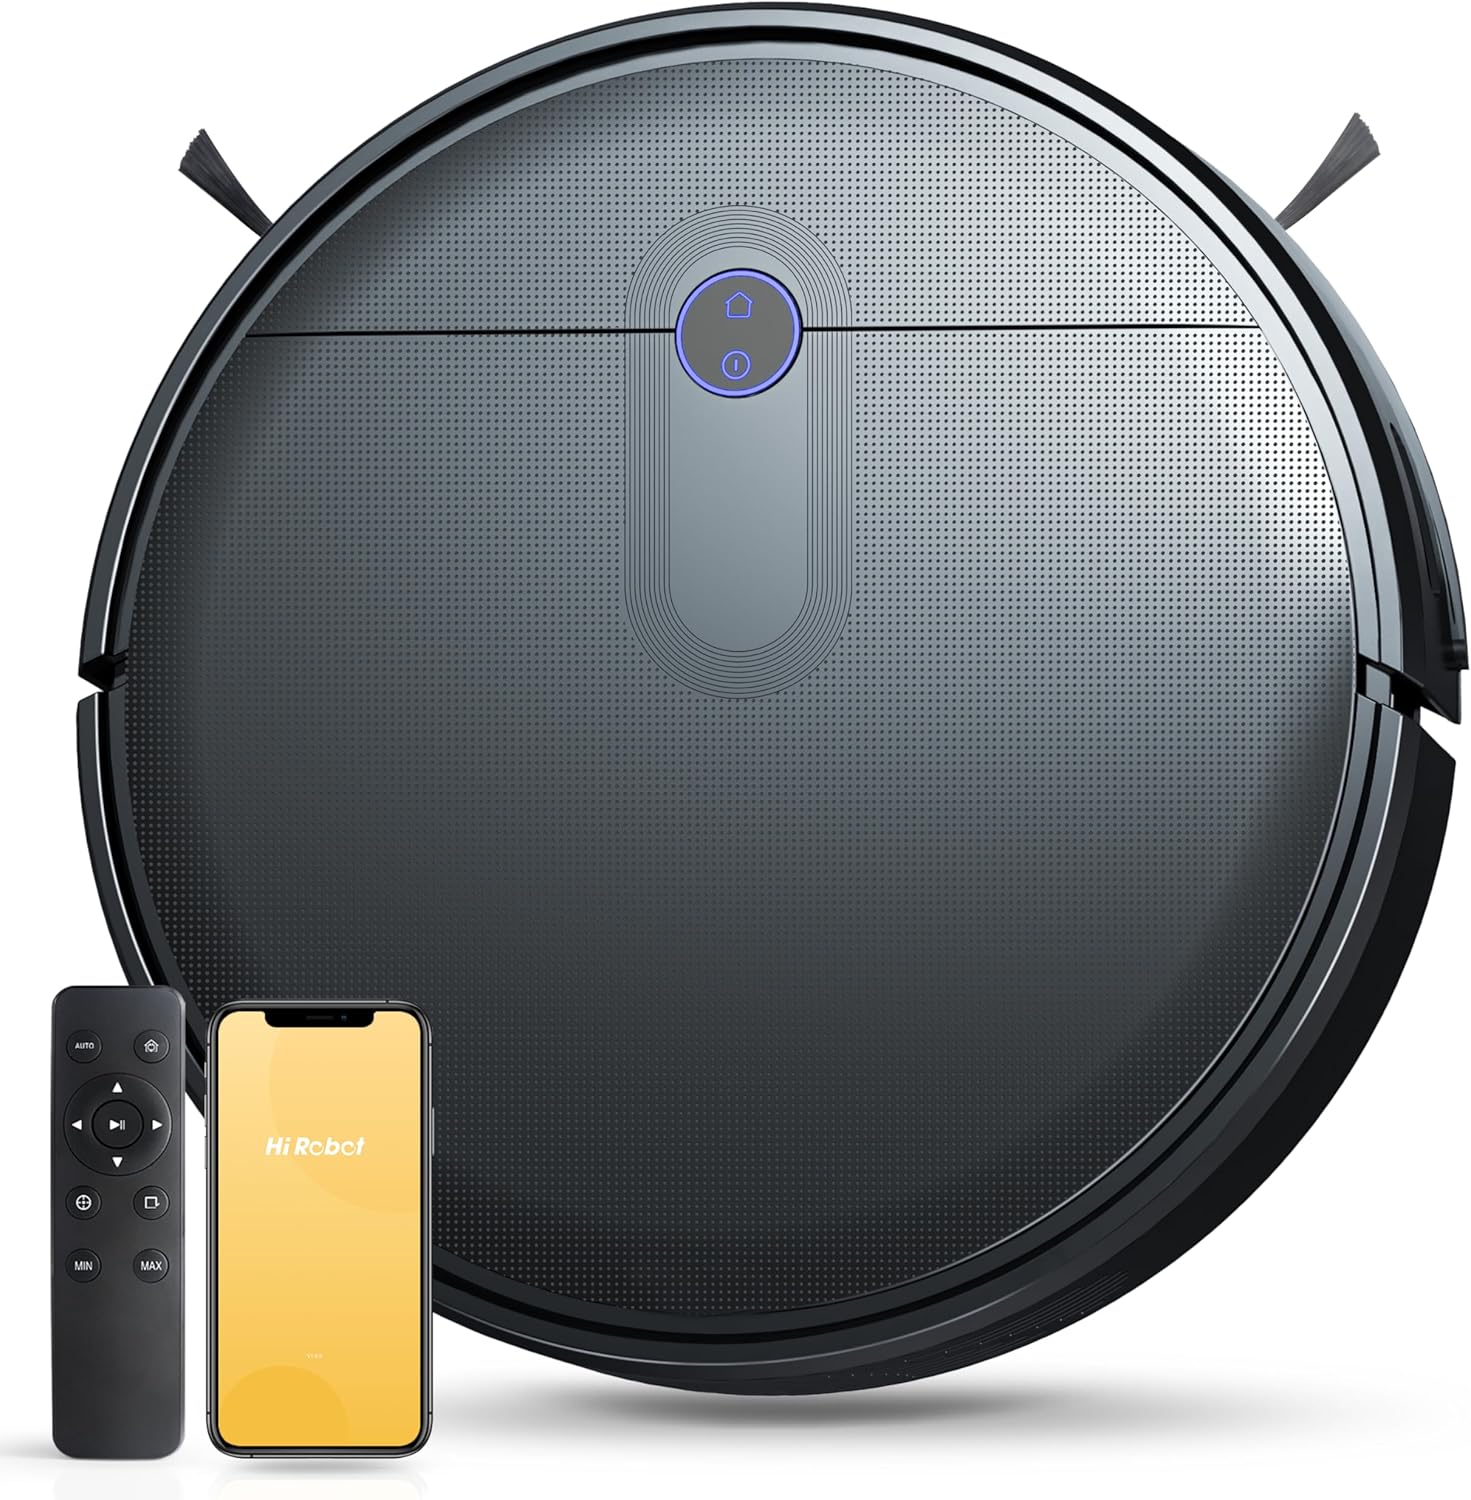
Image: The Thamtu L100 Robot Vacuum Cleaner shown with its accompanying remote control and a smartphone displaying the mobile application, illustrating the complete product package.
3. Product Overview
3.1 Robot Vacuum Components
- Top Cover: Houses the dustbin and power button.
- Power Button/Indicator: Initiates cleaning and shows status.
- Dustbin: Collects dirt and debris.
- Main Brush: Central brush for deep cleaning carpets and hard floors.
- Side Brushes: Sweeps debris from edges and corners into the main cleaning path.
- Driving Wheels: Allows movement across various floor types.
- Universal Wheel: Provides directional control.
- Charging Contacts: Connects with the charging dock for power.
- Cliff Sensors: Detects drops and prevents falling down stairs.
- Bumper: Contains anti-collision sensors.

Image: An exploded view of the Thamtu L100's underside, highlighting the main brush and edge-sweeping brush, demonstrating its effectiveness in picking up various types of debris like dust, hair, and oil stains.
4. Setup
4.1 Charging Dock Placement
Place the charging dock on a hard, level surface against a wall. Ensure there is at least 1 meter (3 feet) of clear space to the front and 0.5 meters (1.5 feet) to each side of the charging dock to allow the robot to return easily.
4.2 Initial Charging
Before first use, fully charge the robot vacuum cleaner. Place the robot directly onto the charging dock, ensuring the charging contacts align. The indicator light on the robot will show charging status. A full charge may take approximately 4-5 hours.
4.3 Installing Side Brushes
Press the side brushes onto the square posts at the bottom of the robot until they click into place. Ensure the left (L) and right (R) brushes are installed on the correct posts.
4.4 Connecting to the App (Optional)
For enhanced control and features, download the "Hi Robot" app from your smartphone's app store. Follow the in-app instructions to connect your Thamtu L100 to your 2.4 GHz Wi-Fi network. This enables remote control, scheduling, and monitoring.

Image: This image demonstrates the multiple control options for the Thamtu L100, including a mobile app, a physical remote control, and voice commands via Amazon Alexa or Google Assistant.
5. Operating the Robot Vacuum Cleaner
5.1 Starting a Clean Cycle
Press the power button on the robot or the "Auto" button on the remote control/app to start a cleaning cycle. The robot will automatically navigate and clean your floors.
5.2 Cleaning Modes
- Auto Clean: The robot cleans automatically, adjusting its path based on obstacles and floor type.
- Spot Clean: Directs the robot to clean a specific area more intensely. Useful for concentrated dirt.
- Edge Clean: The robot cleans along walls and furniture edges.
- Manual Control: Use the remote control or app to manually steer the robot.

Image: This graphic illustrates the Thamtu L100's powerful 2500Pa suction and its ability to adjust suction power across three levels (Eco, Standard, Max) for effective cleaning on both wooden floors and low-pile carpets.
5.3 Auto-Recharge Function
When the battery is low, the robot will automatically return to its charging dock. Ensure the charging dock is accessible and powered on.
5.4 Smart Navigation and Sensors
The L100 uses smart navigation to efficiently clean your home. It is equipped with anti-collision sensors to avoid obstacles and anti-dropping (cliff) sensors to prevent falls from stairs or ledges. It also features an Auto Carpet Boost function, which automatically increases suction power when detecting carpets.

Image: This composite image shows the L100's advanced features: automatically boosting suction on carpets, avoiding collisions with furniture, and preventing falls down stairs.
6. Maintenance
Regular maintenance ensures optimal performance and extends the lifespan of your robot vacuum cleaner.
6.1 Emptying the Dustbin
Empty the dustbin after each cleaning cycle or when the dustbin full indicator illuminates. Open the top cover, remove the dustbin, and dispose of the contents.
6.2 Cleaning the Filter
Tap the filter to remove loose dirt. For a deeper clean, rinse the filter under running water. Ensure the filter is completely dry before reinstalling it. Replace the filter every 3-6 months, or as needed.
6.3 Cleaning the Main Brush
Remove the main brush cover and lift out the main brush. Use the provided cleaning tool to remove hair and debris tangled around the brush. Reinstall the brush and cover.
6.4 Cleaning Side Brushes
Periodically check the side brushes for tangled hair or debris. Remove them if necessary and clean. Replace worn or damaged side brushes.
6.5 Cleaning Sensors and Charging Contacts
Wipe the cliff sensors, anti-collision sensors, and charging contacts on both the robot and the charging dock with a clean, dry cloth. This ensures proper navigation and charging.
7. Troubleshooting
| Problem | Possible Cause | Solution |
|---|---|---|
| Robot does not turn on. | Low battery; Power switch off. | Charge the robot; Ensure power switch is on. |
| Robot cannot return to charging dock. | Charging dock obstructed; Dock not powered. | Clear area around dock; Ensure dock is plugged in. |
| Suction power is weak. | Dustbin full; Filter clogged; Main brush tangled. | Empty dustbin; Clean/replace filter; Clean main brush. |
| Robot gets stuck frequently. | Too many obstacles; Sensors dirty. | Clear floor area; Clean all sensors. |
| App connection issues. | Incorrect Wi-Fi password; Not 2.4GHz Wi-Fi. | Verify password; Connect to 2.4GHz network. |
8. Specifications
- Model: L100
- Brand: Thamtu
- Suction Power: Up to 2500 Pa
- Battery Type: Lithium-ion
- Charging Time: Approx. 4-5 hours
- Working Time: Varies by mode and floor type
- Dustbin Capacity: Not specified
- Dimensions: 12.6 x 12.6 x 3 inches (32 x 32 x 7.6 cm)
- Connectivity: 2.4 GHz Wi-Fi, Remote Control
- Voice Control Compatibility: Amazon Echo, Google Home
- UPC: 642135746936
9. Warranty and Support
Thamtu provides a limited warranty for this product. Please refer to the warranty card included in your package for specific terms and conditions. For technical support, troubleshooting assistance, or warranty claims, please contact Thamtu customer service through the contact information provided on the official Thamtu website or your purchase platform.
Online Support: Visit the official Thamtu website for FAQs and support resources. Thamtu Store on Amazon
Ask a question about this manual
Ask about setup, troubleshooting, compatibility, parts, safety, or missing instructions. Manuals+ will review the question and use this page’s manual context to help answer it.