1. Introduction
The NearStream VK10 Vlogging Kit is designed to enhance your smartphone content creation experience. This comprehensive kit includes essential tools such as an adjustable LED fill light, a high-quality wireless microphone, a versatile phone mount, a flexible tripod, and a Bluetooth remote control. This manual provides detailed instructions for assembly, operation, maintenance, and troubleshooting to help you maximize the kit's potential.
2. What's in the Box
Carefully unpack your NearStream VK10 Vlogging Kit and ensure all components are present:
- Phone Holder (1)
- Tripod (1)
- Product Bag (1)
- USB-C Cable (1)
- USB C to Lightning Adapter (1)
- 2-in-1 Type-C Cable (1)
- User Manual (1)
- Warranty Card (1)
- Quick Start Guide (1)
- Wireless Lavalier Microphone (1)
- Streaming Light (1)
- Bluetooth Remote Control (1)
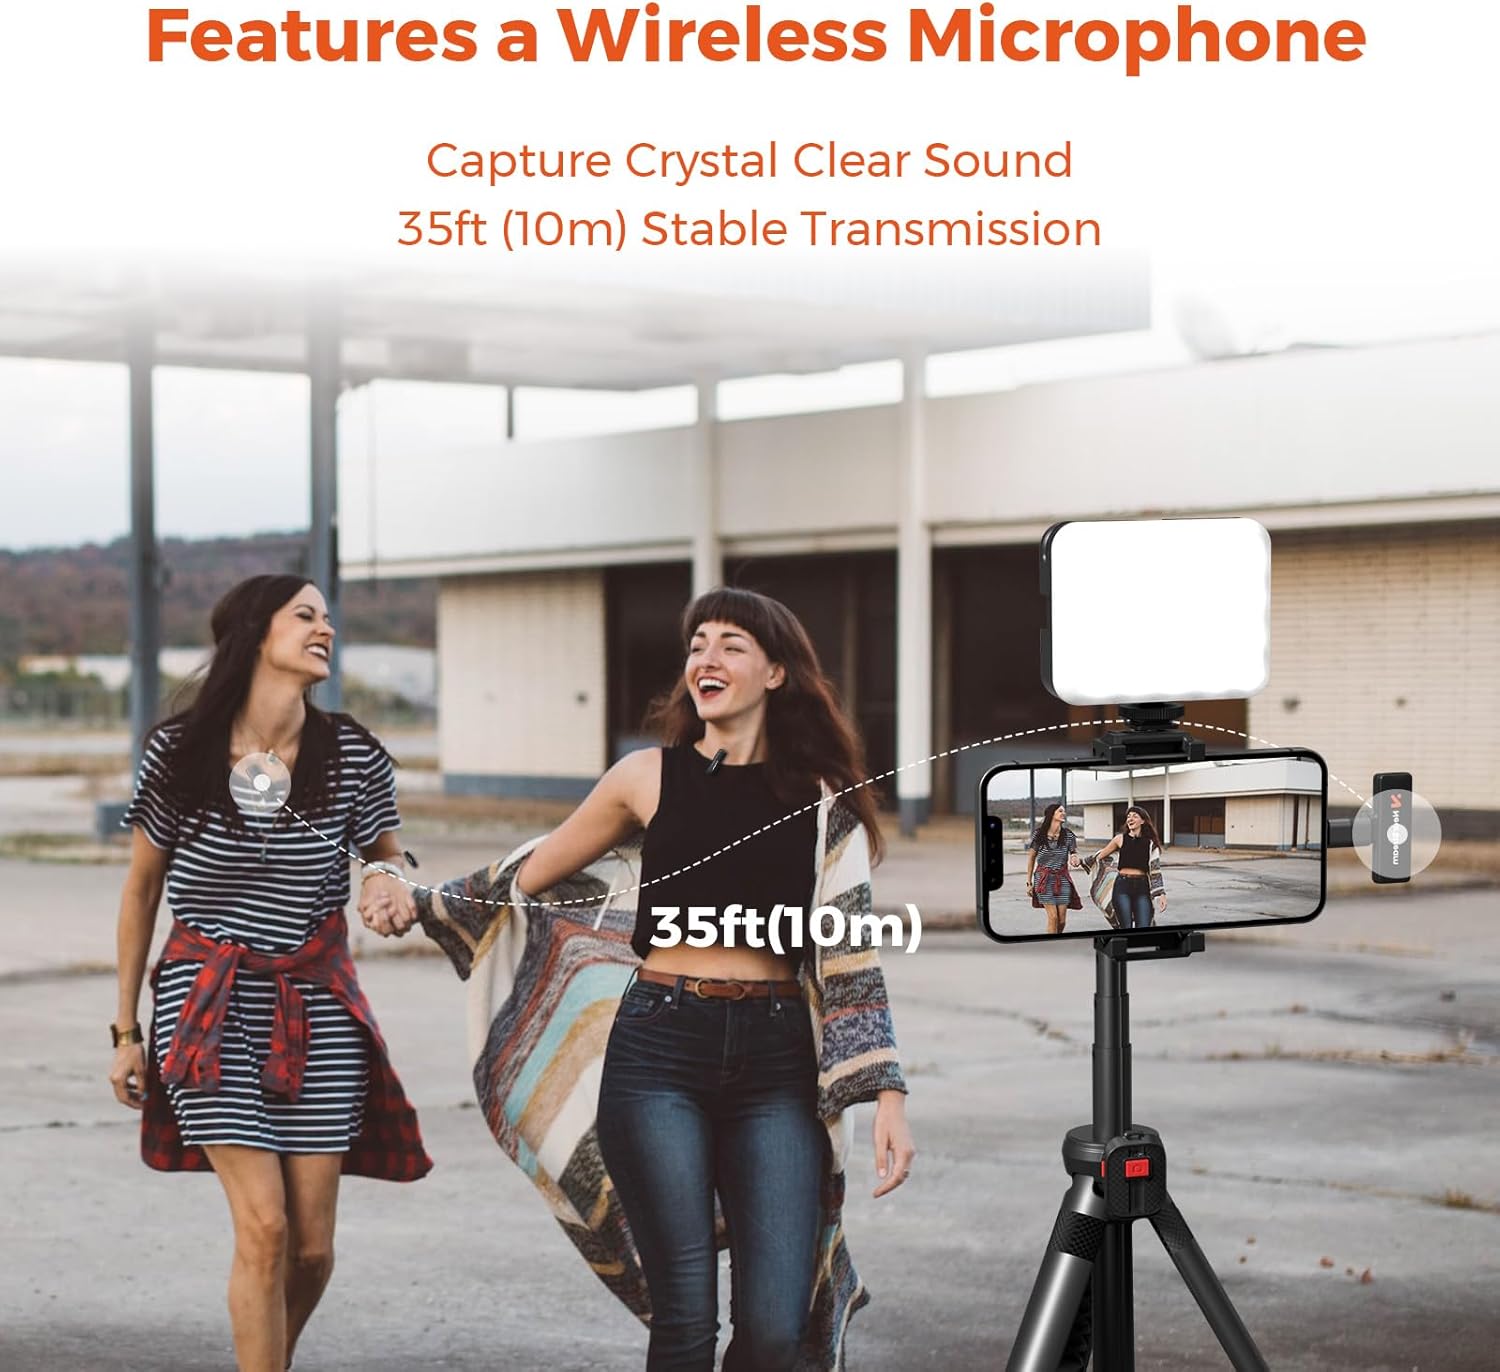
Image: All components included in the NearStream VK10 Vlogging Kit, neatly arranged in their carrying case.
3. Product Overview
Familiarize yourself with the key components of your vlogging kit:
3.1. Rechargeable & Adjustable LED Fill Light
- Brightness: Adjustable from 0-100%.
- Color Temperature: Adjustable from 2700K (warm) to 6500K (cool).
- CRI: 95 for accurate color rendering.
- Battery: Built-in 2000mAh, providing up to 105 minutes of operation at maximum brightness.
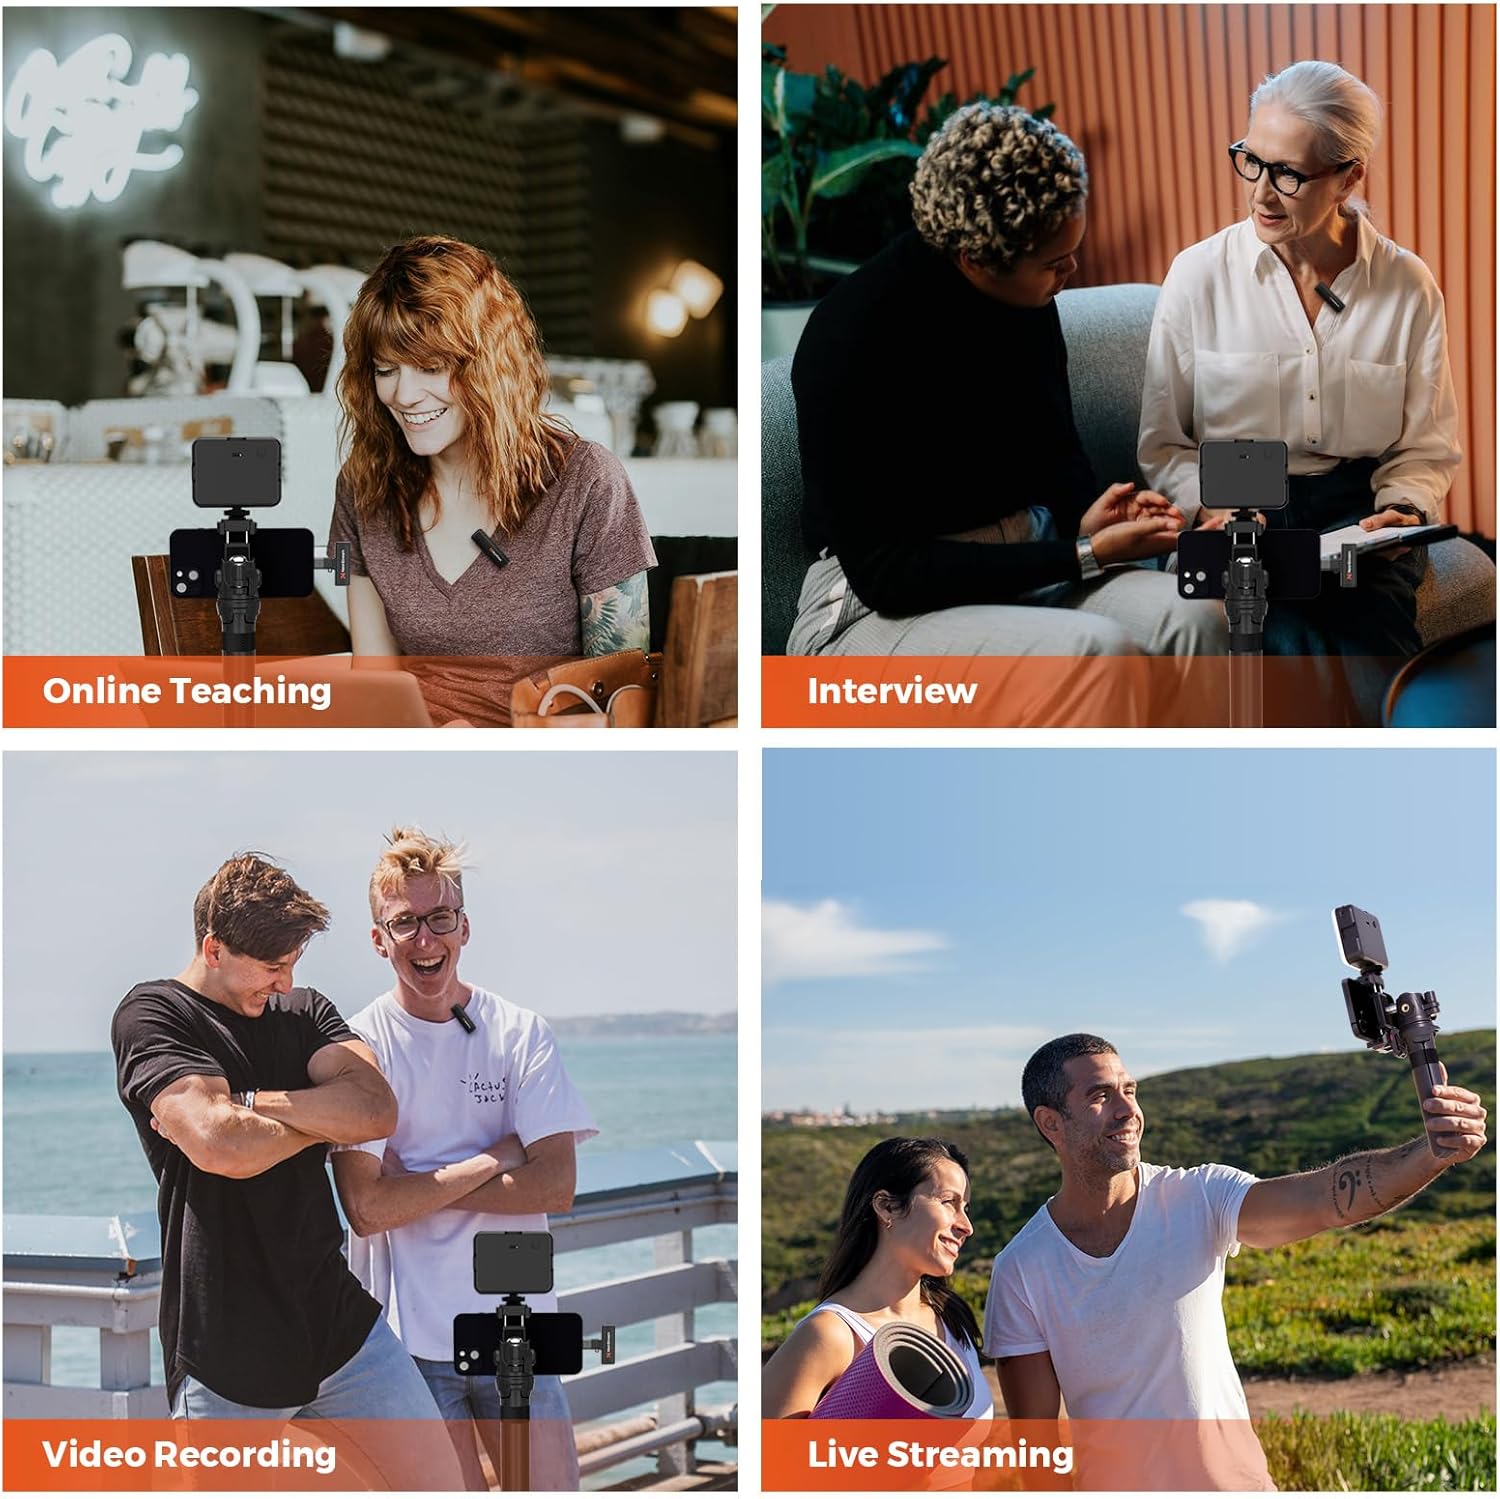
Image: The LED fill light demonstrating adjustable color temperature (2700K, 5000K, 6500K) and brightness levels (0% to 100%).

Image: Detailed diagram of the LED light, highlighting its bracket interface, color temperature adjusting knob, brightness control, power indicator, turn on/off button, and Type-C charging port.
3.2. Extendable Phone Holder & Flexible Tripod
- Phone Clip: Accommodates most smartphones with a width range of 62mm to 86mm.
- Tripod: Extends from 166mm to 383mm, functioning as both a handle and a stable tripod.
- Versatility: Features two installation holes for the ball head (one on the side, one at the rear) for multi-angle shooting, including overhead shots.

Image: Illustrations demonstrating horizontal, vertical, high-angle, and low-angle shooting configurations using the phone holder and tripod.
3.3. Wireless Remote Control
- Range: Operates wirelessly up to 10 meters (33 feet).
- Compatibility: Supports both iOS and Android smartphones.
- Function: Ideal for hands-free photo and video capture.

Image: A hand holding the Bluetooth remote control, demonstrating its use with a smartphone mounted on the tripod, effective up to 33 feet (10m).
3.4. High-Quality Wireless Microphone
- Polar Pattern: Omnidirectional for capturing sound from all directions.
- Wireless Range: Up to 10 meters (33 feet).
- Battery Life: Built-in battery offers up to 6 hours of continuous use.
- Compatibility: Designed for both Android and iOS devices.

Image: Two individuals, one wearing the wireless microphone, demonstrating clear sound capture from a distance of 35 feet (10m).
4. Setup Instructions
Follow these steps to assemble and prepare your vlogging kit for use:
4.1. Assembling the Tripod and Phone Holder
- Unfold the tripod legs to create a stable base.
- Attach the ball head mount to the top of the tripod by screwing it clockwise until secure.
- Attach the phone holder to the ball head mount. You can choose between two mounting points:
- Side Hole: For 360° rotation and flexible positioning, including overhead shots.
- Rear Hole: For standard horizontal or vertical shooting, allowing higher angles but limited downward tilt.
- Secure your smartphone in the phone holder by gently expanding the clamp and placing your phone inside. Ensure it is held firmly.

Image: Visual guide on how to attach the phone holder's side hole to the ball head for 360-degree shooting flexibility.

Image: Visual guide on how to attach the phone holder's rear hole to the ball head for standard vertical or higher angle shooting.
4.2. Attaching the LED Fill Light
The LED fill light can be mounted onto the phone holder using the cold shoe mount. Slide the light's foot into the cold shoe slot on the phone holder until it clicks into place.
4.3. Connecting the Wireless Microphone
- Insert the receiver into your smartphone's charging port (USB-C or Lightning via adapter).
- Turn on the wireless lavalier microphone (transmitter). It will automatically pair with the receiver. A green indicator light typically confirms a successful connection.
- Clip the microphone to your clothing, ensuring it is close to your mouth for optimal audio capture.

Image: Step-by-step illustration of the plug-and-play microphone setup: plug the receiver into the phone, press the power button on the transmitter, and the devices connect automatically.
4.4. Pairing the Bluetooth Remote Control
- Ensure the remote control has a working battery.
- Turn on Bluetooth on your smartphone.
- Press and hold the button on the remote control until an indicator light flashes, indicating it's in pairing mode.
- On your smartphone, search for available Bluetooth devices and select the remote control (e.g., "NearStream Remote").
- Once paired, the indicator light on the remote will stop flashing or show a steady light.
5. Operating Instructions
5.1. Using the LED Fill Light
- Press the power button to turn the light on/off.
- Use the brightness control knob to adjust the light intensity from 0% to 100%.
- Use the color temperature adjusting knob to change the light's warmth or coolness (2700K to 6500K).
5.2. Recording with the Wireless Microphone
- Ensure the microphone and receiver are paired and connected to your smartphone.
- Open your smartphone's camera or recording application.
- Start recording. The audio will be captured by the wireless microphone.
- Note: Some smartphone camera apps may require you to select an external microphone in their settings.
5.3. Using the Bluetooth Remote Control
Once paired, simply press the button on the remote control to trigger your smartphone's camera shutter or start/stop video recording. This allows for convenient hands-free operation, especially useful for vlogging or group shots.
5.4. Adjusting Shooting Angles
The ball head mount allows for flexible positioning. Loosen the knob on the ball head, adjust your phone to the desired angle (horizontal, vertical, high-angle, low-angle), and then tighten the knob to secure it. Remember the two mounting points on the phone holder offer different ranges of motion.
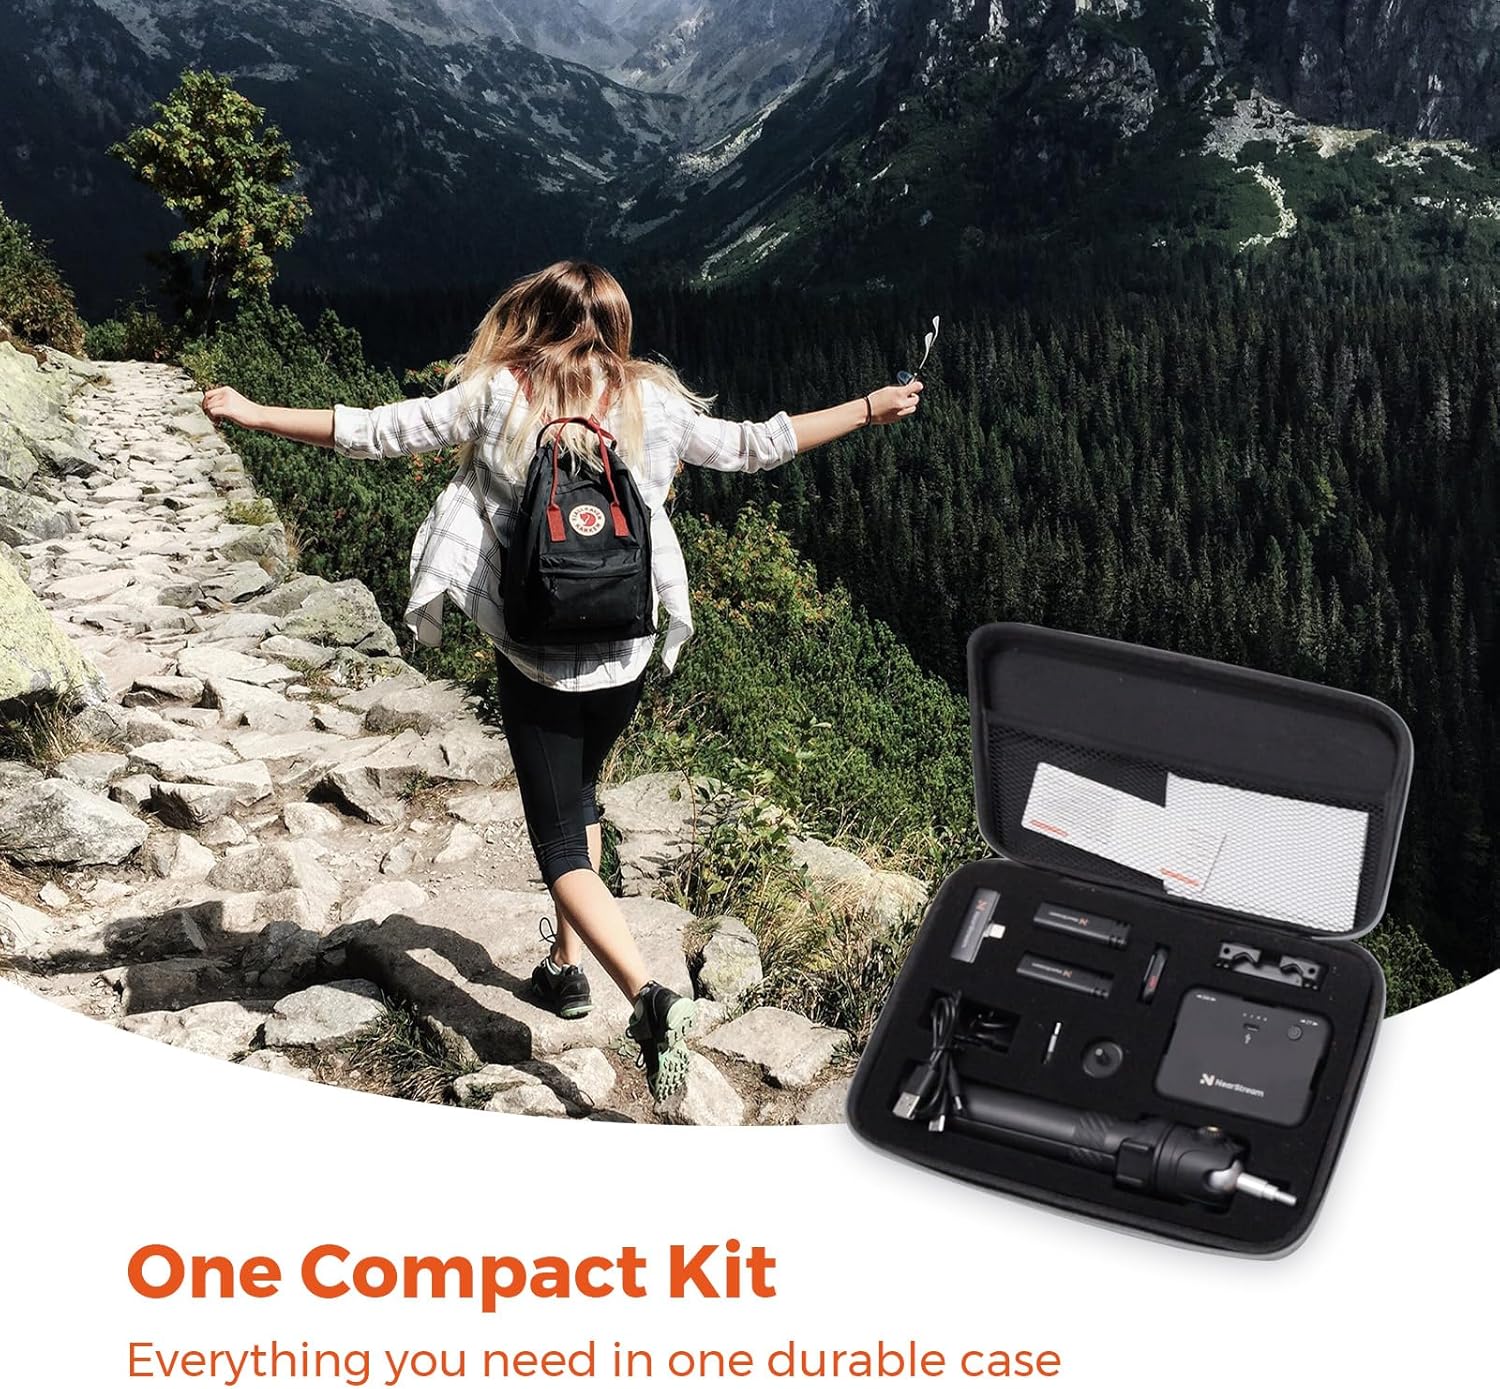
Image: Examples of the vlogging kit in use for online teaching, interviews, video recording, and live streaming.

Image: Demonstrating the versatility of the kit for both hand-held and tripod-mounted shooting.
6. Maintenance
- Cleaning: Use a soft, dry cloth to clean the surfaces of all components. Avoid abrasive cleaners or solvents.
- Storage: Store the kit in its provided product bag or a dry, cool place away from direct sunlight and extreme temperatures.
- Battery Care:
- Charge the LED light and microphone regularly, even if not in frequent use, to maintain battery health.
- Avoid fully discharging the batteries for extended periods.
- Use the provided USB-C cables for charging.
- Handling: Handle all components with care to prevent damage, especially the delicate microphone and LED light.
7. Troubleshooting
| Problem | Possible Cause | Solution |
|---|---|---|
| LED Light not turning on. | Low battery or power button not pressed correctly. | Charge the LED light using the USB-C cable. Ensure the power button is pressed firmly. |
| Microphone not recording audio. | Microphone not powered on, not paired, or smartphone settings. | Ensure microphone (transmitter) is on and paired with the receiver. Check smartphone audio input settings to ensure external microphone is selected. Ensure receiver is fully inserted into phone. |
| Bluetooth Remote not connecting. | Remote battery low, not in pairing mode, or Bluetooth interference. | Replace remote battery if applicable. Ensure remote is in pairing mode (flashing light). Re-pair the remote via smartphone Bluetooth settings. Move closer to the phone. |
| Phone slipping from holder. | Phone not securely clamped or holder not tightened. | Ensure the phone is centered and firmly clamped. Tighten all adjustment knobs on the phone holder and ball head. |
| Tripod unstable. | Legs not fully extended or placed on an uneven surface. | Ensure tripod legs are fully extended and locked. Place on a flat, stable surface. |
8. Specifications
| Feature | Detail |
|---|---|
| Brand | NearStream |
| Model Number | VK10 |
| Package Dimensions | 10.63 x 7.87 x 2.56 inches |
| Item Weight | 1.32 pounds (0.6 Kilograms) |
| Color | Black |
| Compatible Devices | Cellphone |
| LED Light Battery | 2000mAh (up to 105 min at max brightness) |
| LED Light Color Temp. | 2700K - 6500K |
| LED Light CRI | 95 |
| Phone Holder Width Range | 62mm - 86mm |
| Tripod Extension Range | 166mm - 383mm |
| Microphone Wireless Range | Up to 10 meters (33 feet) |
| Microphone Battery Life | 6 hours continuous use |
| Bluetooth Remote Range | Up to 10 meters (33 feet) |
9. Warranty & Support
Your NearStream VK10 Vlogging Kit comes with a Warranty Card. Please refer to the card for specific warranty terms and conditions. For technical support, product inquiries, or warranty claims, please contact NearStream customer service through the official website or the retailer where the product was purchased.
You can also visit the NearStream Store on Amazon for more information and support resources.

