
Aivica XSY340
Contents
Aivica XSY340 Emergency Hand Crank Radio User Manual
Model: XSY340 | Brand: Aivica
Introduction
The Aivica XSY340 Emergency Hand Crank Radio is a versatile and essential device designed for emergency preparedness and outdoor activities. It features multiple power sources, including a high-capacity 10000mAh battery, hand crank, and solar panel, ensuring reliable operation even during power outages. This multi-functional radio provides AM/FM/NOAA weather alerts, a digital display, flashlight, reading lamp, headphone jack, and an SOS alarm, making it a comprehensive tool for safety and communication.
Key Features
- Automatic NOAA Weather Alert Radio: Large digital display, digital tuning, and automatic scanning for emergency and weather alerts.
- 10000mAh Emergency Cellphone Charge: Built-in high-capacity battery rechargeable via solar, hand crank, or Type-C USB.
- Portable Design: Compact and lightweight (7*2.5*4 inches, 1.2LB) for easy portability.
- Multiple Light Modes: Features a 3W LED flashlight and a 48-piece reading lamp.
- SOS Alarm: 120dB SOS alarm for emergency signaling.
- Enhanced Reception: New telescopic antenna (up to 24.8 inches) for sensitive reception.
- Headphone Jack: 3.5mm headphone jack for private listening.
- Digital Display: Back-lit LCD display shows time, clock, battery level, and frequency.
Components Included
- Aivica Emergency Hand Crank Radio (Model XSY340)
- Owner's Manual
- Type-C Charging Cable
Setup
Initial Charging
Before first use, it is recommended to fully charge the radio using the Type-C USB cable. Connect the cable to the radio's Type-C input port and a 5V/2A power adapter (not included). The LCD screen will display the real-time electricity level.
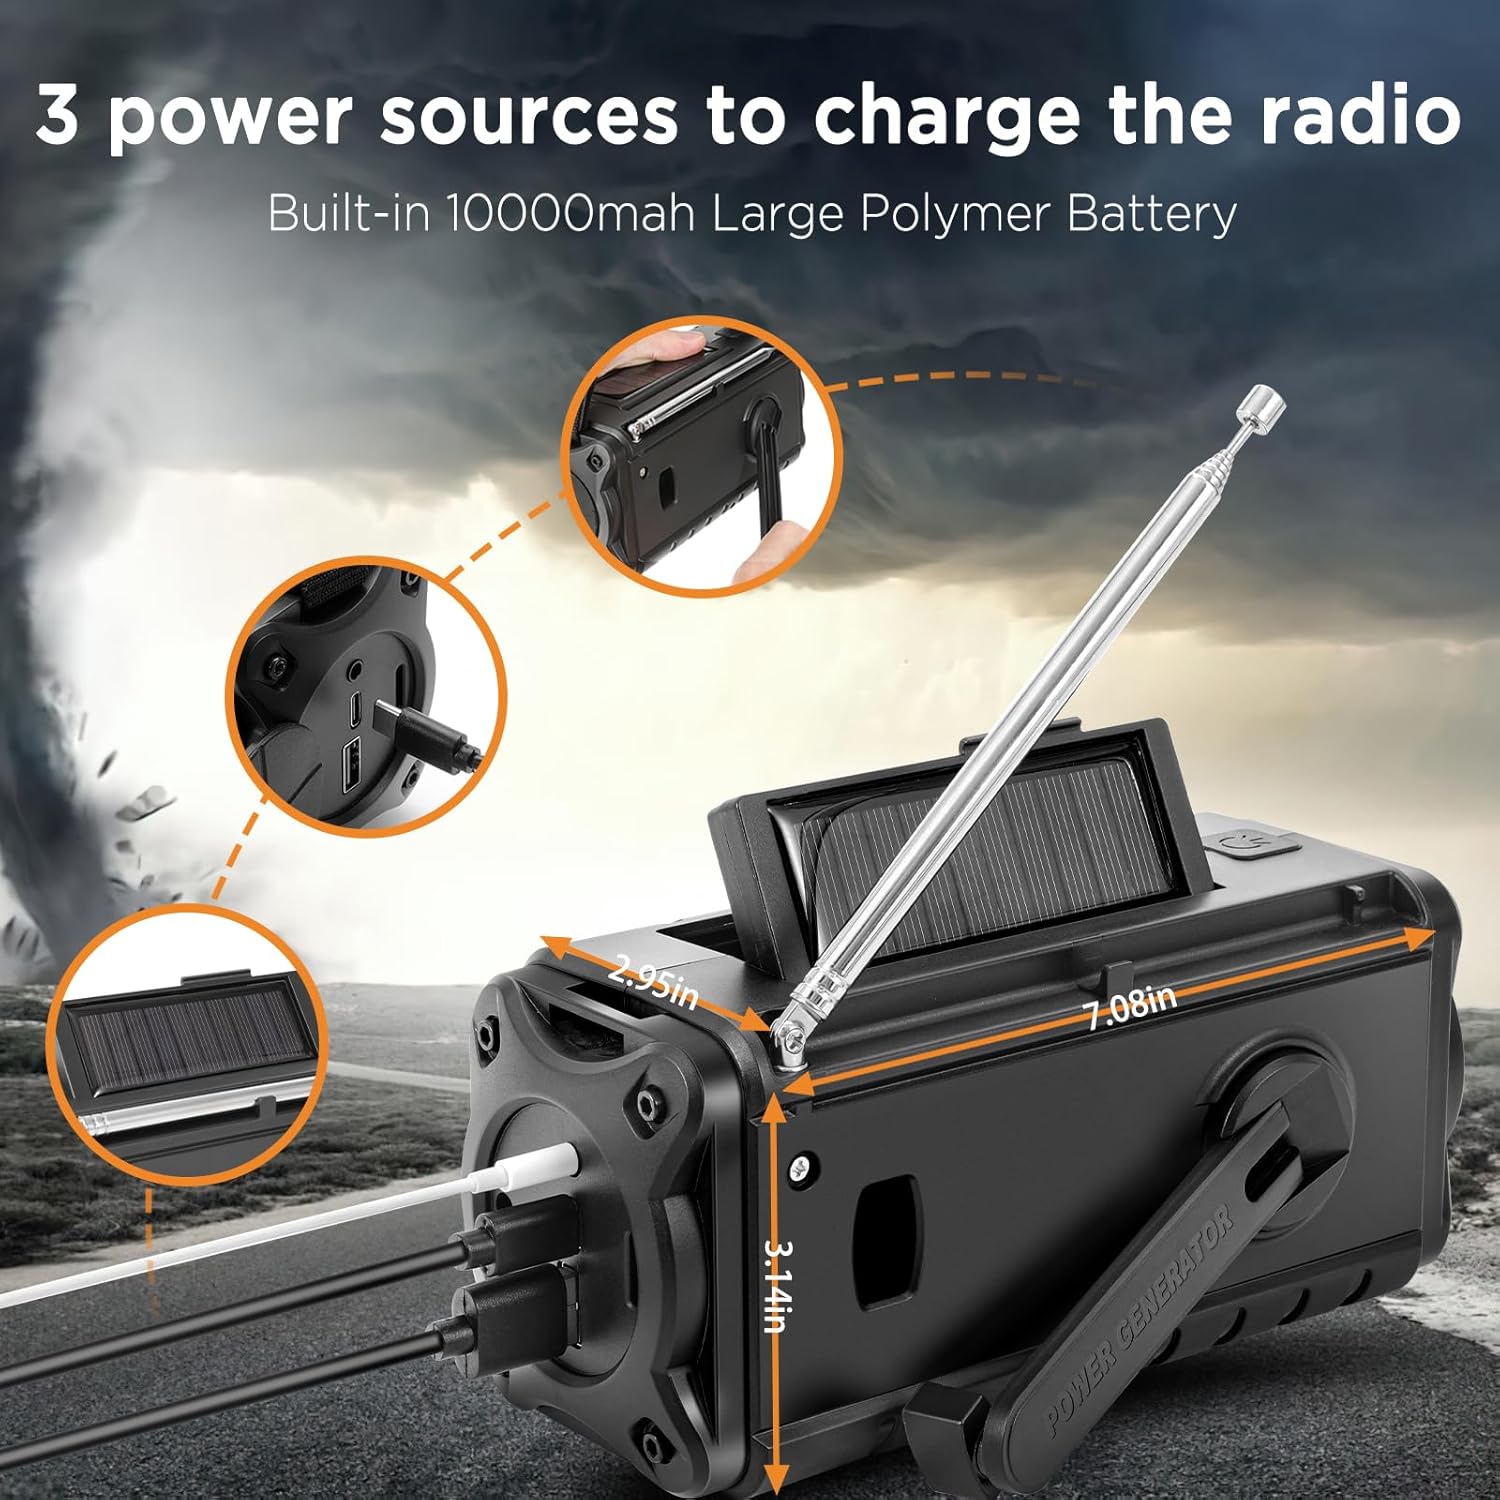
Figure 1: The Aivica XSY340 radio can be charged via Type-C USB, solar panel, or hand crank.
Antenna Extension
For optimal radio reception, extend the telescopic antenna fully. It can extend up to 24.8 inches.

Figure 2: Extend the telescopic antenna for improved signal reception.
Operating Instructions
Power On/Off
Press and hold the POWER button to turn the radio on or off.
Radio Band Selection (AM/FM/NOAA)
Press the BAND button to cycle through AM, FM, and NOAA Weather Band (WB) frequencies.
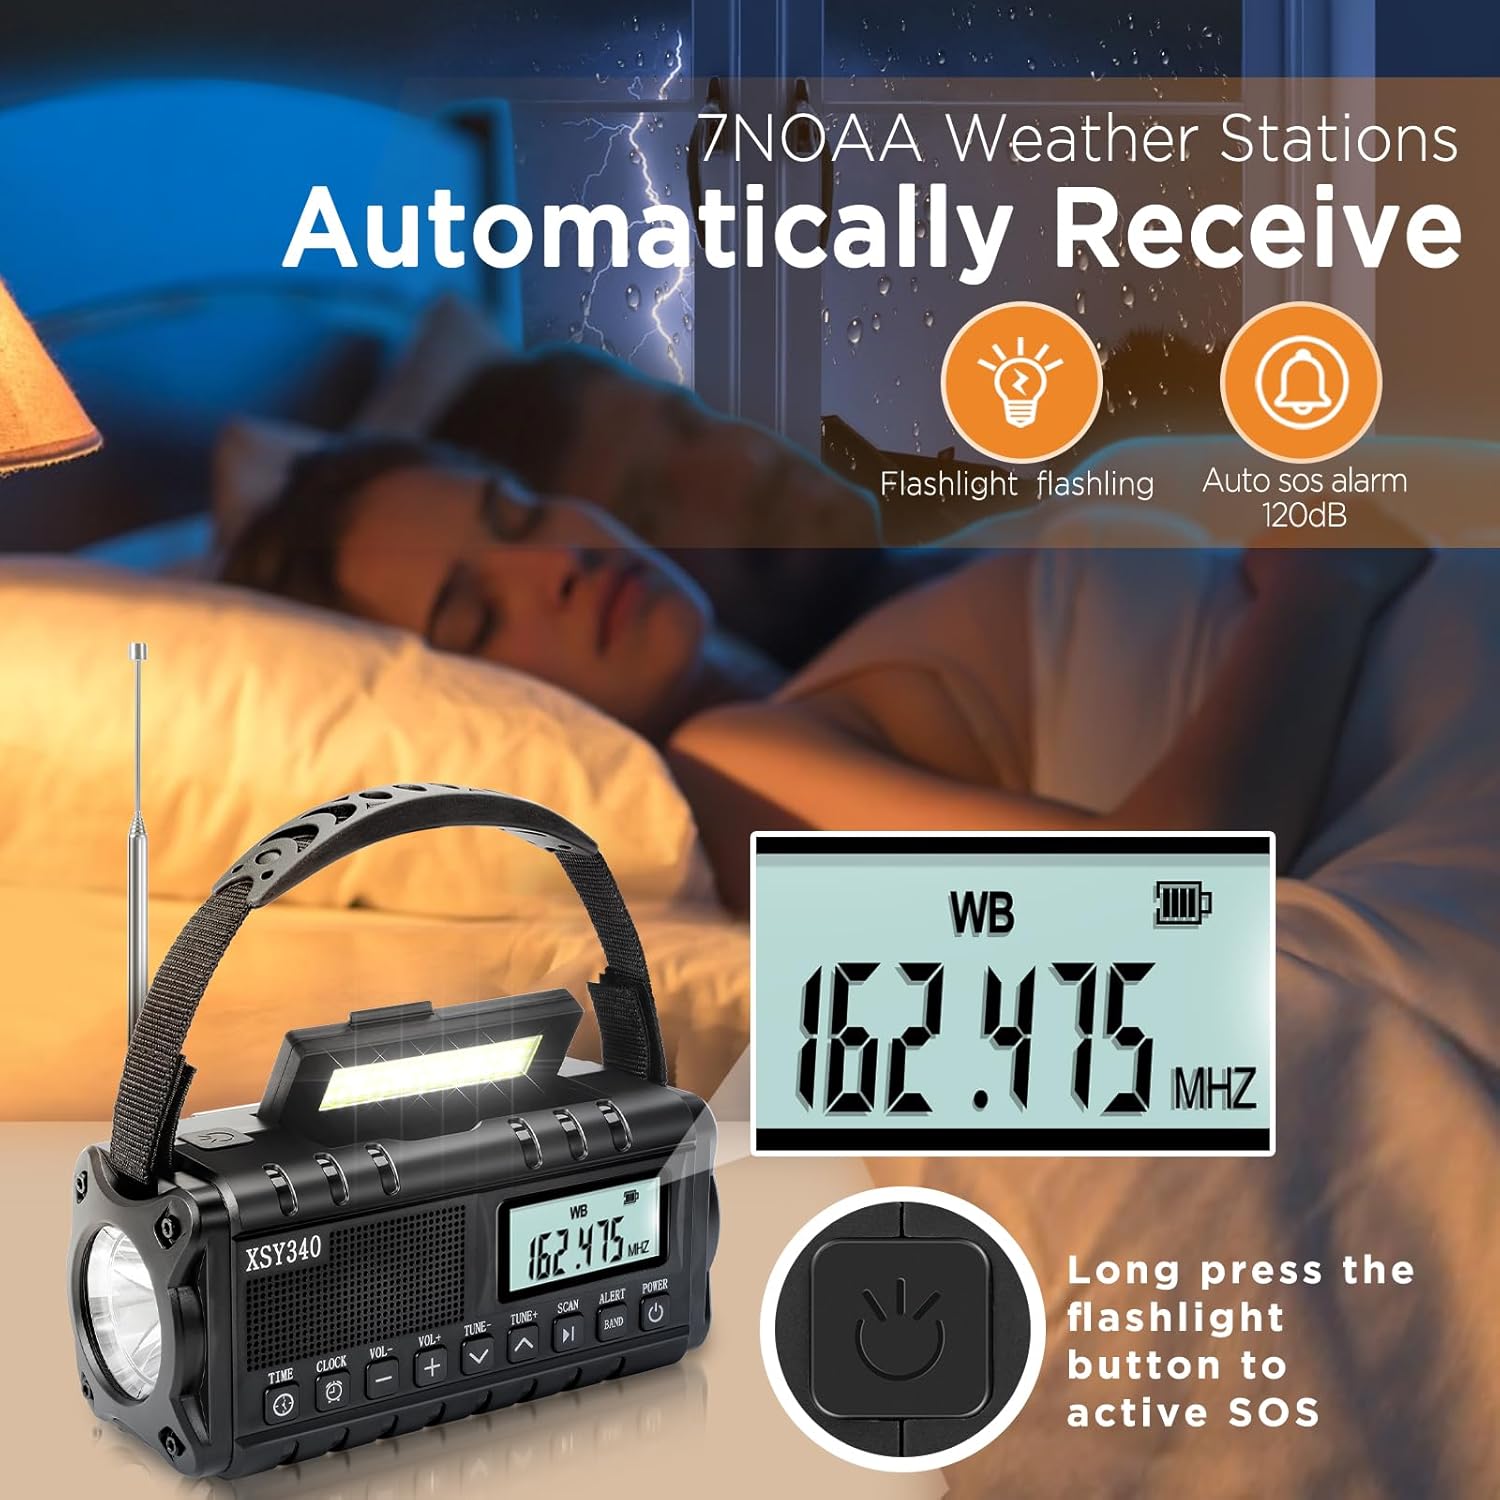
Figure 3: The radio can receive NOAA Weather Alerts, AM, and FM bands.
Tuning and Scanning
Use the TUNE+ and TUNE- buttons to manually adjust the frequency. For automatic station searching, long press the SCAN button. The radio will automatically scan and save available stations as presets.
Video 1: Demonstration of the Aivica XSY340 Emergency Hand Crank Radio's features, including radio tuning and scanning capabilities.
Volume Control
Adjust the volume using the VOL+ and VOL- buttons.
Flashlight and Reading Lamp
Press the flashlight on/off button (located on the side) to activate the 3W LED flashlight. To use the reading lamp, flip up the solar panel. The 48-piece LED reading lamp will illuminate.
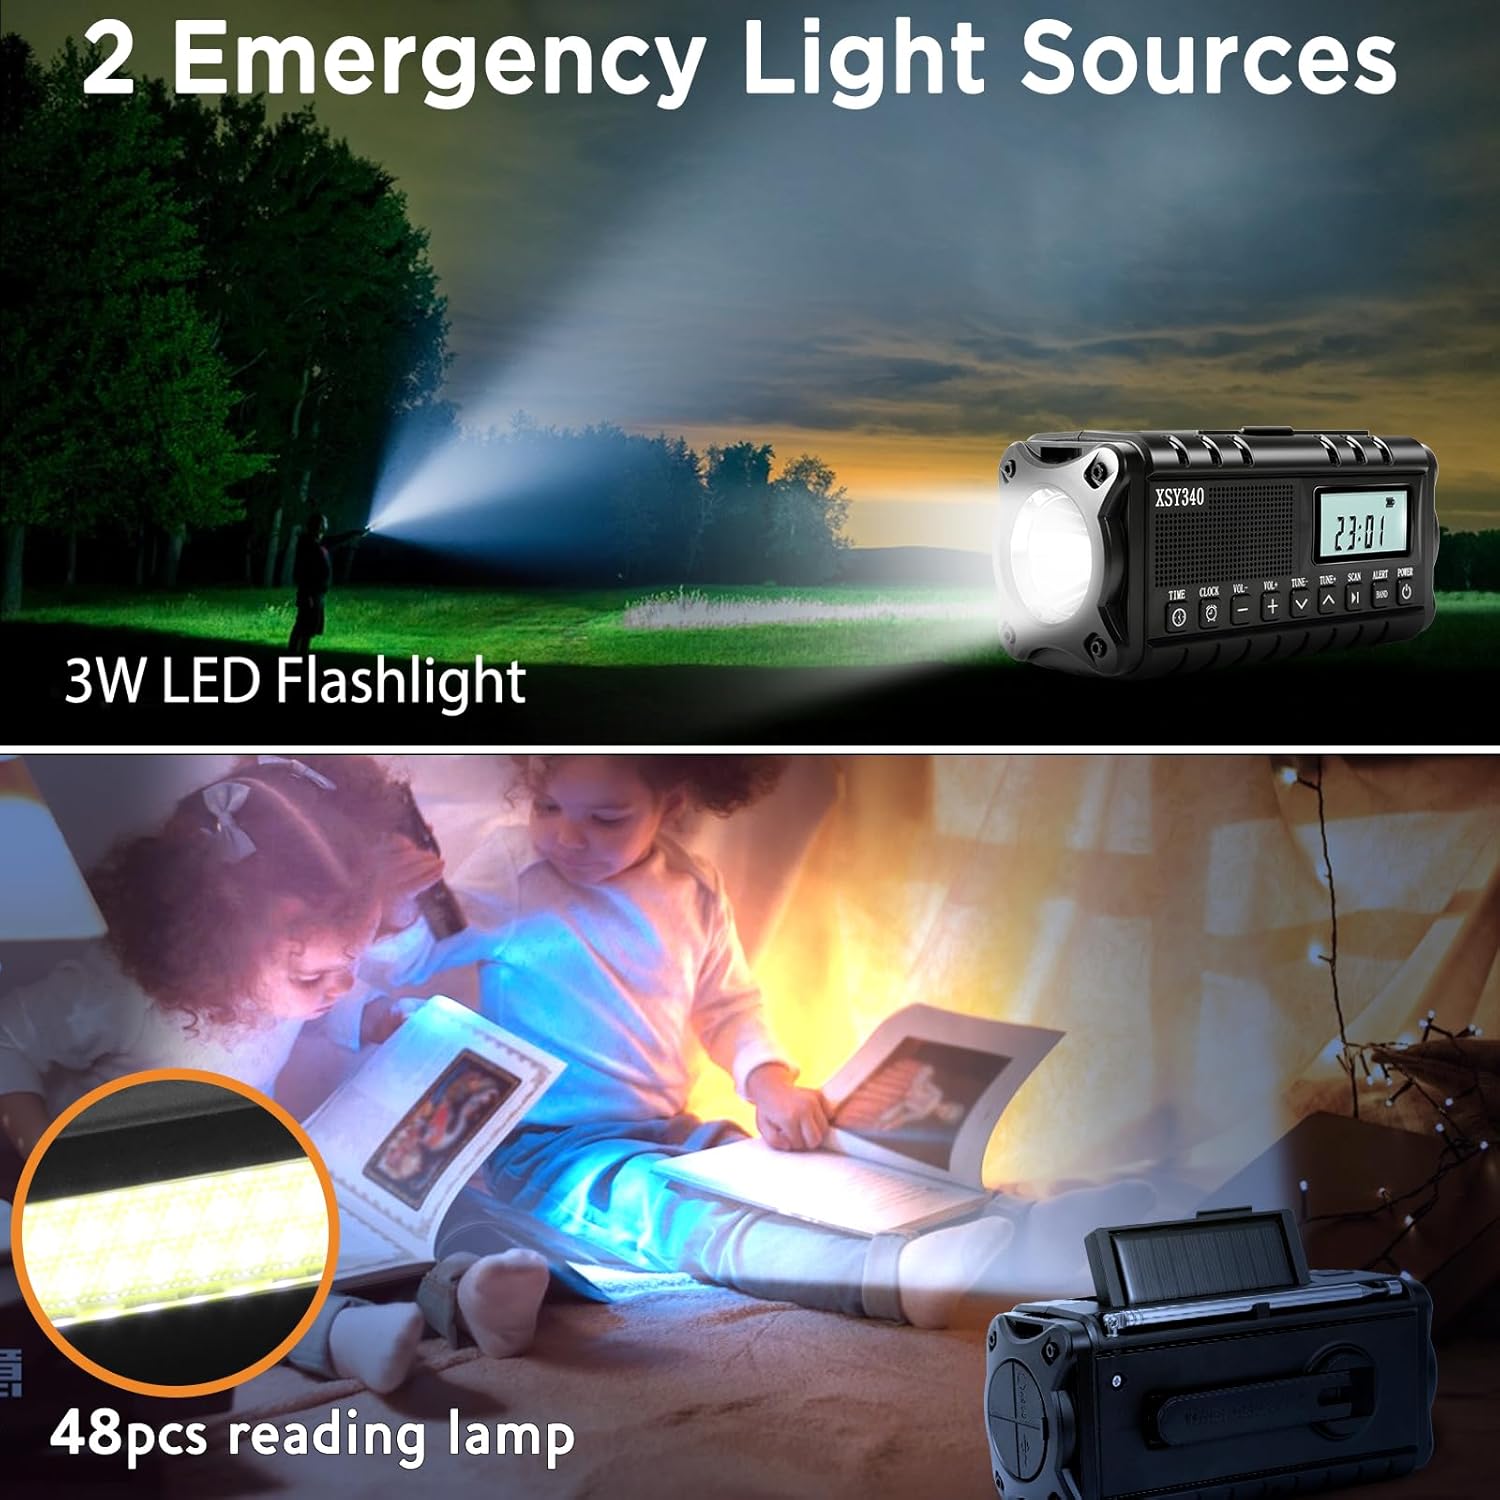
Figure 4: The radio features a powerful flashlight and a convenient reading lamp.
SOS Alarm
Long press the flashlight on/off button to activate the 120dB SOS alarm and flashing light. This function is designed to attract attention in emergency situations. Press again to turn off the SOS alert.

Figure 5: Activate the loud SOS siren and strobe light for emergency signaling.
Power Bank Function
The built-in 10000mAh battery can be used to charge external devices via the USB-A output port (5V/2A). Simply connect your device's charging cable to the radio's USB output.

Figure 6: Use the radio as a power bank to charge your mobile devices.
Headphone Jack
For private listening, plug 3.5mm headphones into the headphone jack located on the side of the radio.
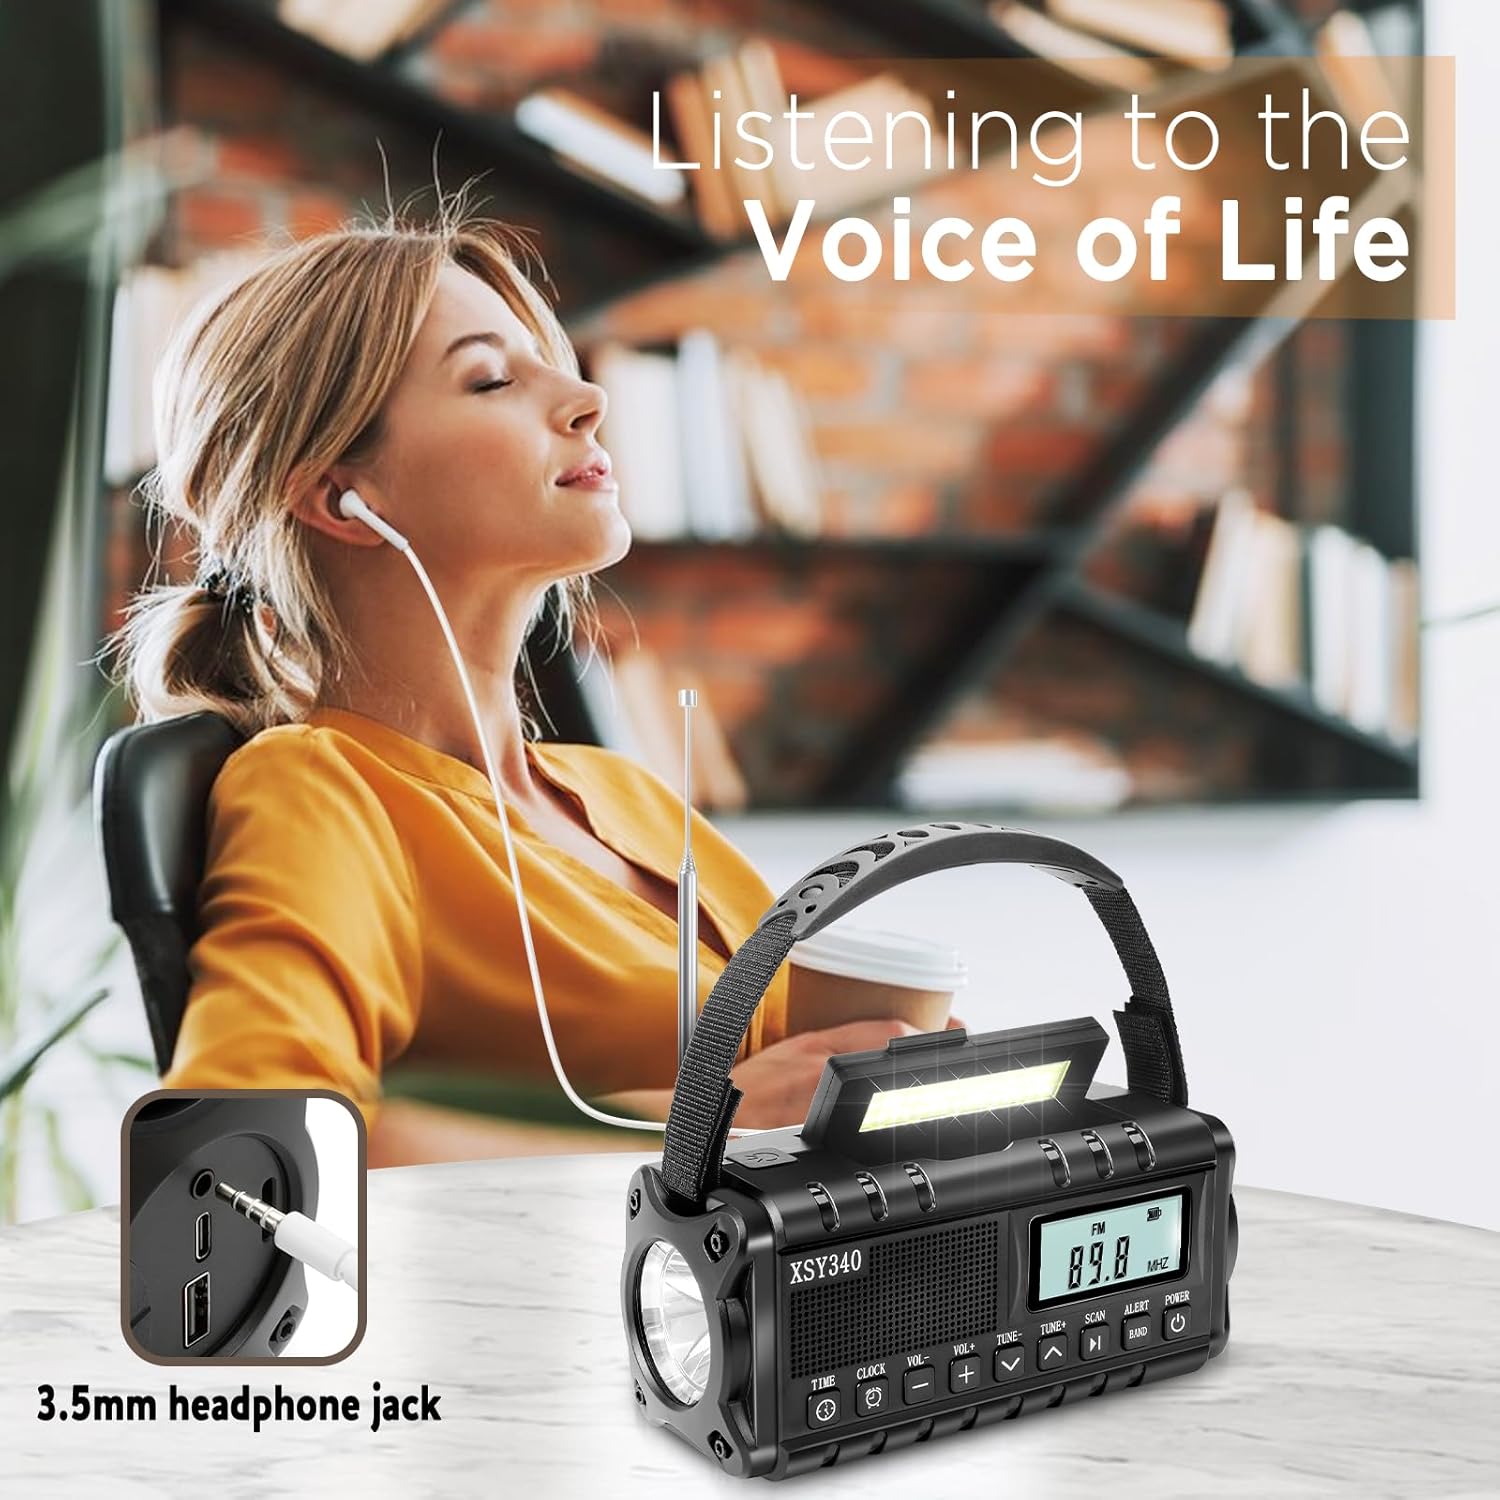
Figure 7: Enjoy private listening with the integrated 3.5mm headphone jack.
Setting Time and Alarm
Use the TIME and CLOCK buttons to set the current time and an alarm. Refer to the detailed instructions in the included Owner's Manual for specific steps.
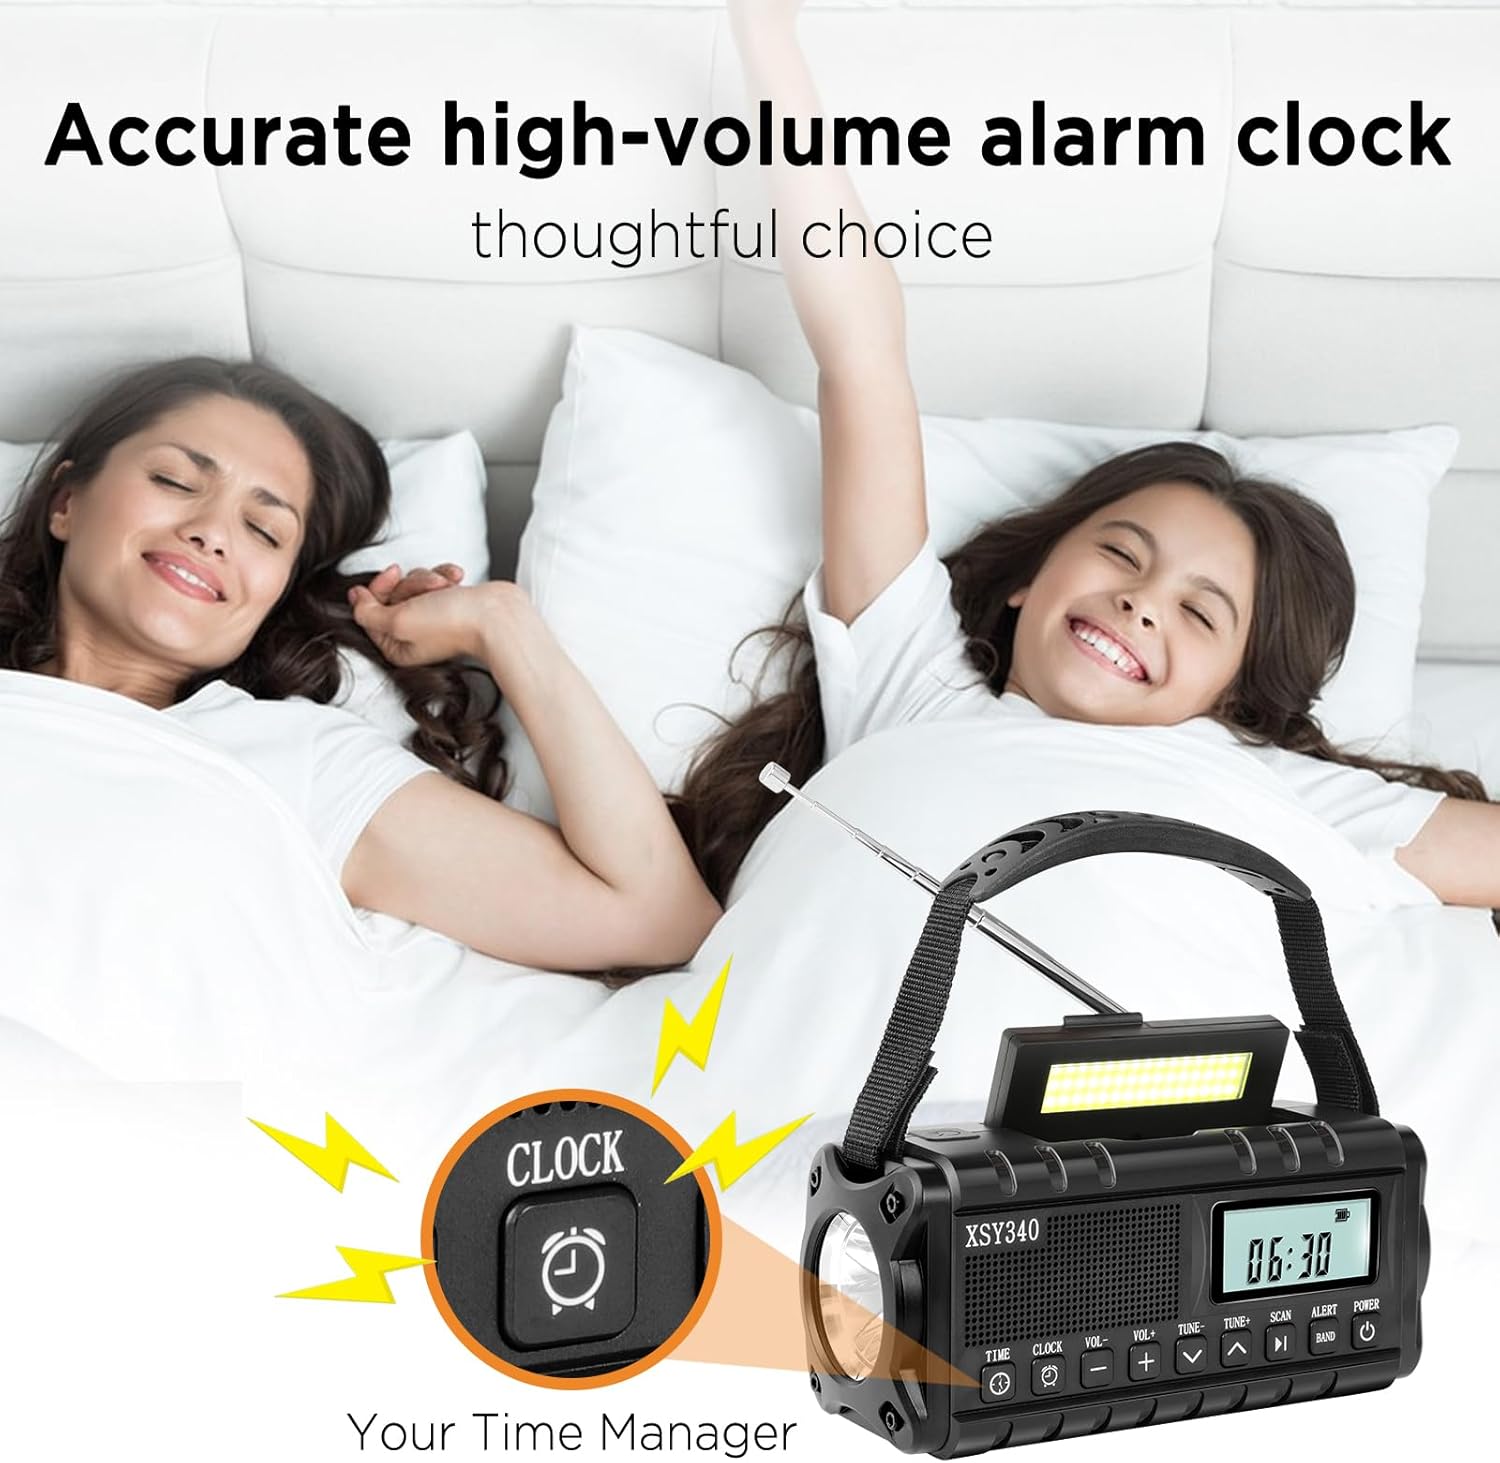
Figure 8: The radio includes an accurate alarm clock function.
Maintenance
- Keep the radio clean by wiping it with a soft, dry cloth. Avoid using harsh chemicals or abrasive cleaners.
- Store the radio in a cool, dry place when not in use.
- Regularly charge the battery, especially if stored for long periods, to maintain battery health.
- Ensure the hand crank is properly folded and secured when not in use to prevent damage.
- While the radio is IPX4 portable waterproof, avoid prolonged submersion in water.

Figure 9: The radio is IPX4 water-resistant, suitable for light rain, but should not be submerged.
Troubleshooting
| Problem | Possible Cause / Solution |
|---|---|
| Radio not turning on. | Battery might be depleted. Charge using Type-C, hand crank, or solar panel. |
| Poor radio reception. | Extend the telescopic antenna fully. Try repositioning the radio for better signal. |
| Device not charging via USB output. | Ensure the radio's battery has sufficient charge. Check the USB cable and device connection. |
| NOAA alert not activating. | Ensure the radio is in NOAA Weather Band mode and the alert function is activated (long press BAND button). Check for local NOAA broadcast availability. |
Specifications
- Model: XSY340
- Brand: Aivica
- Product Dimensions: 6 x 3 x 3 inches (6"L x 3"W x 3"H)
- Item Weight: 1.2 pounds
- Battery Capacity: 10000mAh / 37000mWh
- Power Sources: Battery Powered, Solar, Hand Crank, USB (Type-C input)
- Connectivity Technology: USB
- Special Features: 10000mAh Rechargeable, Built-In Flashlight, Reading Lamp, SOS Alarm, Headphone Jack
- Tuner Technology: FM (also AM, NOAA Weather Band)
- Manufacturer: Aivica
- Country of Origin: China
Warranty and Support
For warranty information and customer support, please refer to the contact details provided in the included Owner's Manual or visit the official Aivica website. Our customer service team is available to assist with any questions or issues you may encounter.
Documents and downloads
Ask a question about this manual
Ask about setup, troubleshooting, compatibility, parts, safety, or missing instructions. Manuals+ will review the question and use this page’s manual context to help answer it.