1. Introduction
This manual provides essential information for the safe and effective operation of the MEXTECH CEM DT820V Infrared Thermometer. This non-contact thermometer is designed for measuring surface temperatures from -50°C to 500°C (-58°F to 932°F). Please read this manual thoroughly before use and retain it for future reference.
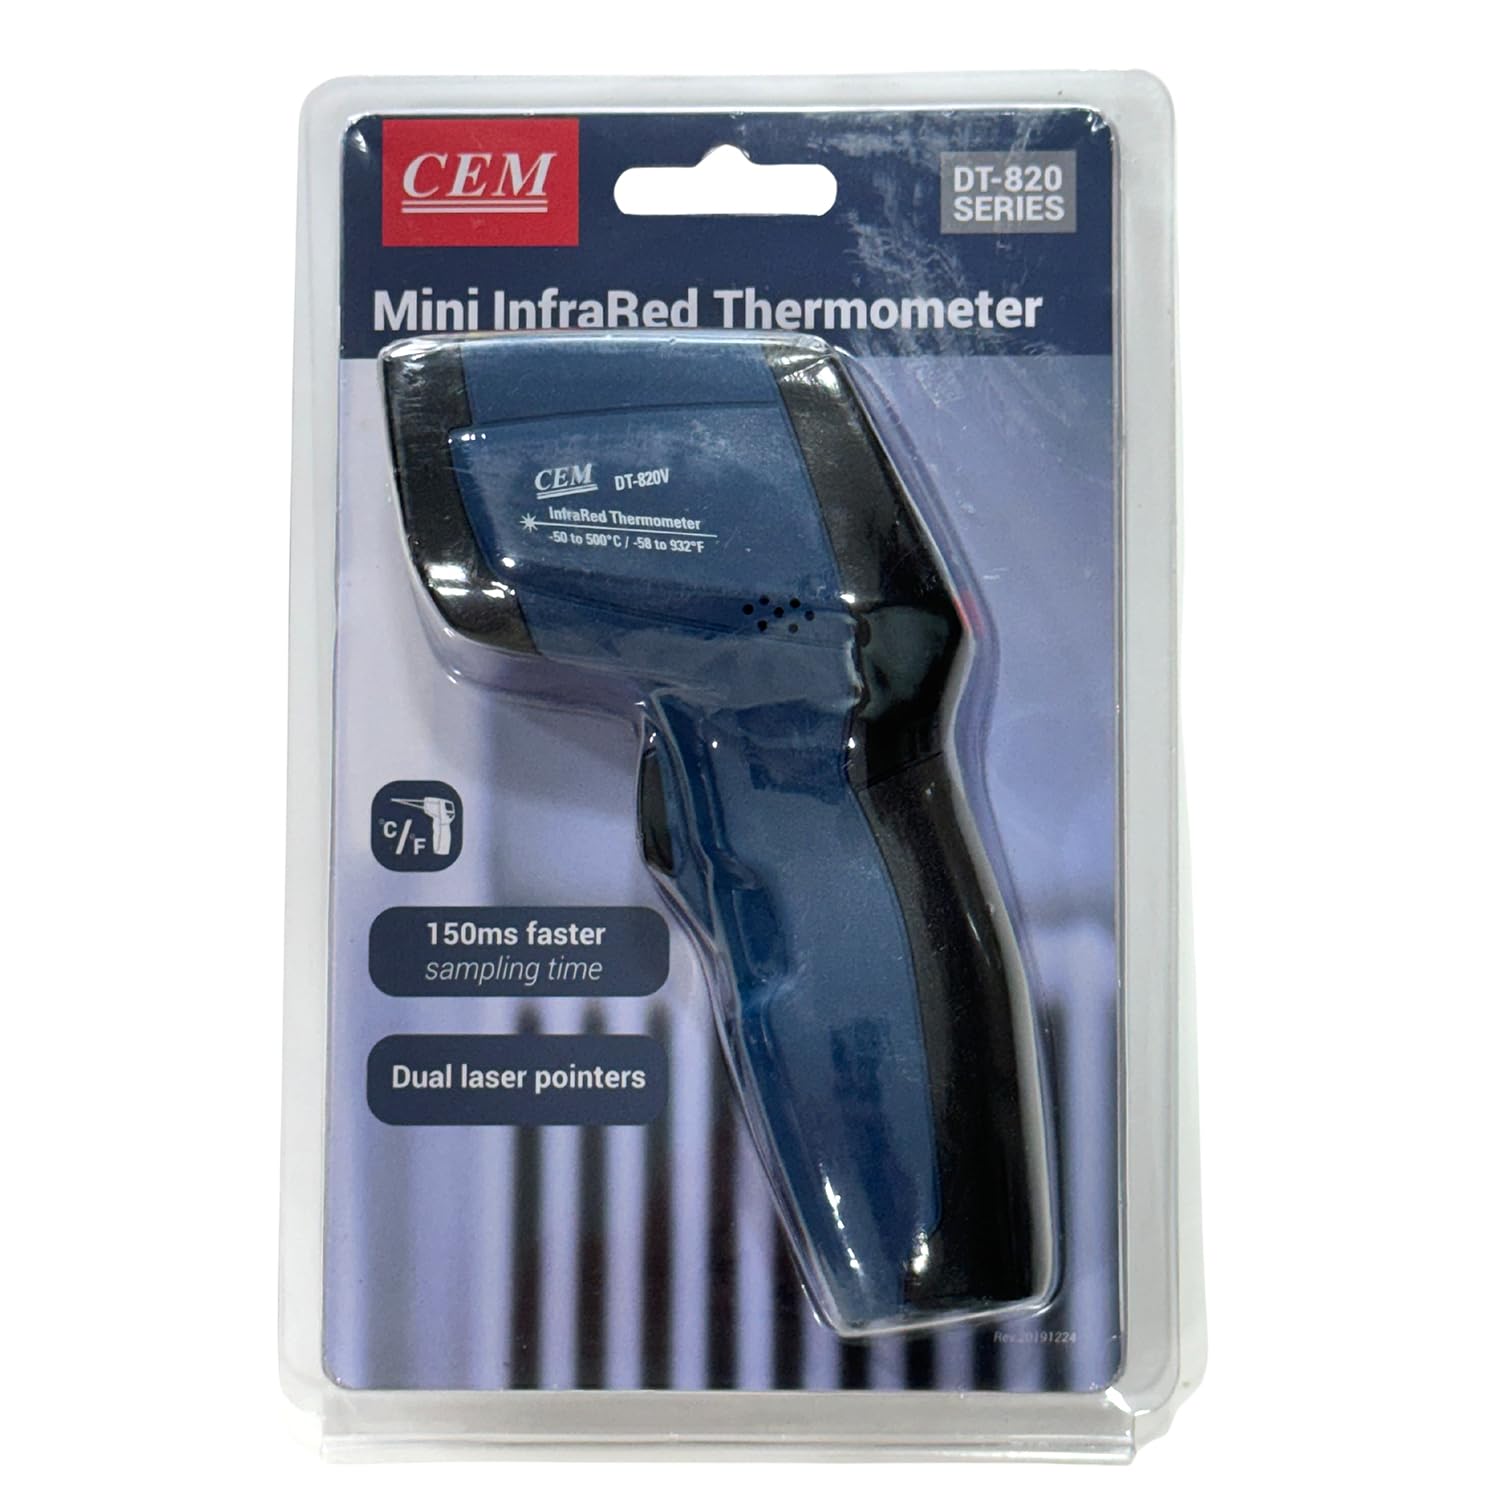
Figure 1: MEXTECH CEM DT820V Infrared Thermometer in its retail packaging.
2. Safety Information
Observe the following safety precautions to prevent injury or damage to the device:
- Laser Safety: Do not look directly into the laser beam or direct it towards people or animals. The laser is used for targeting only and does not measure temperature.
- Do not use the thermometer in environments with explosive gas, vapor, or dust.
- Avoid exposing the device to extreme temperatures, humidity, or direct sunlight.
- Do not attempt to repair or modify the device. Refer all servicing to qualified personnel.
- Keep the device out of reach of children.
3. Product Overview
3.1. Key Features
- Fast sampling time: 150ms with 1% accuracy.
- Temperature Range: -50°C to 500°C / -58°F to 932°F.
- Distance to Spot (D:S) ratio: 12:1.
- User selectable temperature units: Celsius (°C) or Fahrenheit (°F).
- Functions: Max, Min, Differential (Dif), Average (AVG) record.
- Automatic Data Hold and Auto Power Off.
- Over-range indication.
- Targeted scanning for higher/lower temperatures.
3.2. Components
The MEXTECH CEM DT820V Infrared Thermometer package includes:
- CEM DT820V Infrared Thermometer unit
- 9V battery
- Carrying case
- Clamshell packaging
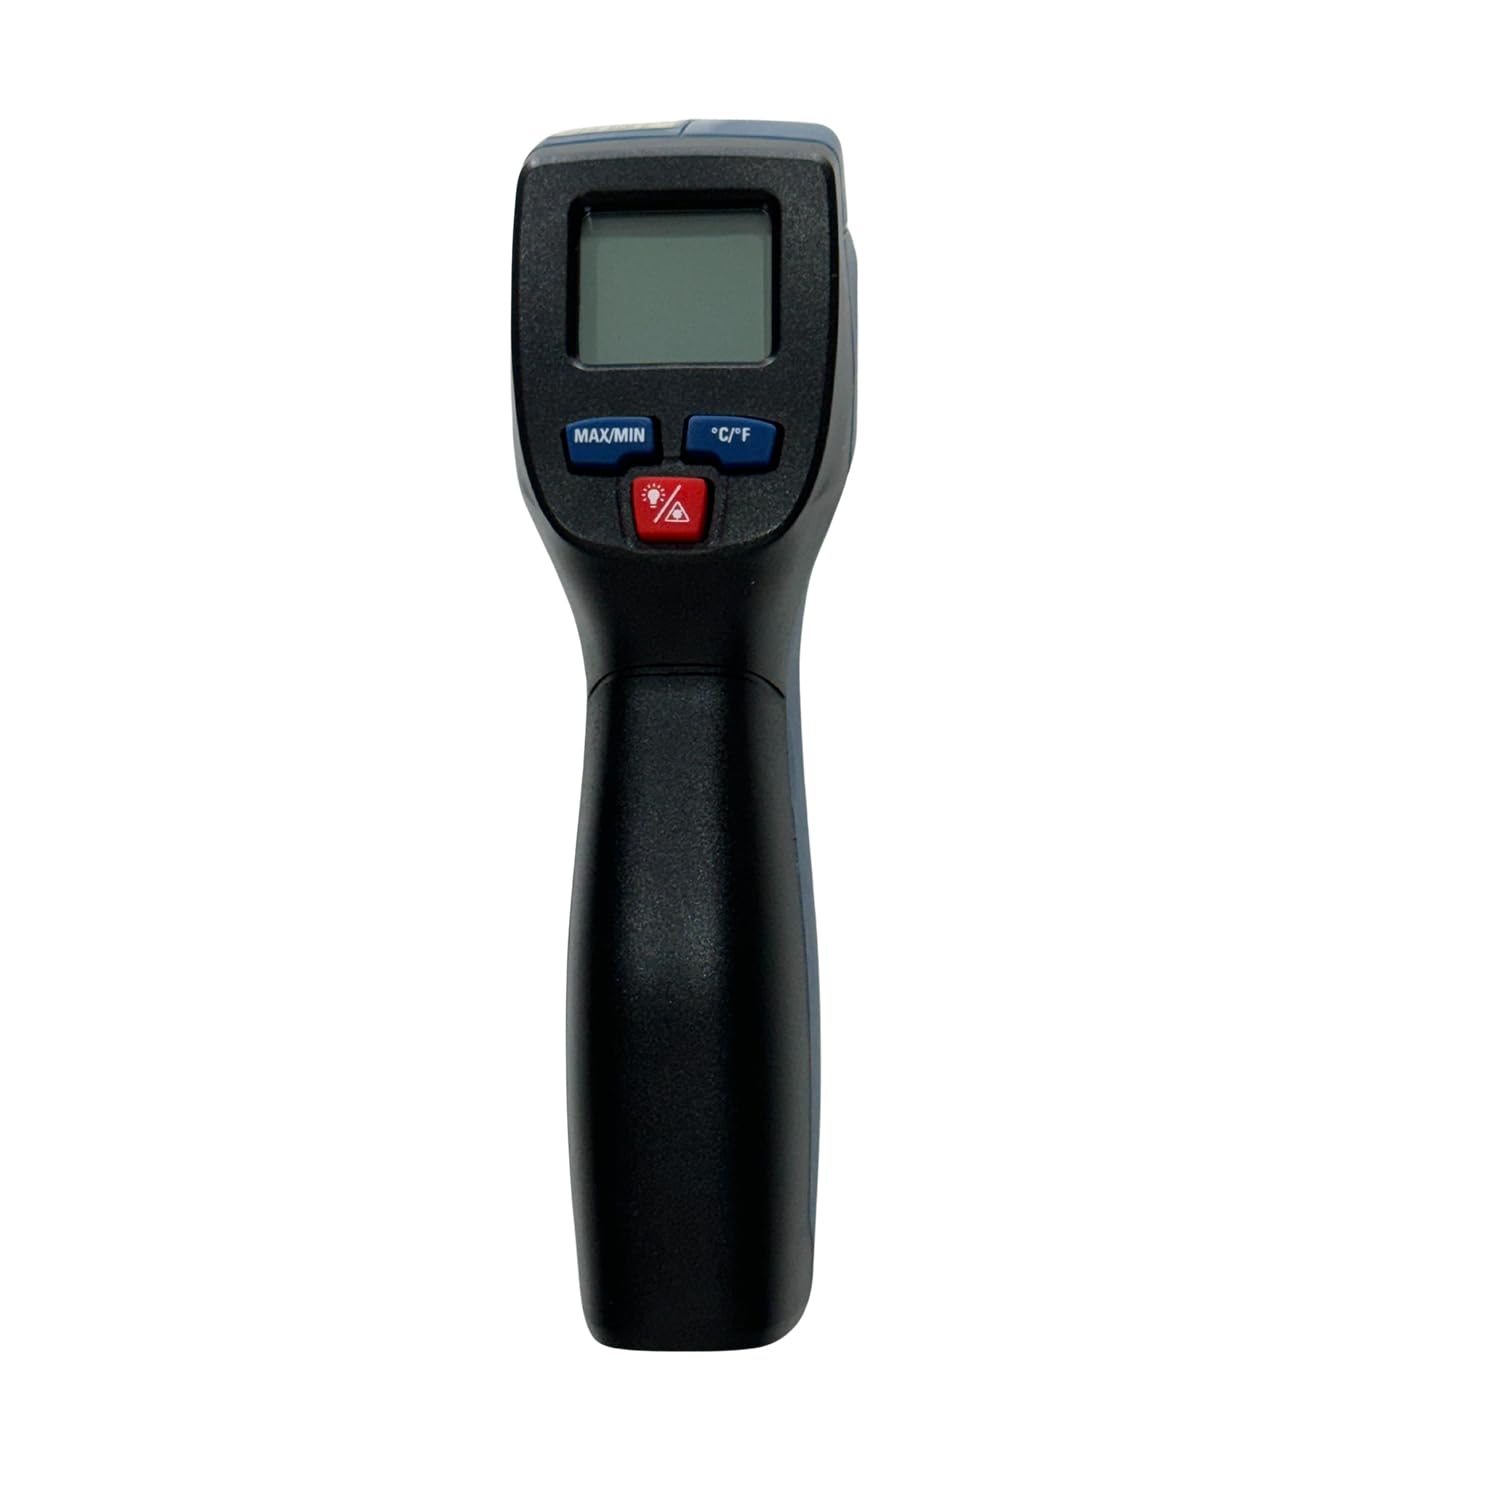
Figure 2: Front view of the CEM DT820V Infrared Thermometer.
4. Setup
4.1. Battery Installation
- Locate the battery compartment cover on the handle of the thermometer.
- Open the battery compartment.
- Insert the supplied 9V battery, ensuring correct polarity (+/-).
- Close the battery compartment cover securely.

Figure 3: Thermometer with included 9V battery and manual.
5. Operating Instructions
5.1. Taking a Measurement
- Point the thermometer at the target surface. Ensure the distance to spot ratio (12:1) is considered for accurate readings. For example, at 12 inches distance, the measurement spot diameter is 1 inch.
- Press and hold the trigger to activate the device and begin scanning. The laser pointer will activate to help aim.
- The measured temperature will be displayed on the LCD screen. The 'SCAN' indicator will appear during active measurement.
- Release the trigger to hold the last measured temperature on the display. The 'HOLD' indicator will appear.

Figure 4: Taking a temperature measurement with the DT820V.
5.2. Changing Temperature Units (°C/°F)
Press the °C/°F button on the keypad to toggle between Celsius and Fahrenheit temperature units.
5.3. MAX/MIN/DIF/AVG Functions
Press the MAX/MIN button to cycle through the maximum, minimum, differential (difference between max and min), and average temperature readings during a scanning session.

Figure 5: Close-up of the display and control buttons (MAX/MIN, °C/°F, Laser).
5.4. Data Hold and Auto Power Off
- The device automatically holds the last reading on the display when the trigger is released. The 'HOLD' icon will be visible.
- To conserve battery life, the thermometer will automatically power off after approximately 15 seconds of inactivity.

Figure 6: Display showing a held temperature reading.
6. Maintenance
6.1. Cleaning
- Clean the lens with a soft, damp cloth or cotton swab. Do not use abrasive cleaners or solvents.
- Wipe the thermometer casing with a damp cloth. Do not immerse the device in water.
6.2. Battery Replacement
When the low battery indicator appears on the display, replace the 9V battery as described in the "Battery Installation" section (4.1). Dispose of used batteries responsibly.
6.3. Storage
Store the thermometer in its carrying case in a cool, dry place when not in use for extended periods. Remove the battery if storing for more than one month to prevent leakage.
7. Troubleshooting
| Problem | Possible Cause | Solution |
|---|---|---|
| No display/Device won't turn on | Dead or incorrectly installed battery | Replace or re-install the 9V battery, ensuring correct polarity. |
| Inaccurate readings | Dirty lens; incorrect distance to spot ratio; target outside temperature range | Clean the lens; ensure proper distance to target; verify target temperature is within -50°C to 500°C. |
| Laser not working | Laser function disabled; malfunction | Press the laser button to activate; if still not working, contact support. |
8. Specifications
| Model | DT820V |
| Temperature Range | -50°C to 500°C (-58°F to 932°F) |
| Accuracy | ±1% (for readings above 0°C) |
| Response Time | 150 ms |
| Distance to Spot Ratio (D:S) | 12:1 |
| Emissivity | Fixed (typically 0.95) |
| Display Type | Digital LCD |
| Power Source | 9V Battery (included) |
| Auto Power Off | Yes, after approx. 15 seconds of inactivity |
| Included Components | 9V battery, Carrying case, Clamshell |
| Material | Plastic |
| Item Weight | 300 g |
| Dimensions (Item Length) | 10 Centimetres |
| Certification | CE |
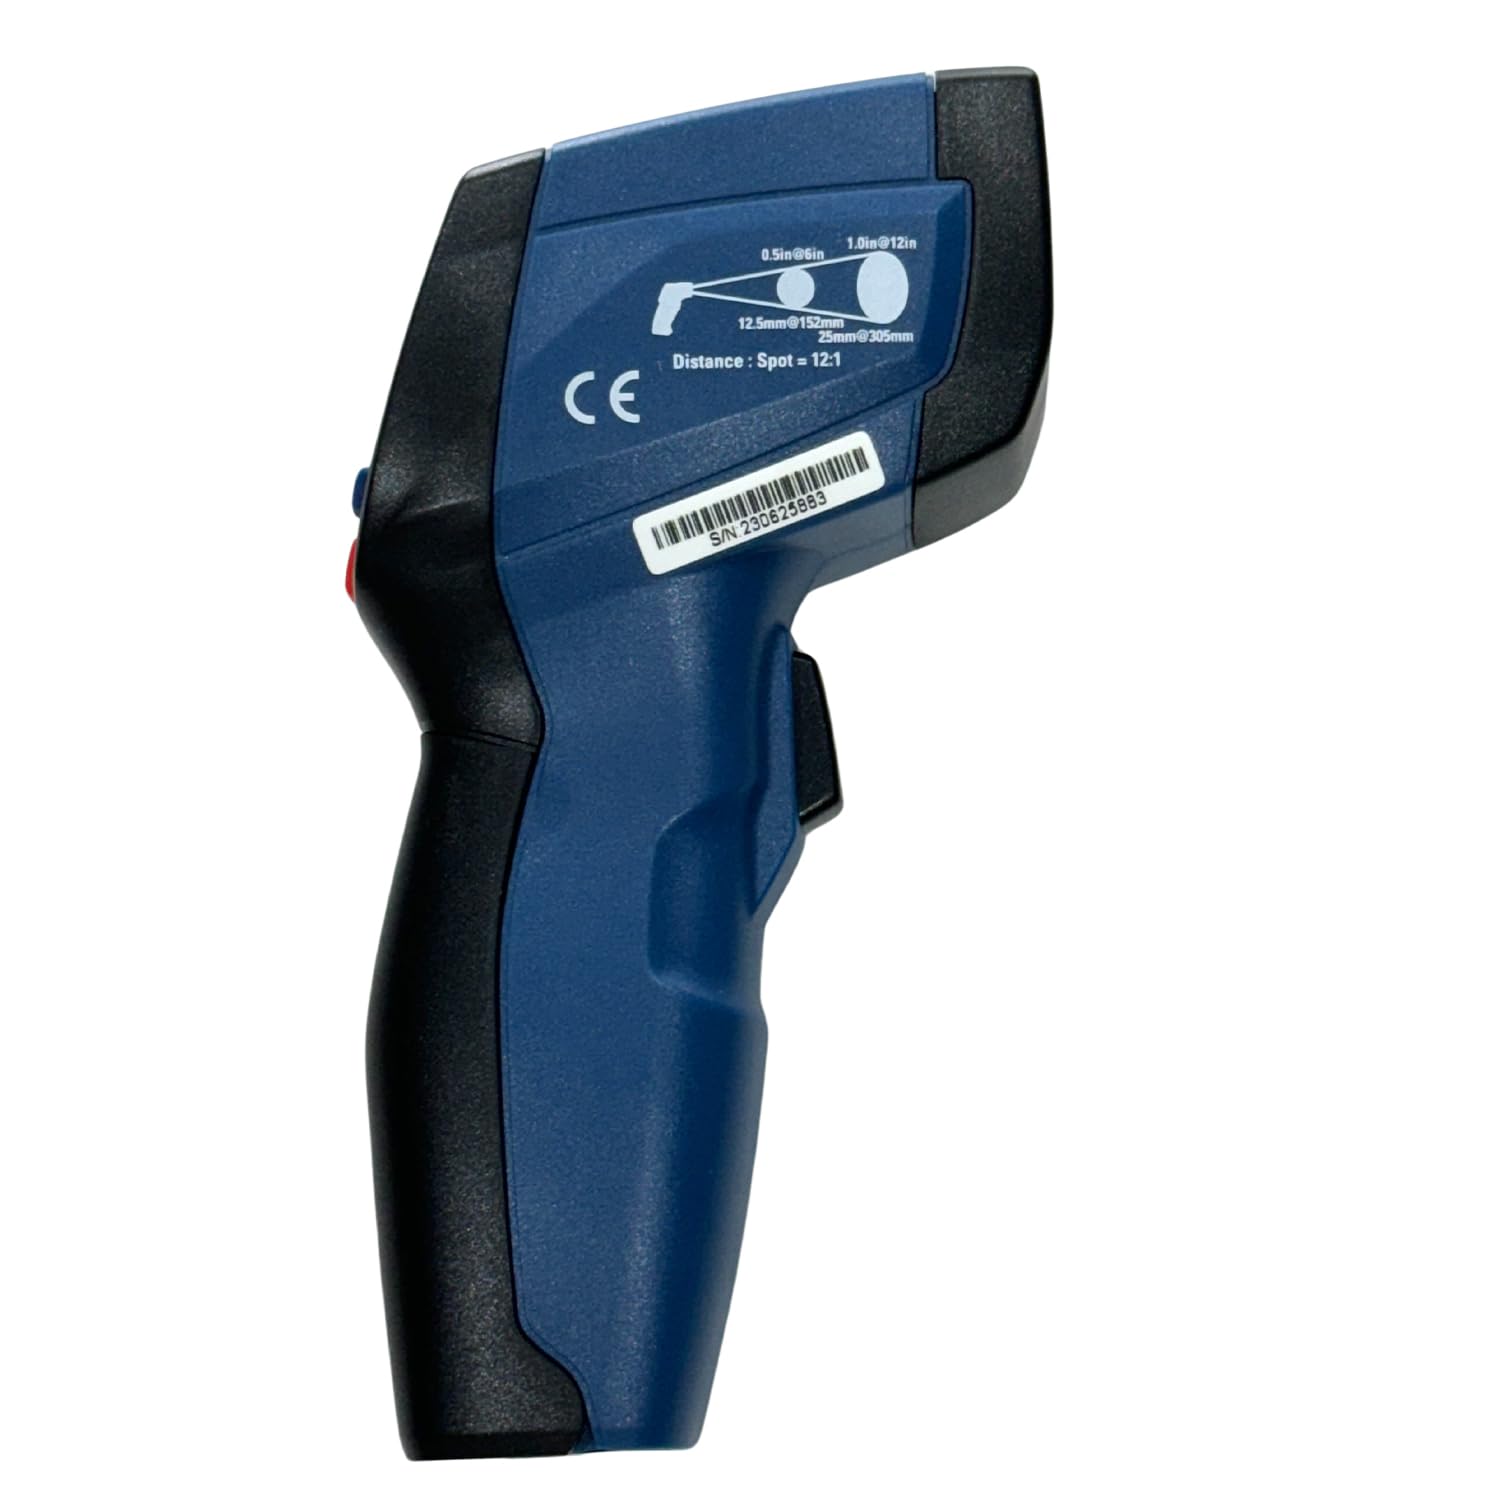
Figure 7: Side view illustrating the 12:1 Distance to Spot ratio.
9. Warranty and Support
For warranty information or technical support, please refer to the documentation provided with your purchase or contact MEXTECH customer service. Keep your purchase receipt as proof of purchase.


