1. Introduction
This manual provides instructions for the GHUST Replacement Remote Control, designed for use with various Denon AV receiver models. This remote offers a direct replacement solution without the need for complex programming or setup. Simply insert batteries, and it is ready for use.

Image: The GHUST Replacement Remote Control, highlighting its durability, stable signal, and multi-functional design. No setup or programming is required for operation.
Key features include precise control, durable ABS construction, and an advanced chip for reliable performance. Its compact size ensures comfortable handling.

Image: The GHUST Replacement Remote Control positioned with a Denon AV receiver, illustrating its sensitive keys, construction from durable ABS materials, and the integration of an advanced chip for precise control.
2. Setup
2.1 Battery Installation
The remote control requires two (2) AAA batteries for operation. Batteries are not included with the product.
- Locate the battery compartment cover on the back of the remote control.
- Slide the cover downwards or press the latch (if present) to open the compartment.
- Insert two AAA batteries, ensuring the positive (+) and negative (-) terminals align correctly with the markings inside the compartment.
- Replace the battery compartment cover by sliding it back into position until it clicks securely.

Image: The rear view of the remote control with the battery compartment open, indicating the correct placement for two AAA batteries. Batteries are not supplied with the remote.
Once batteries are installed, the remote control is ready for immediate use with compatible Denon AV receivers. No additional programming or pairing is necessary.
3. Operating Instructions
The GHUST Replacement Remote Control functions identically to the original Denon remote. Point the remote directly at your Denon AV receiver for optimal signal transmission.
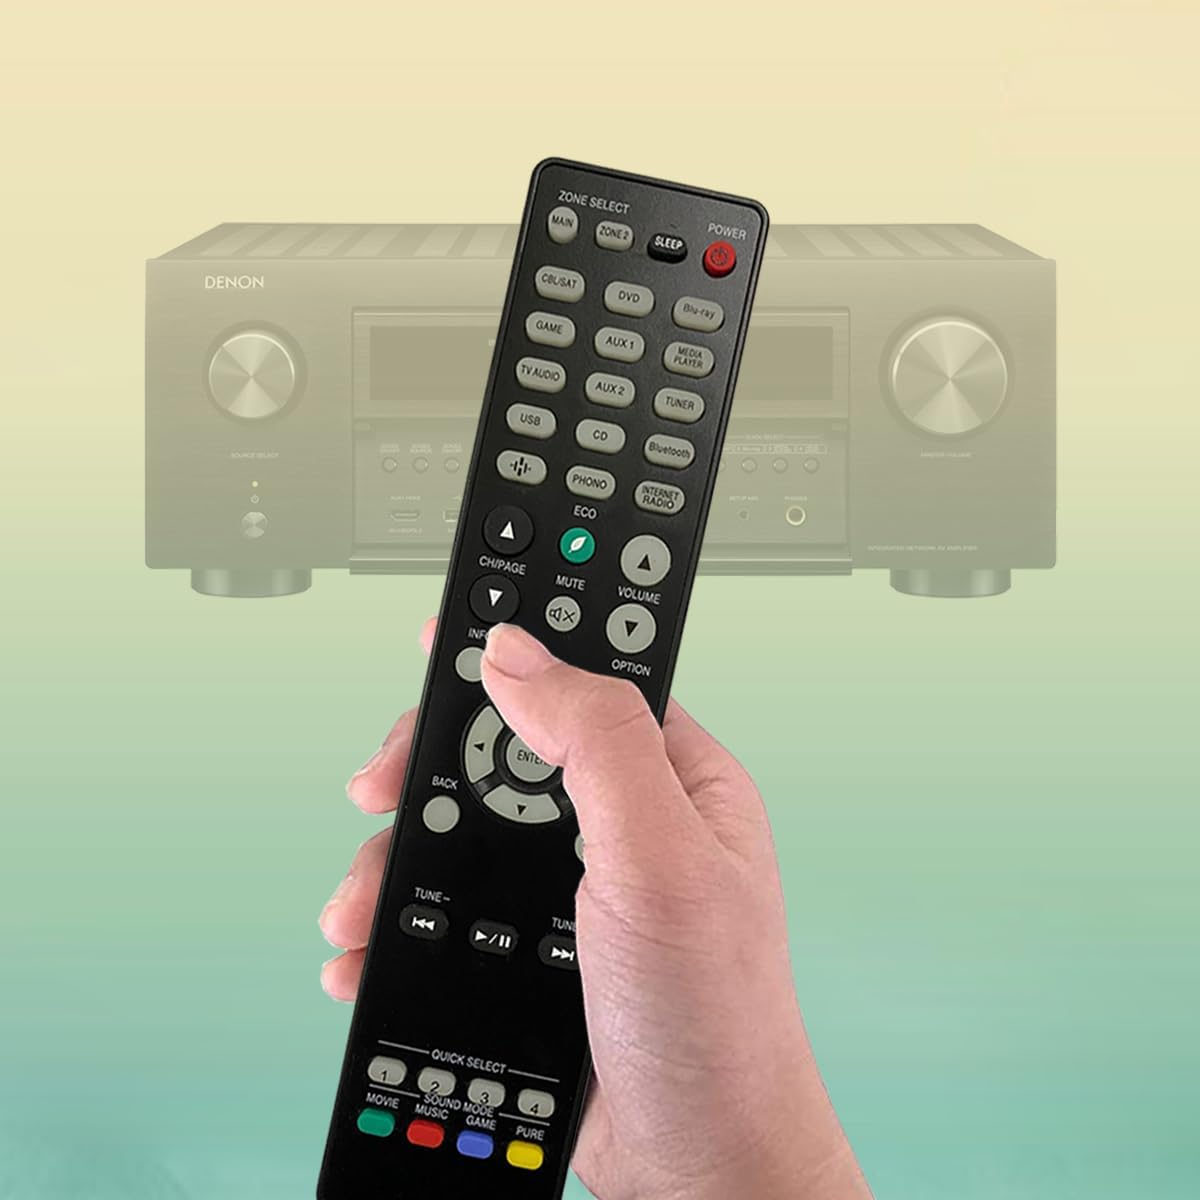
Image: A hand holding the GHUST remote control, demonstrating the typical usage posture when operating a Denon AV receiver.
3.1 Basic Functions
- POWER: Press to turn the receiver ON or OFF.
- ZONE SELECT (MAIN, ZONE 2, SLEEP): Selects the audio zone or activates sleep timer.
- Input Selectors (CBL/SAT, DVD, Blu-ray, GAME, AUX 1, AUX 2, MEDIA PLAYER, TV AUDIO, USB, CD, TUNER, Bluetooth, PHONO, INTERNET RADIO): Press to select the desired input source.
- VOLUME (+/-): Adjusts the master volume level.
- MUTE: Toggles audio mute ON/OFF.
- CH/PAGE (+/-): Navigates channels or pages in menus.
- INFO: Displays information on the screen.
- OPTION: Accesses options menu.
- Navigation Buttons (Up, Down, Left, Right, ENTER): Used for menu navigation and selection.
- BACK: Returns to the previous menu or screen.
- SETUP: Accesses the receiver's setup menu.
- TUNE (+/-): Adjusts radio tuning.
- Playback Controls (|<, >/||, >|): Controls media playback (Previous, Play/Pause, Next).
- QUICK SELECT (1, 2, 3, 4): Customizable buttons for quick access to preferred settings or inputs.
- SOUND MODE (MOVIE, MUSIC, GAME, PURE): Selects various sound modes.
Refer to your Denon AV receiver's original manual for detailed functions of specific buttons, as their behavior may vary slightly depending on the receiver model.
4. Compatible Denon AV Receiver Models
This GHUST Replacement Remote Control is compatible with a wide range of Denon AV receiver models. A partial list of compatible models includes:
- AVR-S940H, AVR-S950H, AVR-X2500H, AVR-X2600H
- AVR-X3500H, AVR-X3600H, AVR-S930H, AVR-X2400H
- AVR-S900W, AVR-S910W, AVR-S920W, AVR-S730H
- AVR-X2100W, AVR-X3100W, AVR-X2200W, AVR-X2300W
- AVR-X3300W, AVR-X3400H, AVR-S740H, AVR-S750H
- AVR-X1400H, AVR-X1500H, AVR-X1600H, AVR-S900W
- AVR-X2100W, AVR-X3100W, AVR-X250BT, RC-1254
- AVR-X580BT, RC-1259, DRA-800H, DRA-900H
- RC-1257, AVR-S770H, AVR-X1800H, RC-1258
- AVR-S670H, AVR-X1700H, RC-1253, AVR-S970H
- RC-1219, AVR-X4500H, AVC-X6700H, RC-1221
- AVR-X8500HA, RC-1240, AVR-X6700H, AVR-X4700H
- AVR-S660H, AVR-S650H, RC-1250, AVC-A1H
This list is not exhaustive. If your Denon receiver model is not listed, but uses a remote similar in appearance and function to the original Denon remotes for these models, it is likely compatible.
5. Maintenance
5.1 Cleaning
To clean the remote control, use a soft, dry cloth. For stubborn dirt, lightly dampen the cloth with water or a mild, non-abrasive cleaner. Avoid using harsh chemicals, solvents, or abrasive materials, as these can damage the remote's surface or internal components.
5.2 Battery Replacement
Replace batteries when the remote's response becomes sluggish or stops working. Always replace both AAA batteries at the same time with new ones. Do not mix old and new batteries, or different types of batteries. Dispose of used batteries according to local regulations.
6. Troubleshooting
| Problem | Possible Cause | Solution |
|---|---|---|
| Remote not working. | Dead or incorrectly inserted batteries. | Replace batteries with new AAA batteries, ensuring correct polarity (+/-). |
| Remote has short range or intermittent response. | Weak batteries; Obstruction between remote and receiver; Remote not pointed correctly. | Replace batteries. Ensure a clear line of sight to the receiver's IR sensor. Point the remote directly at the receiver. |
| Certain buttons do not function. | Button stuck or damaged; Receiver model incompatibility for specific advanced functions. | Check if the button is physically stuck. While the remote is broadly compatible, some highly specific functions might not map perfectly across all Denon models. Refer to your receiver's manual. |
7. Specifications
- Product Dimensions: 8.6 x 1.9 x 0.9 inches
- Item Weight: 3 ounces
- Batteries Required: 2 x AAA (not included)
- Material: High-quality ABS
- Color: Black
- Max Number of Supported Devices: 1 (controls one Denon AV receiver at a time)

Image: The GHUST Replacement Remote Control shown with its physical dimensions: 8.6 inches in length, 1.9 inches in width, and 0.9 inches in thickness.
8. Warranty and Support
GHUST provides customer support for its products. If you encounter any issues or have questions regarding your replacement remote control, please contact the seller or GHUST customer service for assistance. Information regarding specific warranty terms may be available from your point of purchase.


