1. Introduction
Thank you for choosing the TISHRIC M2 SSD Enclosure. This ultra-thin, high-speed external hard drive case is designed to convert your M.2 NVMe SSD into a portable storage solution. Its all-aluminum CNC shell ensures excellent heat dissipation and durability, making it ideal for mobile data transfer and storage.

Image 1.1: The TISHRIC M2 SSD Enclosure, showcasing its sleek, dark gray design with the TISHRIC logo and an illuminated indicator light.
Key Features:
- Ultra-Thin Design: At just 5mm thick, it is highly portable and easy to carry.
- High-Speed Transmission: Equipped with a USB 3.1 Gen2 interface, supporting data transfer speeds up to 10Gbps.
- Excellent Heat Dissipation: All-aluminum CNC shell provides strong heat dissipation for data security.
- Wide Compatibility: Supports 2230, 2242, 2260, and 2280 M.2 NVMe SSDs.
- Large Capacity Support: Capable of supporting up to 5TB capacity hard drives.

Image 1.2: Dimensions of the TISHRIC M2 SSD Enclosure, measuring 115mm (4.52 inches) in length, 33mm (1.29 inches) in width, and 5mm (0.19 inches) in thickness.
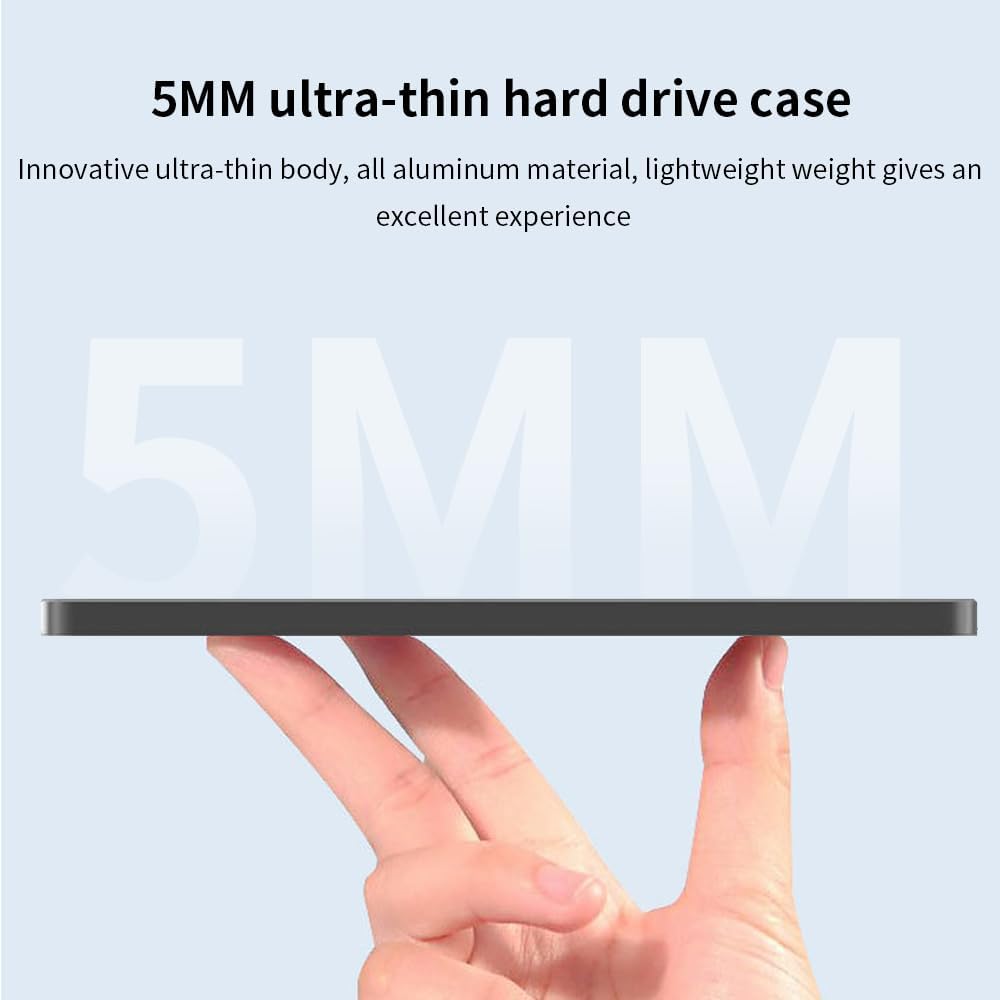
Image 1.3: A close-up view emphasizing the 5mm ultra-thin profile of the TISHRIC M2 SSD Enclosure, highlighting its slim design.
2. Setup Guide
Follow these steps to install your M.2 NVMe SSD into the TISHRIC M2 Enclosure.
2.1 Package Contents:
- TISHRIC M2 SSD Enclosure (Cassette)
- USB-C to USB-A Cable (or similar, depending on model)
- Screwdriver and screws (if applicable for securing SSD)
2.2 SSD Installation Steps:
- Open the Enclosure: Gently slide open or unclip the enclosure cover to reveal the internal M.2 slot. Refer to the product's specific design for opening mechanism.
- Insert the SSD: Align your M.2 NVMe SSD with the M-key slot inside the enclosure. Insert the SSD firmly but gently into the slot at an angle.
- Secure the SSD: Once inserted, push down the SSD and secure it with the provided screw (if applicable) at the end of the SSD to hold it in place.
- Close the Enclosure: Carefully slide or clip the enclosure cover back into place, ensuring it is securely closed.

Image 2.1: Diagram illustrating compatibility with various M.2 SSD sizes: 2230, 2242, 2260, and 2280, showing how different lengths fit within the enclosure.
3. Operating Instructions
Once your SSD is installed, the enclosure is ready for use with your computer.
3.1 Connecting to a Computer:
- Connect one end of the provided USB cable to the Type-C port on the TISHRIC M2 SSD Enclosure.
- Connect the other end of the USB cable to an available USB port on your computer (USB 3.0/3.1/3.2 for optimal performance).
- The enclosure's indicator light will illuminate, indicating it is powered on and connected.
- Your computer should detect the new storage device. If it's a new SSD, you may need to initialize and format it through Disk Management (Windows) or Disk Utility (macOS) before use.

Image 3.1: The TISHRIC M2 SSD Enclosure connected to a laptop via a USB cable, demonstrating its use as a mobile storage device for data transfer.

Image 3.2: The TISHRIC M2 SSD Enclosure connected to a laptop, illustrating high-speed data transmission with blue light trails indicating fast data flow.
3.2 Data Transfer:
Once recognized, you can drag and drop files to and from the enclosure like any other external drive. For safe removal, always eject the drive through your operating system before disconnecting the cable.

Image 3.3: The TISHRIC M2 SSD Enclosure with a visual representation of its support for up to 5TB capacity hard drives, emphasizing large storage potential.
4. Maintenance
Proper care will ensure the longevity and optimal performance of your TISHRIC M2 SSD Enclosure.
4.1 Cleaning:
- Use a soft, dry, lint-free cloth to wipe the exterior of the enclosure.
- Do not use liquid cleaners, aerosols, or solvents, as they may damage the finish or internal components.
4.2 Storage:
- Store the enclosure in a cool, dry place away from direct sunlight and extreme temperatures.
- Avoid dropping or subjecting the enclosure to strong impacts.

Image 4.1: A visual representation of the TISHRIC M2 SSD Enclosure's aluminum alloy material providing strong heat dissipation, with blue arrows indicating airflow and cooling.
5. Troubleshooting
If you encounter issues, refer to the following common problems and solutions.
5.1 Enclosure Not Detected:
- Check Cable Connection: Ensure the USB cable is securely connected to both the enclosure and the computer. Try a different USB port or cable.
- Power Supply: Ensure the USB port provides sufficient power. Try connecting to a powered USB hub or a different computer.
- SSD Installation: Verify that the M.2 NVMe SSD is correctly and securely installed inside the enclosure. Re-open and re-seat the SSD if necessary.
- Driver Issues: For Windows, check Device Manager for any unknown devices or driver errors. For new SSDs, ensure it's initialized and formatted in Disk Management.
5.2 Slow Transfer Speeds:
- USB Port Type: Ensure you are connected to a USB 3.0/3.1/3.2 port on your computer. Older USB 2.0 ports will result in significantly slower speeds.
- SSD Performance: The actual speed depends on the performance of your M.2 NVMe SSD.
- System Load: High CPU usage or other background processes on your computer can affect transfer speeds.
5.3 Enclosure Gets Hot:
- It is normal for the aluminum enclosure to become warm during heavy data transfer, as it acts as a heatsink to dissipate heat from the SSD. This is a designed feature for effective heat management.
- Ensure adequate airflow around the enclosure.
6. Specifications
| Model Name | M2 NVME Case |
| Brand | TISHRIC |
| Hard Disk Interface | NVMe (M-Key) |
| Connectivity Technology | USB (Type-C port on enclosure) |
| Data Transfer Speed | Up to 10Gbps (USB 3.1 Gen2) |
| Compatible SSD Sizes | 2230, 2242, 2260, 2280 M.2 NVMe SSDs |
| Max Capacity Support | 5TB |
| Material | Aluminum Alloy |
| Dimensions (L x W x H) | 115mm x 33mm x 5mm (approx.) |
| Weight | Approx. 21g |
| Compatible Devices | Laptop, Desktop |
| Installation Type | External Hard Drive |

Image 6.1: The TISHRIC M2 SSD Enclosure being placed into a bag, illustrating its small and portable design with a thickness of 5mm and net weight of 21g.
7. Warranty and Support
TISHRIC products are designed for reliability and performance. For specific warranty information, please refer to the warranty card included with your purchase or contact your retailer.
7.1 Customer Support:
If you have any questions or require technical assistance, please contact TISHRIC customer support through the contact information provided on the product packaging or the official TISHRIC website. Please have your product model number (TISHRIC M2) and purchase details ready when contacting support.