
Introduction
Thank you for choosing the Dreo Top Fill 4L Humidifier. This manual provides essential information for the safe and efficient operation, maintenance, and troubleshooting of your new humidifier. Please read it thoroughly before use and retain it for future reference.

Figure 1: Dreo Top Fill 4L Humidifier (Black Standard)
Important Safety Instructions
READ ALL INSTRUCTIONS BEFORE USE.
- Always place the humidifier on a firm, flat, water-resistant surface at least 12 inches (30 cm) away from walls and appliances.
- Do not place the humidifier directly on carpet, rugs, or absorbent surfaces.
- Do not use the humidifier in areas with high humidity, such as bathrooms.
- Only add clean, distilled water to the water tank. Do not add essential oils directly into the water tank. Use the designated aroma pad.
- Unplug the humidifier before filling, cleaning, or moving it.
- Keep out of reach of children and pets.
- Do not block the mist outlet or air intake.
- Do not attempt to repair or disassemble the humidifier yourself. Contact customer support for assistance.
Setup
1. Unpacking
- Carefully remove the humidifier from its packaging.
- Remove all packaging materials, including any tape or protective inserts.
- Verify that all components are present: Humidifier unit, User Manual, Cleaning Brush, Aroma Pad, Cleaning Guide.
2. Placement
Choose a suitable location for your humidifier. Ensure it is on a stable, flat surface, away from direct sunlight and heat sources. Maintain adequate clearance around the unit for optimal mist dispersion.
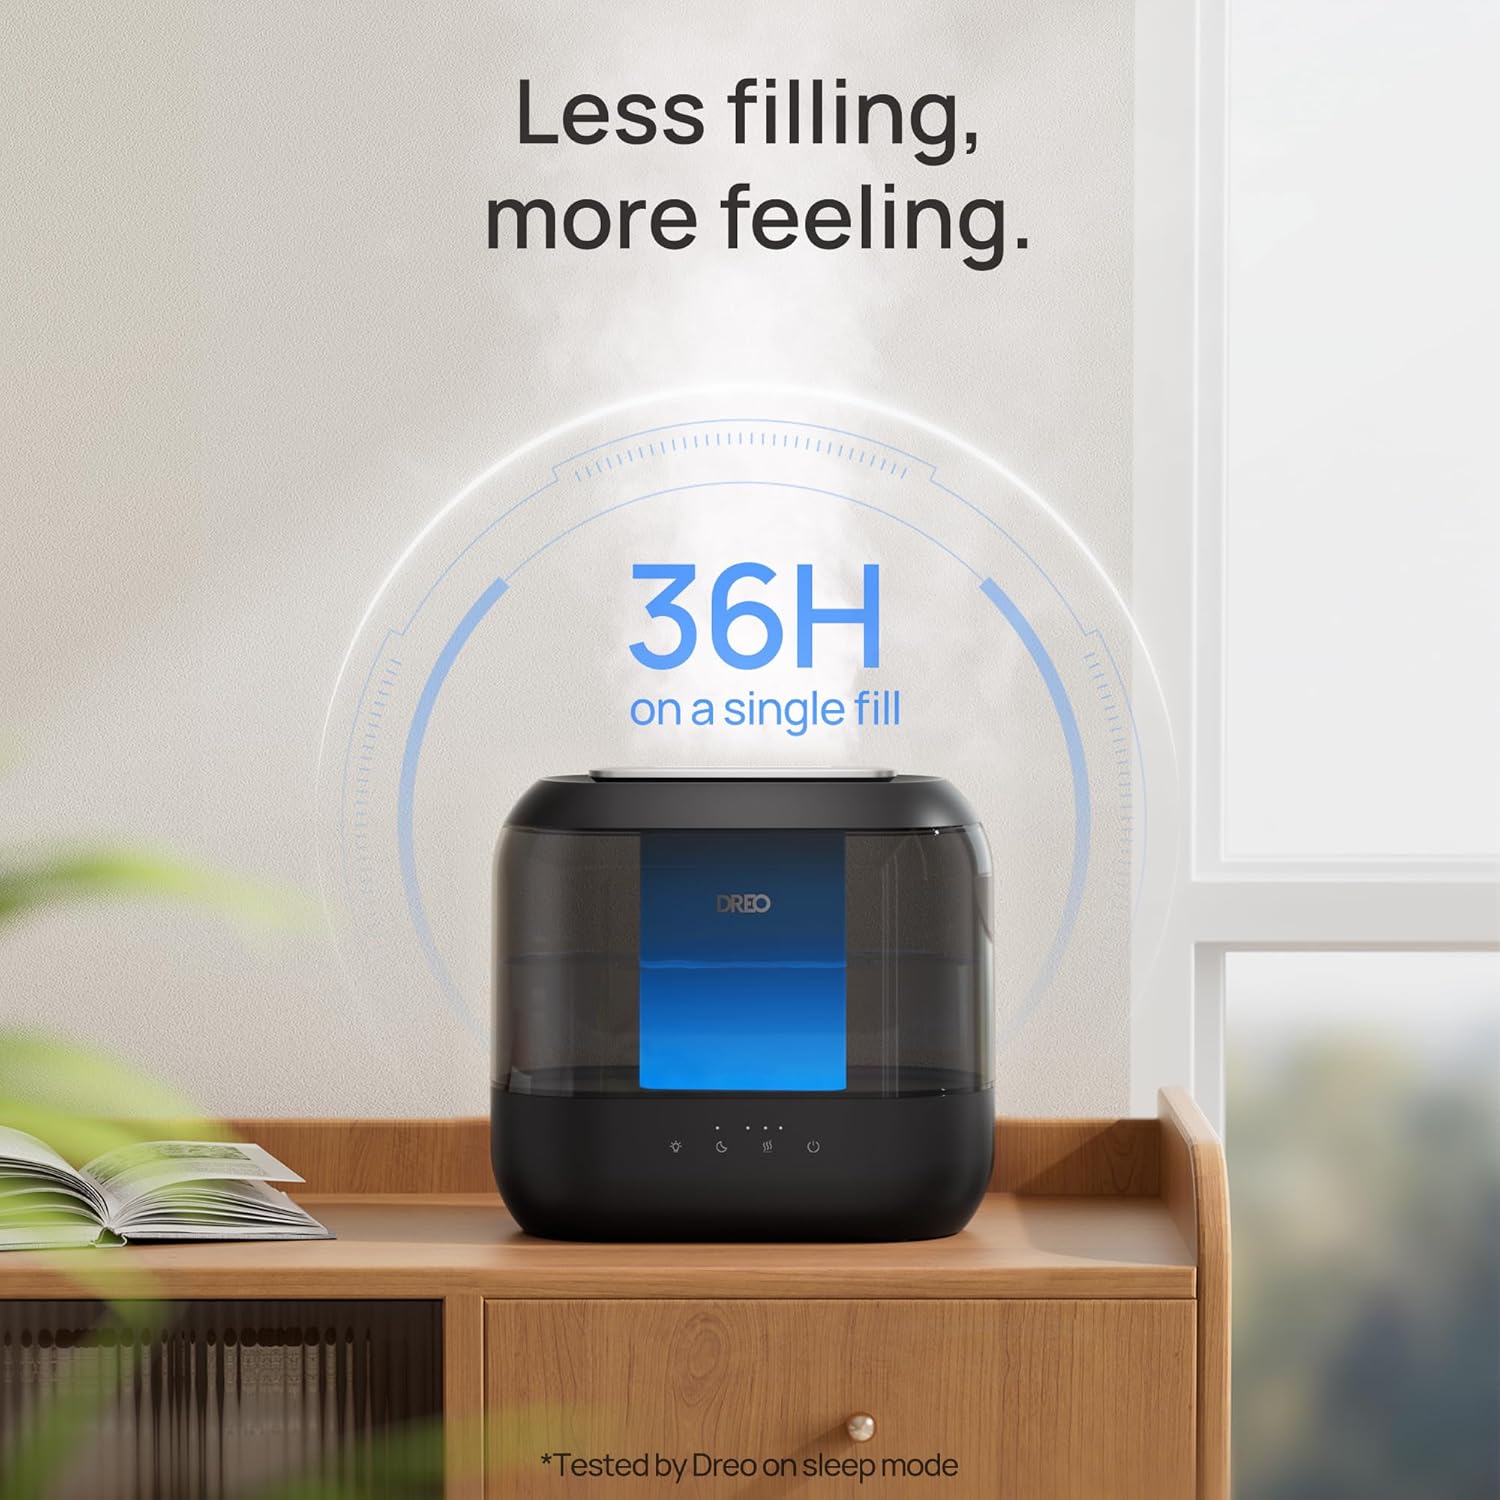
Figure 2: Proper placement of the humidifier in a room.
3. Filling the Water Tank
- Ensure the humidifier is unplugged.
- Remove the top cover of the humidifier.
- Fill the water tank directly from the top with clean, cool tap water or distilled water. Do not exceed the MAX fill line.
- Replace the top cover securely.

Figure 3: Easy top-fill design for convenient refilling.
Operating Instructions
1. Power On/Off
- Plug the power cord into a suitable electrical outlet (120 Volts).
- Press the Power Button (
 ) to turn the humidifier ON. The display will illuminate.
 - Press the Power Button again to turn the humidifier OFF.
2. Adjusting Mist Level
The humidifier offers multiple mist output levels. Press the Mist Level Button () repeatedly to cycle through the available mist settings (Low, Medium, High).
Figure 4: Humidifier operating with visible mist output.
3. Night Light Function
The humidifier includes an ambient night light. Press the Night Light Button () to turn the light ON/OFF or adjust its brightness (if applicable).

Figure 5: Humidifier operating quietly with ambient night light.
4. Sleep Mode
Activate Sleep Mode by pressing the Sleep Mode Button (). In this mode, the display light will dim or turn off, and the humidifier will operate at its lowest, quietest setting for undisturbed sleep.
5. Aroma Diffuser Function
To use the aroma diffuser function:
- Locate the aroma pad tray at the back of the humidifier.
- Pull out the tray and add a few drops of your preferred essential oil onto the aroma pad (essential oils not included).
- Slide the tray back into the humidifier.
WARNING: Do NOT add essential oils directly into the water tank. This can damage the unit and void the warranty.

Figure 6: Using the built-in aromatherapy tray.
Maintenance
Regular cleaning is crucial for optimal performance and hygiene. Neglecting maintenance can lead to mineral buildup and mold growth.
1. Daily Maintenance
- Unplug the humidifier.
- Empty any remaining water from the tank and base.
- Wipe the tank and base dry with a clean cloth.
- Refill with fresh water before each use.
2. Weekly Cleaning
- Unplug the humidifier and empty all water.
- Remove the top cover and the water tank.
- Clean the Water Tank: Fill the tank halfway with water and add 2 teaspoons of white vinegar. Shake vigorously and let it sit for 30 minutes. Rinse thoroughly with clean water.
- Clean the Base: Add 2 teaspoons of white vinegar to the base and let it sit for 30 minutes. Use the provided cleaning brush to clean the nebulizer and other hard-to-reach areas. Rinse thoroughly with clean water.
- Wipe all parts dry and reassemble.

Figure 7: Cleaning the humidifier components.
3. Descaling
If you notice white dust or mineral buildup, descale the unit:
- Mix 1 cup of white vinegar with 1 cup of water.
- Pour the solution into the water tank and base. Let it soak for 30 minutes to an hour.
- Use the cleaning brush to gently scrub away any mineral deposits.
- Rinse all components thoroughly until the smell of vinegar is gone.
4. Filter/Cartridge Replacement
The Dreo humidifier is compatible with demineralization and clean mist cartridges (sold separately). These cartridges help prevent limescale and white dust. Refer to the cartridge packaging for replacement frequency. To replace:
- Unplug the humidifier and empty the water tank.
- Remove the old cartridge from its designated slot (usually at the bottom of the water tank or in the base).
- Insert the new cartridge firmly into place.
- Refill the tank and resume operation.

Figure 8: Demineralization and Clean Mist Cartridges.
Troubleshooting
| Problem | Possible Cause | Solution |
|---|---|---|
| No mist or low mist output |
|
|
| White dust around humidifier |
|
|
| Unpleasant odor |
|
|
| Leaking or water spills |
|
|
Specifications
| Feature | Detail |
|---|---|
| Brand | Dreo |
| Model Name | HM311 (DR-HHM001) |
| Water Tank Capacity | 4 Liters |
| Runtime | Up to 36 hours |
| Noise Level | 28 dB (Quiet Operation) |
| Mist Type | Cool Mist (Ultrasonic) |
| Coverage Area | Up to 300 sq ft |
| Dimensions (D x W x H) | 5.51" x 11.02" x 10.16" |
| Item Weight | 3.12 Pounds |
| Voltage | 120 Volts |
| Wattage | 26 Watt-hours |
| Control Method | Touch |
| Special Features | Night Light, Adjustable Humidity Control, Easy Top-Fill, Aroma Diffuser |

Figure 9: Product Dimensions.
Warranty Information
Dreo products come with a standard warranty. For detailed information regarding your product's warranty period and terms, please refer to the warranty card included in your product packaging or visit the official Dreo website. Keep your purchase receipt as proof of purchase for warranty claims.
- 3-Year Protection Plan: Available for purchase.
- 4-Year Protection Plan: Available for purchase.
Note: Protection plans are optional and provide extended coverage beyond the standard manufacturer's warranty.
Customer Support
For any questions, concerns, or technical assistance, please contact Dreo Customer Support:
- Website: Visit the official Dreo website for FAQs, support articles, and contact forms.
- Email: Refer to your user manual or the Dreo website for the dedicated support email address.
- Phone: Check the Dreo website for available phone support numbers and hours of operation.
When contacting support, please have your product model number (DR-HHM001) and purchase information ready.


