1. Introduction
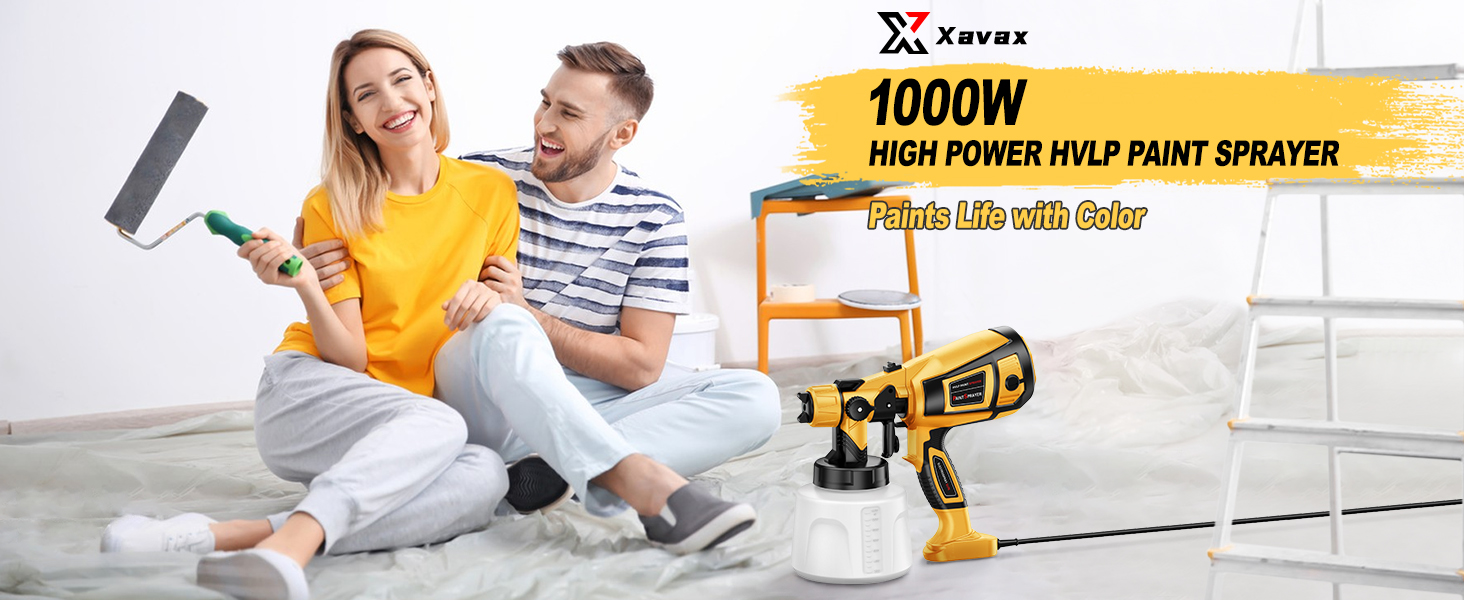
Thank you for choosing the Xavax 1000W Electric Paint Sprayer. This high-power tool is designed to simplify your painting projects, offering efficiency and a smooth finish for a variety of surfaces. Please read this manual thoroughly before operation to ensure safe and effective use of your paint sprayer.

The Xavax 1000W Electric Paint Sprayer, ready for use.
2. Safety Information
WARNING: Always follow these safety precautions to prevent injury or damage.
- Wear appropriate protective clothing, including eye protection, gloves, and a respirator, especially when working with paints and solvents.
- Use the paint sprayer in a well-ventilated area to avoid inhalation of fumes.
- Keep the device away from open flames, sparks, and other ignition sources.
- Do not allow children or untrained individuals to operate the paint sprayer.
- Follow all precautions and instructions provided by the manufacturer of the paint or chemical being used.
- Ensure proper disposal of paint, solvents, and cleaning solutions according to local regulations.
- The unit operates on 110 volts AC. Ensure your power supply matches this requirement.
3. Package Contents
Upon opening your package, please verify that all the following components are included:
- 1 x Paint Sprayer Unit
- 1 x Large Capacity Container (1400ml)
- 1 x Pair of Gloves
- 4 x Copper Nozzles (one pre-fitted)
- 3 x Paper Funnels
- 1 x Filter
- 1 x Viscosity Cup
- 1 x Cleaning Needle
- 1 x Cleaning Brush
- 1 x User Manual (this document)
Detailed view of included components and labeled parts of the paint sprayer.
4. Setup
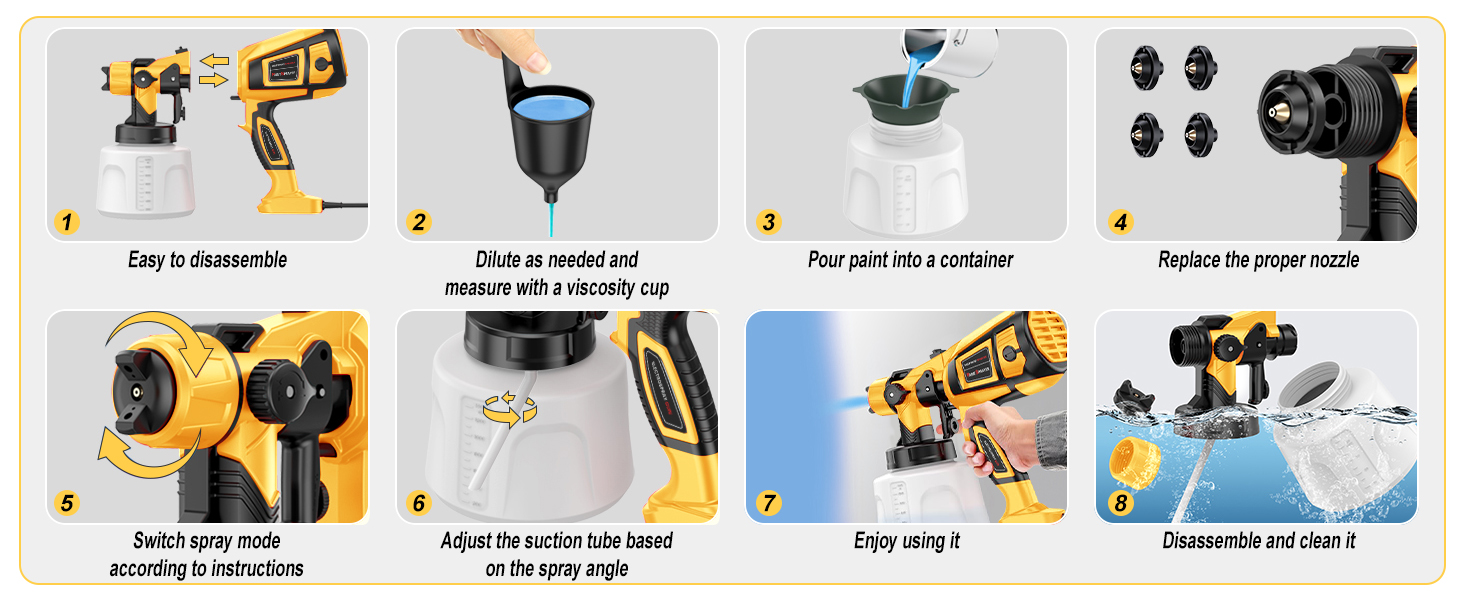
- Prepare the Paint: Use the included viscosity cup to measure the paint's thickness. Dilute the paint as needed to achieve the recommended viscosity for your project. Pour the prepared paint into the large capacity container using a paper funnel to filter out impurities.
- Select the Proper Nozzle: The sprayer comes with four copper nozzles (0.8mm, 1.5mm, 1.8mm, 2.5mm). Choose the appropriate nozzle size based on the paint type and desired spray range. For example, smaller nozzles are suitable for thinner paints and finer details, while larger nozzles are for thicker paints and broader coverage.
- Assemble the Sprayer: Ensure the motor housing is securely attached to the spray gun. Screw the paint container firmly onto the bottom of the spray gun.
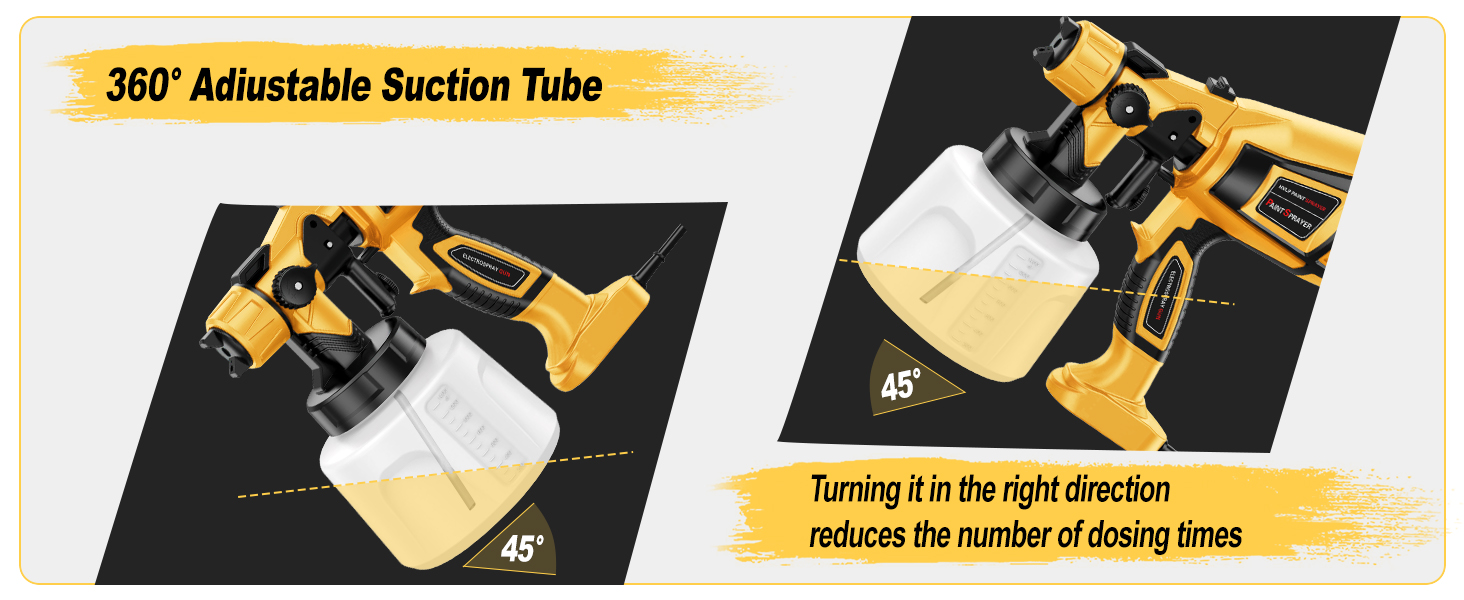
- Adjust Suction Tube: The 360° adjustable suction tube allows you to spray at various angles. Turn it in the direction that minimizes the need for refilling, especially when spraying upwards or downwards.

Visual guide for the setup process, including paint preparation and nozzle selection.
5. Operation
- Pre-Spray Dust Removal: Before applying paint, you can use the sprayer to blow away dust from the surface for a cleaner finish.
- Adjust Spray Pattern: The sprayer offers three adjustable spray modes: horizontal, vertical, and circular. Rotate the air cap to select the desired pattern for your application.
- Control Flow: Use the adjustable flow control knob to regulate the paint output from 0ml/min to 1200ml/min. Start with a lower flow and gradually increase until the desired coverage is achieved.
- Begin Spraying: Hold the sprayer approximately 6-12 inches from the surface and move it in smooth, even strokes. Overlap each pass slightly to ensure uniform coverage.

Illustration of the three available spray patterns and the flow control dial.
Applications
The Xavax paint sprayer is versatile and suitable for a wide range of painting projects, including:
- Furniture (chairs, tables, cabinets)
- Walls and Ceilings
- Fences and Decks
- Doors and Gates
- Garden Chairs and other outdoor items

Visual examples of the paint sprayer being used on different household items and structures.
6. Maintenance and Cleaning
Proper cleaning after each use is crucial for maintaining the performance and longevity of your paint sprayer. The design allows for effortless cleaning.
- Empty and Rinse Container: Unscrew the paint container and remove any remaining paint. Pour an appropriate cleaning solution (water for latex, mineral spirits for oil-based paints) into the container.
- Flush the System: Reattach the container and spray the cleaning solution into a safe area until clear liquid emerges.
- Disassemble for Deep Clean: Pull the trigger and rotate the handle 90 degrees to separate the spray gun from the motor. Remove the nozzle and suction tube.
- Clean Components: Use the included cleaning brush and needle to carefully clean the nozzle, suction tube, and other paint-contacting parts. Ensure all paint residue is removed to prevent clogging.
- Clean Motor Housing: Wipe down the exterior of the motor housing with a damp cloth. Do not immerse the motor in water.
- Dry and Store: Allow all parts to dry completely before reassembling and storing the sprayer in a clean, dry place.
Visual instructions for disassembling and cleaning the paint sprayer components.
The spray head and container are designed for easy disassembly and cleaning.
7. Troubleshooting
If you encounter issues with your paint sprayer, refer to the following common problems and solutions:
| Problem | Possible Cause | Solution |
|---|---|---|
| No spray or weak spray | Nozzle clogged, paint too thick, suction tube blocked, air cap dirty. | Clean nozzle and air cap. Dilute paint. Check suction tube for blockages. |
| Inconsistent spray pattern | Nozzle partially clogged, incorrect flow setting, paint not mixed well. | Clean nozzle. Adjust flow control. Ensure paint is thoroughly mixed and diluted. |
| Motor overheating | Prolonged use, blocked air vents. | Allow unit to cool down. Ensure air vents are clear. The motor has temperature protection and will cut power if overheating. |
| Paint leaking | Container not tightened, gasket missing or damaged. | Ensure container is securely tightened. Check and replace gasket if necessary. |
8. Specifications
- Brand: Xavax
- Model Name: CN-6000
- Power Source: AC (110 Volts)
- Item Weight: 3 Pounds
- Product Dimensions: 7"W x 6"H
- Tank Volume: 1400 Milliliters
- Material: Plastic (with Brass Nozzles)
- Maximum Pressure: 1 Pound per Square Inch (PSI)
- Special Features: Low Pressure, High Volume (HVLP)
- Included Components: Instruction Guide, Nozzle, Viscosity Cup, Strainer, Cleaning Kit
9. Official Product Video
Watch this official video from the seller for a detailed guide on the installation, use, and cleaning of your Xavax Paint Sprayer.
Video: Product Description: Installation, Use, and Cleaning.
10. Warranty and Support
For warranty information and customer support, please refer to the contact details provided on the product packaging or the official Xavax website. Specific warranty terms may vary by region and retailer.


