1. Introduction
This manual provides detailed instructions for the installation, configuration, and operation of your NICGIGA 6-Port 2.5G Web Smart Managed Ethernet Switch, model S25-0501-M. This device is designed to enhance your network with high-speed connectivity and advanced management features.
The switch features five 100/1000/2500Mbps RJ45 Ethernet ports and one 10G SFP+ uplink port, offering a total switching capacity of 60Gbps. It supports various Layer 2 management functions including VLAN, QoS, Multicast, MAC address management, and Link Aggregation (LAG).
2. Package Contents
Verify that all items are present in the package:
- NICGIGA S25-0501-M 6-Port 2.5G Web Smart Managed Ethernet Switch
- Power Adapter
- Quick Start Guide
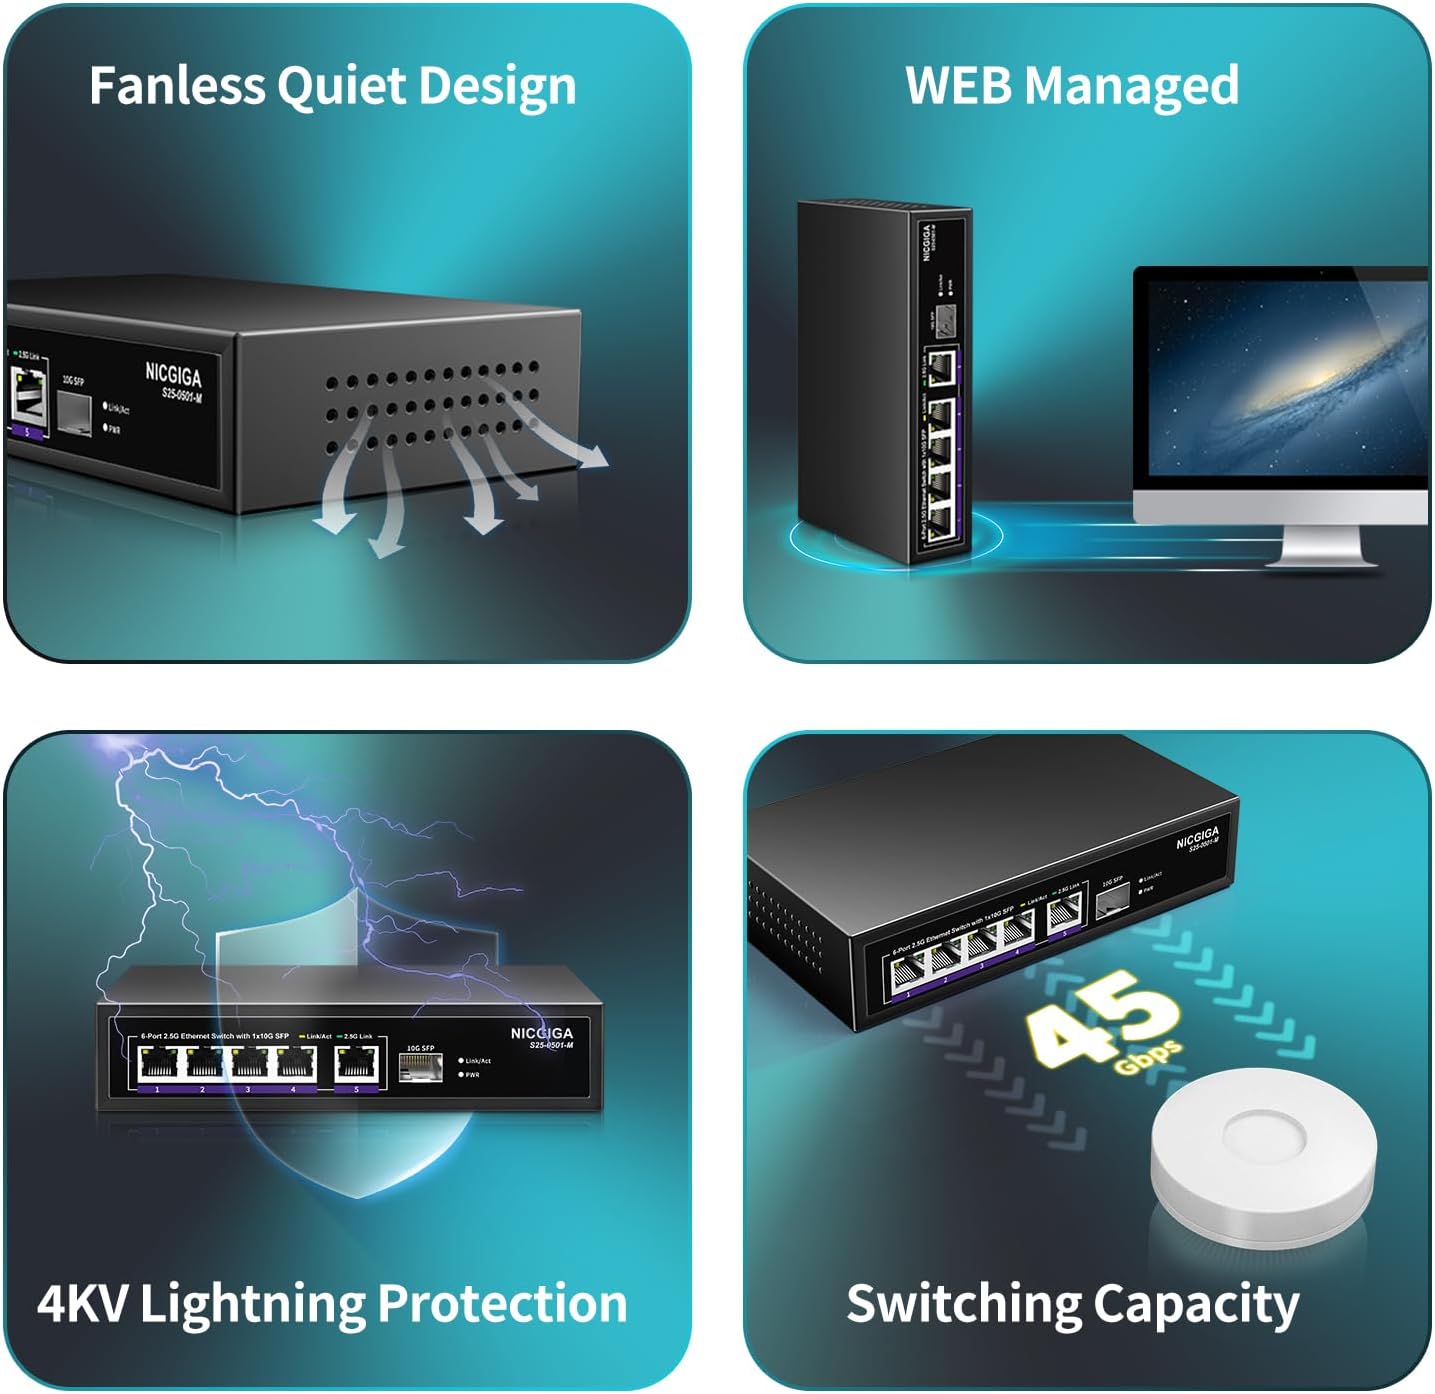
Image: The package contents, showing the S25-0501-M switch, power adapter, and quick start guide.
3. Product Overview
3.1 Front Panel

Image: Front panel of the NICGIGA S25-0501-M switch.
The front panel features five 2.5 Gigabit Ethernet ports (RJ45) and one 10 Gigabit SFP+ port. Each RJ45 port includes Link/Act indicators:
- Yellow LED: Indicates 10/100/1000Mbps link/activity.
- Green LED: Indicates 2.5Gbps link/activity.
The SFP+ port also has a Link/Act indicator. A Power LED indicates the device's operational status.
3.2 Rear Panel

Image: Rear panel of the NICGIGA S25-0501-M switch.
The rear panel includes the DC power input (12V 1A) and a reset button. The reset button can be used to restore factory default settings.
3.3 Key Features
- High-Speed Connectivity: Five 2.5Gbps RJ45 ports and one 10Gbps SFP+ uplink port for high-bandwidth applications.
- Web Smart Management: Provides Layer 2 management features including VLAN, QoS, Multicast (IGMP), MAC address management, Static Aggregation (LAG), and port mirroring.
- Auto-Negotiation: Automatically detects and adjusts link speed (100Mb/1G/2.5G) for optimal performance and compatibility.
- Fanless Design: Ensures quiet operation, suitable for various environments.
- 4KV Lightning Protection: Enhances device durability and reliability.

Image: Visual representation of the switch's fanless design, web management, lightning protection, and switching capacity.
4. Setup and Installation
4.1 Physical Installation
- Power Connection: Connect the provided power adapter to the DC input port on the rear panel of the switch, then plug the adapter into a power outlet. The Power LED on the front panel will illuminate.
- Network Connections: Connect your network devices (e.g., PCs, NAS, WiFi 6 routers, wireless APs) to the RJ45 ports (1-5) using Ethernet cables. For high-speed backbone connections, use the 10G SFP+ port with a compatible SFP+ module (not included).
- Wall Mounting (Optional): The switch features two wall-hanging holes on the bottom for flexible placement. Securely mount the switch using appropriate screws (not included) if desired.
Image: Wall mount design and dimensions of the switch.
4.2 Initial Web Interface Access
To access the web management interface for configuration:
- Connect Directly: Connect a computer directly to one of the switch's RJ45 ports using an Ethernet cable.
- Configure IP Address: Ensure your computer's IP address is on the same subnet as the switch's default IP address. The default IP address for the NICGIGA S25-0501-M switch is typically 192.168.1.199. You may need to manually set your computer's IP address (e.g., 192.168.1.100) and subnet mask (255.255.255.0).
- Access Web Browser: Open a web browser and enter the switch's default IP address (
http://192.168.1.199/) into the address bar. - Login: Enter the default username and password (refer to the Quick Start Guide or product documentation for default credentials, often 'admin'/'admin' or similar).
Note: If you cannot access the web interface, ensure your computer's network settings are compatible with the switch's default IP range. If the IP address has been changed, you may need to perform a factory reset to revert to default settings.
5. Operating the Switch
Once logged into the web management interface, you can configure various network settings. The interface provides options for:
- VLAN (Virtual Local Area Network): Segment your network for improved security and performance.
- QoS (Quality of Service): Prioritize network traffic for critical applications.
- Multicast (IGMP Snooping): Optimize multicast traffic delivery.
- Link Aggregation (LAG/Trunk): Combine multiple physical links into a single logical link for increased bandwidth and redundancy.
- Port Mirroring: Monitor network traffic by sending a copy of packets from one port to another.
- MAC Address Management: Control access based on MAC addresses.

Image: Overview of supported web management functions.
Refer to the detailed online documentation or the full user manual (if available from NICGIGA's website) for specific configuration steps for each feature.
6. Maintenance
6.1 General Care
- Keep the switch in a cool, dry environment, away from direct sunlight and heat sources.
- Ensure proper ventilation around the device.
- Clean the exterior with a soft, dry cloth. Avoid using liquid cleaners.
6.2 Firmware Updates
Periodically check the NICGIGA official website (www.nicgiga.com) for firmware updates. Firmware updates can provide new features, performance improvements, and security enhancements.
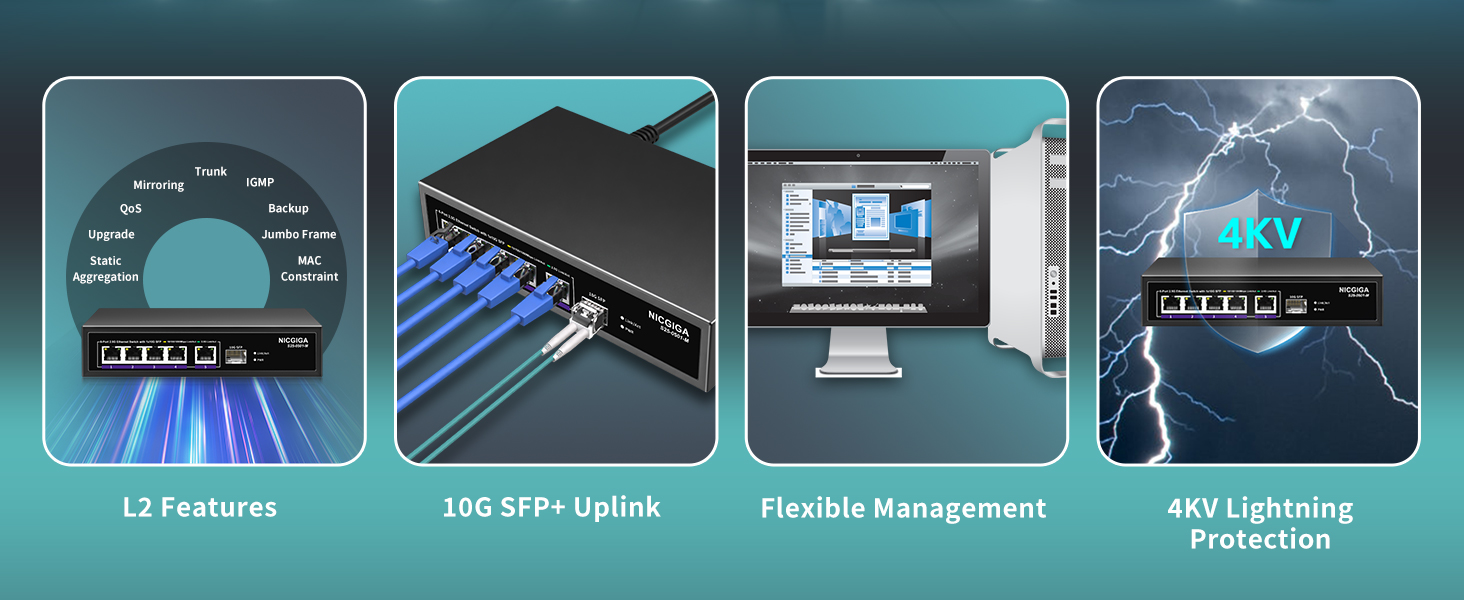
Image: Illustration of checking for firmware updates on the NICGIGA website.
7. Troubleshooting
7.1 Cannot Access Web Interface
- Verify IP Address: Ensure your computer's IP address is on the same subnet as the switch (default: 192.168.1.199).
- Check Physical Connection: Confirm that the Ethernet cable is securely connected between your computer and the switch.
- Power Cycle: Disconnect and reconnect the power to the switch.
- Factory Reset: If the IP address was changed and forgotten, perform a factory reset by pressing and holding the reset button on the rear panel for approximately 5-10 seconds while the device is powered on. This will revert all settings to their defaults, including the IP address.
- Browser Issues: Try a different web browser or clear your browser's cache.
7.2 Intermittent Web Interface Responsiveness
Some users have reported that the web interface may become unresponsive after extended periods of operation, even if network traffic continues to pass through the switch. If this occurs:
- Reboot the Switch: Perform a power cycle (disconnect and reconnect power) to restore access to the web interface.
7.3 Low Network Speed
- Check Cable Quality: Ensure you are using Cat5e or Cat6 Ethernet cables for 2.5G connections, and Cat6a or higher for 10G SFP+ connections (with appropriate SFP+ modules).
- Device Compatibility: Verify that connected devices (NICs, routers) support 2.5G or 10G speeds.
- Port Indicators: Observe the Link/Act LEDs. A green LED indicates a 2.5Gbps connection on RJ45 ports.
8. Specifications
| Feature | Detail |
|---|---|
| Model Number | S25-0501-M |
| Interface Type | 5x 100/1000/2500Mbps RJ45, 1x 10Gbps SFP+ |
| Switching Capacity | 60Gbps |
| Data Transfer Rate | 10 Gigabits Per Second (max) |
| Management | Web Smart Managed (L2 features: VLAN, QoS, IGMP, LAG, etc.) |
| Auto-Negotiation | Supported (100Mb/1G/2.5G) |
| Case Material | Metal |
| Cooling | Fanless |
| Lightning Protection | 4KV |
| Product Dimensions | 9.84 x 7.87 x 3.15 inches |
| Item Weight | 1.21 pounds |
| Power Input | DC 12V 1A (Adapter Input: AC 110-240V) |
| Compatible Devices | Desktop, Laptop, Wireless Access Point, NAS |
9. Warranty and Support
NICGIGA provides a one-year warranty for this product, covering manufacturing defects and malfunctions under normal use. Additionally, lifetime technical support is available to assist you with any questions or issues you may encounter.
For technical assistance, warranty claims, or further inquiries, please contact NICGIGA support through their official website or the contact information provided in your Quick Start Guide.


