
Introduction
This manual provides essential instructions for the safe installation, operation, and maintenance of your APC Back-UPS Pro 1050VA (BN1050M) Uninterruptible Power Supply. Please read this manual thoroughly before installing or operating the unit.
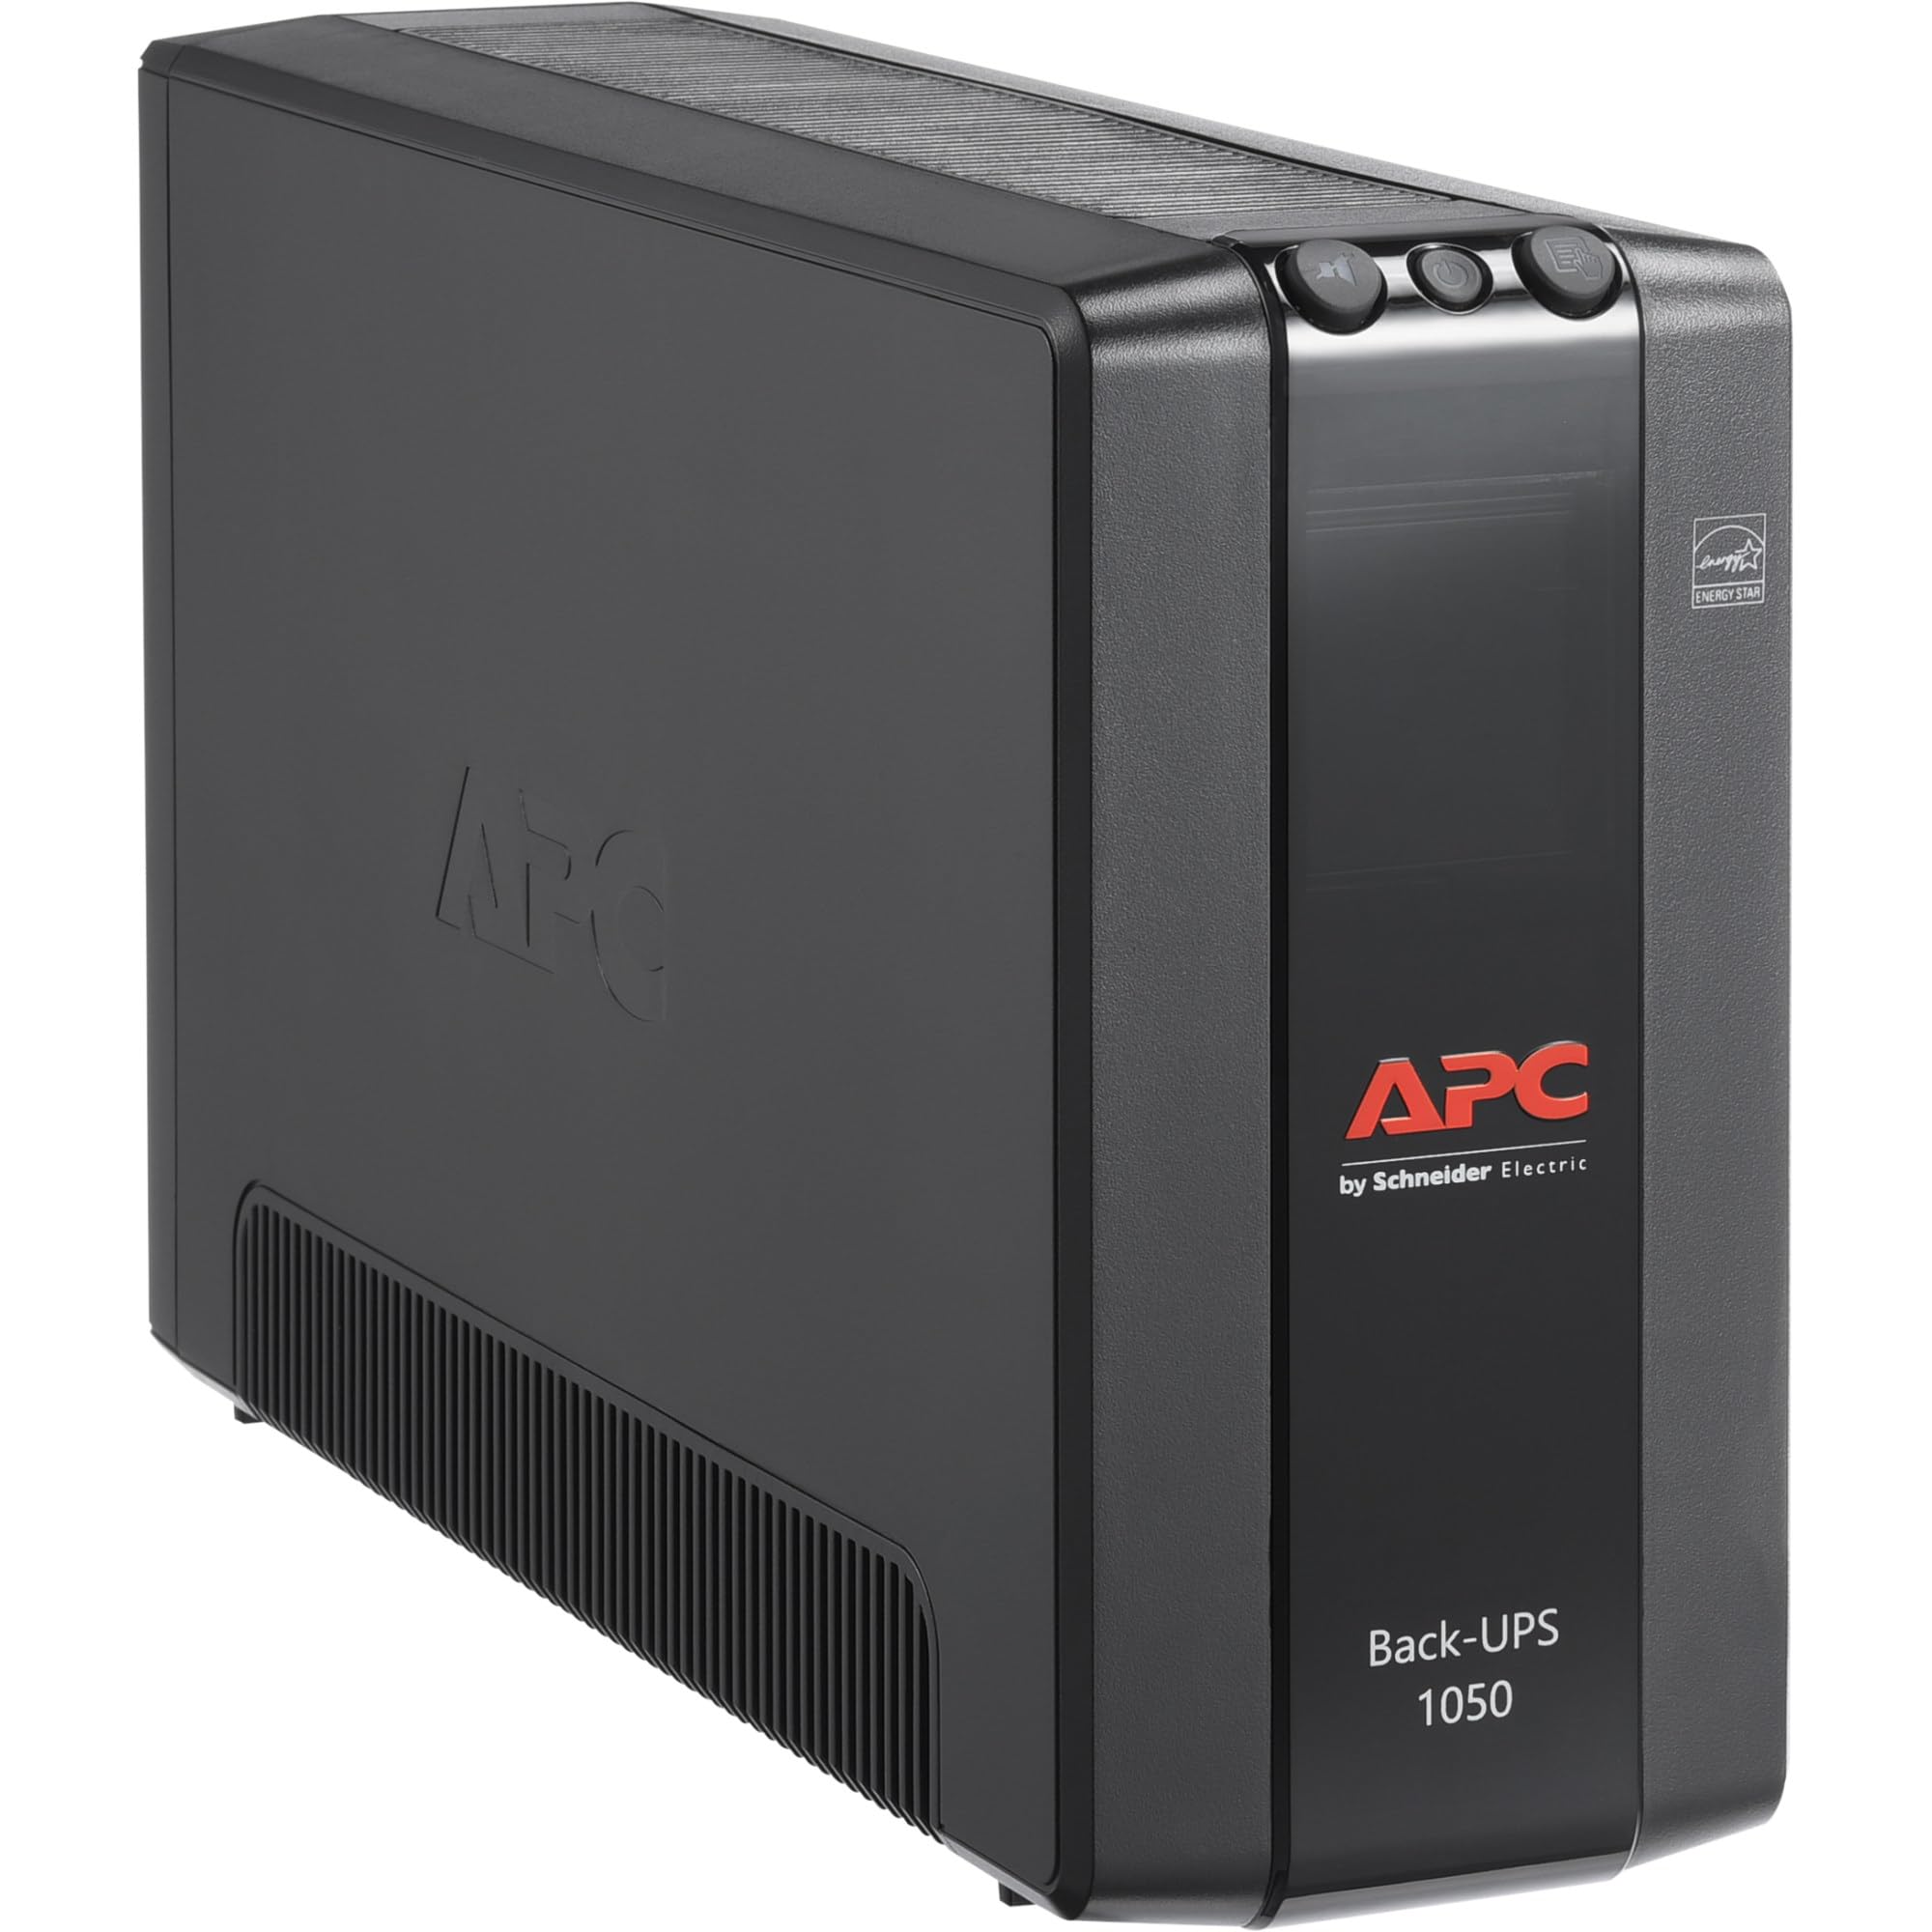
Image: Front view of the APC Back-UPS Pro 1050VA (BN1050M) unit, showcasing its compact tower design and control panel.
Setup
1. Unpacking and Inspection
- Carefully unpack the UPS and inspect it for any shipping damage. If damage is found, notify the carrier and dealer.
- Verify that all components are included: UPS unit, user manual, USB communication cable.
2. Placement
- Place the UPS on a flat, stable surface.
- Ensure adequate airflow around the unit. Do not block ventilation openings. Maintain at least 1 inch (2.5 cm) of clearance on all sides.
- Avoid direct sunlight, excessive heat, humidity, or conductive contaminants.

Image: The APC Back-UPS Pro 1050VA (BN1050M) unit positioned discreetly under a desk, demonstrating its compact size for convenient placement in a home or office environment.
3. Connecting Equipment
The Back-UPS Pro 1050VA features two types of outlets:
- Battery Backup & Surge Protection Outlets (4 outlets): Connect critical equipment such as computers, monitors, and external hard drives to these outlets. These outlets provide power from the UPS battery during power outages and protect against surges.
- Surge Protection Only Outlets (4 outlets): Connect non-critical equipment like printers, scanners, or speakers to these outlets. These outlets provide surge protection but do not provide battery backup power during an outage.

Image: Rear view of the APC Back-UPS Pro 1050VA (BN1050M), clearly showing the arrangement of the 8 outlets (4 battery backup, 4 surge only), the USB and Serial data ports, and the circuit breaker. A QR code for support is also visible.
4. Initial Charging
Connect the UPS power cord to a grounded 120V AC outlet. The unit will begin charging the battery. Allow the battery to charge for at least 24 hours before connecting equipment to ensure maximum runtime capacity.
5. Software Installation (Optional)
For advanced power management features, such as automatic shutdown during extended outages, install APC PowerChute software. Connect the provided USB cable from the UPS data port to your computer. Download the latest software version from the official APC website: apc.com/us/en/support/software-downloads/.
Operating Instructions
1. Turning the UPS On/Off
- To Turn On: Press and hold the power button on the front panel until a beep is heard. The unit will perform a self-test, and the 'On Line' indicator will illuminate.
- To Turn Off: Press and hold the power button until a beep is heard and the unit powers down.
2. Understanding Indicators
The front panel features LED indicators and an audible alarm to communicate the UPS status:
- On Line (Green LED): The UPS is supplying utility power to connected equipment.
- On Battery (Yellow LED): The UPS is supplying battery power to connected equipment during a power outage. An audible alarm will sound.
- Overload (Red LED): The connected load exceeds the UPS capacity. Disconnect non-essential equipment immediately.
- Fault (Red LED): Indicates an internal fault. Refer to the Troubleshooting section.
- Building Wiring Fault (Red LED on rear): Indicates a wiring problem in the building's electrical system (e.g., missing ground, reversed polarity). Consult a qualified electrician.
3. Self-Test Function
To manually initiate a self-test, press and hold the 'Test' button on the front panel for a few seconds. The UPS will briefly switch to battery power to test its battery and internal circuitry. This is recommended monthly.
Maintenance
1. Battery Care and Replacement
- The internal battery is not user-replaceable. Contact APC support for battery service or replacement.
- To maximize battery life, ensure the UPS is kept in a cool, dry environment and remains connected to utility power.
- Regularly perform self-tests to monitor battery health.
2. Cleaning
Clean the exterior of the UPS with a soft, damp cloth. Do not use solvents or abrasive cleaners. Ensure ventilation openings are free from dust and debris.
Troubleshooting
Refer to the table below for common issues and their solutions.
| Problem | Possible Cause | Solution |
|---|---|---|
| UPS does not turn on. | Not connected to utility power; discharged battery. | Ensure power cord is securely plugged into a live outlet. Allow 24 hours for initial battery charge. |
| UPS beeps continuously or frequently. | On battery mode; low battery; overload. | Check utility power. Allow battery to recharge. Reduce connected load. |
| Overload LED is illuminated. | Too much equipment connected to battery backup outlets. | Disconnect non-essential equipment from battery backup outlets until the LED turns off. |
| Building Wiring Fault LED is illuminated. | Wiring problem in the building. | Consult a qualified electrician to inspect the building wiring. |
| UPS provides short runtime. | Battery is old or not fully charged. | Allow battery to charge for 24 hours. If issue persists, the battery may need service. Contact APC support. |
Circuit Breaker Reset
If the UPS experiences an overload and shuts down, the circuit breaker on the rear panel may trip. Disconnect some equipment, then push the circuit breaker button to reset the unit. Refer to the rear panel image in the Setup section for its location.
Specifications
| Feature | Detail |
|---|---|
| Model Number | BN1050M |
| Capacity | 1050VA / 600W |
| Nominal Input Voltage | 120V AC |
| Nominal Output Voltage | 120V AC |
| Input Frequency | 60 Hz |
| Output Waveform | Stepped approximation to a sine wave |
| Number of Outlets | 8 (4 Battery Backup & Surge, 4 Surge Only) |
| Battery Type | Lithium Ion |
| Typical Recharge Time | 24 hours (for initial charge) |
| Form Factor | Tower |
| Input Connection | NEMA 5-15P (Type B - 3 pin North American) |
| Data Ports | USB, Serial |
Warranty & Support
For detailed warranty information, please refer to the official APC website or the warranty card included with your product. APC provides technical support and customer service to assist with any product-related inquiries.
- Online Support: Visit the APC support page at apc.com/us/en/support/ for FAQs, documentation, and contact options.
- Product Registration: Register your product online to receive important updates and warranty service. You can use the QR code on the rear of the unit or visit go2se.com/ref=BN1050M.


