
PowerSmart DB7517
PowerSmart 18-Inch Corded Electric Snow Blower (Model DB7517) Instruction Manual
Model: DB7517 | Brand: PowerSmart
Introduction
Thank you for choosing the PowerSmart 18-Inch Corded Electric Snow Blower, Model DB7517. This manual provides essential information for the safe operation, assembly, maintenance, and troubleshooting of your snow blower. Please read it thoroughly before use and keep it for future reference.
This electric snow blower is designed for efficient snow removal from medium-sized driveways, walkways, and decks. It features a powerful 15 Amp motor capable of clearing snow up to 6 inches deep and throwing it up to 30 feet.
Important Safety Information
WARNING:
Always exercise caution when handling the motor and operating any corded electric device. Ensure proper handling and storage of the unit. Always use appropriate protective equipment, including eye protection and sturdy footwear, when operating the snow blower. Keep hands, feet, and clothing away from moving parts. Disconnect power before performing any maintenance or clearing clogs.
Setup and Assembly
The PowerSmart DB7517 snow blower comes mostly pre-assembled. Final assembly typically involves attaching the handle and the discharge chute.
- Handle Assembly: Secure the upper and lower handle sections using the provided knobs and bolts. Ensure all connections are tight for stable operation.
- Chute Attachment: Place the discharge chute onto the snow blower's discharge opening. Secure it with the provided fasteners, ensuring it can rotate freely for directional control.
- Cord Management: Use the included clips to secure the power cord along the handle, keeping it out of the way during operation.

Image: Close-up of the control panel and handle assembly, showing the push-button start and grip levers.

Image: Detailed view of the 180-degree rotating discharge chute, highlighting its adjustability.
Operating Instructions
The PowerSmart DB7517 is designed for ease of use. Follow these steps for optimal performance:
- Power Connection: Connect the snow blower to a suitable outdoor extension cord (ensure it's rated for outdoor use and the amperage of the snow blower).
- Starting the Unit: Press the safety button on the handle, then squeeze the operating lever to start the motor. Release the lever to stop.
- Clearing Snow: Push the snow blower forward at a steady pace. For deeper or denser snow, reduce your clearing width and make multiple passes. The 18-inch clearing width is ideal for light to moderate snowfalls up to 6 inches deep.
- Adjusting Chute: Use the handle on the discharge chute to rotate it up to 180 degrees, directing snow away from cleared areas. The snow can be thrown up to 30 feet.
Optimal Snow Conditions
This snow blower performs best with light and fluffy snow. While it can handle slightly deeper snow, its efficiency is maximized in these conditions. Avoid using it for wet, heavy, or crusted snow, as this can reduce performance and potentially cause clogs.

Image: A person using the PowerSmart snow blower to clear a driveway, demonstrating its effective snow removal.
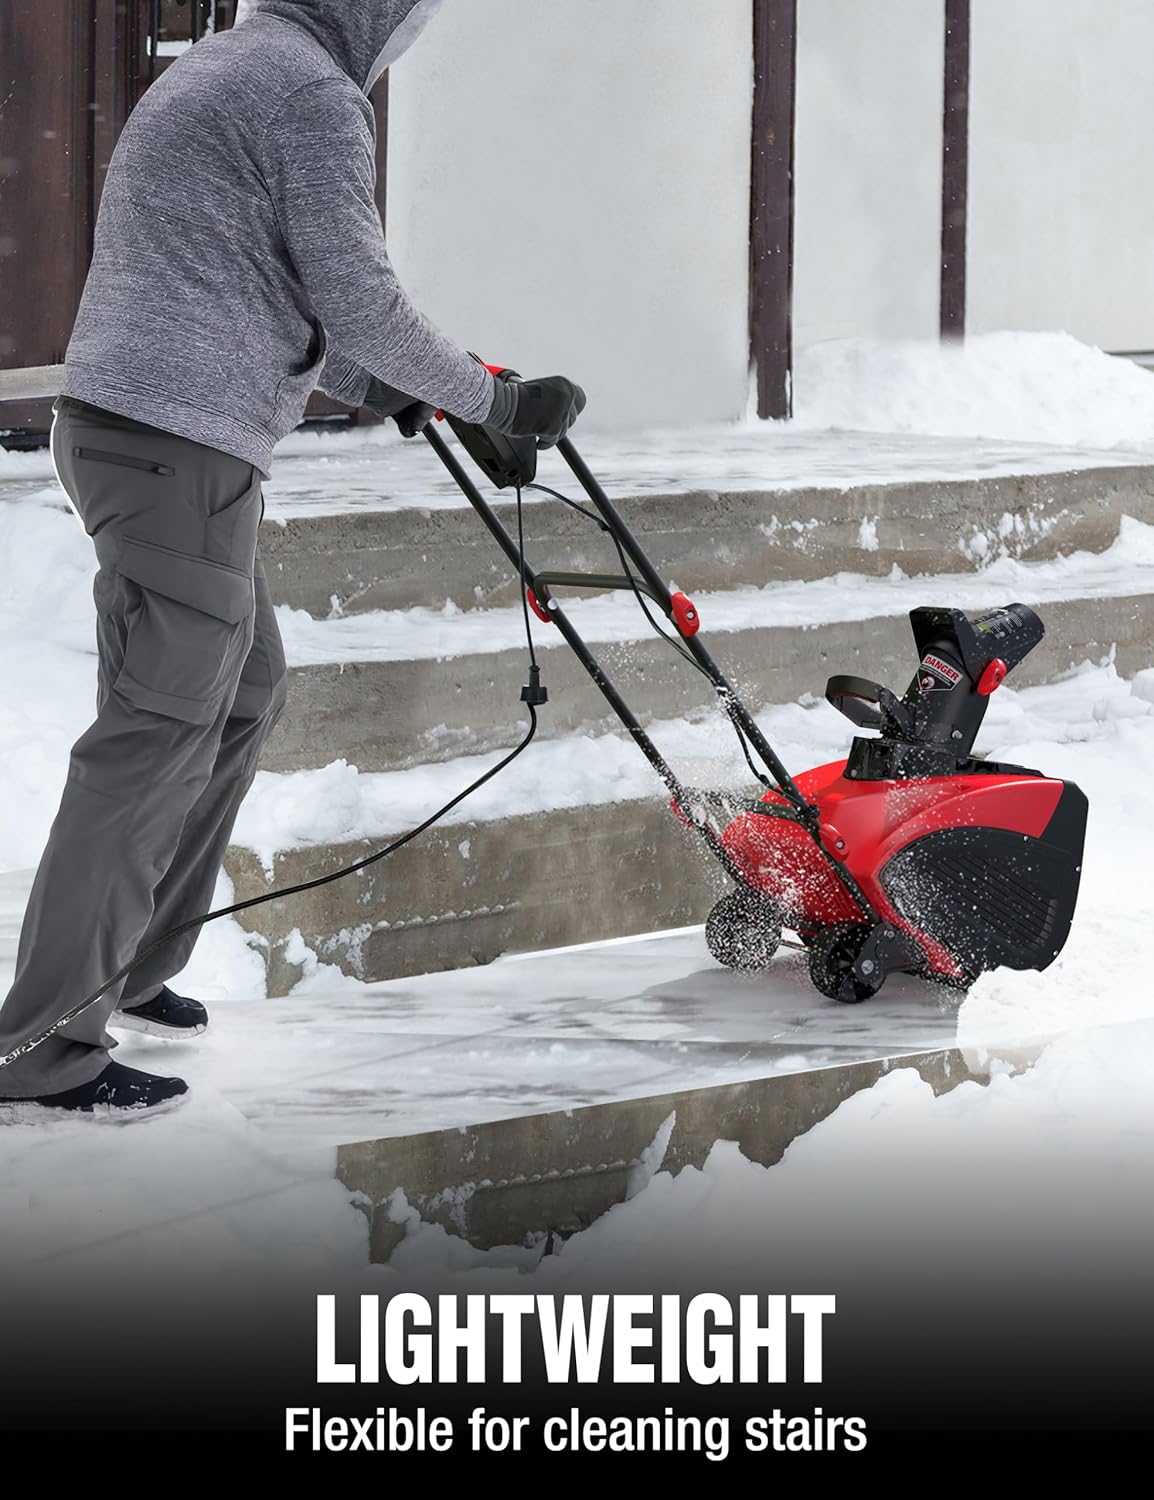
Image: The lightweight design allows for easy maneuvering, even on stairs, as shown by a person clearing snow.

Image: Illustration of the snow blower's capability to throw snow up to 30 feet, indicating its powerful discharge.

Image: Visual guide indicating that the snow blower is ideal for powder and fluffy snow, but not recommended for wet, heavy, or crusted snow.
Operation Videos
Video: Official PowerSmart video showcasing the 18-Inch Corded Snow Blower in action, demonstrating its clearing capabilities.
Video: The PowerSmart electric snow blower clearing snow, highlighting its performance in various conditions.
Video: A vertical format video demonstrating the 18-Inch Electric Snow Blower's operation and snow throwing.
Maintenance
Regular maintenance ensures the longevity and optimal performance of your PowerSmart snow blower.
- Before Each Use: Inspect the power cord for any damage. Check that all fasteners are tight. Ensure the auger and chute are free of debris.
- After Each Use: Disconnect the power cord. Clear any remaining snow or ice from the auger housing and chute using a non-metallic tool. Wipe down the exterior of the unit.
- Seasonal Storage: Clean the unit thoroughly. Store the snow blower in a dry, protected area. The handle can be collapsed for compact storage by loosening the red knobs on the handle frame.

Image: Detailed view of the all-steel auger with four rubber-tipped blades, designed for durability and effective snow clearing without damaging surfaces.

Image: The snow blower shown in its folded position, illustrating its compact design for easy storage.
Troubleshooting
If you encounter issues with your PowerSmart snow blower, refer to the following common troubleshooting tips:
- Unit Does Not Start:
- Ensure the power cord is securely plugged into a working outlet and the snow blower.
- Check the extension cord for damage or improper rating.
- Verify that the safety button is pressed before engaging the operating lever.
- Snow Not Discharging Properly:
- Disconnect power. Check the discharge chute and auger housing for clogs. Clear any obstructions using a non-metallic tool.
- Ensure the snow being cleared is not too wet or heavy for the unit.
- Reduced Throwing Distance:
- This can occur with wet, heavy snow. Try clearing smaller sections or making slower passes.
- Ensure the chute is not partially blocked.
For persistent issues, contact PowerSmart customer support.
Product Specifications
| Feature | Specification |
|---|---|
| Brand | PowerSmart |
| Model | DB7517 |
| Power Source | Corded Electric |
| Motor | 15 Amp, 120 Volts (AC) |
| Clearing Width | 18 Inches |
| Ideal Snow Depth | Up to 6 Inches |
| Throwing Distance | Up to 30 ft |
| Plowing Capacity | Up to 800 lbs/min |
| Auger Type | All-steel with four rubber-tipped blades |
| Chute Rotation | 180 Degrees (Adjustable) |
| Item Weight | 32 Pounds |
| Product Dimensions | 38"D x 18"W x 37"H |

Image: Key performance specifications of the PowerSmart snow blower, including clearing width, ideal snow depth, and maximum throwing distance.
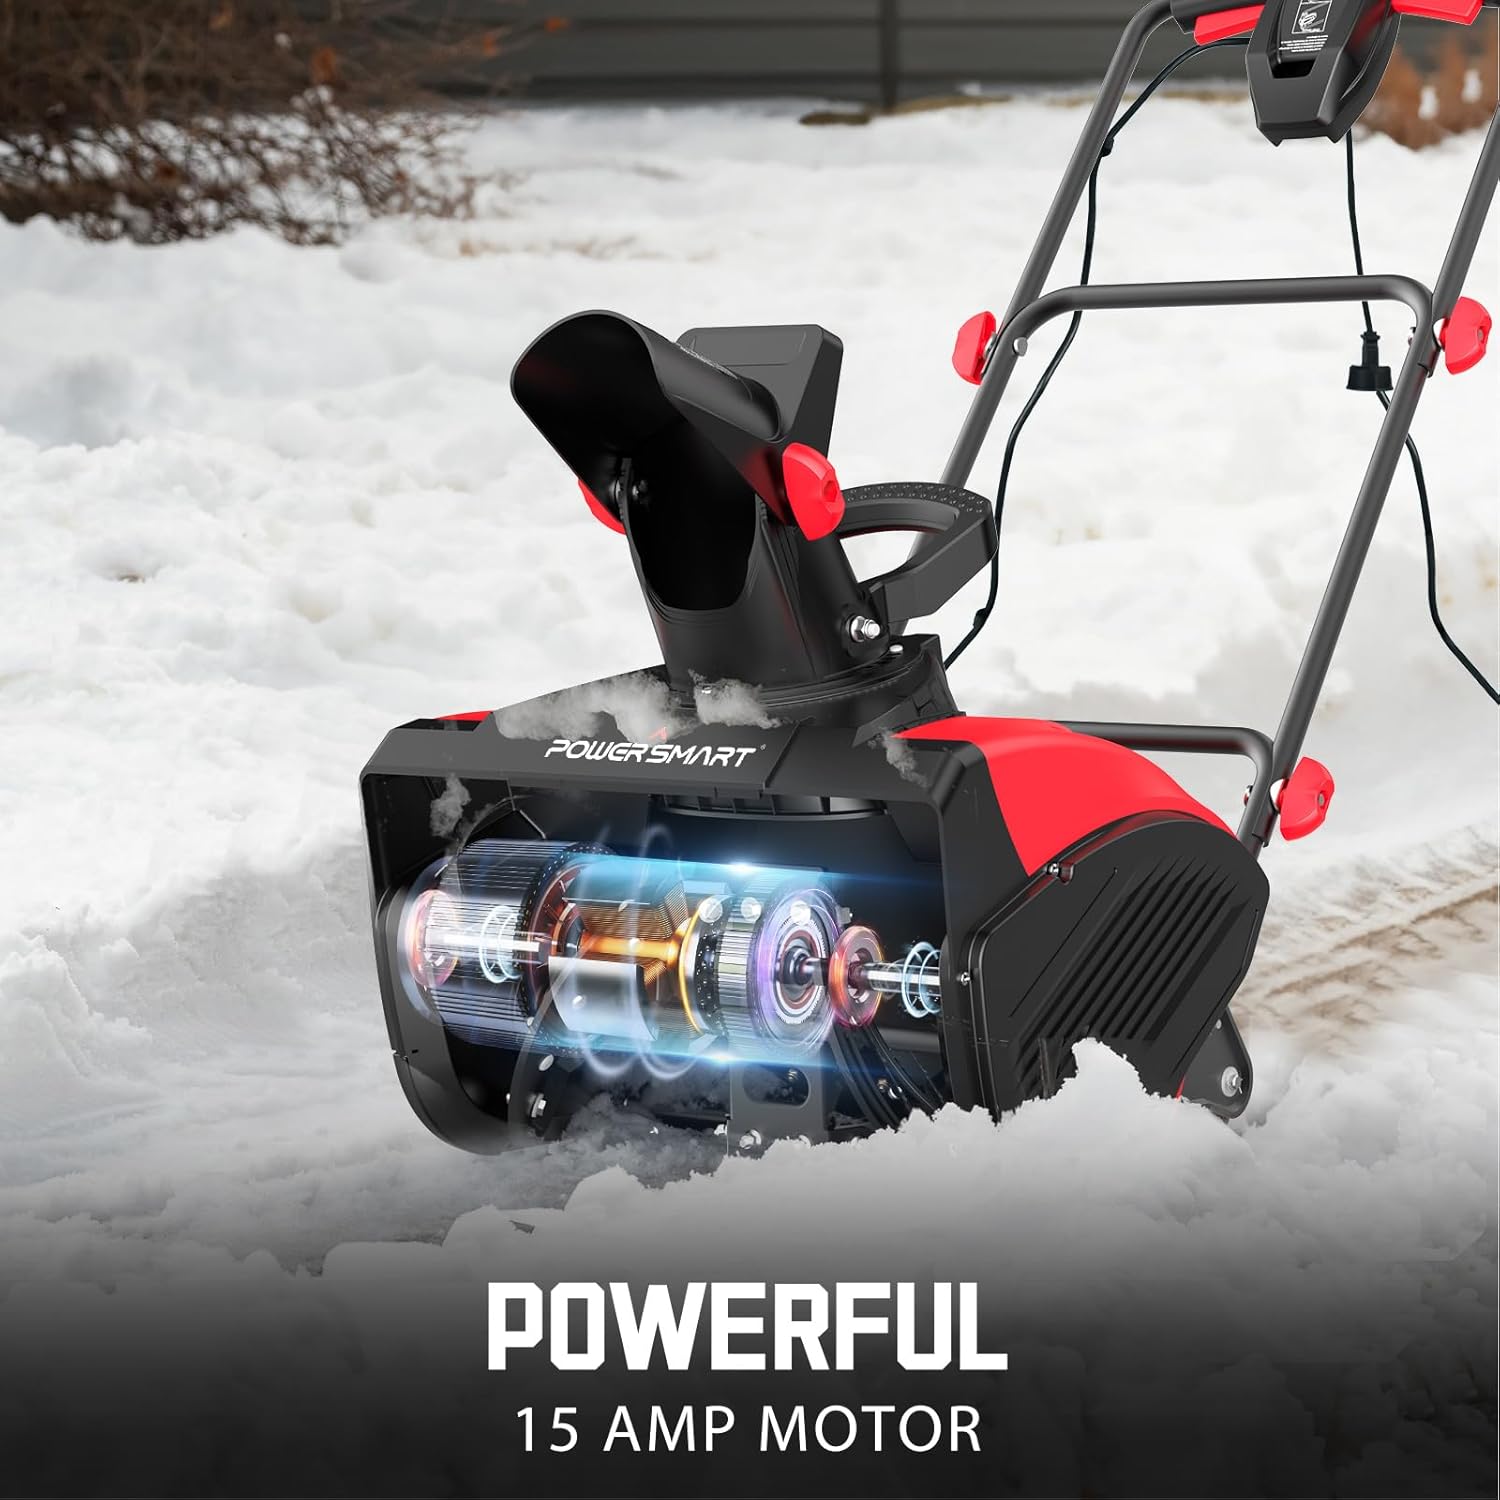
Image: Internal view highlighting the powerful 15 Amp motor, the core of the snow blower's performance.

Image: Dimensional diagram of the PowerSmart snow blower, providing measurements for height, depth, and width.
Warranty and Support
PowerSmart is committed to providing reliable products and dependable service. For any issues, repairs, or replacement parts, please contact PowerSmart customer support.
- PowerSmart maintains over 500 certified repair centers across the U.S.
- Full replacement parts are available through the IL headquarters.
- Consider purchasing an extended protection plan for additional coverage.
For further assistance, visit the official PowerSmart Store.
Related documentsDB7517

Ask a question about this manual
Ask about setup, troubleshooting, compatibility, parts, safety, or missing instructions. Manuals+ will review the question and use this page’s manual context to help answer it.