
1. Introduction
This manual provides essential information for the installation, operation, and maintenance of your AMD EPYC 9534 server processor. The AMD EPYC 9534 is a high-performance 64-core processor designed for demanding server workloads, featuring a 3.6GHz clock speed, 256MB L3 Cache, and a 280W Thermal Design Power (TDP) for the SP5 socket.
Please read this manual thoroughly before proceeding with installation or operation to ensure proper functionality and to prevent damage to the processor or other system components.
2. Safety Information
- Electrostatic Discharge (ESD) Precautions: Always handle the processor by its edges. Wear an anti-static wrist strap and work on an anti-static mat to prevent ESD damage.
- Power Off: Ensure the system is completely powered off and disconnected from the power source before installing or removing the processor.
- Socket Compatibility: Only install this processor into a compatible SP5 socket. Forcing the processor into an incompatible socket can cause irreversible damage.
- Thermal Solution: A robust server-grade cooling solution is mandatory for the AMD EPYC 9534 due to its 280W TDP. Ensure proper installation of the heatsink and fan/liquid cooler.
- Sharp Edges: Be cautious of sharp edges on the motherboard or chassis during installation.
3. Package Contents
Your AMD EPYC 9534 processor package (Tray/Bulk) typically includes:
- AMD EPYC 9534 Processor (Model: 100-000000799)
Note: Tray/Bulk processors do not include a retail cooler or thermal paste. These components must be purchased separately.
4. Setup (Installation)
4.1 Pre-Installation Checklist
- Compatible SP5 motherboard with the latest BIOS/UEFI firmware.
- Appropriate server-grade CPU cooling solution (heatsink and fan/liquid cooler) for 280W TDP.
- High-quality thermal paste.
- Screwdriver (if required for cooler mounting).
- Anti-static wrist strap and mat.
4.2 Processor Installation Steps
- Prepare the Motherboard: Place the motherboard on an anti-static surface. Locate the SP5 socket.
- Open the Socket: Carefully lift the socket retention lever(s) according to your motherboard's manual. The SP5 socket typically uses a Land Grid Array (LGA) design, so there are no pins on the CPU itself.
- Align the Processor: Hold the AMD EPYC 9534 processor by its edges. Align the gold triangular marker on the processor with the corresponding marker on the SP5 socket. Ensure the processor is oriented correctly.
- Insert the Processor: Gently place the processor straight down into the socket. Do not force it. If it does not seat easily, re-check the alignment.
- Secure the Processor: Once the processor is properly seated, close the socket retention lever(s) until they click into place. This secures the processor firmly in the socket.
- Apply Thermal Paste: Apply a small amount of high-quality thermal paste to the center of the processor's Integrated Heat Spreader (IHS). Follow the thermal paste manufacturer's instructions for application method (e.g., pea-sized dot, line method).
- Install CPU Cooler: Carefully place your chosen server-grade CPU cooler onto the processor, ensuring even pressure. Secure the cooler according to its manufacturer's instructions. Connect the CPU fan cable(s) to the appropriate header(s) on the motherboard.
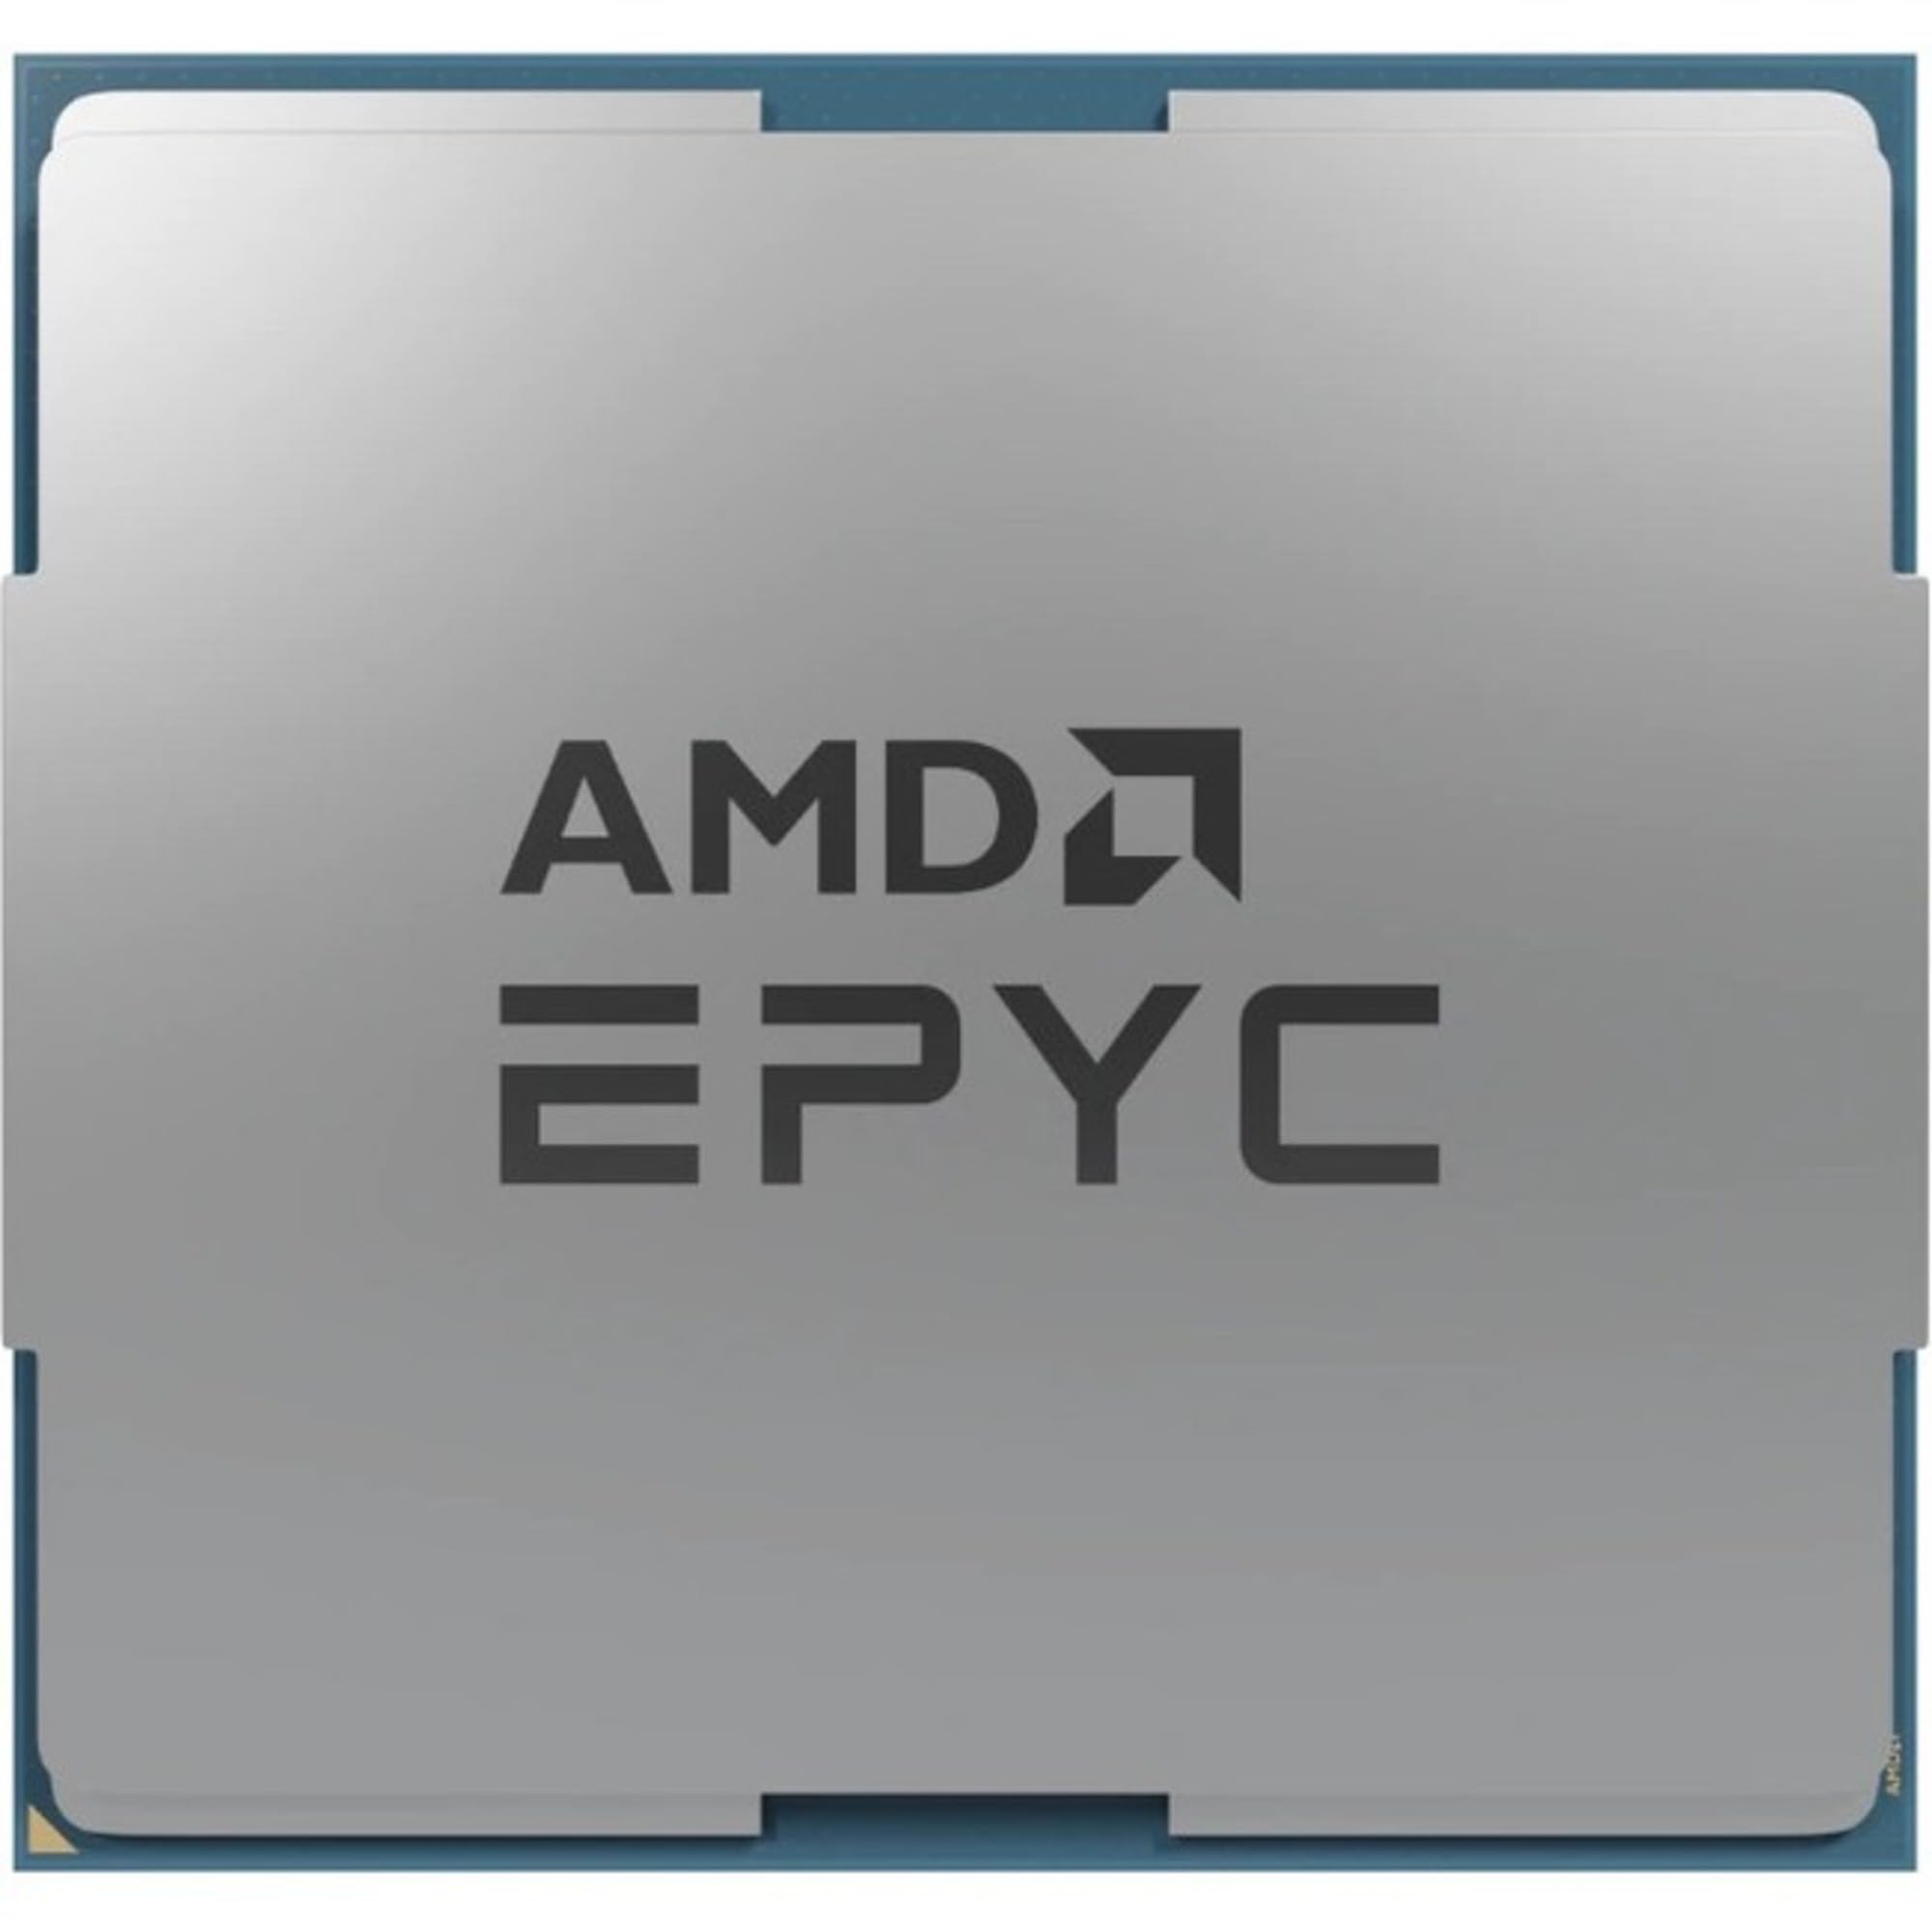
An image showing the AMD EPYC 9534 server processor, typically a square chip with a heat spreader, designed for high-performance computing.
5. Operating (Usage)
5.1 Initial System Power-On
After installing the processor and all other components, connect the system to power and attempt to power it on. Observe for any POST (Power-On Self-Test) codes or diagnostic LEDs on your motherboard, which can indicate issues.
5.2 BIOS/UEFI Configuration
Access your motherboard's BIOS/UEFI setup utility (usually by pressing DEL or F2 during boot). Verify that the processor is correctly detected. You may need to configure settings such as:
- Memory Settings: Ensure RAM is detected and configured correctly.
- SMT (Simultaneous Multi-Threading): Enable or disable SMT based on your workload requirements.
- Virtualization Technology: Enable AMD-V if you plan to use virtualization.
- Power Management: Adjust power profiles as needed for performance or efficiency.
5.3 Operating System Installation
Proceed with the installation of your preferred server operating system (e.g., Windows Server, Linux distributions). Ensure you have the latest drivers for your motherboard and other components.
6. Maintenance
6.1 Dust Removal
Regularly inspect and clean your server's cooling system (CPU heatsink, case fans) to prevent dust buildup, which can impede airflow and lead to overheating. Use compressed air to gently remove dust.
6.2 Thermal Paste Reapplication
Over time, thermal paste can dry out and lose effectiveness. Consider reapplying thermal paste every 2-3 years, or if you notice consistently high CPU temperatures. This requires removing the CPU cooler, cleaning off old paste, and applying new paste.
6.3 Temperature Monitoring
Utilize system monitoring software to keep track of CPU temperatures, especially under load. Ensure temperatures remain within safe operating limits as specified by AMD.
7. Troubleshooting
7.1 No Power-On Self-Test (POST) / No Display
- Check Power Connections: Ensure all power cables (24-pin ATX, 8-pin EPS/CPU power) are securely connected to the motherboard.
- Reseat Components: Carefully reseat the CPU, RAM modules, and any expansion cards.
- Clear CMOS: Reset the motherboard's CMOS settings (refer to your motherboard manual).
- Minimum Configuration: Try booting with only the CPU, one stick of RAM, and the CPU cooler installed.
7.2 Overheating Issues
- Cooler Installation: Verify the CPU cooler is correctly installed and making full contact with the CPU's IHS.
- Thermal Paste: Ensure adequate thermal paste application. Reapply if necessary.
- Airflow: Check for proper case airflow and ensure all fans are spinning.
- Dust: Clean any dust buildup from the heatsink fins and fans.
7.3 System Instability / Crashes
- BIOS/UEFI Update: Ensure your motherboard has the latest BIOS/UEFI firmware.
- Memory Test: Run a memory diagnostic tool (e.g., MemTest86) to check for RAM errors.
- Power Supply: Verify your power supply unit (PSU) has sufficient wattage and stable power delivery for all components.
- Drivers: Ensure all system drivers, especially chipset drivers, are up to date.
8. Specifications
| Feature | Specification |
|---|---|
| Brand | AMD |
| Model Number | 100-000000799 |
| CPU Manufacturer | AMD |
| CPU Model | EPYC 9534 |
| Core Count | 64 Cores |
| CPU Speed | Up to 3.6 GHz |
| L3 Cache | 256 MB |
| TDP | 280 W |
| CPU Socket | SP5 |
| Product Dimensions | 3 x 2 x 1 inches |
| Item Weight | 7.7 ounces |
9. Warranty and Support
For warranty information and technical support regarding your AMD EPYC 9534 processor, please refer to the official AMD website or contact your point of purchase. Warranty terms and conditions may vary based on region and retailer.
AMD Official Support: For the most up-to-date support resources, drivers, and documentation, please visit the official AMD support website.