Product Overview
The nipify Solar Spot Lights are designed for outdoor use, providing illumination with integrated motion sensing capabilities. These lights are solar-powered, offering an energy-efficient and wireless lighting solution for various outdoor areas.
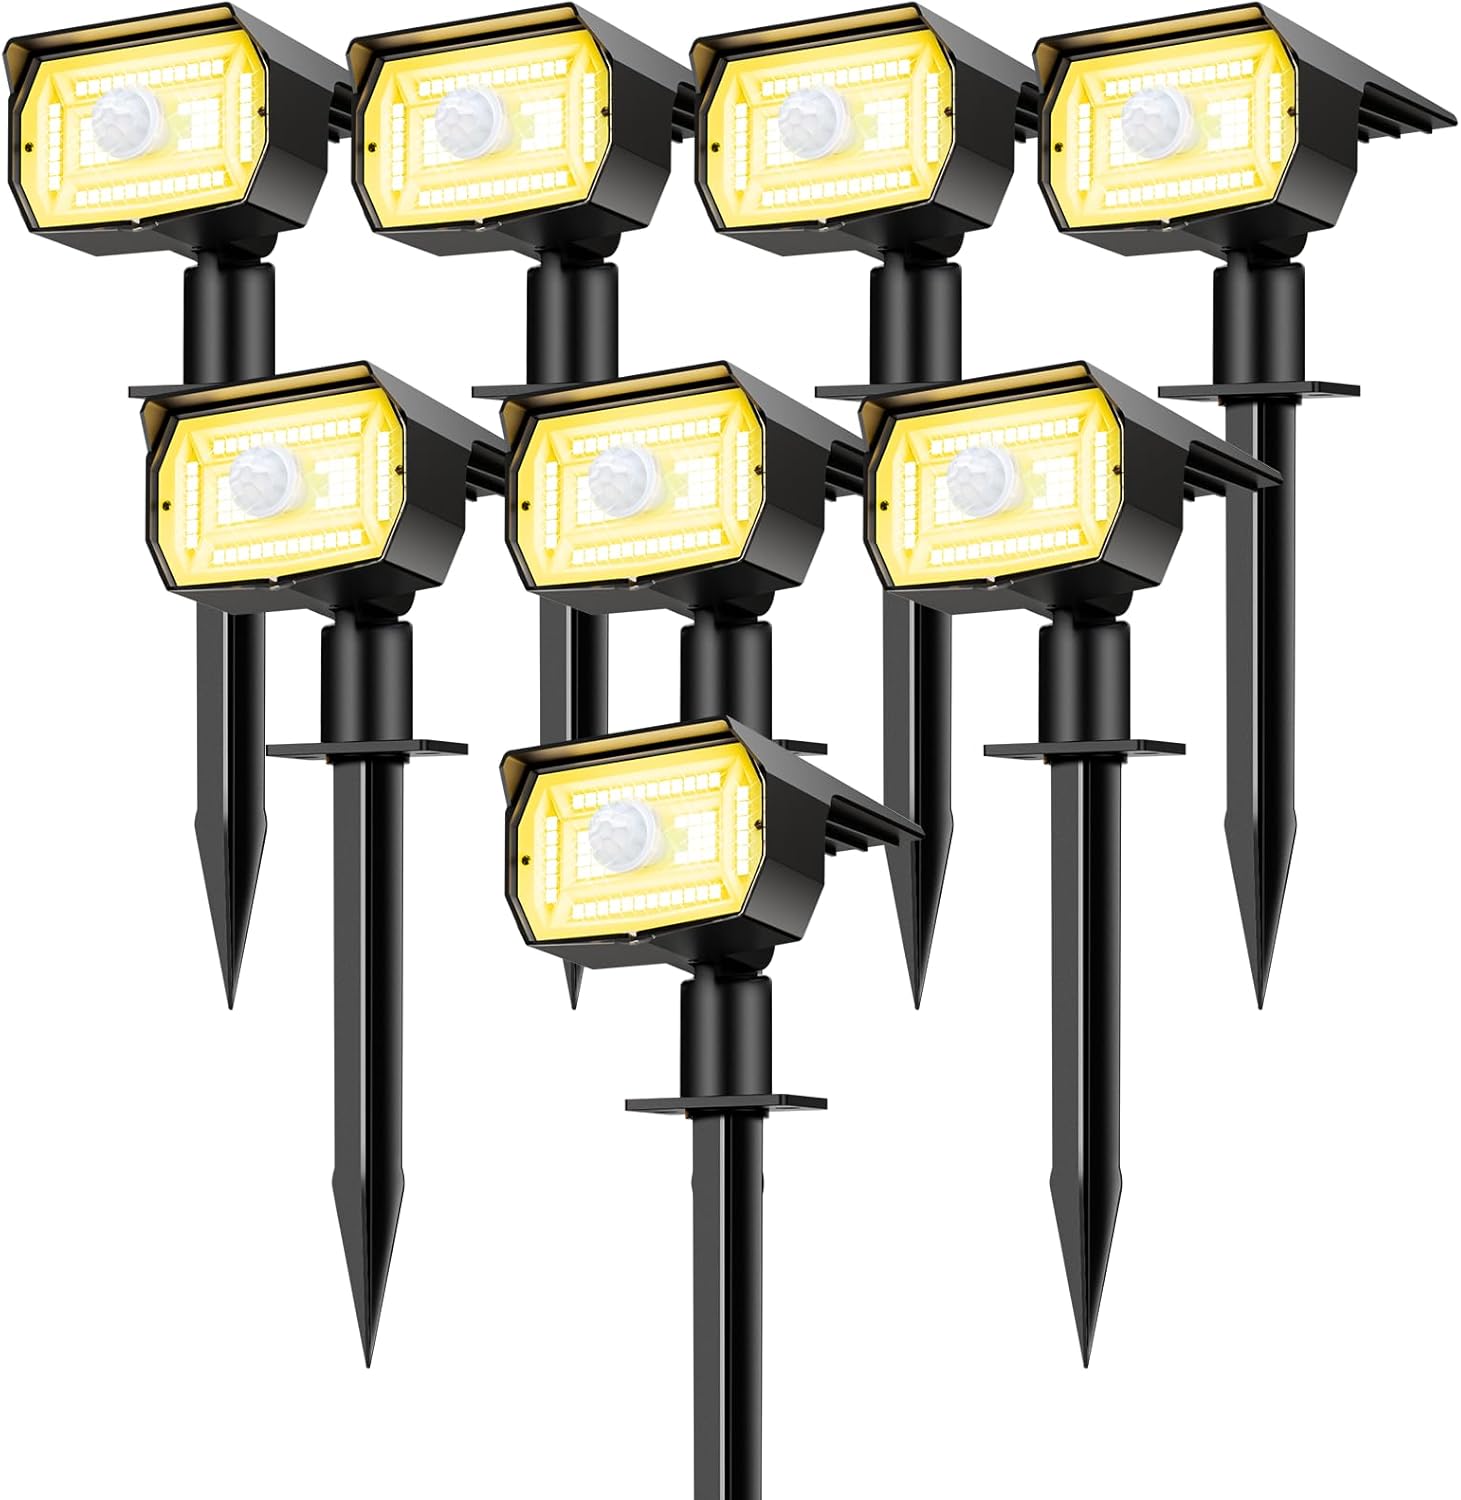
Image: An 8-pack of nipify Solar Spot Lights, showcasing their design and warm white light output.
Key Features:
- Solar Powered: Automatically charges during the day and illuminates at night.
- Motion Sensor: Built-in PIR motion sensor for enhanced security and energy saving.
- 3 Lighting Modes: Offers versatile lighting options to suit different needs.
- Waterproof Design: IP65 rated for durability in various weather conditions.
- 2-in-1 Installation: Can be installed as a wall mount or ground plug.
Setup and Installation
Proper installation ensures optimal performance of your solar spot lights. Choose a location that receives direct sunlight for at least 6-8 hours daily to ensure full charging.
Initial Setup:
- Unpack: Carefully remove all components from the packaging.
- Initial Charge: Before first use, place the solar panel in direct sunlight for a full day (6-8 hours) to ensure the battery is adequately charged.
- Select Mode: Press the switch button on the back of the light to select your desired operating mode (see 'Operating Modes' section).
Installation Options:
Your nipify solar spot lights offer two installation methods:
- Ground Plug Installation: Attach the ground stake to the light unit. Insert the stake firmly into soft ground in your desired location.
- Wall Mount Installation: Use the provided mounting hardware to secure the light unit to a wall or fence. Ensure the solar panel is positioned to receive maximum sunlight.

Image: Illustration of wall mount and ground plug installation methods.

Image: Product dimensions and adjustability for optimal light positioning.
Operating Instructions
The solar spot lights feature automatic operation and multiple lighting modes controlled by a single switch button.
Automatic Operation:
The lights are equipped with a light sensor. They will automatically turn on at dusk and turn off at dawn, provided there is sufficient charge.

Image: Auto charging and working cycle of the solar lights.
Operating Modes:
Press the switch button on the back of the light to cycle through the three available modes:
- Mode 1 (Sensor Light Mode): The light remains off until motion is detected. Upon detection, it illuminates at full brightness for approximately 20 seconds, then turns off if no further motion is detected.
- Mode 2 (Dim Light Sensor Mode): The light stays at a low brightness level. When motion is detected, it switches to full brightness for approximately 20 seconds, then returns to dim brightness.
- Mode 3 (Constant Light Mode): The light automatically turns on at night and stays on at a constant brightness until the battery depletes or dawn arrives.

Image: Detailed explanation of the three lighting modes and switch operation.
Maintenance
Regular maintenance ensures the longevity and efficiency of your solar spot lights.
- Clean Solar Panel: Periodically wipe the solar panel with a soft, damp cloth to remove dust, dirt, or debris. A clean panel ensures optimal sunlight absorption and charging efficiency.
- Clear Obstructions: Ensure no trees, bushes, or other objects are blocking direct sunlight from reaching the solar panel, especially during peak charging hours.
- Inspect for Damage: Regularly check the light units and wiring (if applicable) for any signs of wear or damage.
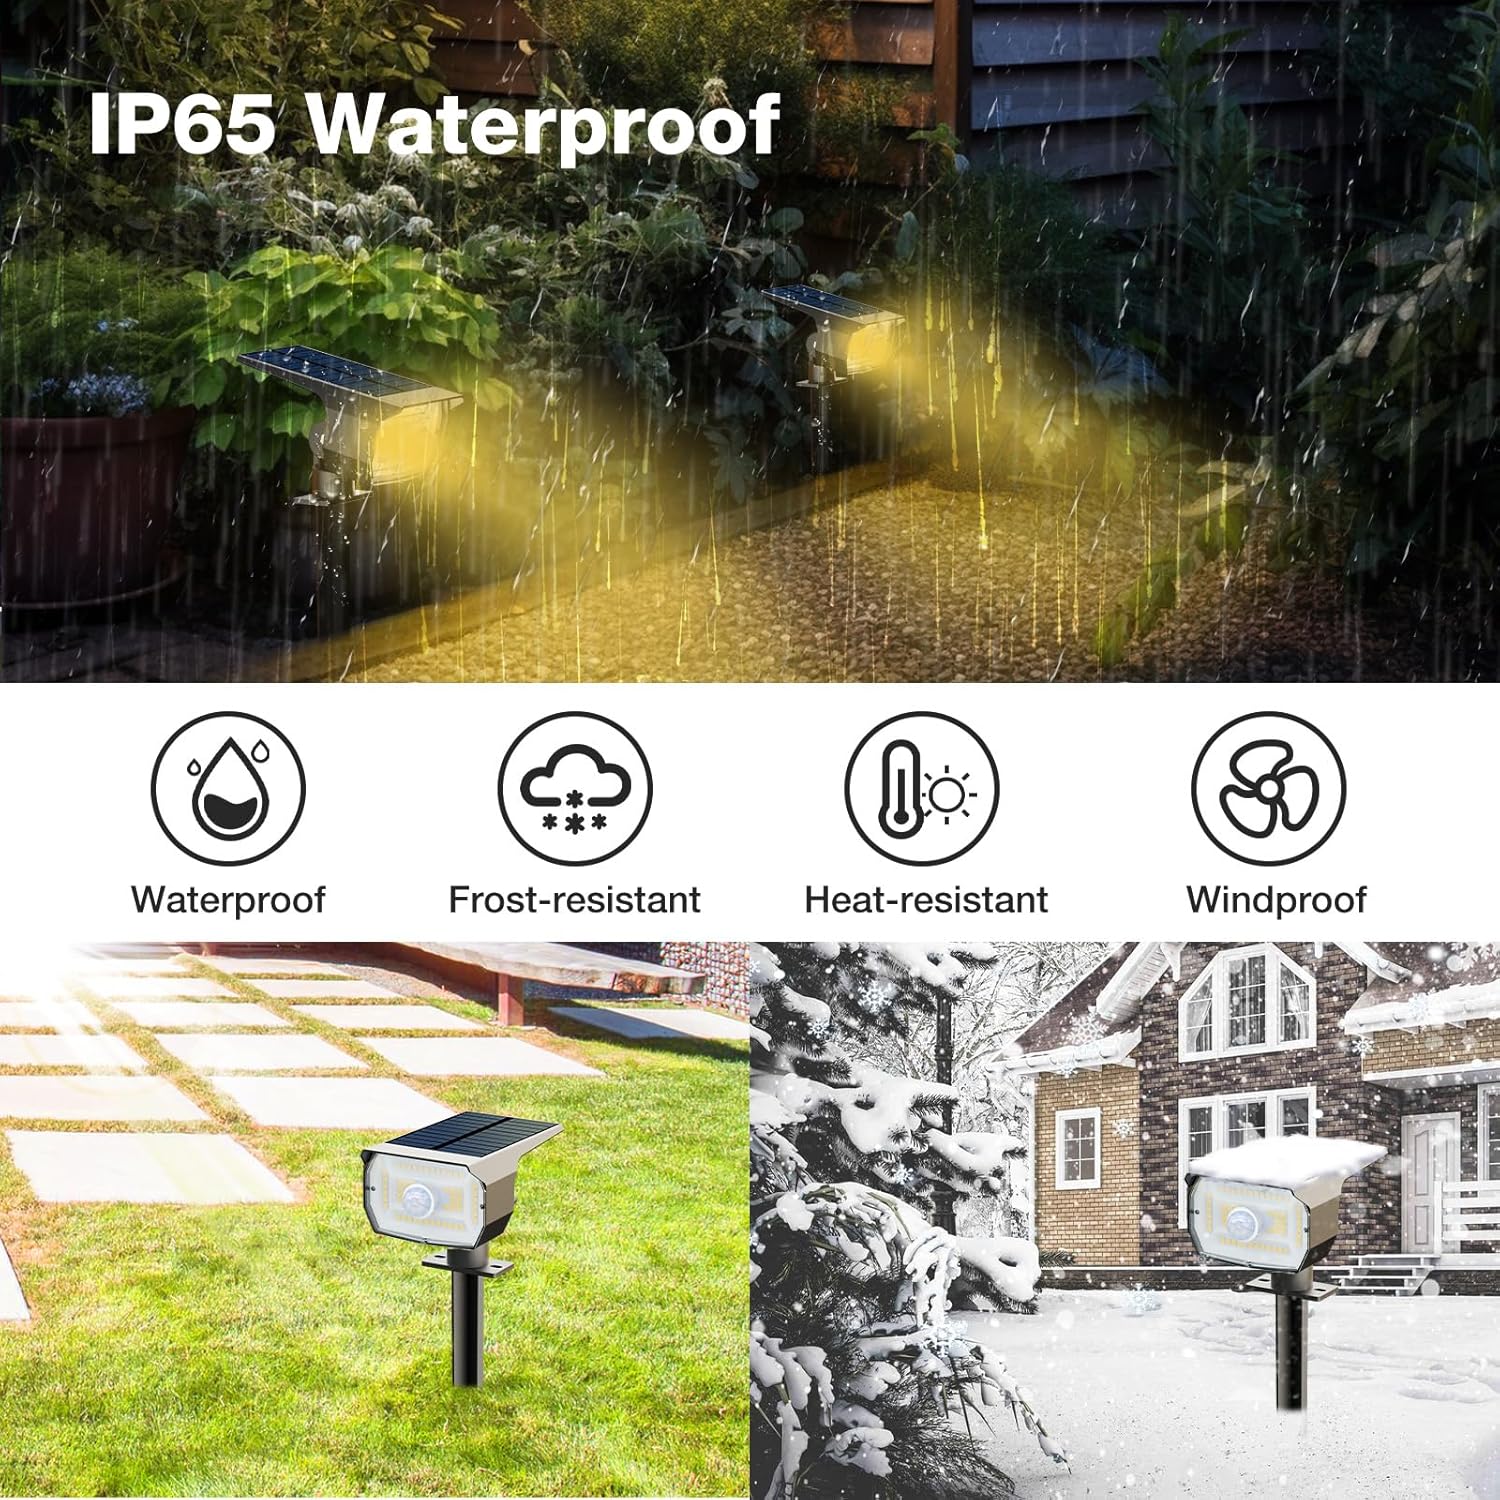
Image: The IP65 waterproof rating ensures durability against various weather conditions.
Troubleshooting
If your solar spot lights are not functioning as expected, refer to the following common issues and solutions:
| Problem | Possible Cause | Solution |
|---|---|---|
| Light does not turn on at night. | Insufficient solar charge. | Ensure the solar panel receives 6-8 hours of direct sunlight daily. Clean the solar panel. |
| Light is dim or only stays on for a short time. | Inadequate charging or battery degradation. | Relocate the light to a sunnier spot. Ensure the solar panel is clean. |
| Motion sensor is not detecting movement. | Sensor obstructed or incorrect mode. | Clear any obstructions from the sensor. Ensure the light is in Mode 1 or Mode 2. |
| Light remains on during the day. | Light sensor obstructed or faulty. | Check if anything is covering the light sensor. Ensure the light is not in a constantly shaded area. |
Specifications
| Feature | Detail |
|---|---|
| Brand | nipify |
| Model Number | nipify-NA |
| Color | Warm White |
| Material | Plastic |
| Power Source | Solar Powered |
| Light Source Type | LED (56 LEDs per light) |
| Voltage | 2 Volts (DC) |
| Total Brightness | Up to 5600 lumens (for 8-pack) |
| Water Resistance Level | IP65 Waterproof |
| Special Feature | Motion Sensor |
| Control Method | Switch Button (for mode selection) |
| Product Dimensions (each) | 4.5"L x 3.1"W x 11.2"H |
| Included Components | Mounting Hardware, Remote Control (functionality not detailed) |
Warranty and Support
For any questions or concerns regarding your nipify Solar Spot Lights, please contact our customer service team.
We are committed to providing support and will assist you with any issues you may encounter.
Please refer to your purchase documentation or the seller's contact information for specific warranty details and support channels.


