
DJI CP.RN.00000341.01
DJI Zenmuse X9-8K Gimbal Camera User Manual
Model: CP.RN.00000341.01 | Brand: DJI
1. Introduction
The DJI Zenmuse X9-8K Gimbal Camera is a professional-grade imaging system designed for cinematic production. It offers full-frame 8K/60fps and 4K/120fps video recording capabilities, dual-native ISO, and built-in ND filters, providing exceptional image quality and flexibility for filmmakers. This manual provides essential information for the setup, operation, maintenance, and troubleshooting of your Zenmuse X9-8K Gimbal Camera.

Figure 1.1: Front view of the DJI Zenmuse X9-8K Gimbal Camera, showcasing its compact design and lens mount.
2. What's in the Box
Upon unboxing your DJI Zenmuse X9-8K Gimbal Camera, please verify that all components listed below are present and in good condition.
- Zenmuse X9-8K Gimbal Camera x1
- X9 Gimbal Base Cap x1

Figure 2.1: The Zenmuse X9-8K Gimbal Camera and its accompanying base cap, as found in the product packaging.
3. Key Features
The Zenmuse X9-8K Gimbal Camera is engineered with advanced features to meet the demands of professional cinematography:
- Pro-level Imaging: Records full-frame video at up to 8K/60fps and 4K/120fps, delivering high-resolution footage suitable for industry standards and extensive post-production flexibility.

Figure 3.1: A high-resolution image of a city at night, illustrating the clarity and detail captured by the 8K/60fps imaging capabilities.
- Exquisite Details and Minimal Noise: Features 800/4000 Dual-Native ISO, allowing for capture of detailed images with minimal noise, even in challenging low-light conditions such as night scenes or candle-lit environments.

Figure 3.2: A scene captured at night, highlighting the camera's ability to maintain detail and reduce noise in low-light settings using Dual-Native ISO.
- Max 14.7 Stops of Dynamic Range: Provides extensive visual information in every frame, ensuring excellent performance in both extremely bright and dark environments, which offers significant flexibility during post-production.
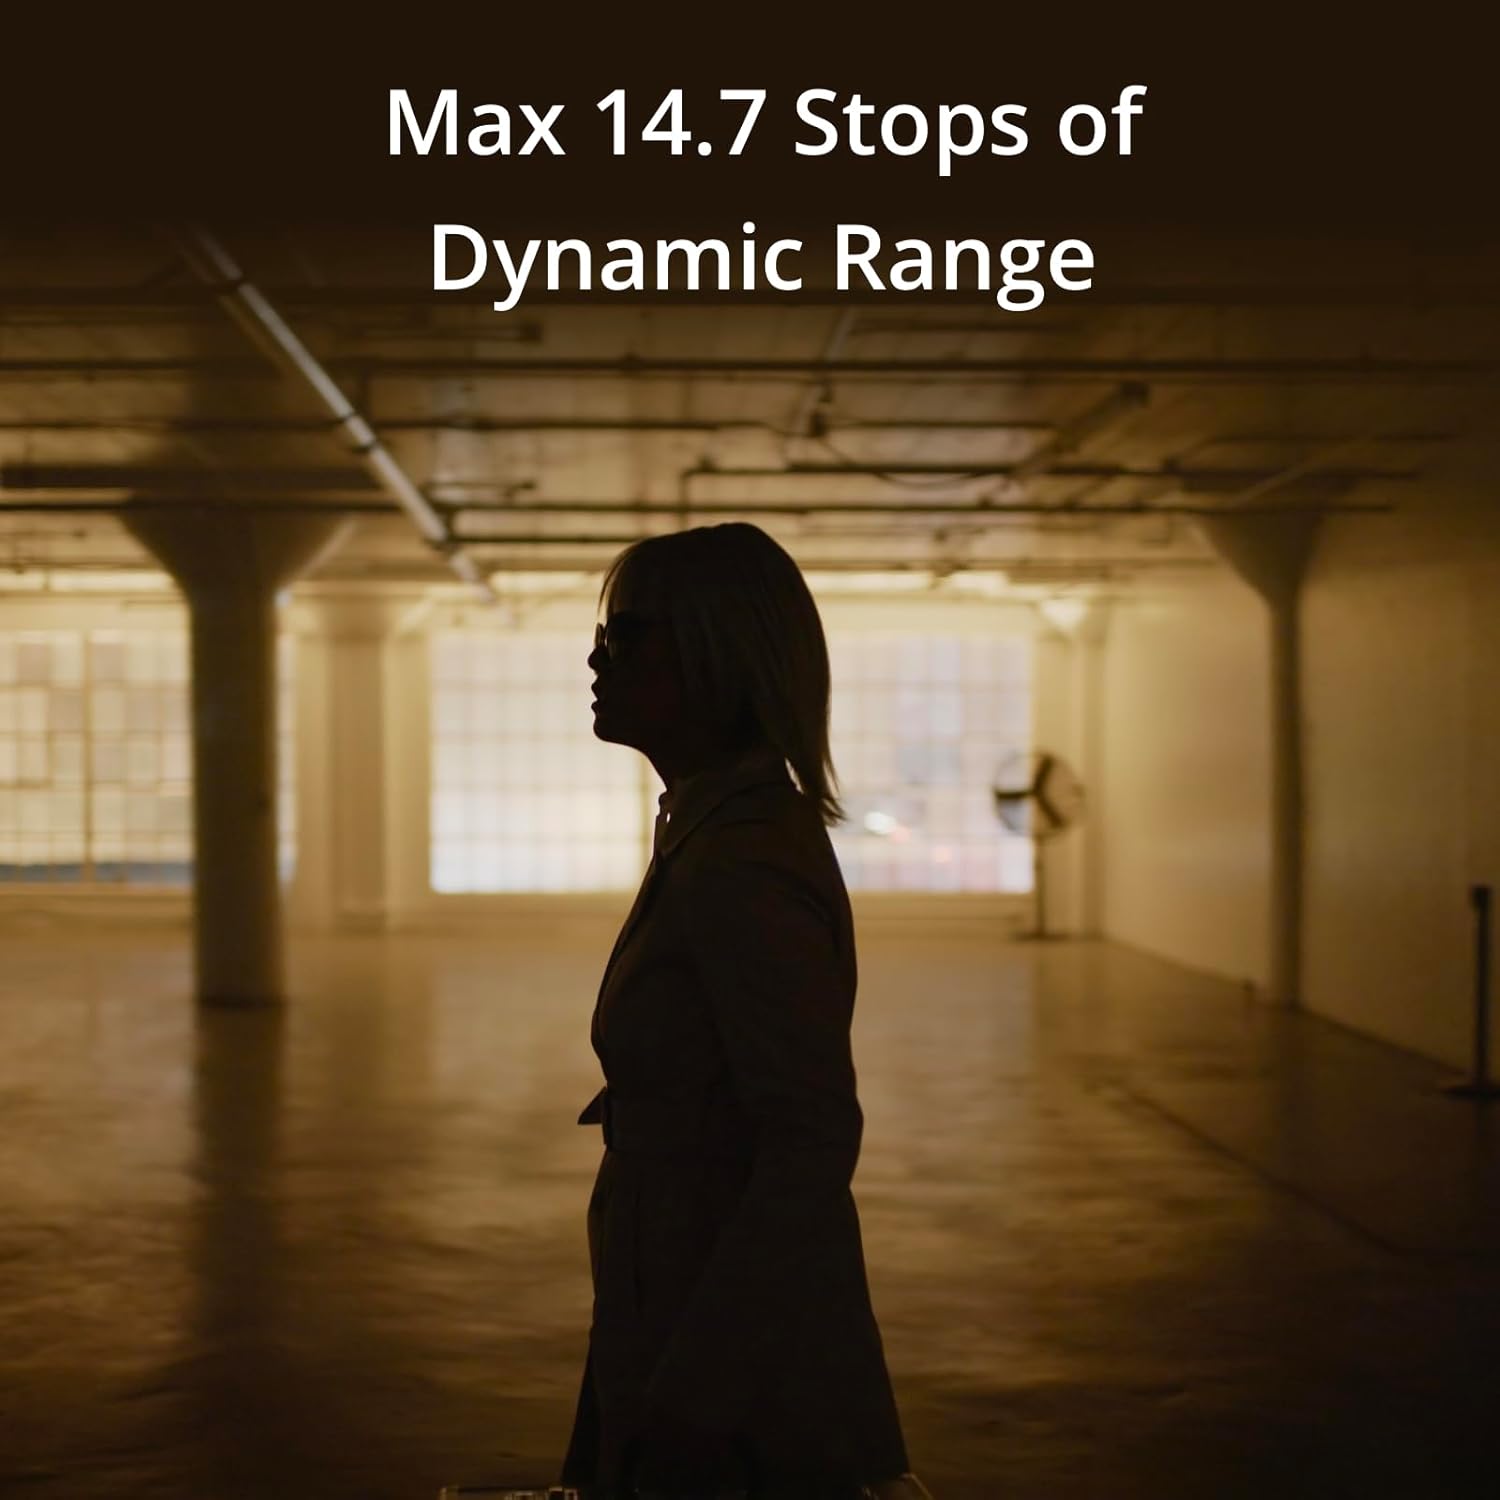
Figure 3.3: An image demonstrating the wide dynamic range, capturing details in both the bright background and the shadowed foreground.
- Built-In 9-Stop Physical ND Filters: Seamlessly adjust exposure with the integrated 9-stop physical ND filters, enabling quick adaptation to varying light conditions without external filters.

Figure 3.4: An internal view diagram illustrating the integrated 9-stop physical ND filter system within the camera.
- DL/E/L/PL/M Interchangeable Lens Mount: Offers broad compatibility with various lens types, providing more options for utilizing existing lenses during production.

Figure 3.5: A selection of different lens types, demonstrating the versatility of the interchangeable lens mount system.
- Autofocus on Manual Lenses: Enables autofocus functionality on select manual focus lenses and includes a hybrid Automated Manual Focus mode, extending the usability of legacy equipment.
4. Setup
The Zenmuse X9-8K Gimbal Camera is designed to integrate with the DJI Ronin 4D system. Proper setup is crucial for optimal performance.
- Unpacking: Carefully remove the Zenmuse X9-8K Gimbal Camera and X9 Gimbal Base Cap from their packaging. Inspect for any signs of damage.
- Mounting to Ronin 4D: Align the Zenmuse X9-8K Gimbal Camera with the designated mounting point on your DJI Ronin 4D main body. Ensure the connection is secure and locked into place according to the Ronin 4D's specific instructions.

Figure 4.1: The Zenmuse X9-8K Gimbal Camera integrated into a complete DJI Ronin 4D system, ready for operation.
- Lens Attachment: Select your desired compatible lens. Remove the X9 Gimbal Base Cap from the camera and the rear cap from the lens. Align the lens with the camera's mount (DL/E/L/PL/M) and twist to secure it. Refer to your lens manufacturer's guide for specific attachment procedures.
- Power Connection: Ensure the Ronin 4D system, to which the Zenmuse X9-8K is attached, is properly powered. The Zenmuse X9-8K draws power directly from the Ronin 4D.
- Initial Calibration: After assembly, power on the Ronin 4D system. The Zenmuse X9-8K gimbal will perform an automatic calibration. Ensure the camera is on a stable, level surface during this process.
5. Operating Instructions
The Zenmuse X9-8K Gimbal Camera operates in conjunction with the DJI Ronin 4D's control interface. Familiarize yourself with the Ronin 4D's main monitor and control grips for full functionality.
- Power On/Off: Power on the Ronin 4D system. The Zenmuse X9-8K will initialize automatically. To power off, follow the Ronin 4D's shutdown procedure.
- Recording Modes: Access various recording modes (e.g., 8K/60fps, 4K/120fps) through the Ronin 4D's menu system. Navigate to the camera settings to select resolution, frame rate, and codec options.
- ISO Adjustment: Utilize the Dual-Native ISO settings (800/4000) to optimize image quality in different lighting conditions. Adjust ISO via the Ronin 4D's control interface.
- ND Filter Control: The built-in 9-stop physical ND filters can be adjusted electronically via the Ronin 4D's controls. This allows for quick exposure compensation without changing lenses or adding external filters.
- Focusing: For compatible lenses, utilize the autofocus features or the hybrid Automated Manual Focus mode. Manual focus adjustments can be made via the lens focus ring or connected follow focus systems.
- Gimbal Control: The Zenmuse X9-8K's gimbal movements are controlled directly through the Ronin 4D's 4-axis stabilization system, allowing for smooth and precise camera movements.
- Storage: Ensure a compatible CFexpress Type B card is inserted into the Ronin 4D for recording footage. Monitor storage capacity through the Ronin 4D's display.
6. Maintenance
Regular maintenance ensures the longevity and optimal performance of your Zenmuse X9-8K Gimbal Camera.
- Cleaning the Lens and Sensor:
- Use a soft, lint-free microfiber cloth specifically designed for optical surfaces to clean the lens elements.
- For dust on the sensor, use an air blower. Avoid touching the sensor directly. If persistent dust is present, consult a professional service.
- Gimbal Care:
- Keep the gimbal axes free from dust and debris. Use a soft brush or compressed air to clean crevices.
- Avoid applying excessive force to the gimbal. When not in use, ensure the gimbal is locked or stored in its protective case.
- Firmware Updates: Periodically check the official DJI website for firmware updates for both the Zenmuse X9-8K and the Ronin 4D system. Keeping firmware updated ensures access to new features and performance improvements.
- Storage: When not in use, store the camera in a dry, dust-free environment, preferably in its original packaging or a dedicated camera case. Ensure the X9 Gimbal Base Cap is installed to protect the sensor and internal components.
7. Troubleshooting
This section addresses common issues you might encounter. For more detailed troubleshooting, refer to the official DJI Ronin 4D Troubleshooting Guide (PDF) available on the DJI support website.
- Camera Not Powering On:
- Ensure the Zenmuse X9-8K is correctly mounted to the Ronin 4D.
- Verify that the Ronin 4D system itself is powered on and its battery is charged.
- Gimbal Instability/Vibration:
- Perform a gimbal auto-calibration through the Ronin 4D's menu.
- Check for any obstructions or loose components on the gimbal or camera.
- Ensure the lens is securely attached and balanced if applicable.
- No Image Output:
- Check all cable connections between the Zenmuse X9-8K and the Ronin 4D.
- Ensure the lens cap is removed.
- Verify that the correct input source is selected on the Ronin 4D's monitor.
- Recording Issues (e.g., dropped frames):
- Ensure you are using a high-speed CFexpress Type B card recommended for 8K video recording.
- Check available storage space on the card.
- Format the CFexpress card regularly (back up data first).
For further assistance, please visit the official DJI support website or contact DJI customer service.
8. Specifications
Detailed technical specifications for the DJI Zenmuse X9-8K Gimbal Camera:
| Feature | Specification |
|---|---|
| Model Number | CP.RN.00000341.01 |
| Product Dimensions | 5.91 x 10.63 x 12.2 inches |
| Item Weight | 2.66 pounds |
| Photo Sensor Technology | CMOS |
| Video Capture Resolution | 8K |
| Maximum Aperture | 8 Millimeters |
| Flash Memory Type | CFexpress Type B |
| Video Capture Format | MOV |
| Supported Audio Format | AAC, MP3, PCM |
| Connectivity Technology | USB |
| Color | Black |
| Special Features | Pro-level Imaging, Interchangeable Lens, Max 14.7 Stops of Dynamic Range |
| Manufacturer | DJI |
| Country of Origin | China |
| First Available Date | December 14, 2023 |
Note: Specifications are subject to change without prior notice. For the most up-to-date information, please refer to the official DJI website.
9. Warranty and Support
DJI provides comprehensive support for its products. For detailed warranty information, please refer to the official DJI warranty policy available on their website. Keep your proof of purchase for warranty claims.
- Online Support: Visit the official DJI support website for FAQs, user guides, and troubleshooting resources.
- Customer Service: Contact DJI customer service for technical assistance or repair inquiries.
- Documents:
- Instructions for Use (IFU): Download PDF
- Troubleshooting Guide: Download PDF
Related documentsCP.RN.00000341.01


Ask a question about this manual
Ask about setup, troubleshooting, compatibility, parts, safety, or missing instructions. Manuals+ will review the question and use this page’s manual context to help answer it.