
AE86-ORIGIN M5 Elite
Contents
AE86-ORIGIN M5 Elite Electric Scooter User Manual
Model: M5 Elite
1. Product Overview
The AE86-ORIGIN M5 Elite Electric Scooter is designed for efficient daily commuting and recreational use. Featuring a powerful 500W motor, it offers a comfortable and stable ride with its 14-inch pneumatic tires and adjustable seat. Its foldable design ensures easy storage and portability.
2. Safety Guidelines
Always prioritize safety when operating the electric scooter. Adhere to local traffic laws and regulations. Wear appropriate safety gear, including a helmet, knee pads, and elbow pads. Ensure the scooter is in good working condition before each ride.
- Always wear a helmet and other protective gear.
- Do not ride in heavy rain or through puddles deeper than 1 inch.
- Avoid riding on slippery surfaces.
- Do not perform stunts or sudden maneuvers.
- Ensure all components are securely fastened before riding.
3. Package Contents
- AE86-ORIGIN M5 Elite Electric Scooter (partially assembled)
- Adjustable Seat and Seat Post
- Rear Basket
- Charger
- Allen Keys
- User Manual
- Phone Holder
- Bike Lock
- Two Sets of Keys
4. Assembly Instructions
The M5 Elite Electric Scooter comes partially assembled. Follow these steps to complete the assembly:
4.1. Unboxing and Initial Setup
Carefully remove the scooter and all components from the packaging. Remove all protective wrapping and foam inserts.

Image: The M5 Elite Electric Scooter as it appears when folded for transport or storage.
4.2. Unfolding the Scooter
Unfold the main frame of the scooter. Secure the handlebar stem in the upright position using the quick-release lever. Ensure it clicks firmly into place.
4.3. Installing the Seat
Insert the seat post into the designated slot on the scooter's frame. Adjust the height to your preference and secure it with the quick-release clamp. Attach the seat to the seat post and tighten it using the provided wrench.
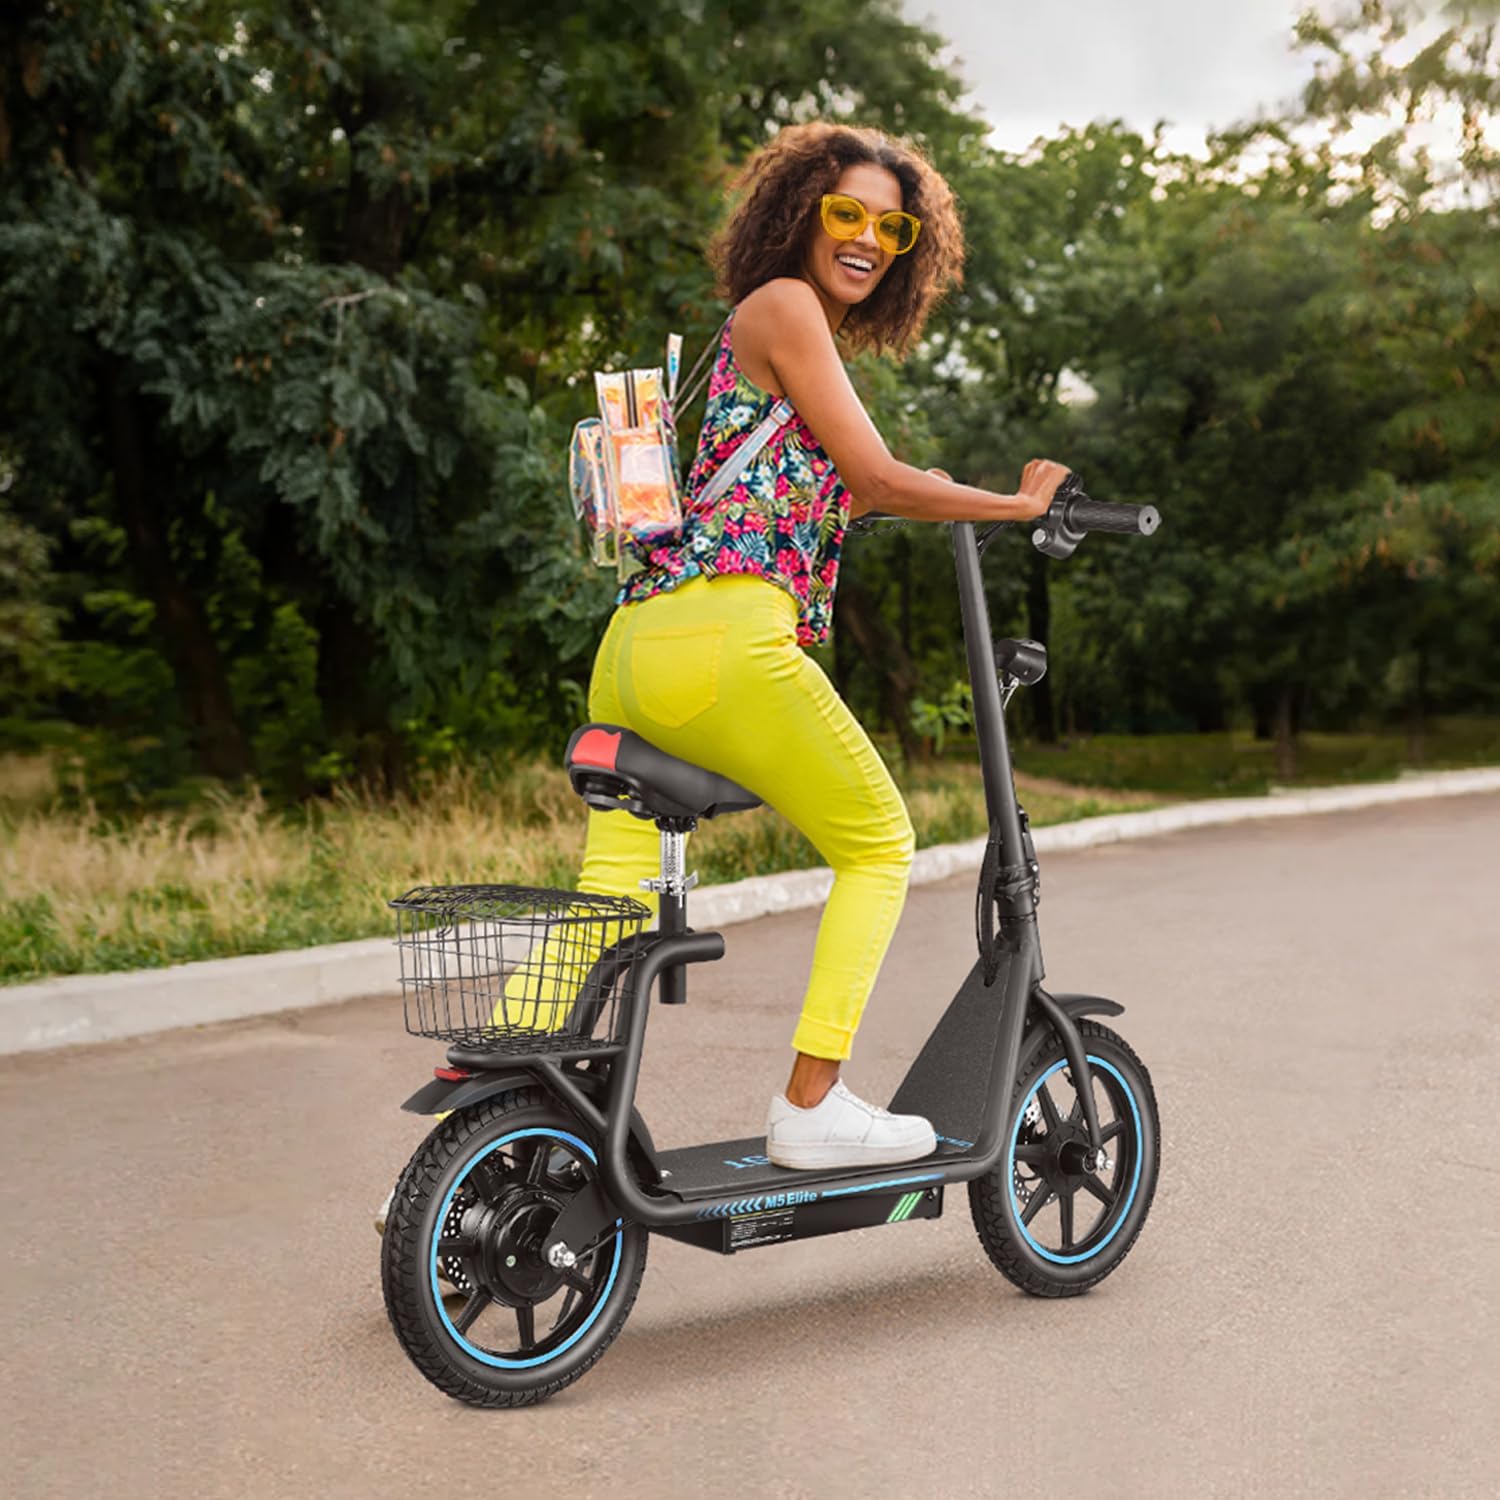
Image: The wide and comfortable seat of the M5 Elite scooter, designed for extended rides.
4.4. Attaching the Rear Basket
Position the rear basket over the mounting points at the back of the scooter. Secure it using the provided bolts and Allen keys. Ensure the basket is stable and does not wobble.

Image: The sturdy rear basket provides convenient storage for personal items or groceries.
4.5. Installing the Phone Holder
Attach the phone holder to the handlebar. Adjust its position for optimal viewing and secure it tightly.
4.6. Assembly Video Guide
Video: Official assembly guide for the AE86-ORIGIN M5 Elite Electric Scooter, demonstrating unboxing, unfolding, and attaching accessories like the seat and basket.
5. Operating Instructions
5.1. Powering On/Off
Insert the key into the ignition slot on the handlebar and turn it to the ON position to power on the scooter. The digital display will illuminate. To power off, turn the key to the OFF position.
5.2. Throttle Operation
Once powered on, gently twist the right-hand grip (throttle) towards you to accelerate. Release the throttle to slow down.
5.3. Braking
The scooter is equipped with dual disc brakes for effective stopping. Pull the left lever for the rear brake and the right lever for the front brake. Apply both brakes simultaneously for optimal stopping power.
5.4. Digital Display Functions
The LCD monitor provides real-time information about your ride:

Image: The clear LCD display provides essential riding information at a glance.
- Battery Level: Indicates the remaining battery charge.
- Current Speed: Shows your real-time speed in MPH or KM/H.
- Speed Mode: Displays the selected speed mode.
- Single Mileage: Tracks the distance of your current trip.
- Total Mileage: Shows the total distance traveled by the scooter.
5.5. Headlight and Taillight
Press the red button on the left handlebar to turn on the bright LED headlight and taillight for improved visibility during night rides. The taillight also functions as a brake light, illuminating brighter when brakes are applied.
5.6. Horn
Press the green button on the left handlebar to activate the horn, alerting pedestrians or other riders to your presence.
5.7. Kickstand
To park the scooter, extend the kickstand located on the side of the frame. Ensure the scooter is stable before dismounting.
6. Charging the Battery
Locate the charging port on the side of the scooter. Connect the included power adapter to the charging port and plug the adapter into a standard electrical outlet. The indicator light on the charger will show the charging status. A full charge provides up to 22 miles of range.
7. Maintenance
- Tire Pressure: Regularly check and maintain the recommended tire pressure for optimal performance and ride comfort.
- Cleaning: Clean the scooter regularly with a damp cloth. Avoid using high-pressure water jets directly on electrical components.
- Battery Care: Store the scooter in a cool, dry place. Charge the battery regularly, even if not in use, to prolong its lifespan.
- Brake Inspection: Periodically inspect the disc brakes for wear and tear. Adjust or replace brake pads as needed.
8. Troubleshooting
- Scooter Not Powering On: Check if the key is fully inserted and turned to the ON position. Ensure the battery is charged.
- Motor Not Engaging: Verify the throttle is correctly twisted. Check for any error codes on the digital display.
- Brakes Not Responsive: Inspect brake cables for tension and damage. Ensure brake pads are not excessively worn.
9. Specifications
| Feature | Specification |
|---|---|
| Brand | AE86-ORIGIN |
| Model Name | M5 Elite |
| Motor Power | 500W |
| Max Speed | 25 Mph |
| Max Range | 22 Miles |
| Tire Size | 14 Inches |
| Tire Type | Pneumatic |
| Brake Style | Front Braking, Rear Braking (Dual Disc) |
| Weight Limit | 265 Pounds |
| Special Feature | Foldable |
| Material | Aluminum |
10. Warranty and Support
The AE86-ORIGIN electric scooter comes with a 12-month or 6-month warranty for different parts. For any questions or support, please contact customer service.
Ask a question about this manual
Ask about setup, troubleshooting, compatibility, parts, safety, or missing instructions. Manuals+ will review the question and use this page’s manual context to help answer it.