
Introduction
This manual provides detailed instructions for the safe and effective operation and maintenance of your JOYIN Remote Control Excavator, Model 16233. Please read this manual thoroughly before use to ensure optimal performance and longevity of the product.
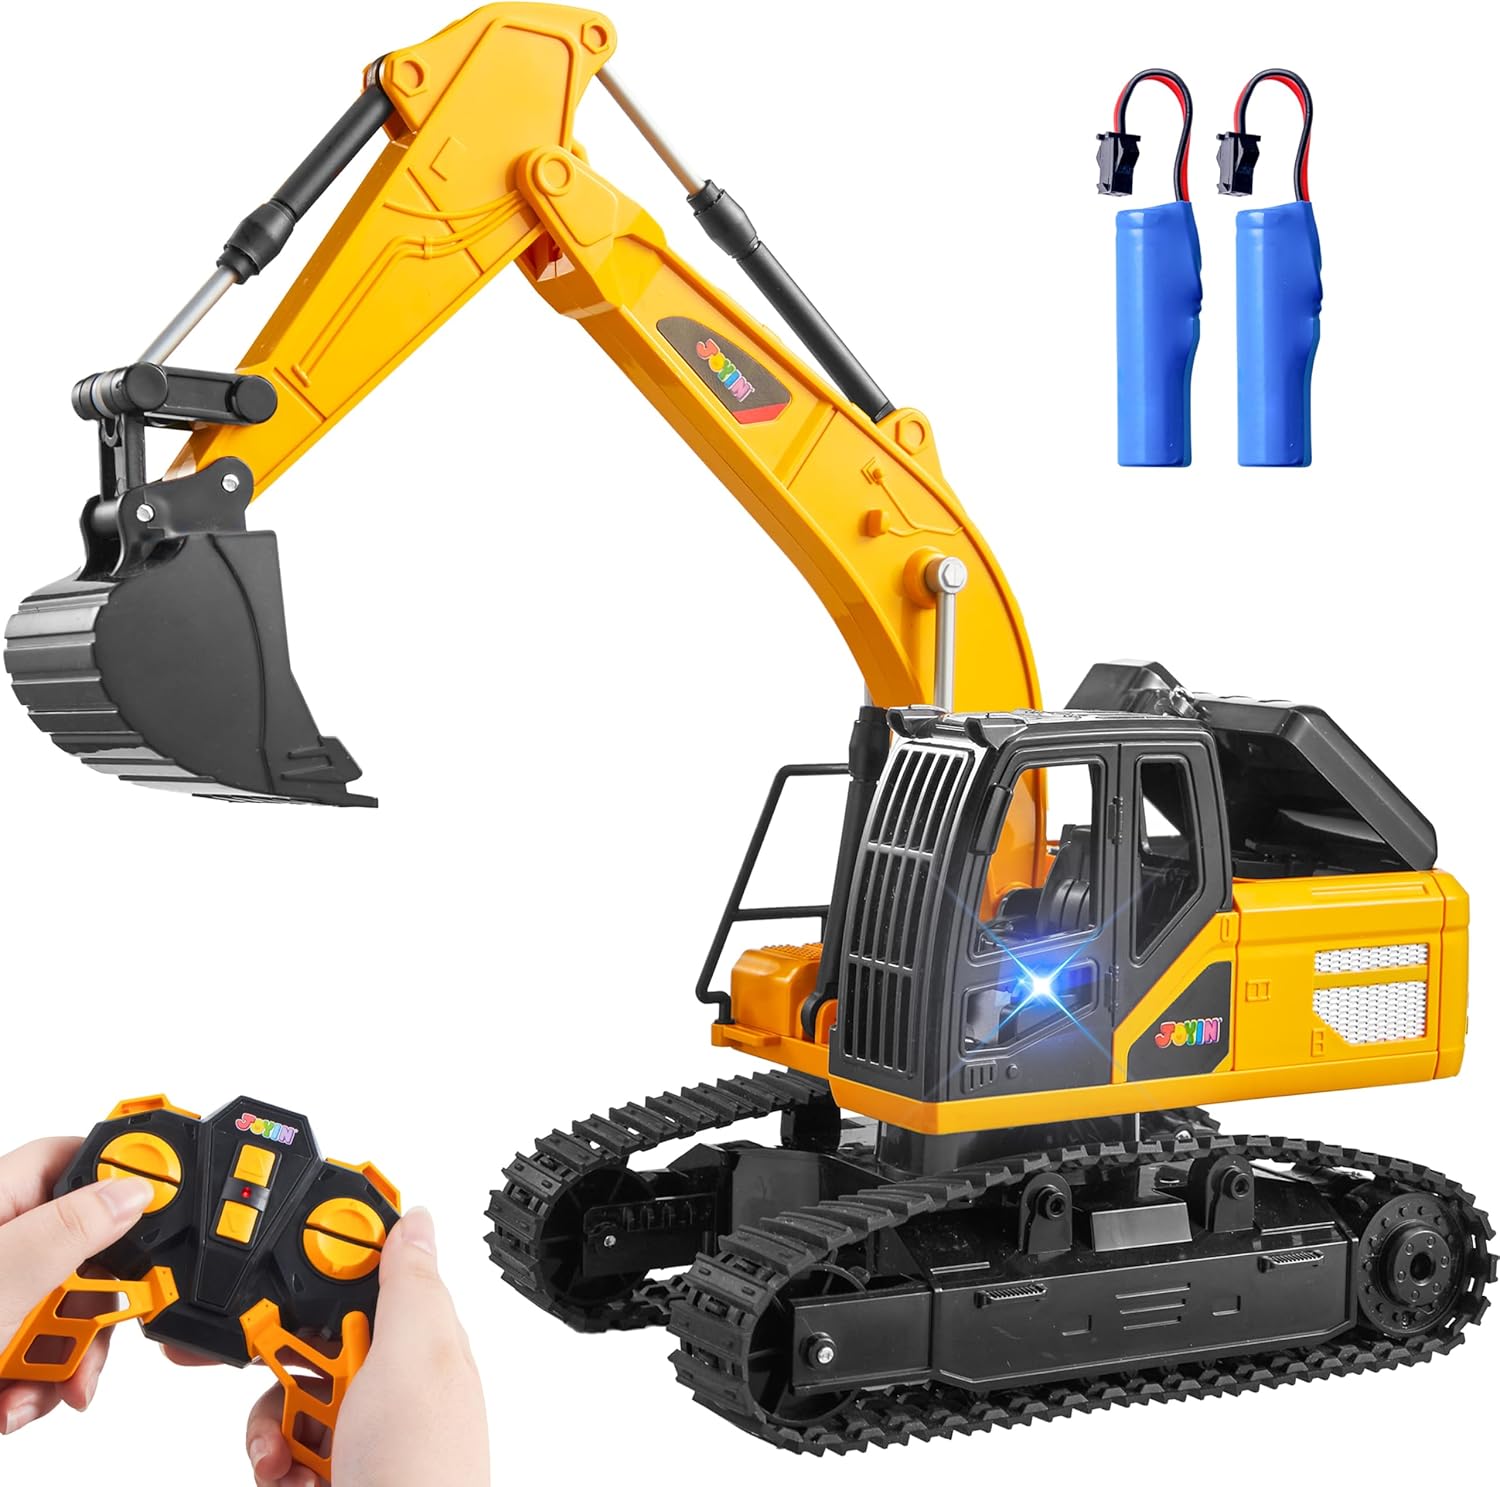
Image: The JOYIN Remote Control Excavator, its remote control, and two rechargeable batteries.
Safety Information
WARNING: CHOKING HAZARD - Small Parts. Not for children under 3 years. Adult supervision is recommended during play, especially during battery installation and charging.
- Do not operate near water or in wet conditions to prevent electrical damage.
- Keep fingers, hair, and loose clothing away from moving parts.
- Use only the specified batteries and charging cable.
- Do not attempt to modify or disassemble the product.
Package Contents
Verify that all items are present in the package:
- 1 x JOYIN Remote Control Excavator
- 1 x 2.4GHz Remote Control
- 2 x 600mAh Rechargeable Batteries (for Excavator)
- 1 x USB Charging Cable
Setup
1. Battery Installation (Excavator)
- Locate the battery compartment on the underside of the excavator.
- Open the battery compartment cover using a screwdriver (not included).
- Connect one of the rechargeable batteries to the excavator's battery connector, ensuring correct polarity.
- Place the battery inside the compartment and close the cover securely.

Image: Two rechargeable batteries, one connected to the excavator's battery port.
2. Battery Installation (Remote Control)
- Locate the battery compartment on the back of the remote control.
- Open the battery compartment cover.
- Insert 2 x AAA batteries (not included), observing the correct polarity (+/-).
- Close the battery compartment cover securely.
3. Charging the Excavator Battery
- Connect the rechargeable battery to the USB charging cable.
- Plug the USB charging cable into a standard USB power adapter (e.g., phone charger, computer USB port).
- The indicator light on the USB cable will show charging status (refer to cable instructions for specific light behavior).
- Charging typically takes 2-3 hours. Disconnect once fully charged.
4. Pairing the Remote Control
- Ensure both the excavator and remote control have fresh batteries installed.
- Turn on the excavator using the power switch. The excavator's lights may flash.
- Turn on the remote control.
- The remote control and excavator should automatically pair. The excavator's lights will become solid once paired.
- If pairing fails, turn both devices off and repeat the process.
Operating Instructions
Remote Control Functions
The 2.4GHz remote control allows for precise manipulation of the excavator. Familiarize yourself with the controls:
- Left Joystick: Controls forward/backward movement and left/right turns of the tracks.
- Right Joystick: Controls the excavator arm and bucket movements (up/down, scoop/dump).
- Additional Buttons: May control lights or other auxiliary functions. Refer to the remote's markings.
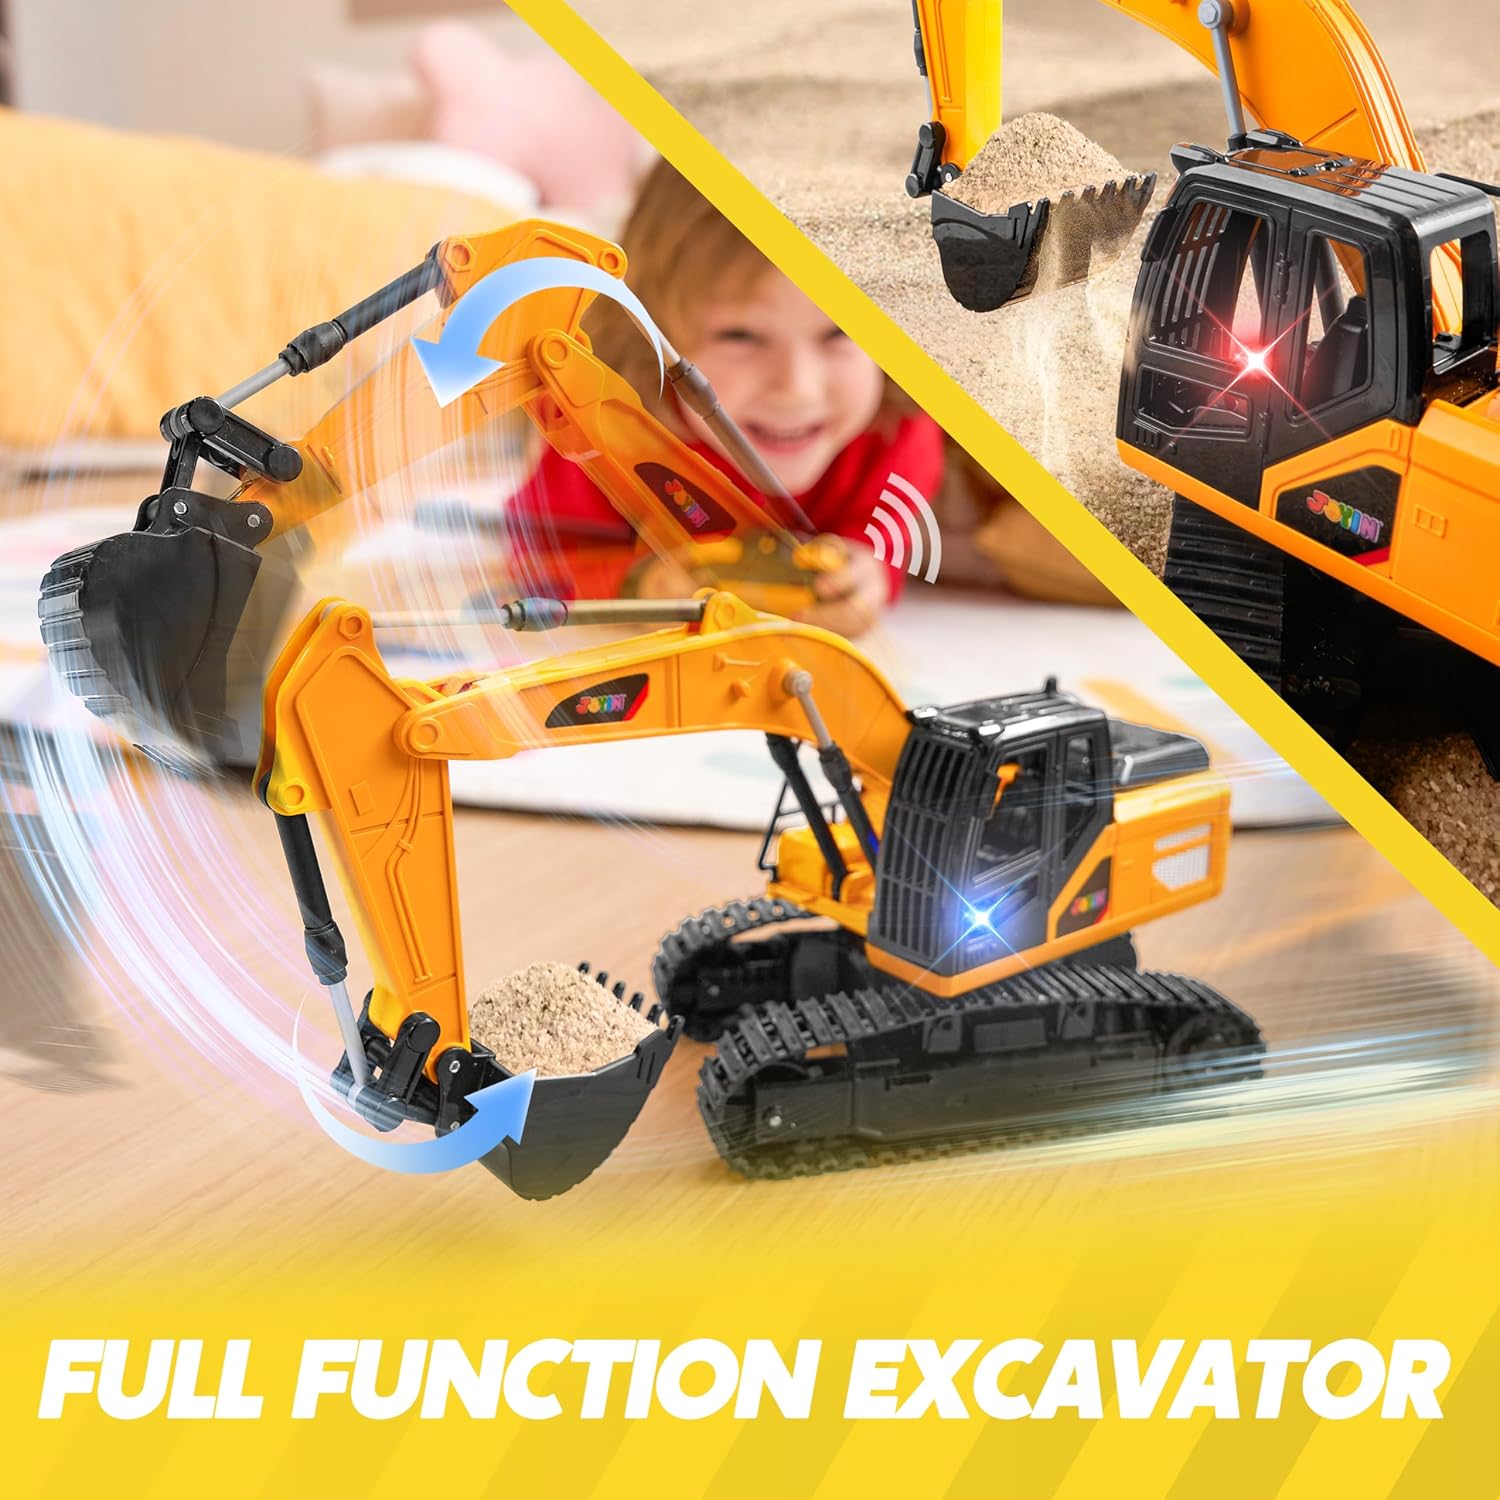
Image: A child operating the remote control excavator, demonstrating its full range of motion for digging and moving.
Basic Movement
- Forward: Push the left joystick forward.
- Backward: Pull the left joystick backward.
- Turn Left: Push the left joystick forward and slightly left, or pull back and slightly left.
- Turn Right: Push the left joystick forward and slightly right, or pull back and slightly right.
Excavator Arm and Bucket Control
- Lift Arm: Push the right joystick forward.
- Lower Arm: Pull the right joystick backward.
- Scoop: Move the right joystick left.
- Dump: Move the right joystick right.
Turret Rotation
The excavator's turret can rotate up to 680 degrees, allowing for versatile digging and dumping operations without repositioning the entire vehicle.

Image: A child's hands demonstrating the 680-degree rotation capability of the excavator's upper body.
All-Terrain Agility
This excavator is designed to operate on various surfaces, including carpets, sandpits, and other rugged terrains, providing authentic construction fun indoors or outdoors.

Image: The excavator shown operating on different surfaces like sand and carpet, highlighting its all-terrain design.
Maintenance
- Cleaning: Wipe the excavator and remote control with a dry, soft cloth. Do not use water or chemical cleaners. Ensure no sand or debris gets into the tracks or moving parts.
- Storage: When not in use, turn off both the excavator and remote control. Remove batteries from the remote control if storing for extended periods. Store in a cool, dry place away from direct sunlight.
- Battery Care: Always fully charge the excavator batteries before use. Do not overcharge. If the excavator will not be used for a long time, charge the batteries every 3 months to maintain their health.
Troubleshooting
| Problem | Possible Cause | Solution |
|---|---|---|
| Excavator does not turn on. | Excavator battery is low or not connected. | Charge the excavator battery or ensure it is properly connected. |
| Remote control does not respond. | Remote control batteries are low or incorrectly installed. | Replace AAA batteries in the remote control, checking polarity. |
| Excavator and remote not pairing. | Interference or pairing sequence error. | Turn off both devices, then turn on the excavator first, followed by the remote control. Ensure no other 2.4GHz devices are causing interference. |
| Short operating time. | Battery not fully charged or old battery. | Ensure batteries are fully charged before use. Consider replacing old batteries if performance degrades significantly. |
| Excavator gets stuck on rough terrain. | Debris in tracks or obstacle too large. | Clear any debris from the tracks. Operate on less challenging terrain or manually assist over obstacles. |
Specifications
| Feature | Detail |
|---|---|
| Product Dimensions | 10 x 5 x 3 inches |
| Item Weight | 1.09 pounds |
| Model Number | 16233 |
| Recommended Age | 36 months - 12 years |
| Excavator Batteries | 2 x 600mAh Rechargeable (included) |
| Remote Control Batteries | 2 x AAA (not included) |
| Control Frequency | 2.4GHz |
| Rotation Angle | Up to 680 degrees |
Warranty and Support
For warranty information, technical support, or any inquiries regarding your JOYIN Remote Control Excavator, please contact the manufacturer directly. Refer to the product packaging or the official JOYIN website for contact details.
Please retain your proof of purchase for warranty claims.