
1. Product Overview
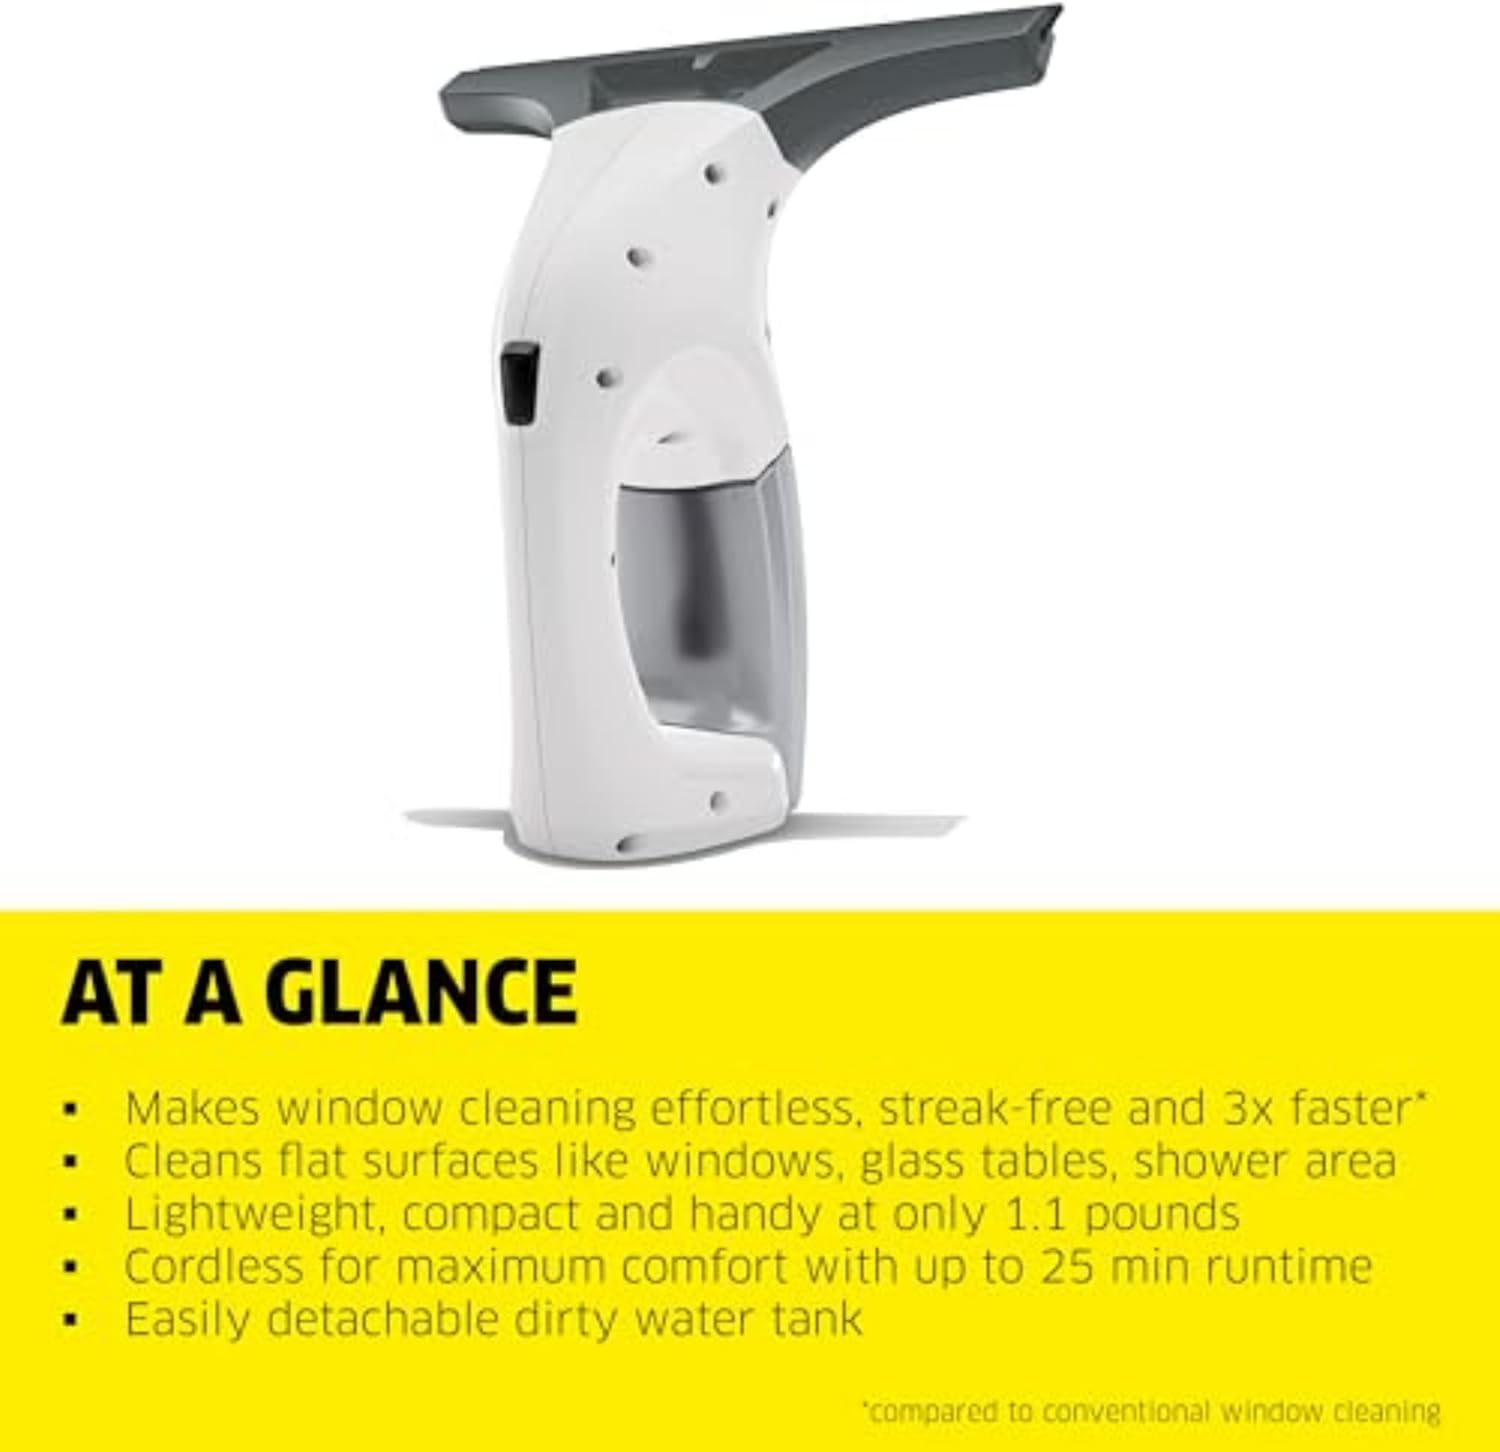
The Kärcher WV 1 Electric Window Vacuum Squeegee is designed for efficient and streak-free cleaning of smooth surfaces. This device offers a cordless operation, making it suitable for various household cleaning tasks.
Key Features:
- Multi-Surface Cleaning: Suitable for windows, showers, mirrors, tiles, and countertops.
- Lightweight and Compact: Weighs only 1.1 lbs for comfortable handling.
- Cordless Operation: Rechargeable battery provides up to 25 minutes of runtime.
- Streak-Free Results: Vacuums away dirty water and cleaning solution, preventing drips and streaks.
- Complete System: Includes the WV 1 Plus unit, a spray bottle with microfiber pad, and concentrated glass cleaner.
2. Setup and Assembly
Before first use, ensure all components are present and the device is fully charged.
2.1 Unpacking and Component Check:
Verify the package contains the WV 1 Plus unit, a spray bottle, a microfiber pad, a charger, and a 16.9 oz concentrated glass cleaner.
2.2 Charging the Device:
- Connect the charger to the charging port on the WV 1 unit.
- Plug the charger into a standard electrical outlet.
- The LED indicator will show charging status. A full charge provides up to 25 minutes of operation.

2.3 Preparing the Spray Bottle:
- Fill the spray bottle with water and the concentrated glass cleaner according to the cleaner's instructions.
- Attach the microfiber pad to the spray bottle.

3. Operating Instructions
Follow these steps for effective cleaning with your Kärcher WV 1.
3.1 Cleaning Process:
- Spray: Spray the cleaning solution onto the surface using the prepared spray bottle.
- Wipe: Use the microfiber pad on the spray bottle to evenly distribute the solution and loosen dirt.
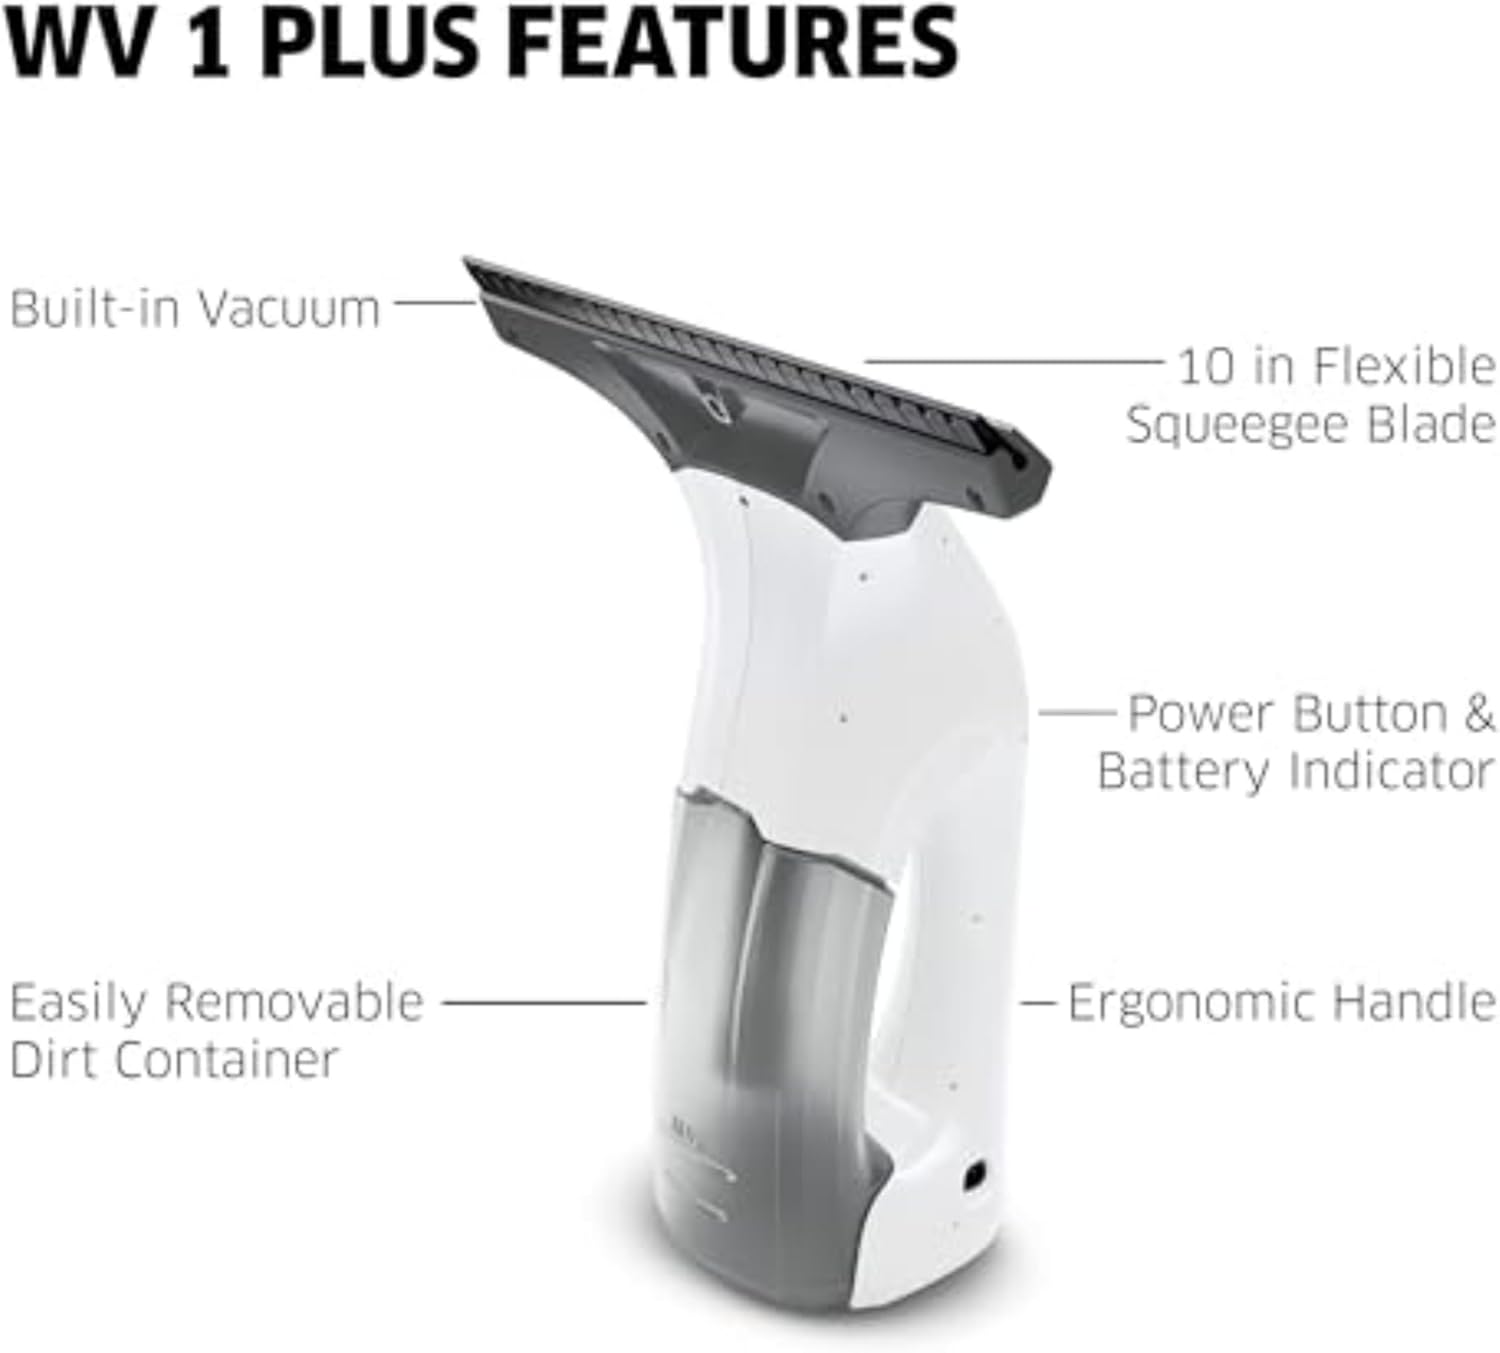
- Vacuum: Turn on the Kärcher WV 1 by pressing the power button. Hold the device with the squeegee blade flat against the wet surface and draw it downwards in a straight, even motion. The vacuum will suction the dirty water.
- Repeat steps 1-3 as needed for the entire surface.


3.2 Recommended Usage:
For optimal results, ensure the surface is adequately wet before vacuuming. Overlap strokes slightly to avoid leaving gaps. The device can be used horizontally or vertically.
Video 1: Official Kärcher video demonstrating the use of the WV 1 Plus for cleaning various smooth surfaces like windows, mirrors, and countertops, highlighting its ease of use and streak-free results.
4. Maintenance
Regular maintenance ensures the longevity and performance of your device.
4.1 Emptying the Dirty Water Tank:
- After each use, or when the tank is full, switch off the device.
- Remove the dirty water tank from the main unit.
- Empty the collected dirty water into a drain.
- Rinse the tank with clean water and allow it to air dry before reattaching.

4.2 Cleaning the Microfiber Pad:
The microfiber pad is machine-washable. Remove it from the spray bottle and wash it according to its care instructions. Allow it to dry completely before reuse.
4.3 Cleaning the Squeegee Blade:
Wipe the rubber squeegee blade with a damp cloth after each use to remove any residue and ensure optimal performance.
5. Troubleshooting
Refer to this section for solutions to common issues.
| Problem | Possible Cause | Solution |
|---|---|---|
| Streaks left on surface |
|
|
| Device not turning on |
|
|
| Water leaking from device |
|
|
6. Specifications
- Brand: KÄRCHER
- Model Number: 1.633-609.0
- Color: White
- Product Dimensions: 10"W x 10.75"H
- Item Weight: 1.1 Pounds
- Blade Length: 10 Inches
- Blade Material: Rubber
- Handle Material: Plastic
- Battery Runtime: Up to 25 minutes
7. Warranty and Support
For warranty information, product registration, or further technical support, please visit the official Kärcher website or contact their customer service. Keep your proof of purchase for any warranty claims.
Official Kärcher Website: www.karcher.com
