
Kärcher 1.633-745.0
Kärcher WV 6 Electric Window Vacuum Squeegee User Manual
Model: WV 6 White (1.633-745.0)
1. Introduction
Thank you for choosing the Kärcher WV 6 Electric Window Vacuum Squeegee. This device is designed to provide efficient and streak-free cleaning for various smooth surfaces, including windows, mirrors, showers, glass, and countertops. Its innovative blade technology and extended battery life ensure a superior cleaning experience. Please read this manual thoroughly before first use to ensure safe and optimal operation.
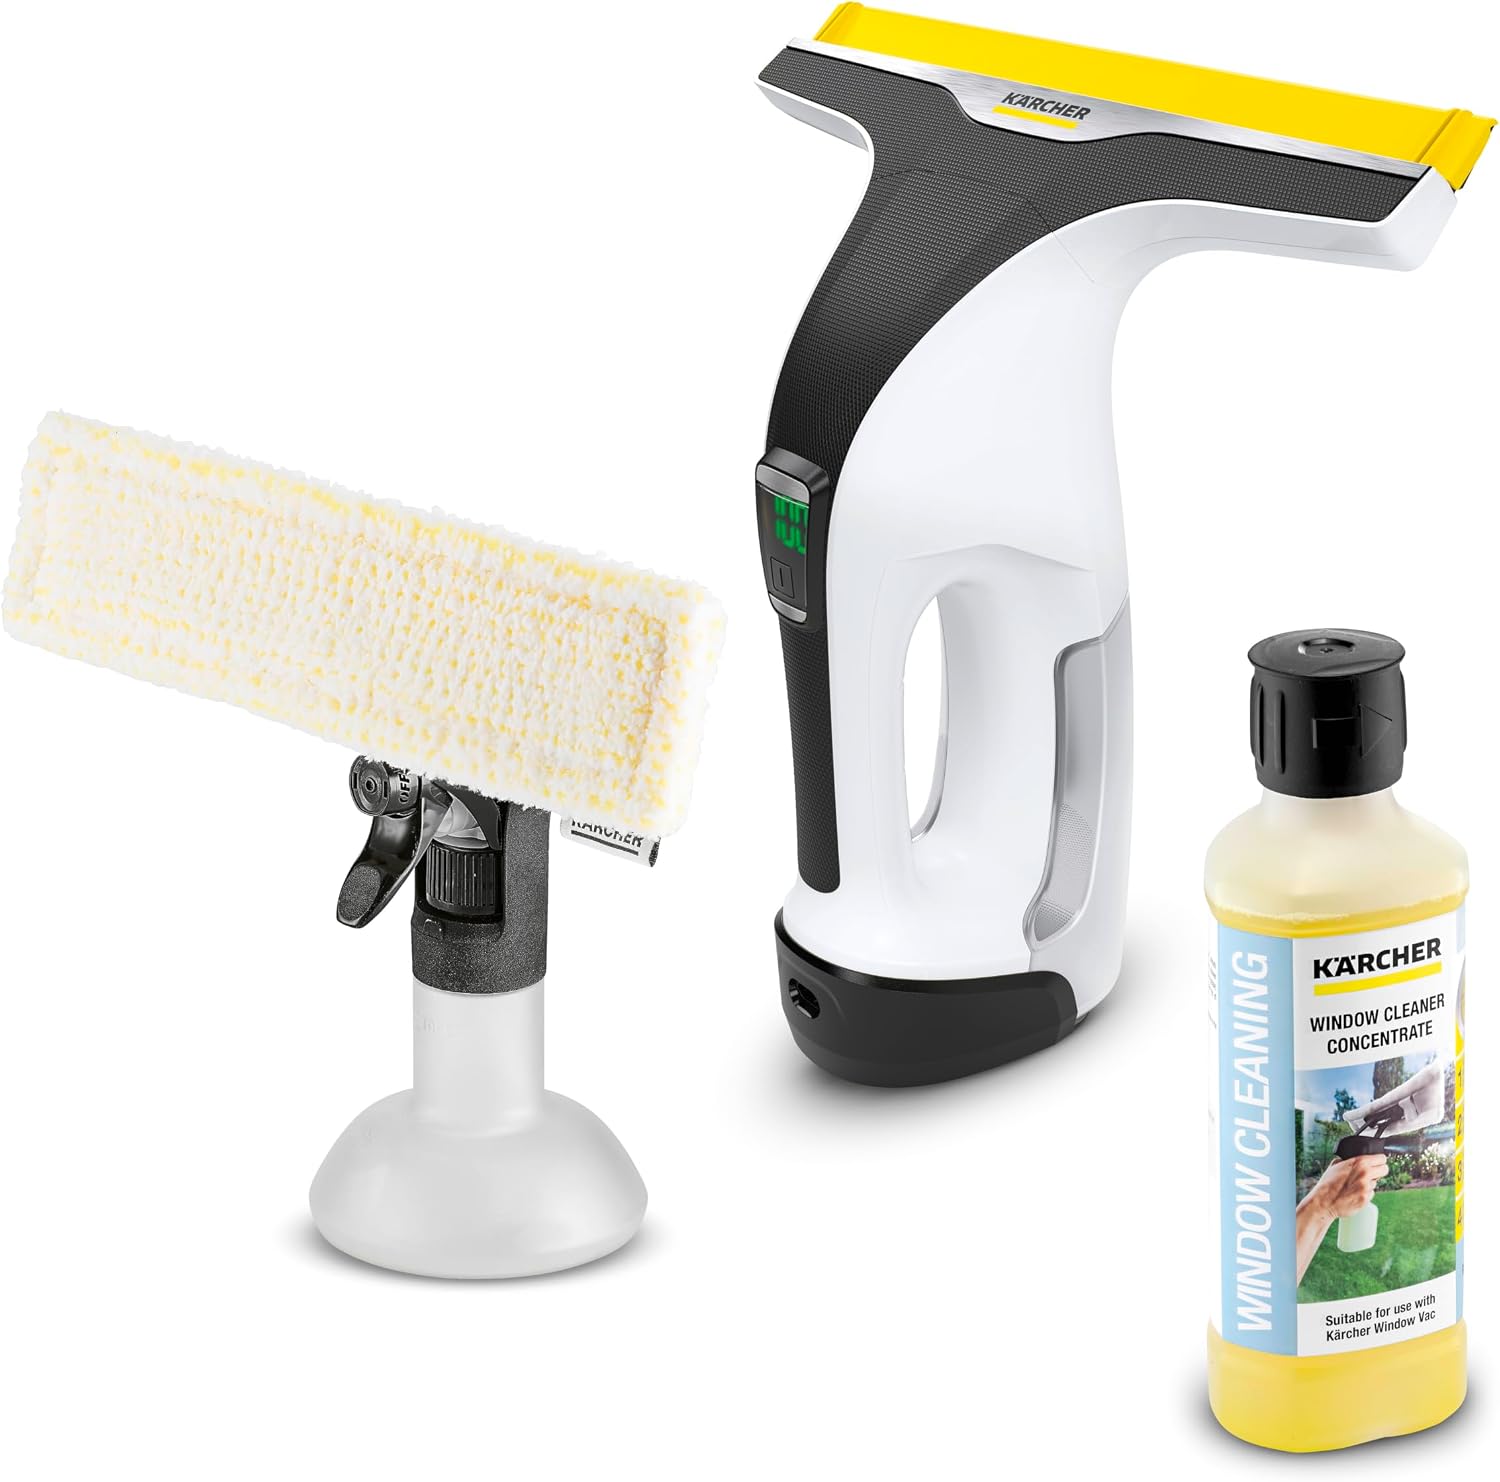
Figure 1: Kärcher WV 6 Electric Window Vacuum Squeegee with accessories.
2. Safety Information
Always observe the following safety precautions to prevent injury or damage to the device:
- Read all instructions before using the appliance.
- Keep the appliance away from children and pets.
- Do not immerse the electrical parts of the appliance in water or other liquids.
- Use only the charger supplied with the appliance.
- Do not use the appliance if it is damaged or if the power cord/charger is faulty.
- Ensure the dirty water tank is emptied and cleaned after each use to prevent bacterial growth.
- Use only Kärcher cleaning agents or approved alternatives.
- Avoid contact with eyes and skin when handling cleaning concentrates.
3. Product Overview
The Kärcher WV 6 Plus is designed for ease of use and effective cleaning. Familiarize yourself with its components and features.
3.1 Components
- Kärcher WV 6 Plus Electric Window Vacuum Unit
- Spray Bottle with Microfiber Wiping Cloth Attachment
- Battery Charger
- 16.9 oz Concentrated Glass Cleaner

Figure 2: Main components of the Kärcher WV 6 Plus cleaning system.
3.2 Key Features
- 11-inch Flexible Squeegee Blade: Allows for efficient cleaning across various surfaces and angles.
- Built-in Vacuum Function: Sucks up dirty water, preventing drips and streaks.
- Ergonomic Handle: Provides comfortable grip during extended use.
- Easily Removable Dirt Container: Simplifies emptying and cleaning of collected dirty water.
- Power Button & Battery Indicator: Clearly shows remaining battery life in minutes.
- Extended Battery Run Time: Up to 100 minutes of continuous operation on a single charge.

Figure 3: Labeled features of the Kärcher WV 6 Plus unit.
4. Setup
4.1 Charging the Device
- Before first use, fully charge the Kärcher WV 6 Plus battery.
- Connect the charger to the charging port on the device and plug it into a power outlet.
- The battery indicator display will show the charging progress. A full charge typically takes approximately 170 minutes.
- Unplug the charger once the device is fully charged.
4.2 Assembling and Filling the Spray Bottle
- Attach the spray head to the spray bottle. Ensure it is fully tightened to prevent leaks.
- Dilute the concentrated glass cleaner with water according to the instructions on the cleaner bottle.
- Fill the spray bottle with the diluted cleaning solution, ensuring not to exceed the 'MAX' fill line.
- Attach the microfiber wiping cloth to the spray bottle head.

Figure 4: Steps for assembling and filling the spray bottle.
5. Operating Instructions
Follow these steps for effective and streak-free cleaning:
5.1 Preparation
- Ensure the WV 6 Plus is fully charged.
- Prepare the spray bottle with diluted cleaning solution and attached microfiber pad.
5.2 Cleaning Process
- Spray and Wipe: Spray the cleaning solution onto the surface to be cleaned using the spray bottle. Use the microfiber pad to evenly distribute the solution and loosen dirt.
- Vacuum Excess Fluid: Turn on the Kärcher WV 6 Plus by pressing the power button.
- Squeegee: Place the squeegee blade firmly against the top of the wet surface and draw the device downwards in a straight, even motion. The vacuum will suction the dirty water into the collection tank.
- Overlap Strokes: For larger surfaces, overlap each stroke slightly to ensure complete coverage and prevent streaks.
- Edge Cleaning: For edges and corners, you may need to adjust the angle of the device or use a clean cloth to wipe away any residual moisture.
- Monitor Battery: The integrated display shows the remaining cleaning time in minutes.

Figure 5: Using the WV 6 to clean a window, demonstrating the vacuuming action.

Figure 6: The WV 6 is suitable for cleaning various smooth surfaces like countertops.

Figure 7: The WV 6 effectively cleans shower tiles and glass.
6. Maintenance
Regular maintenance ensures the longevity and optimal performance of your Kärcher WV 6 Plus.
6.1 Cleaning the WV 6 Plus Unit
- After each use, switch off the device and disconnect it from the charger.
- Remove the dirty water tank and empty its contents.
- Rinse the dirty water tank thoroughly with clean water.
- Clean the squeegee blade with water to remove any residue.
- Wipe the exterior of the device with a damp cloth. Do not use abrasive cleaners.
- Allow all parts to air dry completely before reassembling.
6.2 Cleaning the Microfiber Pad
- Remove the microfiber pad from the spray bottle attachment.
- The microfiber pad is machine-washable. Wash it according to the care instructions on its label, typically at 60°C (140°F) without fabric softener.
- Allow the pad to air dry completely before storage or next use.
7. Troubleshooting
If you encounter issues with your Kärcher WV 6 Plus, refer to the table below for common problems and solutions.
| Problem | Possible Cause | Solution |
|---|---|---|
| Device does not turn on | Battery is discharged | Charge the battery fully. |
| Poor suction performance / Streaks | Dirty water tank is full | Empty and clean the dirty water tank. |
| Squeegee blade is dirty or worn | Clean the squeegee blade or replace if worn. | |
| Not enough cleaning solution on surface | Ensure the surface is adequately wet with cleaning solution. | |
| Spray bottle leaks | Spray head not tightened properly | Ensure the spray head is fully tightened onto the bottle. Check gaskets. |
| Battery indicator shows low charge quickly | Battery not fully charged or aging | Ensure full charge cycle. If issue persists, battery may need service. |
8. Specifications
Technical details for the Kärcher WV 6 Electric Window Vacuum Squeegee.
| Specification | Detail |
|---|---|
| Brand | Kärcher |
| Model | WV 6 White (1.633-745.0) |
| Product Dimensions | 11"W x 12.25"H |
| Item Weight | 1.7 Pounds |
| Blade Material | Flexible Rubber |
| Handle Material | Plastic |
| Blade Length | 11 Inches |
| Battery Type | Lithium Ion (included) |
| Battery Run Time | Up to 100 minutes |
| Charging Time | Approx. 170 minutes |
| Volume (Cleaner) | 16.9 Fluid Ounces |
| Specific Use | Cleaning Windows, Glass, Showers, Tiles, Countertops |
9. Warranty and Support
Kärcher products are manufactured to high quality standards and come with a manufacturer's warranty. For specific warranty details, please refer to the warranty card included with your product or visit the official Kärcher website.
For technical support, spare parts, or service inquiries, please contact Kärcher customer service. Contact information can typically be found on the Kärcher website or in the product packaging.
Online resources and FAQs may also be available on the official Kärcher website: www.kaercher.com
Related documents1.633-745.0

Ask a question about this manual
Ask about setup, troubleshooting, compatibility, parts, safety, or missing instructions. Manuals+ will review the question and use this page’s manual context to help answer it.