
1. Introduction
Thank you for choosing the Microdigit MRS2430LM 23.5-inch FHD LED Monitor. This manual provides essential information for the safe and efficient use of your new monitor. Please read it thoroughly before installation and operation, and keep it for future reference. This monitor features a comfortable and elegant design, high-definition image quality, and blue light settings to reduce eye strain, ensuring a smooth visual experience.
2. Safety Information
To ensure safe operation and prolong the life of your monitor, please observe the following safety precautions:
- Do not expose the monitor to rain, moisture, or extreme temperatures.
- Avoid placing the monitor in direct sunlight or near heat sources.
- Ensure proper ventilation around the monitor. Do not block ventilation openings.
- Use only the power adapter and cables supplied with the monitor.
- Disconnect the power cable from the outlet during lightning storms or when unused for long periods.
- Do not attempt to service the monitor yourself. Refer all servicing to qualified personnel.
- Keep the monitor away from strong magnetic fields.
3. Package Contents
Please check the box for the following items:
- Microdigit MRS2430LM 23.5-inch FHD LED Monitor
- Monitor Stand (Base and Neck)
- Power Cable
- HDMI Cable
- VGA Cable
- User Manual
If any items are missing or damaged, please contact your retailer.
4. Product Overview
4.1 Front View

Figure 4.1: Front view of the Microdigit MRS2430LM monitor.
The front of the monitor features the 23.5-inch FHD display and the Microdigit logo on the bottom bezel. The control buttons are typically located on the bottom right or back of the monitor.
4.2 Side View

Figure 4.2: Side view of the Microdigit MRS2430LM monitor.
This view illustrates the monitor's slim profile and the design of its stand, which provides stable support.
4.3 Back View and Ports
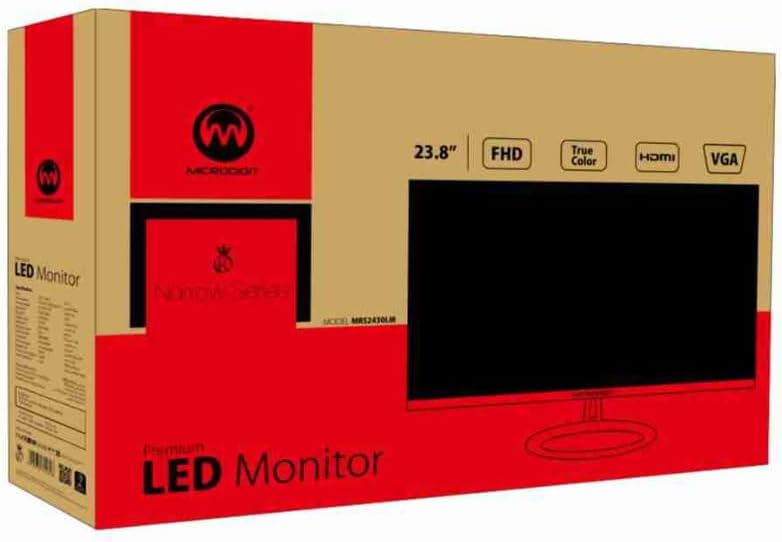
Figure 4.3: Back view of the Microdigit MRS2430LM monitor.
The back of the monitor houses the power input and video input ports, including HDMI and VGA. It also features mounting points for VESA-compatible wall mounts or monitor arms.
5. Setup
5.1 Assembling the Stand
- Carefully remove the monitor and stand components from the packaging.
- Attach the stand neck to the monitor panel by aligning the tabs and pushing until it clicks into place or securing with screws if provided.
- Attach the stand base to the stand neck, ensuring it is securely fastened, typically with a thumb screw or a screwdriver.
- Place the assembled monitor on a stable, flat surface.
5.2 Connecting Cables
- Power Connection: Connect the power cable to the monitor's power input port, then plug the other end into a power outlet.
- Video Connection:
- HDMI: Connect one end of the HDMI cable to the HDMI port on your computer and the other end to the HDMI port on the monitor.
- VGA: Connect one end of the VGA cable to the VGA port on your computer and the other end to the VGA port on the monitor.
- Ensure all connections are secure.
5.3 Powering On
Press the power button on the monitor (usually located on the bottom right or back) to turn it on. The power indicator light should illuminate.
6. Operating Instructions
6.1 OSD Menu Navigation
Your monitor features an On-Screen Display (OSD) menu for adjusting various settings. The OSD buttons are typically located on the bottom right or back of the monitor.
- Power Button: Turns the monitor on or off.
- Menu Button: Opens the OSD menu.
- Navigation Buttons (Up/Down or Left/Right): Used to navigate through menu options and adjust values.
- Enter/Select Button: Confirms a selection or enters a sub-menu.
- Exit Button: Exits the current menu or OSD.
6.2 Adjusting Display Settings
Access the OSD menu to adjust settings such as:
- Brightness: Adjusts the overall luminance of the screen.
- Contrast: Adjusts the difference between the lightest and darkest areas of the image.
- Color Settings: Adjusts color temperature, hue, and saturation.
- Input Source: Manually select between HDMI or VGA inputs.
- Blue Light Filter: Reduces blue light emission to minimize eye strain. Navigate to the 'Picture' or 'Eye Care' menu to enable or adjust this setting.
- Aspect Ratio: Adjusts the display aspect ratio (e.g., 16:9, 4:3).
- OSD Language: Select your preferred language for the OSD menu (12 languages supported).
7. Maintenance
7.1 Cleaning the Screen
- Turn off the monitor and unplug the power cable.
- Use a soft, lint-free cloth lightly dampened with water or a specialized screen cleaner.
- Wipe the screen gently. Do not press hard or use abrasive materials.
- Never spray cleaner directly onto the screen.
7.2 Cleaning the Casing
- Turn off the monitor and unplug the power cable.
- Use a soft, dry cloth to wipe the casing.
- For stubborn stains, use a cloth lightly dampened with a mild, non-abrasive cleaner.
7.3 Storage
If storing the monitor for an extended period, unplug all cables, clean it thoroughly, and store it in its original packaging in a cool, dry place.
8. Troubleshooting
If you encounter issues with your monitor, refer to the following common problems and solutions:
| Problem | Possible Cause | Solution |
|---|---|---|
| No power | Power cable not connected; Power outlet not working; Monitor off | Ensure power cable is securely connected; Test power outlet with another device; Press the monitor's power button. |
| No signal / Blank screen | Video cable not connected; Incorrect input source selected; Computer not outputting signal | Check video cable connections (HDMI/VGA); Use the OSD menu to select the correct input source; Ensure your computer is on and outputting video. |
| Image is blurry or distorted | Incorrect resolution; Loose video cable; Monitor settings | Set your computer's display resolution to 1920x1080; Reconnect the video cable; Adjust brightness, contrast, or other image settings via the OSD. |
| OSD menu not responding | Buttons are locked; Malfunction | Some monitors have a button lock feature (refer to specific OSD instructions if available); Try unplugging and replugging the monitor. If the issue persists, contact support. |
If the problem persists after trying these solutions, please contact Microdigit customer support.
9. Specifications
Detailed technical specifications for the Microdigit MRS2430LM monitor:
| Feature | Specification |
|---|---|
| Brand | Microdigit |
| Model Number | CMRMICMRS2430LM (MRS2430LM) |
| Model Name | LED FHD Monitor |
| Screen Size | 23.5 inches |
| Resolution | FHD 1080 Pixels (1920 x 1080) |
| Native Resolution | 1920x1080 |
| Screen Surface Description | Glossy |
| Response Time | 5 milliseconds |
| Refresh Rate | 60 Hz |
| Special Feature | Blue Light Filter |
| Connectivity Technology | HDMI, VGA |
| Display Screen Type | LED |
| Display Type | LED |
| Display Technology | LED |
| Viewing Angle | 178 degrees |
| Image Brightness | 220 cd/m² |
| Image Quality Enhancement Technology | Blue Light Settings |
| Product Dimensions (D x W x H) | 3.5 x 8 x 59.7 cm |
| Item Weight | 2.6 kilograms |
| Hardware Interface | HDMI, VGA |
| Color | White/Black |
| Mounting Type | Wall Mount |
| Compatible Devices | Computer |
| Item Shape | Flat |
| Country of Origin | Saudi Arabia |
| Manufacturer | Microdigit |
| Unit Count | 1 Count |
| Included Components | 1 x Microdigit MRS2430LM LED FHD Monitor 23.5 inch screen size |
10. Warranty and Support
10.1 Warranty Information
This Microdigit MRS2430LM monitor comes with a standard Microdigit warranty. Please refer to the warranty card included in your package or visit the official Microdigit website for detailed terms and conditions regarding warranty coverage and duration.
10.2 Customer Support
For technical assistance, troubleshooting beyond this manual, or warranty claims, please contact Microdigit customer support. Contact information can typically be found on the official Microdigit website or on the product packaging.