
1. Introduction
This manual provides essential instructions for the safe and efficient installation, operation, and maintenance of your WISSENERGY Wallbox 7 kW EV Charger. Please read this manual thoroughly before using the product and retain it for future reference. This Wallbox is designed to provide a reliable charging solution for electric vehicles (EVs) and plug-in hybrid electric vehicles (PHEVs) equipped with Type 2 charging ports, adhering to the European standard IEC 62196-2.
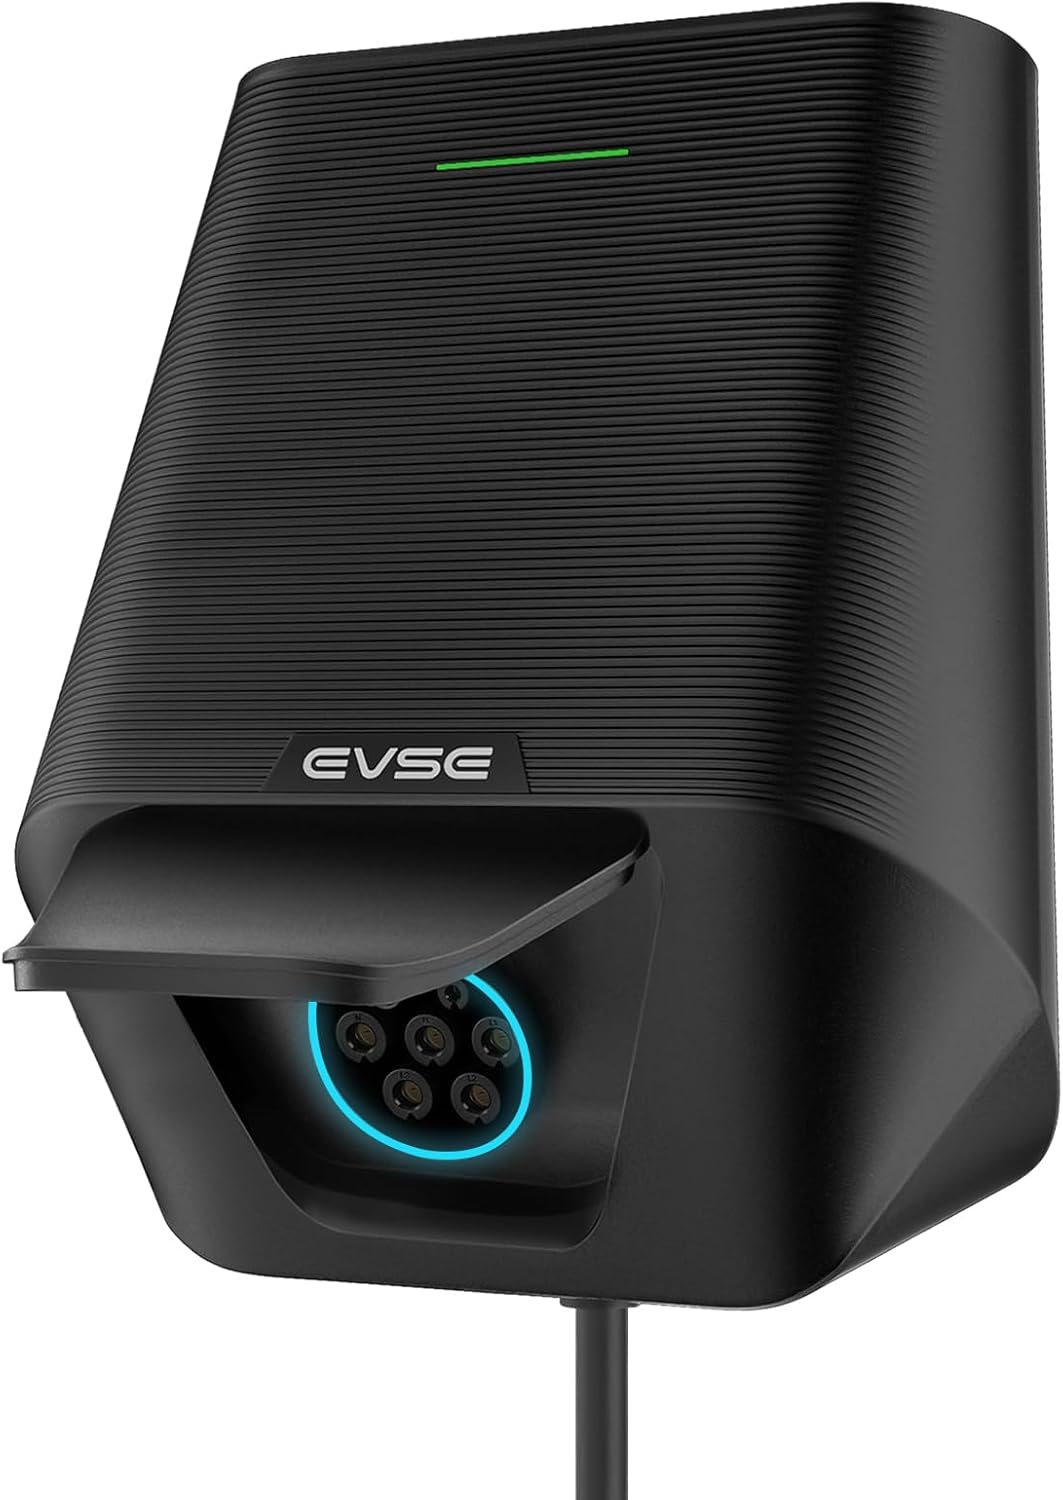
Image 1.1: Front view of the WISSENERGY Wallbox 7 kW EV Charger, showcasing its compact design and Type 2 charging port.
2. Safety Information
Your safety is paramount. Observe all warnings and precautions to prevent injury or damage. Installation and maintenance should only be performed by qualified personnel.
- Professional Installation: The electrical connection of the Wallbox requires professional expertise. Always consult a qualified electrician for installation to ensure compliance with local electrical codes and safety standards.
- Electrical Protection: The Wallbox is equipped with comprehensive safety features including Type A+DC6 mA leakage protection, ground fault protection, over/under-voltage protection, short-circuit protection, lightning protection, and overheating protection. Do not bypass or modify these safety mechanisms.
- Environmental Conditions: Ensure the installation site is suitable for the Wallbox's IP66 rating, protecting it from water and dust. Avoid installing in areas prone to extreme physical impact or corrosive environments.
- Cable Handling: Always handle charging cables with care. Do not use damaged cables or attempt to charge if the Wallbox or vehicle charging port is wet or damaged.
- Emergency Stop: Familiarize yourself with the location of your main electrical breaker and know how to shut off power to the Wallbox in an emergency.
3. Setup and Installation
The WISSENERGY Wallbox is designed for wall-mounted installation, suitable for both indoor and outdoor environments. Its robust PC alloy casing provides durability against wear and aging, while maintaining a lighter weight (5.5 kg) for easier handling.
3.1 Pre-Installation Checklist
- Verify that the electrical supply matches the Wallbox's requirements (240V, single-phase).
- Ensure the installation location is structurally sound and can support the Wallbox's weight.
- Confirm adequate ventilation and clearance around the Wallbox.
- Have all necessary tools and safety equipment ready.
3.2 Mounting the Wallbox
The Wallbox should be securely mounted to a wall or a dedicated charging station pole. Use appropriate fasteners for the mounting surface. The unit features a 1-meter bare wire for direct connection to the power supply. This connection must be performed by a qualified electrician.

Image 3.1: Diagram illustrating the Wallbox installation, highlighting the 1-meter bare wire connection point and the requirement for qualified installation.

Image 3.2: Examples of the WISSENERGY Wallbox installed in both indoor garage and outdoor parking environments.

Image 3.3: An outdoor installation example of the WISSENERGY Wallbox mounted on a wooden fence, demonstrating its weather resistance.
4. Operating Instructions
The WISSENERGY Wallbox offers efficient and flexible charging with adjustable current settings.
4.1 Connecting Your Vehicle
- Ensure your vehicle is parked safely and the ignition is off.
- Open the charging port cover on your vehicle.
- Insert your Type 2 charging cable into the Wallbox's port, then connect the other end to your vehicle's charging port. The Wallbox is compatible with both Type 1 (SAE J1772) and Type 2 (IEC-62196) cables.
- The Wallbox will initiate the charging process automatically or after a brief handshake with the vehicle.
4.2 Adjusting Charging Current
The Wallbox allows you to select from three current levels: 16A, 24A, or 32A, providing up to 7.4 kW of power. This adjustment is made via a button located on the side of the unit.

Image 4.1: Diagram illustrating the current adjustment button and corresponding indicator lights for 16A, 24A, and 32A settings.
- Press the 'Switch Current Button' on the side of the Wallbox to cycle through the available current settings.
- An indicator light will display the currently selected amperage:
- 16A: Green light on the left side.
- 24A: Green light in the middle.
- 32A: Green light on the right side.
- The selected current is displayed on the indicator. Adjust the current based on your vehicle's requirements and your electrical installation's capacity.

Image 4.2: Visual representation of the Wallbox's fast charging capability, highlighting up to 32A output and 2X faster charging compared to traditional 16A stations.
4.3 Disconnecting Your Vehicle
- Ensure the charging process has completed or is safely paused.
- Disconnect the charging cable from your vehicle first, then from the Wallbox.
- Replace the protective cap on the Wallbox port and close your vehicle's charging port cover.
5. Maintenance
The WISSENERGY Wallbox is designed for minimal maintenance due to its durable construction and IP66 weather resistance.

Image 5.1: Illustration of the Wallbox's IP66 weather resistance, showing its ability to withstand rain, snow, and extreme temperatures (-25°C to 55°C).
- Regular Cleaning: Periodically wipe the exterior of the Wallbox with a soft, damp cloth to remove dust and dirt. Do not use abrasive cleaners or solvents.
- Cable Inspection: Regularly inspect the charging cable for any signs of wear, cuts, or damage. Replace damaged cables immediately.
- Port Inspection: Ensure the charging port on the Wallbox is free from debris and moisture.
- Professional Checks: It is recommended to have a qualified electrician inspect the Wallbox and its electrical connections annually.
6. Troubleshooting
If you encounter issues with your WISSENERGY Wallbox, refer to the following common troubleshooting steps. For persistent problems, contact customer support.
- No Power: Check the main circuit breaker for the Wallbox. Ensure all connections are secure (professional check recommended).
- Charging Not Initiating: Ensure the charging cable is securely connected to both the Wallbox and the vehicle. Check the vehicle's charging settings.
- Slow Charging: Verify the selected current setting (16A, 24A, or 32A) on the Wallbox. Ensure your vehicle supports the desired charging rate.
- Error Indicator: If an error light or code appears, disconnect the vehicle, power cycle the Wallbox (turn off and on at the breaker), and try again. If the error persists, note the indicator pattern and contact support.
- Overheating: The Wallbox has overheating protection. If it stops charging due to high temperature, allow it to cool down. Ensure it is not exposed to direct sunlight for extended periods in hot climates and that there is adequate airflow around the unit.
7. Specifications
| Feature | Specification |
|---|---|
| Brand | WISSENERGY |
| Model Number | LX30-Mode A-7.4KW |
| Input Voltage | 240 Volts |
| Output Voltage | 240 Volts |
| Rated Current | 32 A (Adjustable to 16A, 24A, 32A) |
| Maximum Power Output | 7.4 kW |
| Connector Type | Type 2 (IEC 62196-2) |
| Color | Black |
| Ingress Protection (IP) Rating | IP66 |
| Operating Temperature | -25 ℃ to 55 ℃ |
| Certifications | CE, RoHS, FCC |
| Leakage Protection | Type A + DC6 mA |
| Material | PC Alloy |
| Weight | 5.5 kg |
| UPC | 744316189461 |
8. Warranty and Support
For warranty information, technical support, or service inquiries, please contact WISSENERGY customer service through the retailer where you purchased the product or visit the official WISSENERGY website. Please have your model number (LX30-Mode A-7.4KW) and proof of purchase ready when contacting support.


