
Introduction
Thank you for choosing the Patiobay Raised Garden Bed with Legs. This manual provides essential information for the safe assembly, operation, and maintenance of your new elevated metal planter box. Please read these instructions carefully before beginning assembly and retain them for future reference.
Safety Information
- Always wear appropriate safety gear, such as gloves, during assembly to prevent cuts or pinches.
- Ensure all bolts and fasteners are securely tightened before filling the garden bed with soil.
- Do not overload the garden bed beyond its intended capacity.
- Place the garden bed on a stable, level surface to prevent tipping.
- Keep small children and pets away from the assembly area.
- The product features protective cushions on corners; however, exercise caution around edges.
Package Contents
Before assembly, verify that all components are present and undamaged. If any parts are missing or damaged, please contact customer support.
- Raised Garden Bed Panels (various sizes)
- Legs (4 units)
- Nuts and Bolts (sufficient quantity plus spares)
- Hand Wrench (1)
- Screwdriver (1)
- Gloves (1 pair)
- Instruction Manual (this document)
- Heavy-duty rubber edge trim/cushions for corners
Setup and Assembly Instructions
Assembly of your Patiobay Raised Garden Bed is designed to be straightforward. Follow these steps for proper construction:
- Unpack Components: Carefully remove all parts from the packaging. Lay them out on a clean, flat surface.
- Remove Protective Film: The metal panels are covered with a protective plastic film. Gently peel off this film from all surfaces to reveal the metallic luster and prevent scratches during assembly.
- Assemble Side Panels: Connect the corrugated metal side panels using the provided nuts and bolts. Ensure the panels align correctly to form the rectangular shape of the bed. Do not overtighten bolts initially.
- Attach Legs: Securely attach the four legs to the bottom corners of the assembled bed frame using the remaining nuts and bolts. Ensure the legs are oriented correctly for stability.
- Install Corner Cushions: Place the protective cushions on the top and bottom corners of the garden bed. These are designed to prevent sharp edges from poking and to protect floor surfaces.
- Final Tightening: Once all components are in place and aligned, systematically tighten all nuts and bolts using the provided hand wrench and screwdriver. Ensure all connections are firm and stable.


Operating Instructions
Your Patiobay Raised Garden Bed is designed for growing a variety of plants, including vegetables, flowers, fruits, and herbs, in various outdoor settings such as patios, yards, gardens, or greenhouses.
- Placement: Choose a location that provides adequate sunlight for your chosen plants and is on a stable, level surface.
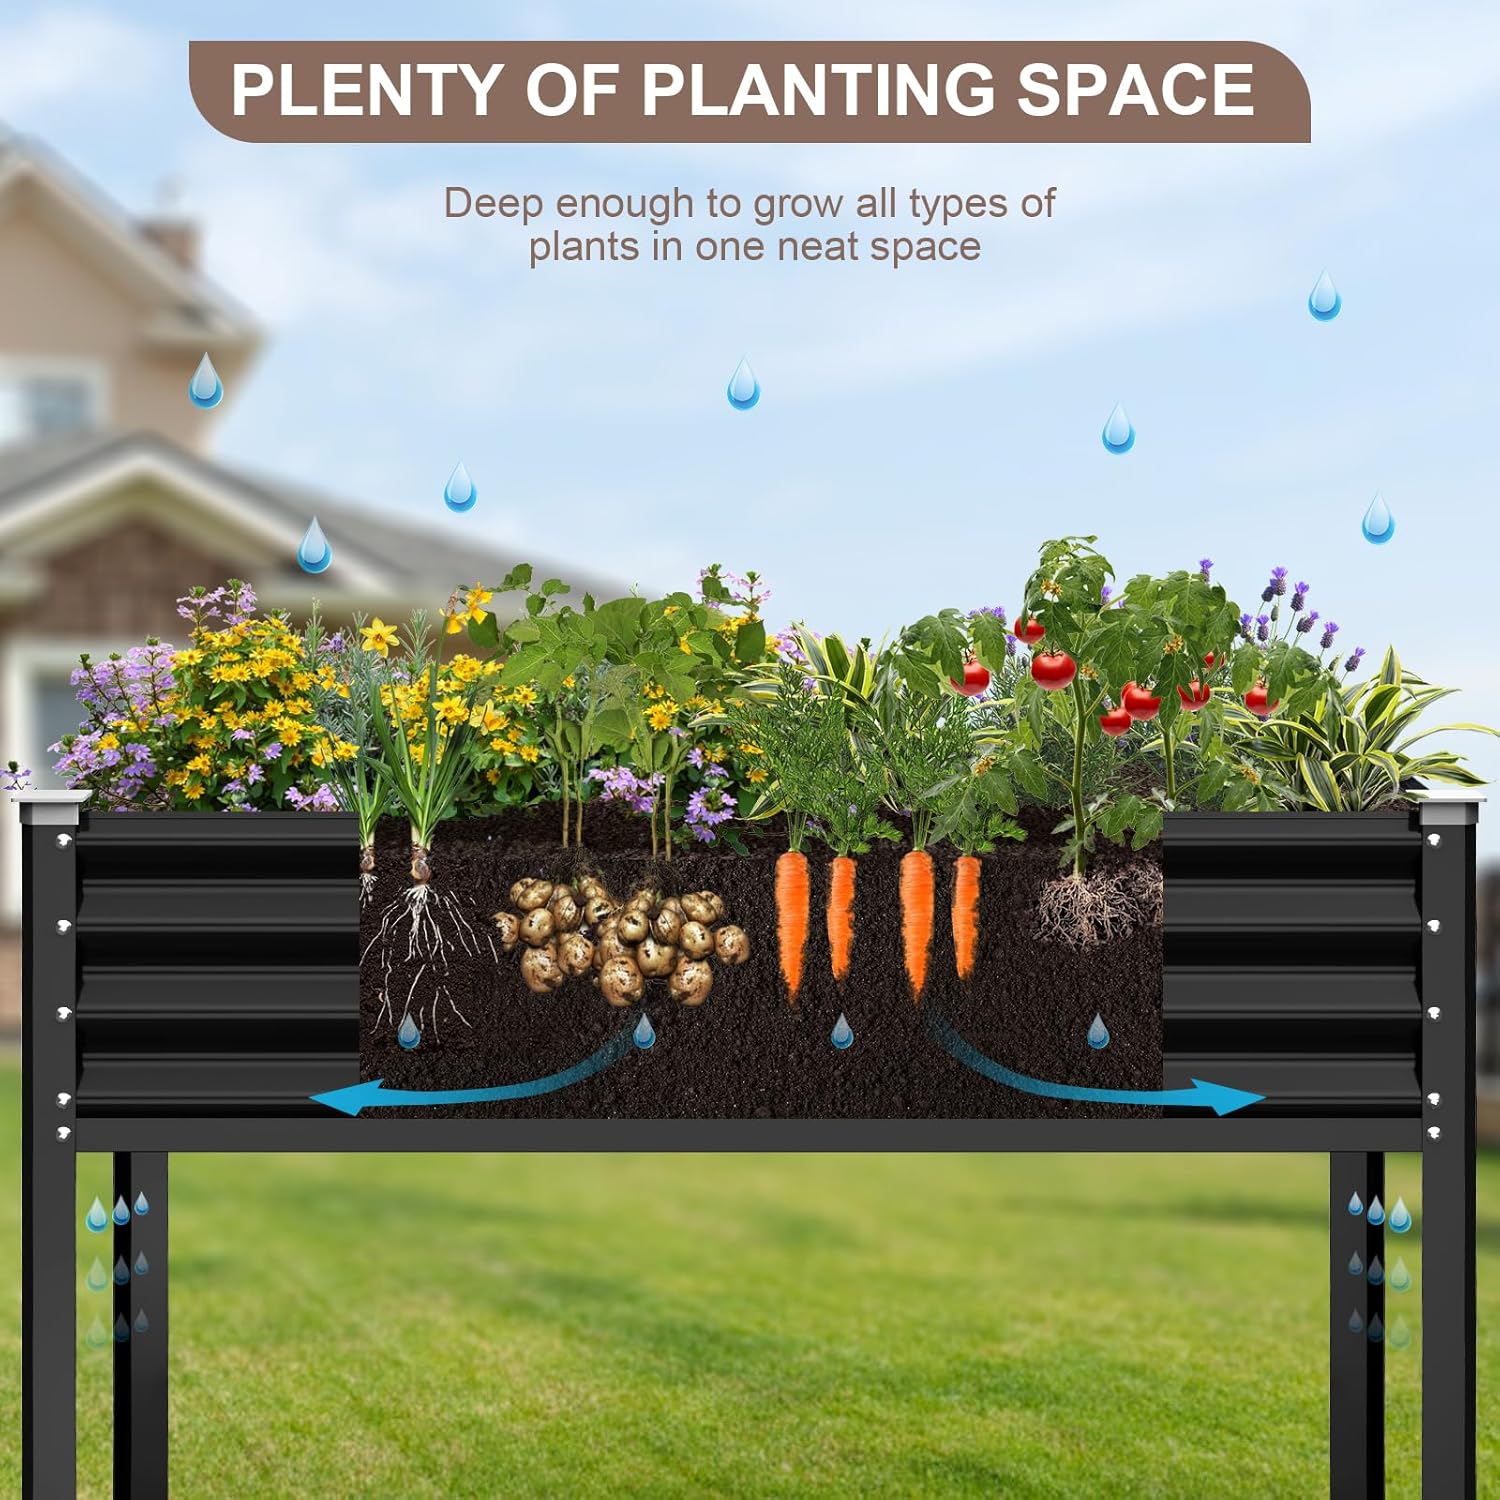
- Filling with Soil: Fill the garden bed with a suitable potting mix or garden soil. Consider adding a layer of coarse material at the bottom for improved drainage if desired, though the integrated drainage slits are designed to manage excess water.
- Planting: Plant your desired seeds or seedlings according to their specific requirements for spacing and depth.
- Watering: Water your plants regularly. The drainage slits in the four corners will help prevent waterlogging and maintain balanced soil moisture.
- Pest Protection: The elevated design helps deter ground-dwelling pests like rabbits and rodents from accessing your plants.

Maintenance
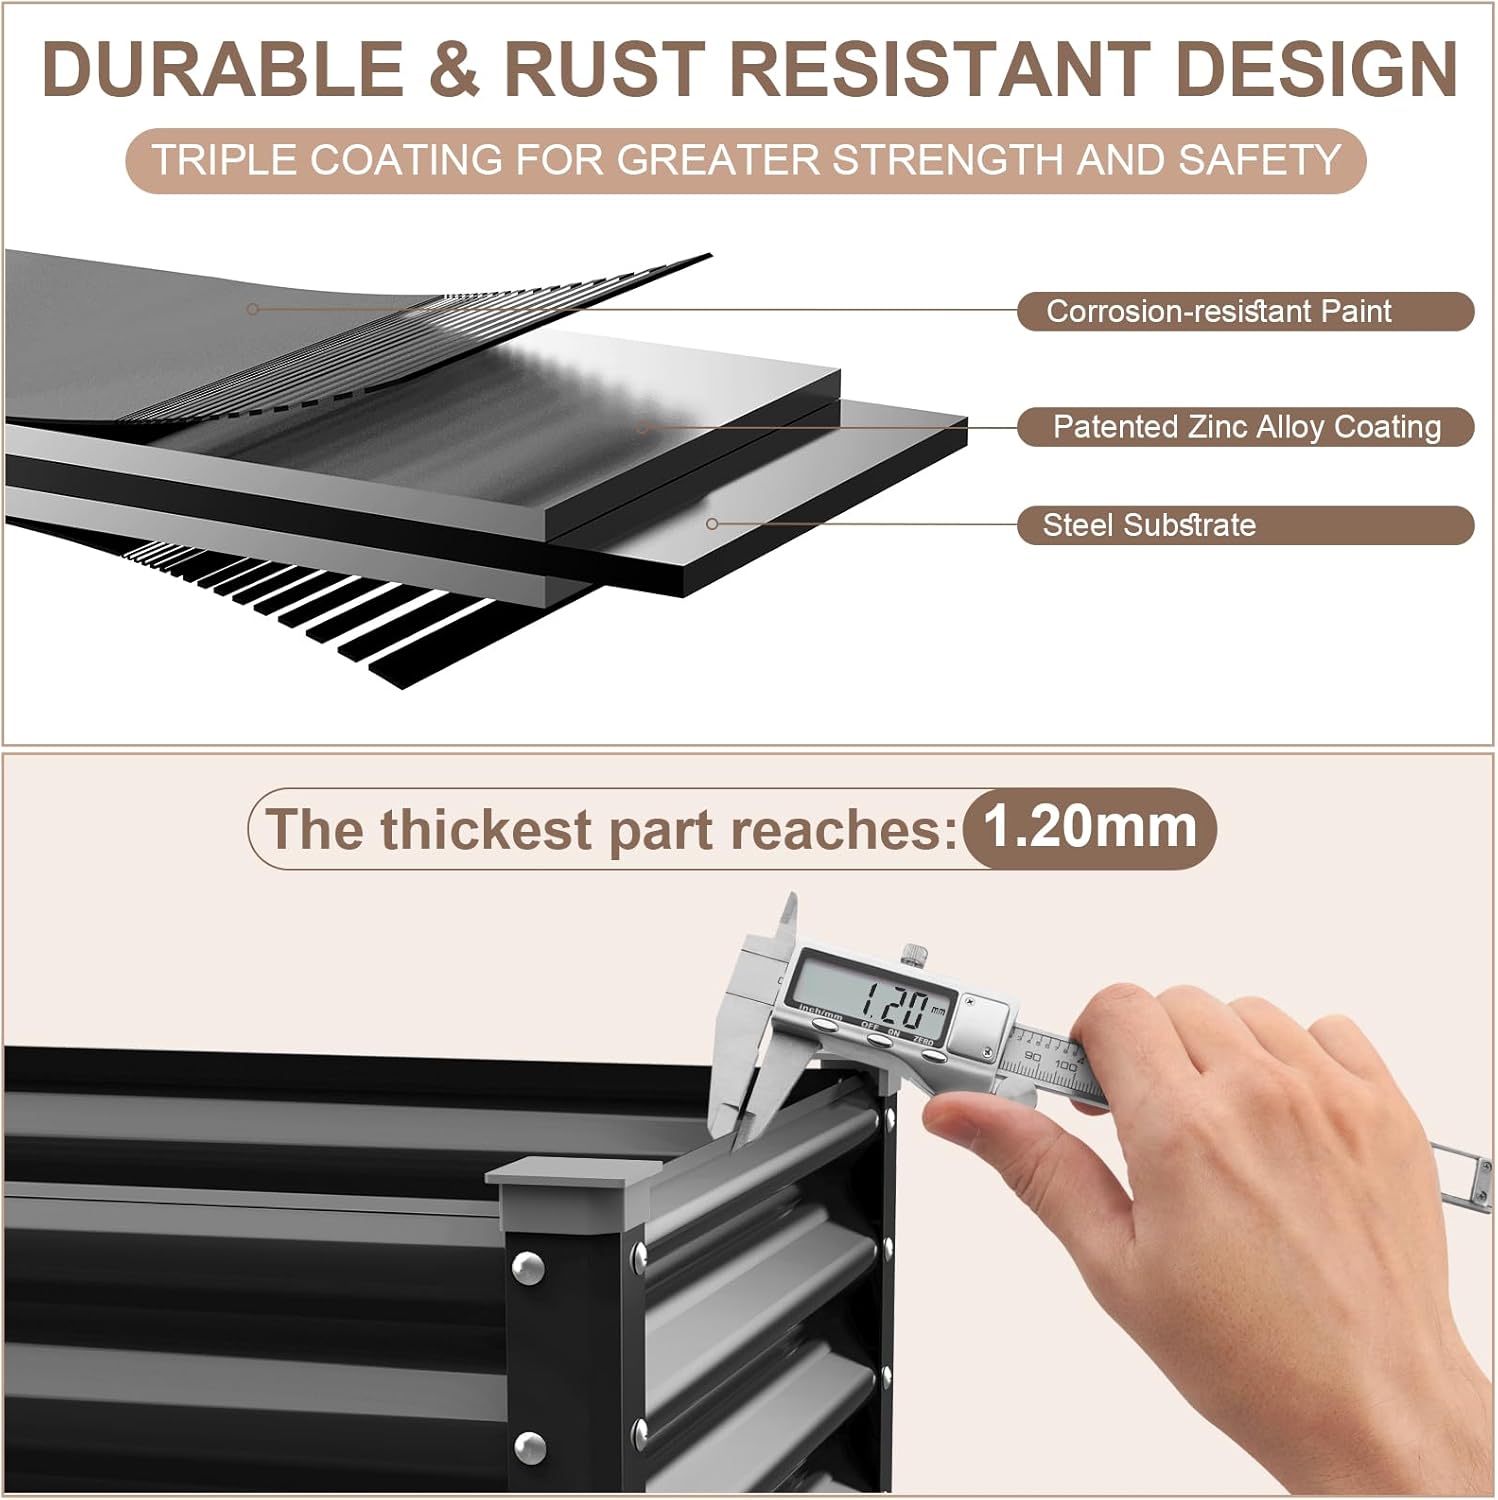
The Patiobay Raised Garden Bed is constructed from 1.2 mm thick galvanized steel with a zinc-aluminum coating, providing robust rust and corrosion resistance, making it a low-maintenance product.
- Cleaning: Periodically wipe down the exterior surfaces with a damp cloth to remove dirt and debris. Avoid abrasive cleaners that could damage the coating.
- Drainage: Ensure the drainage slits remain clear of obstructions to allow proper water flow.
- Inspection: Annually inspect all nuts and bolts for tightness and re-tighten if necessary to maintain structural integrity.
- Winter Care: While weather-resistant, consider emptying the bed or covering it during harsh winter conditions to prolong its lifespan, especially in regions with extreme cold and freeze-thaw cycles.
Troubleshooting
- Wobbling/Instability: Check all nuts and bolts to ensure they are securely tightened. Verify the garden bed is placed on a flat, level surface.
- Poor Drainage: Inspect the drainage slits at the bottom corners for any blockages (e.g., soil, roots, debris). Clear any obstructions to restore proper water flow.
- Rust Spots: While designed to be rust-resistant, prolonged exposure to harsh conditions or damage to the coating can lead to rust. Clean the area and apply a rust-inhibiting paint if necessary.
Specifications
| Brand | Patiobay |
| Model Number | HQ0272453 |
| Material | Metal (Galvanized Steel with Zinc-Aluminum Coating) |
| Color | Black |
| Dimensions (L x W x H) | 48 inches x 24 inches x 32 inches |
| Material Thickness | 1.2 mm |
| Special Features | Rust Resistant, Weather Resistant, Elevated Design, Drainage Slits, Corner Protection |
| Mounting Type | Floor Standing |
| Indoor/Outdoor Usage | Outdoor |
Warranty and Customer Support
Patiobay is committed to providing quality products and excellent customer service. While specific warranty details are not provided in this manual, we encourage you to contact us directly for any inquiries or assistance regarding your product.
Our customer support team is dedicated to delivering solutions that satisfy you. Your buying experience is our utmost priority.
For support, please visit the Patiobay Store on Amazon or refer to your purchase documentation for contact information.