
1. Product Overview
The CAMPLUX Classic RV Propane Range RGS17MSF is a versatile 2-in-1 appliance designed for recreational vehicles and compact kitchens. It combines a three-burner cooktop with an oven, offering comprehensive cooking capabilities.
- RV Oven Stove Combo: Features three cooktop burners (one 8,000 BTU, two 6,500 BTU) and a 7,100 BTU oven, allowing for diverse cooking needs in a compact space.
- Large Capacity & Design: The oven has a 1.27 cu ft (36L) interior volume. The unit boasts a stainless-steel finish, ambient oven illumination, and stainless steel backlight knobs for a modern aesthetic.
- Easy Maintenance: The stovetop features an enamel surface for heat resistance and non-stick properties. It includes removable cast iron grates, a dustproof tempered glass cover, and an oven drip tray for simplified cleaning.
- Built for Travel: Equipped with fastened burners and shockproof rubber pads on the dust cover sides, ensuring stability and quiet operation during travel on various terrains.
- Safety Features: CSA Certified and compliant with North American Standards. Includes a safety cutoff valve to prevent fire hazards and rotary piezo ignition on backlight knobs designed to prevent accidental ignition by children (DC 12V / ≤1A).

Image: Overview of the CAMPLUX Classic RV Propane Range RGS17MSF, highlighting key features like CSA certification, anti-vibration technology, large capacity oven, triple-layer insulated glass door, flame failure protection, and easy cleaning.
2. Setup and Installation
2.1 Unpacking
Carefully remove the RV propane range from its packaging. Inspect for any shipping damage. Retain all packaging materials for future transport or if service is required.
2.2 Location and Dimensions
Ensure the installation area in your RV or kitchen meets the required cutout dimensions for proper fit and ventilation. The product dimensions are 21.54" W x 21.3" D (including handle) x 16.06" H.

Image: Detailed diagram illustrating the necessary cabinet and counter cutout dimensions for installing the CAMPLUX RV Propane Range. Key measurements include Depth (A) 17.75", Width (B) 20.25", Height (C) 16.13" min, Overhang (D) 1" max, and Thickness (E) 1.63" max.
2.3 Connections
All connections must be performed by a qualified technician in accordance with local codes and regulations.
- Power Supply: Connect the black wire to 12V DC positive (+) and the white wire to 12V DC negative (-). Ensure electrical connections are properly secured. Connect only to a protected circuit fused for not more than 15 Amps.
- Propane Supply: Connect a propane supply line with a 3/8" Flare Female connection to the regulator located in the upper right rear corner of the cabinet.

Image: Diagram detailing the power supply connection (12V DC) and the propane supply line connection (3/8" Flare Female) at the rear of the RV propane range.
2.4 Included Components
Verify that all components are present:
- RV range oven stove × 1
- #8-15 × 1" wood screw × 4
- Wire connectors × 2
- User manual × 1
3. Operating Instructions
3.1 Cooktop Burner Operation
The cooktop features three burners: one 8,000 BTU burner and two 6,500 BTU burners. The stainless steel backlight knobs use rotary piezo ignition for easy and safe lighting.
- Ensure the propane supply is open.
- Push and turn the desired burner knob counter-clockwise to the 'HIGH' position.
- The piezo ignition will spark, lighting the burner. If the burner does not light within a few seconds, turn the knob to 'OFF' and repeat the process.
- Once lit, adjust the flame size by turning the knob between 'HIGH' and 'LOW' settings.
- To turn off, rotate the knob clockwise to the 'OFF' position.

Image: The cooktop surface showing three burners with their respective BTU ratings: one 8,000 BTU burner and two 6,500 BTU burners, designed to accommodate various cooking needs.
Video: A demonstration of the CAMPLUX Classic RV Propane Range, showcasing its design and features, including the cooktop and oven.
3.2 Oven Operation
The oven provides 7,100 BTU of heating power and has a temperature range of 300-490°F. It has a capacity of 1.27 cu ft (36L).
- Ensure the propane supply is open.
- Open the oven door.
- Push and turn the oven knob to the desired temperature setting. The oven will ignite automatically.
- Allow the oven to preheat to the set temperature. The ambient oven illumination will assist in monitoring.
- Place food inside the oven.
- To turn off, rotate the oven knob clockwise to the 'OFF' position.
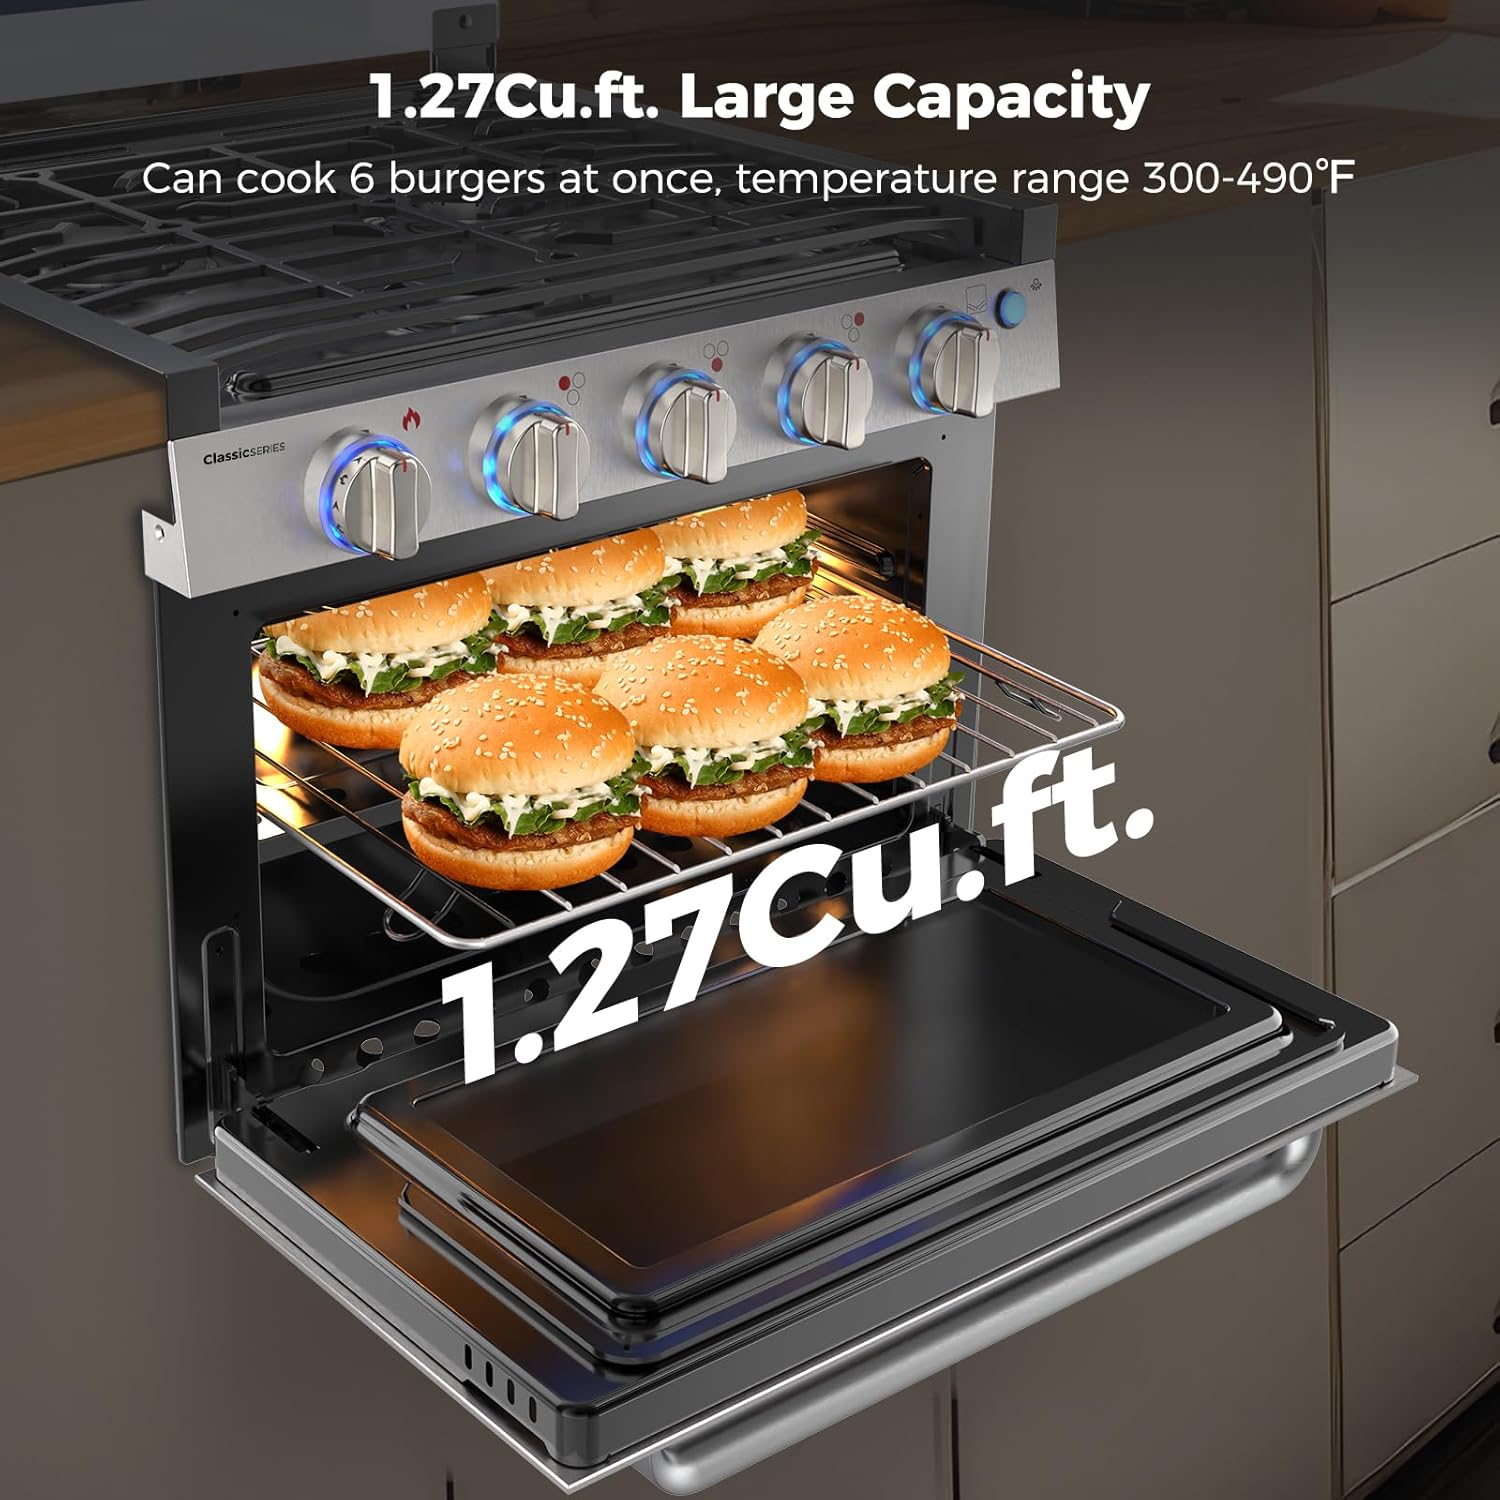
Image: The oven interior demonstrating its 1.27 cu.ft. large capacity, capable of cooking multiple items simultaneously, such as six burgers.

Image: A visual guide to recommended oven cooking temperatures for various dishes, including pizza (350-400°F), chicken (450-475°F), hamburger (400-450°F), and steak (475-490°F).
3.3 Safety Precautions
- Always ensure adequate ventilation when operating the range.
- Do not store flammable materials near the appliance.
- The safety cutoff valve will automatically shut off gas flow if a flame is extinguished.
- The rotary piezo ignition on the knobs is designed to prevent accidental ignition, especially by children.
- The oven features a triple-insulated glass door to lower surface temperature and minimize heat loss.
4. Maintenance
4.1 Cleaning the Cooktop
The enamel surface and cast iron grates are designed for easy cleaning.
- Allow the cooktop to cool completely before cleaning.
- Remove the cast iron grates and wash them with warm, soapy water. Dry thoroughly.
- Wipe the enamel surface with a damp cloth and mild detergent. Avoid abrasive cleaners that can scratch the surface.
- Clean the stainless steel backlight knobs with a soft cloth and a non-abrasive stainless steel cleaner.

Image: The tempered glass dust cover, which helps prevent dust buildup when closed and contains splatters when open, simplifying kitchen cleanup.
4.2 Oven Cleaning
- Ensure the oven is cool before cleaning.
- Remove oven racks and the drip tray. Wash them with warm, soapy water.
- Wipe the interior of the oven with a damp cloth and a mild oven cleaner (follow cleaner instructions).
- Clean the triple-insulated glass door with a glass cleaner.
4.3 General Care
- Regularly check gas connections for leaks using a soapy water solution (bubbles indicate a leak).
- Ensure the fastened burners remain secure, especially after travel.
- Keep the area around the range clear of debris and obstructions.
5. Troubleshooting
5.1 Burner Not Igniting
- Check Propane Supply: Ensure the propane tank is not empty and the supply valve is fully open.
- Check Ignition: Listen for the clicking sound of the piezo igniter. If no click, check 12V DC power connection.
- Clean Burner Ports: Food debris can block burner ports. Ensure they are clean and dry.
5.2 Oven Not Heating
- Verify Ignition: Ensure the oven ignites and stays lit. If it extinguishes, check propane supply and ventilation.
- Temperature Setting: Confirm the oven knob is set to the desired temperature.
5.3 Gas Odor
- Immediate Action: If you smell gas, immediately turn off all gas supply valves. Open windows and doors for ventilation. Do not operate any electrical switches or appliances.
- Identify Source: Check all gas connections for leaks using a soapy water solution.
- Professional Help: If the odor persists or the source cannot be found, evacuate the area and contact a qualified technician or your gas supplier.
6. Specifications
| Feature | Specification |
|---|---|
| Model Name | RGS17MSF |
| Brand | CAMPLUX ENJOY OUTDOOR LIFE |
| Material | Stainless Steel |
| Finish Type | Stainless Steel |
| Form Factor | Slide-in |
| Controls Type | Knob |
| Heating Element | Sealed |
| Voltage | 12 Volts (DC) |
| Oven Capacity | 1.27 cubic feet (36L) |
| Number of Heating Elements (Burners) | 3 |
| Number Of Racks | 2 |
| Mounting Type | Freestanding |
| Fuel Type | Liquid Propane |
| Item Dimensions (D x W x H) | 21.3"D x 21.54"W x 16.06"H |
| Item Weight | 28.1 Kilograms |
| UPC | 850053435782 |
| Manufacturer | CAMPLUX |
7. Warranty and Support
For warranty information and customer support, please refer to the documentation included with your product or contact CAMPLUX directly. Keep your purchase receipt and model number (RGS17MSF) handy when contacting support.
Contact Information: Please visit the official CAMPLUX website for the most up-to-date contact details and support resources.