1. Introduction
Thank you for choosing the HJM AMD 1000 Electric Radiator. This appliance is designed to provide efficient and comfortable heating for your home. Please read this manual carefully before installation and operation to ensure safe and optimal performance. Keep this manual for future reference.
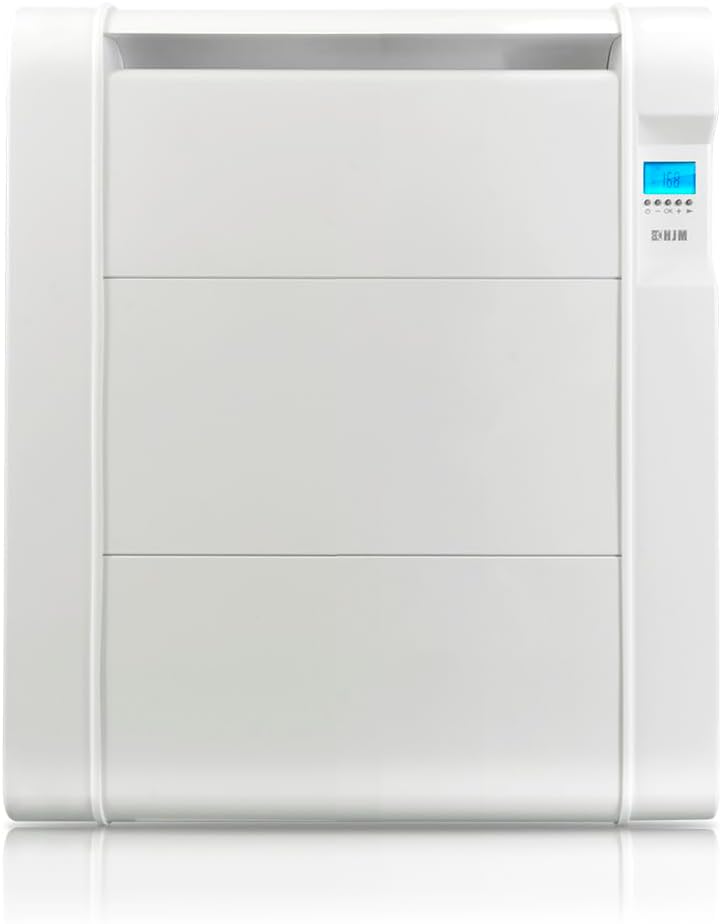
Figure 1: HJM AMD 1000 Electric Radiator
Product Features:
- Easy 24/7 programming to optimize energy consumption.
- 4 customizable programs and 9 pre-installed programs for flexible heating control.
- Instant heat with the programmable TURBO mode.
- Energy saving functions: Open window detection and intelligent pre-start system.
2. Safety Information
Always observe the following safety precautions to reduce the risk of fire, electric shock, or injury.
- Read all instructions before using this radiator.
- Do not use this radiator in the immediate vicinity of a bath, shower, or swimming pool.
- Do not cover the radiator. Overheating can occur if the radiator is covered.
- Keep combustible materials such as furniture, curtains, and other flammable items at least 1 meter (3 feet) from the front and sides of the radiator.
- Do not insert or allow foreign objects to enter any ventilation or exhaust opening as this may cause an electric shock or fire, or damage the radiator.
- This appliance is not intended for use by persons (including children) with reduced physical, sensory or mental capabilities, or lack of experience and knowledge, unless they have been given supervision or instruction concerning use of the appliance by a person responsible for their safety.
- Children should be supervised to ensure that they do not play with the appliance.
- Ensure the voltage indicated on the rating label corresponds to the mains voltage in your home.
3. Product Components
The HJM AMD 1000 Electric Radiator package includes:
- HJM AMD 1000 Electric Radiator unit
- Wall mounting brackets (2 units)
- Screws and wall plugs (4 sets)
- User Manual

Figure 2: Wall Mounting Kit (Screwdriver not included)
4. Installation
The HJM AMD 1000 Electric Radiator is designed for wall-mounted installation. Ensure the installation location is suitable, away from water sources, and has adequate clearance from combustible materials.
Wall Mounting Steps:
- Choose a suitable wall location, ensuring there is enough space around the radiator for proper heat distribution and maintenance. Refer to the dimensions below.
- Mark the positions for the two wall mounting brackets on the wall. Ensure they are level and spaced correctly to support the radiator.
- Drill holes at the marked positions and insert the wall plugs.
- Secure the wall mounting brackets to the wall using the provided screws.
- Carefully lift the radiator and hook it onto the installed wall brackets. Ensure it is securely seated.
- Connect the radiator to a suitable electrical outlet.

Figure 3: Radiator Dimensions for Installation
5. Operating Instructions
The HJM AMD 1000 features an intuitive control panel for easy operation and programming.
Control Panel Overview:

Figure 4: Control Panel
- Power Button (⏻): Turns the radiator on or off.
- OK Button: Confirms selections and enters programming modes.
- Plus (+) Button: Increases temperature, time, or navigates menus.
- Minus (-) Button: Decreases temperature, time, or navigates menus.
- Mode Button (►): Cycles through operating modes (Comfort, Eco, Anti-freeze, Program).
Basic Operation:
- Press the Power button (⏻) to turn on the radiator. The display will show the current room temperature.
- Use the Mode button (►) to select your desired operating mode:
- Comfort: Maintains a comfortable set temperature.
- Eco: Maintains a lower, energy-saving temperature.
- Anti-freeze: Prevents the room temperature from dropping below a certain point (e.g., 7°C).
- Program: Follows the programmed heating schedule.
- In Comfort or Eco mode, use the Plus (+) and Minus (-) buttons to adjust the desired temperature.
Programming 24/7:
The radiator allows for detailed 24/7 programming with 4 customizable programs and 9 pre-installed programs.
- Press and hold the OK button to enter the programming menu.
- Use the Plus (+) and Minus (-) buttons to navigate through the programming options (e.g., setting time, day, custom programs, or selecting pre-installed programs).
- Press OK to confirm each selection.
- Follow the on-screen prompts to set your desired heating schedule for each day of the week.
TURBO Mode:
Activate TURBO mode for rapid heating. This mode provides maximum power output for a set period to quickly reach the desired temperature.
- To activate, press the Plus (+) button while in a standard operating mode.
- You can program the duration of the TURBO mode through the settings.
Special Functions:
- Open Window Detection:

The radiator automatically detects a sudden drop in temperature, indicating an open window, and temporarily suspends heating to save energy. Heating resumes when the window is closed or after a set period.
- Intelligent Pre-start System:

This function calculates the optimal time to start heating before a programmed comfort period, ensuring the room reaches the desired temperature precisely when needed, without wasting energy.
- Consumption Indicator (Kw/H):

The display can show the current energy consumption in Kilowatt-hours (Kw/H), allowing you to monitor and manage your energy usage.
- Keypad Lock:

To prevent accidental changes to settings, the control panel can be locked. Refer to the on-screen instructions or specific button combinations to activate/deactivate the keypad lock.
6. Maintenance
Regular maintenance ensures the longevity and efficient operation of your HJM AMD 1000 Electric Radiator.
Cleaning:
- Always unplug the radiator from the power outlet and allow it to cool completely before cleaning.
- Wipe the exterior surfaces with a soft, damp cloth. Do not use abrasive cleaners, solvents, or harsh chemicals, as these can damage the finish.
- Ensure no water enters the internal components.
- Do not attempt to open the radiator for internal cleaning.
Storage:
If the radiator will not be used for an extended period, unplug it and store it in a cool, dry place, preferably in its original packaging, to protect it from dust and damage.
7. Troubleshooting
If you encounter any issues with your HJM AMD 1000 Electric Radiator, please refer to the following table before contacting customer support.
| Problem | Possible Cause | Solution |
|---|---|---|
| Radiator does not turn on | No power supply Power button not pressed | Check if the radiator is plugged in and the outlet is working. Press the power button (⏻). |
| Radiator is on but not heating | Temperature setting too low Open window detected Keypad locked | Increase the set temperature. Close windows/doors or disable open window detection. Unlock the keypad. |
| Irregular heating cycles | Incorrect programming Intelligent pre-start active | Review and adjust your 24/7 programming. This is normal behavior for the intelligent pre-start system. |
| Display shows an error code | Internal malfunction | Unplug the radiator for 5 minutes and plug it back in. If the error persists, contact customer support. |
8. Specifications
Technical specifications for the HJM AMD 1000 Electric Radiator:
| Feature | Specification |
|---|---|
| Brand | HJM |
| Model Number | AMD 1000 |
| Color | White |
| Dimensions (D x W x H) | 7.5 x 52.5 x 59 cm |
| Weight | 5.5 kg |
| Power | 1000 Watts |
| Voltage | 230 Volts |
| Special Features | Programmable Thermostat, Open Window Detection, Intelligent Pre-start, Turbo Mode, Consumption Indicator, Keypad Lock |
| Mounting Type | Wall Mount |
| Heating Coverage | Up to 10 m² |
9. Warranty and Support
The HJM AMD 1000 Electric Radiator comes with a standard manufacturer's warranty. Please refer to the warranty card included with your product for specific terms and conditions.
Customer Support:
For technical assistance, warranty claims, or any questions regarding your HJM product, please contact HJM customer service through their official website or the contact information provided in your product packaging.
Please have your model number (AMD 1000) and purchase date ready when contacting support.


