Important Safety Information
Please read this entire instruction manual before installation. If you have any questions, contact your retailer or a professional installer. Improper installation can result in serious injury or damage.
- Weight Capacity: Do not exceed the maximum weight capacity of this mount. This mount is designed for TVs between 19 and 55 inches.
- Wall Structure: Ensure the mounting surface can safely support the combined weight of the mount and the television. This mount is designed for installation into solid concrete walls, brick walls, or wood stud walls.
- Tools: Use appropriate tools for installation. Always wear safety glasses.
- Children: Keep children away from the installation area.
- Missing Parts: Do not use the mount if any parts are missing or damaged. Contact customer support for replacement parts.
Package Contents
Verify that all components are present before beginning installation. The package includes the following items:
- Wall Plate Assembly
- TV Bracket (2 pieces)
- Hardware Kit (various screws, anchors, washers, spacers)
- Instruction Manual
Note: Specific screw sizes and quantities may vary. Refer to the hardware bag for detailed contents.
Setup and Installation
This section provides step-by-step instructions for mounting your TV. Ensure you have all necessary tools and have read the safety information.
Tools Required (Not Included)
- Pencil
- Phillips Head Screwdriver
- Electric Drill
- Stud Finder (for wood stud installation)
- Level
- Measuring Tape
- Safety Glasses
Step-by-Step Installation
1. Attach TV Brackets to TV
Carefully place your TV face down on a soft, clean surface. Identify the VESA mounting holes on the back of your TV. Select the appropriate screws, washers, and spacers from the hardware kit that fit your TV's VESA pattern. Attach the two TV brackets to the back of your TV, ensuring they are centered and securely fastened. The brackets should be oriented so the hooks face upwards.
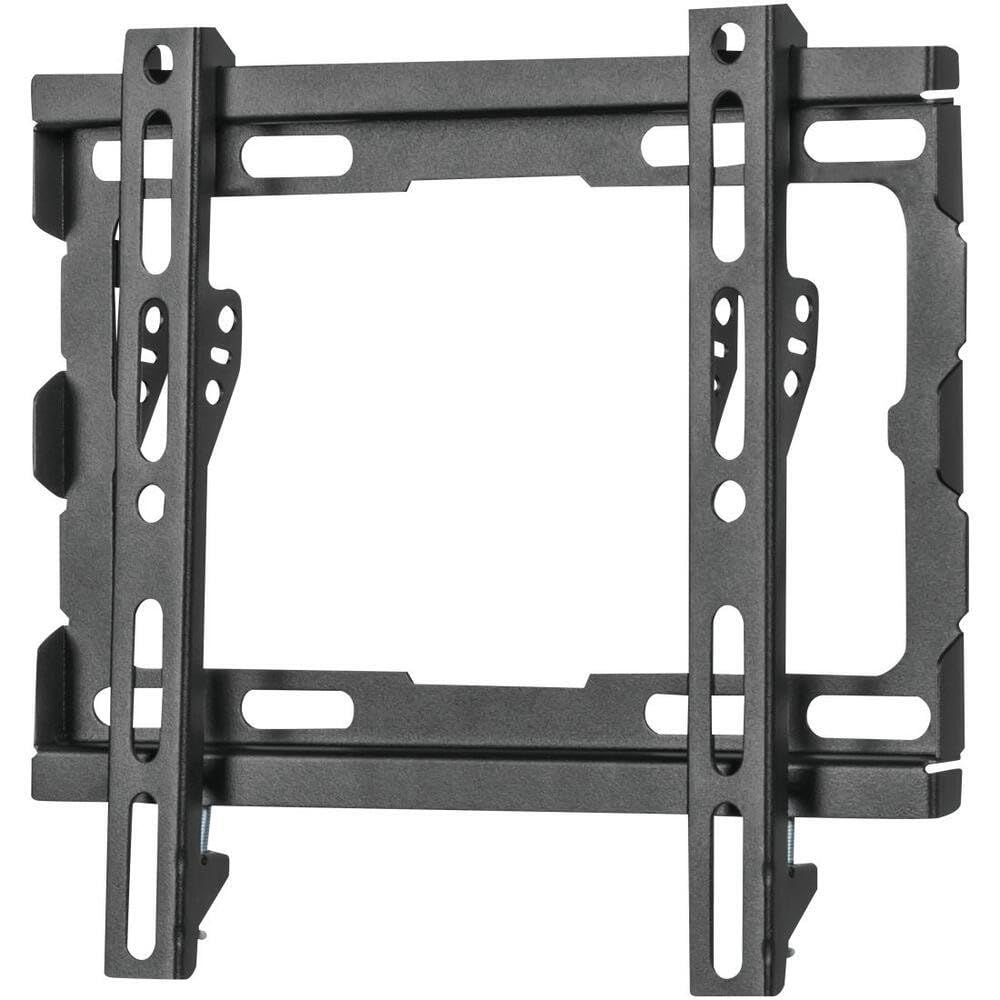
Image: The Volkano VK-4021-BK TV Wall Mount brackets attached to the rear of a television, ready for wall mounting.
2. Mark Wall and Drill Pilot Holes
Determine the desired height for your TV. Hold the wall plate against the wall at the desired location and use a level to ensure it is perfectly horizontal. Mark the drilling points through the holes on the wall plate with a pencil. For wood stud installation, use a stud finder to locate the center of the studs and ensure the wall plate holes align with them. For concrete/brick walls, drill pilot holes using an appropriate drill bit and insert wall anchors.
3. Attach Wall Plate to Wall
Align the wall plate with the drilled pilot holes. Secure the wall plate to the wall using the provided lag bolts and washers. Tighten all bolts firmly, but do not overtighten. Re-check with a level to ensure the wall plate remains horizontal after tightening.
4. Hang TV on Wall Plate
With assistance, carefully lift the TV (with brackets attached) and hook the TV brackets onto the top edge of the wall plate. Gently lower the TV until the brackets are fully seated on the wall plate. Ensure the TV is centered and stable.
5. Secure TV to Wall Plate
Locate the safety screws or locking mechanisms on the bottom of the TV brackets. Tighten these screws to secure the TV to the wall plate, preventing accidental dislodgement. This step is crucial for safety.
6. Cable Management
Utilize the built-in cable management system to route and organize your TV cables. This helps maintain a neat appearance and prevents cable damage. Secure cables with ties or clips as needed.
Operating
The Volkano VK-4021-BK is a fixed wall mount with a tilt function. Once installed, its primary operation involves adjusting the tilt for optimal viewing.
Tilt Adjustment
This mount features a tilt function to reduce glare and improve viewing angles. To adjust the tilt, loosen the tilt adjustment knobs or bolts located on the TV brackets (if applicable, refer to your specific model's design). Adjust the TV to the desired vertical angle, then re-tighten the knobs/bolts securely to lock the tilt in place.
Cable Management
Ensure all cables connected to your TV are neatly routed and secured using the integrated cable management features of the mount. This prevents cables from dangling, reduces clutter, and minimizes the risk of accidental disconnection or damage.
Maintenance
Regular maintenance ensures the longevity and safety of your TV wall mount.
- Periodic Checks: Periodically check all screws and bolts to ensure they remain tight. Over time, vibrations or movement can cause fasteners to loosen.
- Cleaning: Clean the mount with a soft, dry cloth. Avoid using abrasive cleaners or solvents, as these can damage the finish.
- Damage Inspection: Inspect the mount for any signs of wear, corrosion, or damage. If any damage is observed, discontinue use and contact customer support.
Troubleshooting
If you encounter issues during or after installation, refer to the following common troubleshooting tips:
- TV Not Level: If the TV appears uneven after installation, check the wall plate with a level. If the wall plate is level, adjust the TV brackets if they offer fine-tuning adjustments, or re-adjust the TV on the wall plate.
- Mount Feels Loose: Ensure all lag bolts securing the wall plate to the wall are fully tightened. Also, verify that the safety screws/locking mechanisms on the TV brackets are engaged.
- Difficulty Attaching TV Brackets to TV: Ensure you are using the correct VESA screws for your TV model. Some TVs require spacers to ensure proper fit and airflow.
- Cables Not Organized: Re-route cables through the designated cable management channels. Use cable ties or clips to bundle and secure loose wires.
If problems persist, consult a professional installer or contact Volkano customer support.
Specifications
| Brand | Volkano |
| Model | VK-4021-BK |
| Mounting Type | Wall Mount |
| Movement Type | Fixed (with Tilt Function) |
| Material | Alloy Steel |
| Colour | Black |
| Compatible TV Sizes | 19 - 55 inches |
| Manufacturer | Volkano |
Warranty and Support
For information regarding the product warranty, please refer to the warranty card included with your purchase or visit the official Volkano website. For technical support or assistance with installation, please contact Volkano customer service through their official channels.
Online Support: www.volkano.com


