1. Introduction
Thank you for choosing the VEVOR 25L Reptile Egg Incubator. This device is designed to provide a stable and controlled environment for incubating reptile eggs, as well as for other applications requiring precise temperature management. It features a digital LED display for accurate temperature monitoring and control, a spacious 25-liter interior, and both heating and cooling capabilities. Please read this manual thoroughly before operation to ensure proper use and maintenance.
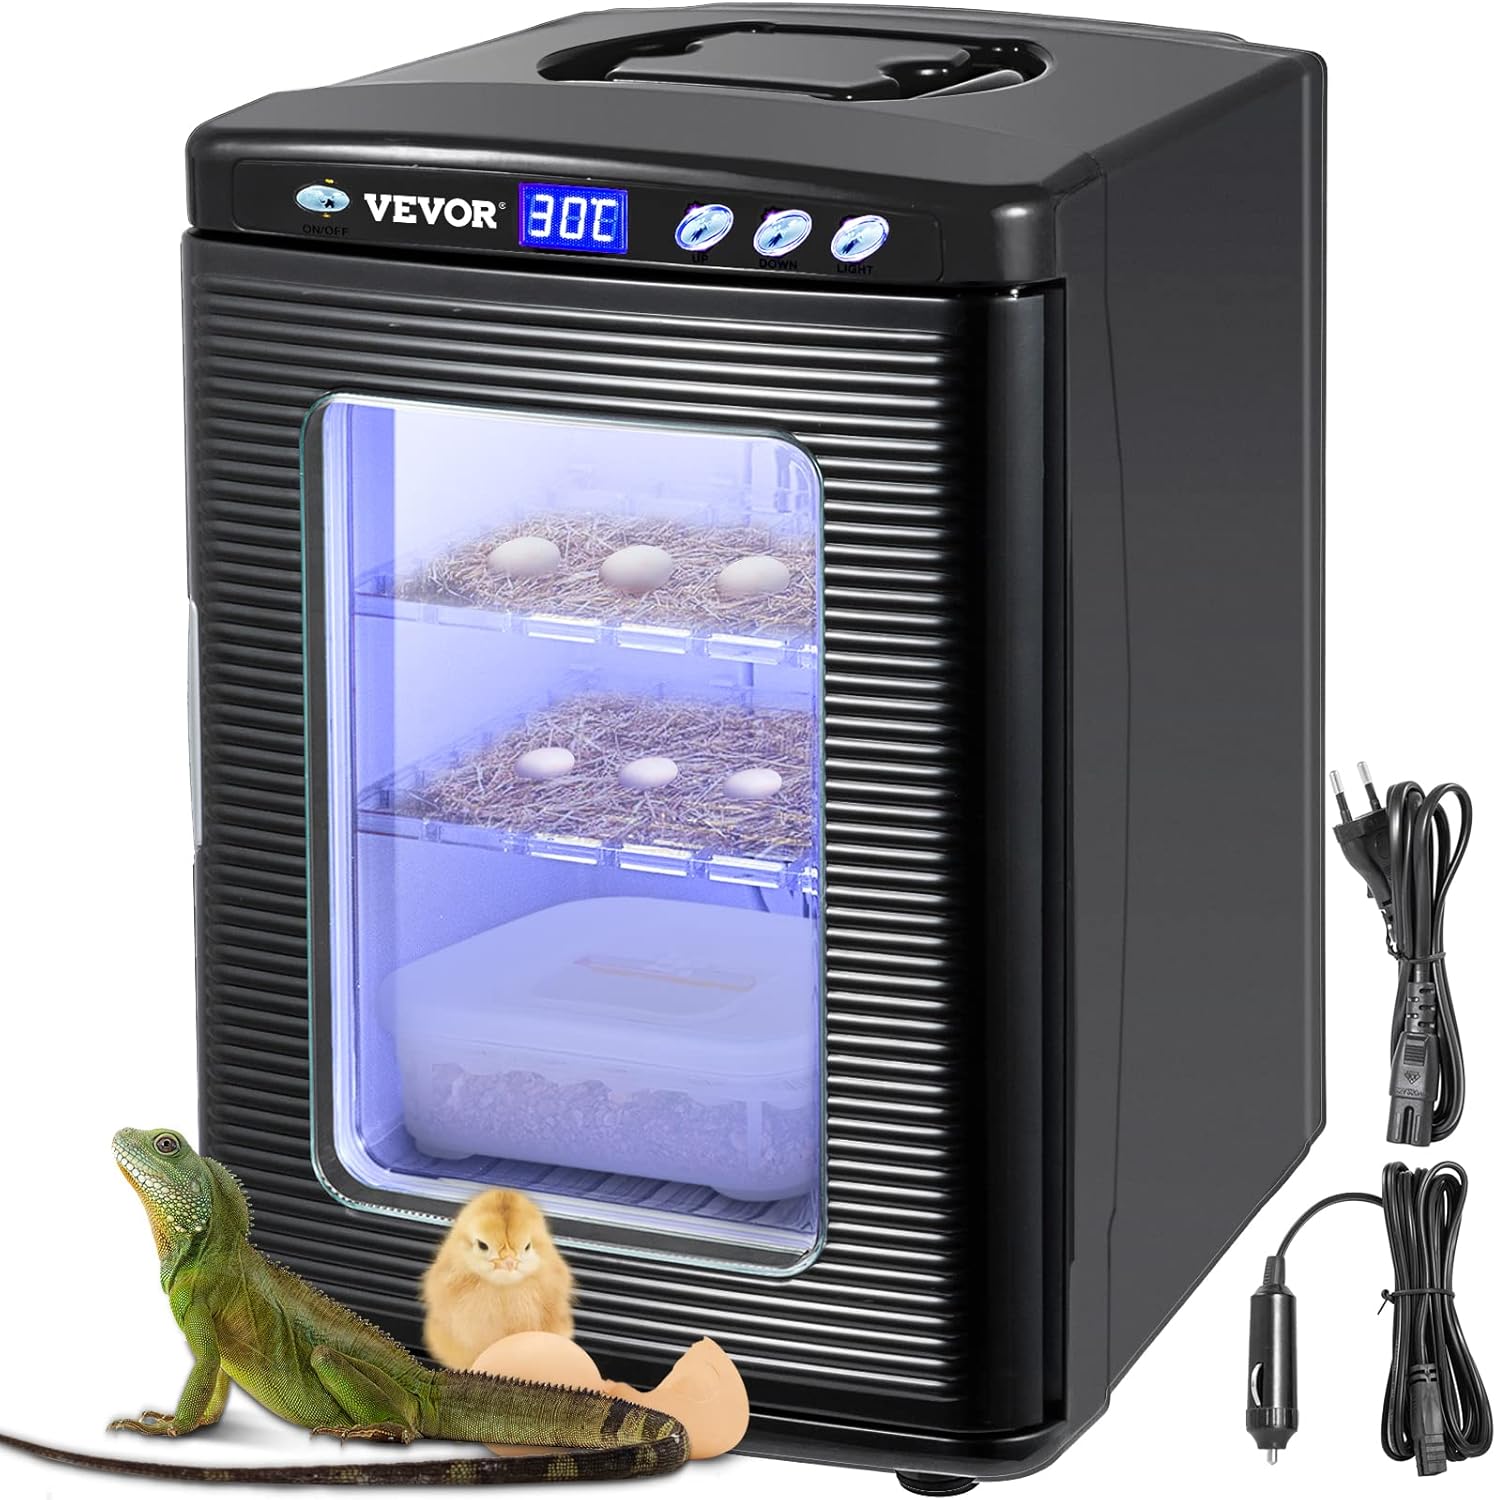
Figure 1.1: VEVOR 25L Reptile Egg Incubator. This image displays the incubator with its transparent door, showing two internal shelves with eggs, alongside a small reptile and a chick, illustrating its intended use. Power cords are visible on the right.
2. Safety Instructions
- Read all instructions before using the appliance.
- Do not immerse the unit, cord, or plug in water or other liquids.
- Supervise children to ensure they do not play with the appliance.
- Unplug from the outlet when not in use and before cleaning.
- Do not operate any appliance with a damaged cord or plug, or after the appliance malfunctions or has been damaged in any manner.
- Use only attachments recommended by the manufacturer.
- Do not place on or near a hot gas or electric burner, or in a heated oven.
- Ensure proper ventilation around the unit.
- This appliance is for indoor use only.
3. Product Overview
The VEVOR 25L Reptile Egg Incubator is designed for precise temperature control, offering both heating and cooling functions. Key features include:
- Digital Temperature Control: Adjustable from 5°C to 60°C (36-140°F).
- LED Digital Display: Shows current chamber temperature.
- 25L Capacity: Spacious interior with two adjustable/removable shelves.
- Visible PVC Door: Allows observation without disturbing the incubation process.
- Portable Design: Integrated handle for easy transport.
- Dual Power Options: Operates on AC (220V) or DC (12V) power.

Figure 3.1: Digital Temperature Control and Air Circulation. This image highlights the LED digital display and external control buttons on the top panel, along with an internal air circulation fan for consistent temperature distribution.
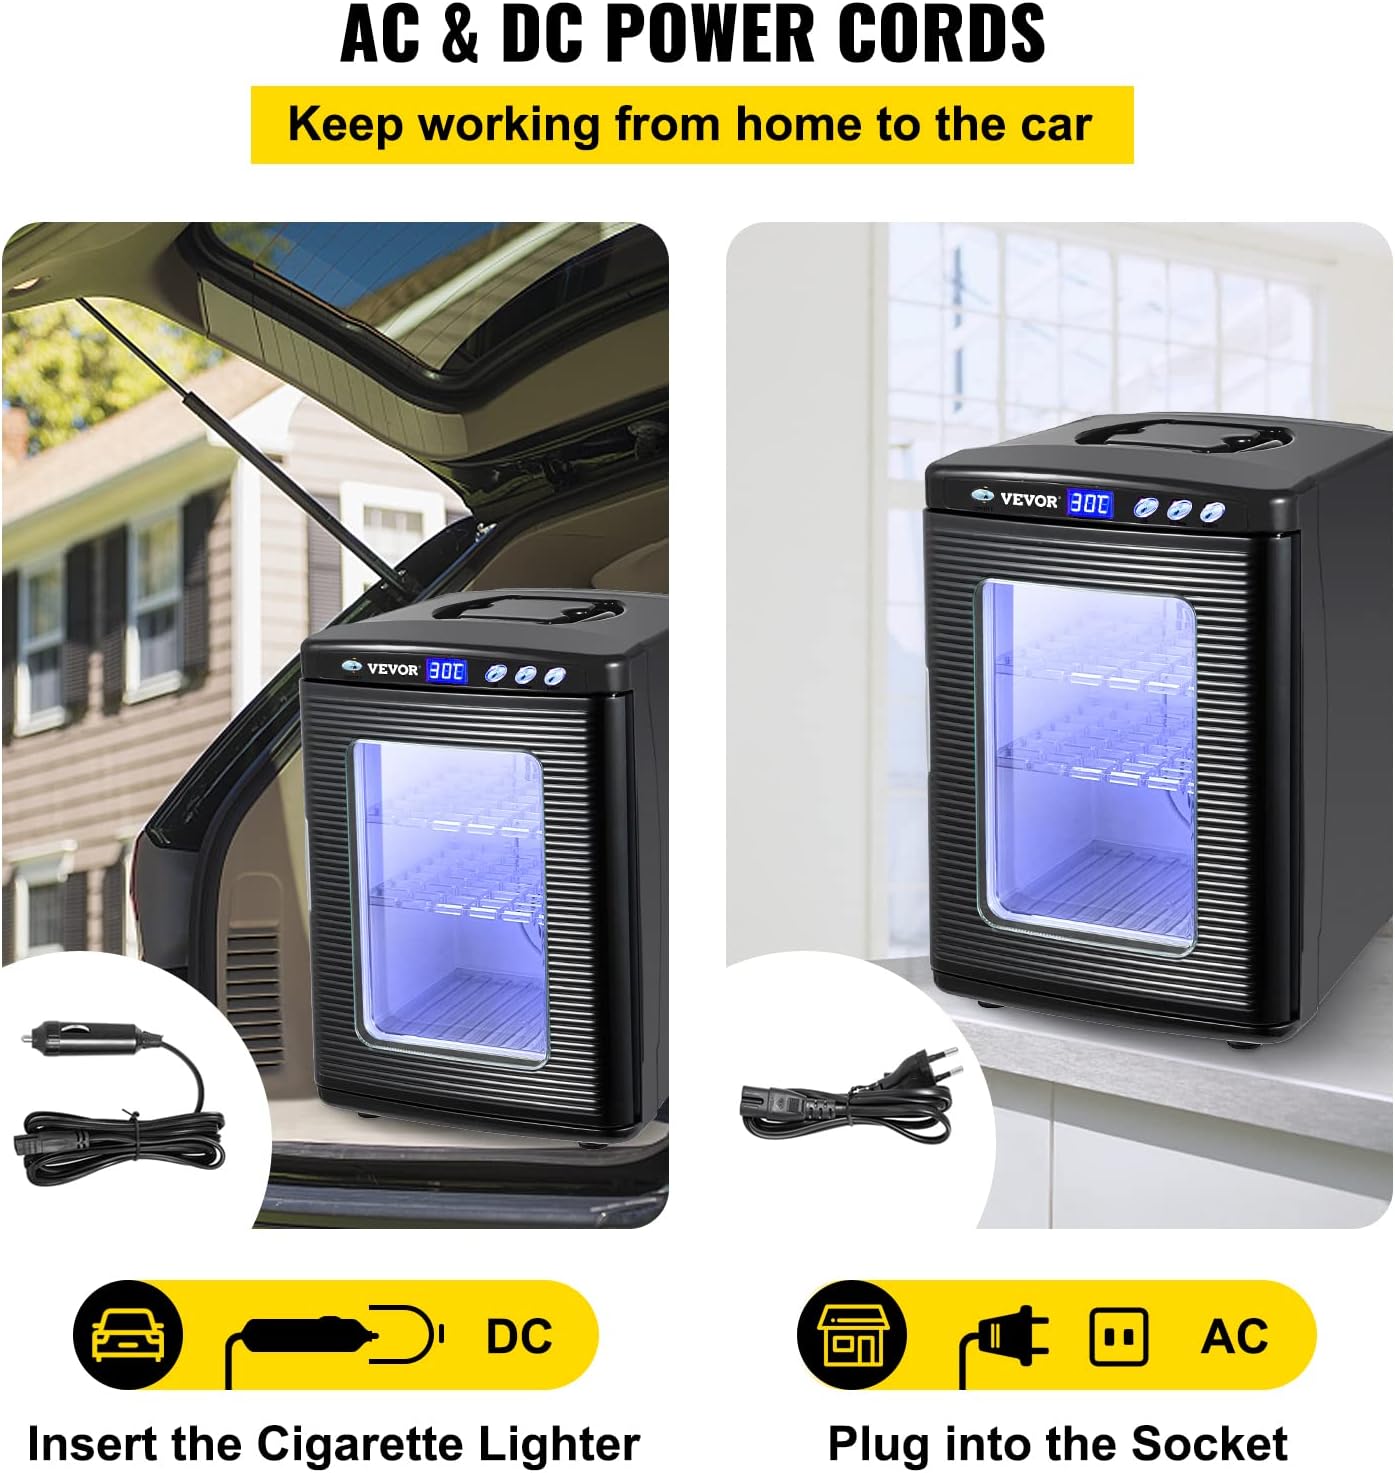
Figure 3.2: Interior Capacity and Humidity Tray. The incubator's door is open, revealing its 25-liter interior with two removable shelves that can create three platforms. A water tray is visible at the bottom, designed to maintain humidity levels.

Figure 3.3: Portable and Visible Design. This image emphasizes the incubator's portability with its built-in handle on top and the transparent PVC door, which allows for easy viewing of contents without opening the unit.
4. Setup
4.1 Unpacking
- Carefully remove the incubator from its packaging.
- Check for any damage during transit. Contact customer support if any damage is found.
- Ensure all components are present: main unit, AC power cord, DC power cord, and user manual.
4.2 Placement
- Place the incubator on a stable, level surface away from direct sunlight, heat sources, or drafts.
- Ensure adequate space around the unit for proper ventilation (at least 10 cm on all sides).
4.3 Power Connection
The incubator can be powered by either AC or DC current.
- AC Power (Home/Lab Use): Connect the AC power cord to the incubator's AC input port and then plug it into a standard 220V wall outlet.
- DC Power (Vehicle Use): Connect the DC power cord to the incubator's DC input port and then plug the cigarette lighter adapter into your vehicle's 12V DC outlet.

Figure 4.1: AC and DC Power Cords. This image illustrates the two power options: a DC cigarette lighter adapter for vehicle use and an AC plug for standard wall outlets, allowing versatile power connectivity.
5. Operating Instructions
5.1 Power On/Off
- Press the ON/OFF button located on the control panel to power on the incubator. The LED display will illuminate.
- Press the ON/OFF button again to power off the unit.
5.2 Setting Temperature
- With the incubator powered on, the LED display shows the current internal temperature.
- Use the UP and DOWN buttons to adjust the desired temperature. Each press changes the temperature by 1°C.
- The incubator will automatically begin heating or cooling to reach and maintain the set temperature.
- It is recommended to allow the incubator to stabilize at the desired temperature for at least 30 minutes before placing eggs inside.
5.3 Maintaining Humidity
- To maintain appropriate humidity levels, fill the water tray located at the bottom of the incubator with distilled water.
- Monitor the water level regularly and refill as needed. The frequency of refilling depends on the ambient humidity and the desired internal humidity.
5.4 Placing Eggs
- Carefully place eggs on the shelves. Ensure adequate spacing between eggs for air circulation.
- The shelves are adjustable and removable to accommodate different egg sizes and quantities.
- Avoid opening the door frequently to prevent temperature and humidity fluctuations. Use the visible PVC door for observation.
6. Maintenance
6.1 Cleaning
- Always unplug the incubator before cleaning.
- Wipe the exterior with a soft, damp cloth. Do not use abrasive cleaners or immerse the unit in water.
- Remove the shelves and water tray for thorough cleaning. Wash them with mild soap and water, then rinse and dry completely before returning them to the incubator.
- Clean the interior with a damp cloth and a mild disinfectant solution. Ensure the interior is dry before resuming operation.
6.2 Storage
- When not in use for extended periods, clean the incubator thoroughly.
- Store the unit in a dry, cool place, away from direct sunlight and extreme temperatures.
7. Troubleshooting
| Problem | Possible Cause | Solution |
|---|---|---|
| Incubator does not power on. | No power supply; Damaged power cord; Faulty outlet. | Check power connection; Try a different outlet; Inspect power cord for damage. |
| Temperature not reaching set point or fluctuating. | Door not closed properly; Poor ventilation; Ambient temperature too extreme; Internal sensor issue. | Ensure door is sealed; Clear ventilation openings; Move incubator to a more stable environment; Contact support if issue persists. Note that a slight deviation (e.g., 1°C) from the displayed temperature to an external thermometer is sometimes observed and can be compensated for by adjusting the set temperature accordingly. |
| Humidity too low. | Water tray empty; Insufficient water surface area. | Refill water tray; Ensure water tray is properly positioned. |
| Unusual noise during operation. | Fan obstruction; Unit not level. | Check for obstructions around the fan; Ensure the incubator is on a level surface. |
8. Specifications
| Feature | Specification |
|---|---|
| Model Number | 123 |
| Capacity | 25 Liters |
| Temperature Range | 5°C to 60°C (36°F to 140°F) |
| Voltage (AC) | 220V |
| Voltage (DC) | 12V |
| Cooling Power (DC) | 48W |
| Cooling Power (AC) | 56W |
| Heating Power (DC) | 40W |
| Heating Power (AC) | 52W |
| Internal Dimensions (L x W x H) | 28 x 25 x 36 cm (11" x 9.8" x 14") |
| External Dimensions (L x W x H) | 33 x 38 x 48 cm (13" x 15.1" x 19") |
| Net Weight | 6 kg (13.2 lbs) |
| Material | Stainless Steel |
| Color | Black |

Figure 8.1: Product Dimensions. This diagram illustrates the external measurements of the incubator, indicating a height of 19 inches (48 cm), a width of 13 inches (33 cm), and a depth of 15.1 inches (38 cm).
9. Warranty and Support
For warranty information or technical support, please refer to the contact details provided with your purchase or visit the official VEVOR website. Keep your purchase receipt as proof of purchase for any warranty claims.


