
Introduction
Thank you for choosing the Fockety Paraffin Wax Machine. This device is designed to provide a soothing and moisturizing paraffin wax treatment for your hands, feet, and elbows. Regular use can help soften dry skin and provide relaxation. Please read this manual thoroughly before operating the machine to ensure safe and effective use.
Important Safety Precautions
- Always unplug the machine from the power outlet when not in use, before cleaning, or before adding/removing wax.
- Do not immerse the machine in water or any other liquid.
- Keep out of reach of children.
- Do not operate the machine if the power cord or plug is damaged.
- Ensure the machine is placed on a stable, heat-resistant surface.
- Do not add water or other liquids to the wax pot. Only use paraffin wax specifically designed for paraffin baths.
- The wax will be hot. Always check the wax temperature before dipping hands or feet to avoid burns. The melting temperature of the wax is around 70 to 80℃. Allow it to cool to a comfortable temperature before use.
- Do not use on broken, irritated, or sensitive skin. Consult a doctor if you have any skin conditions or circulatory problems.
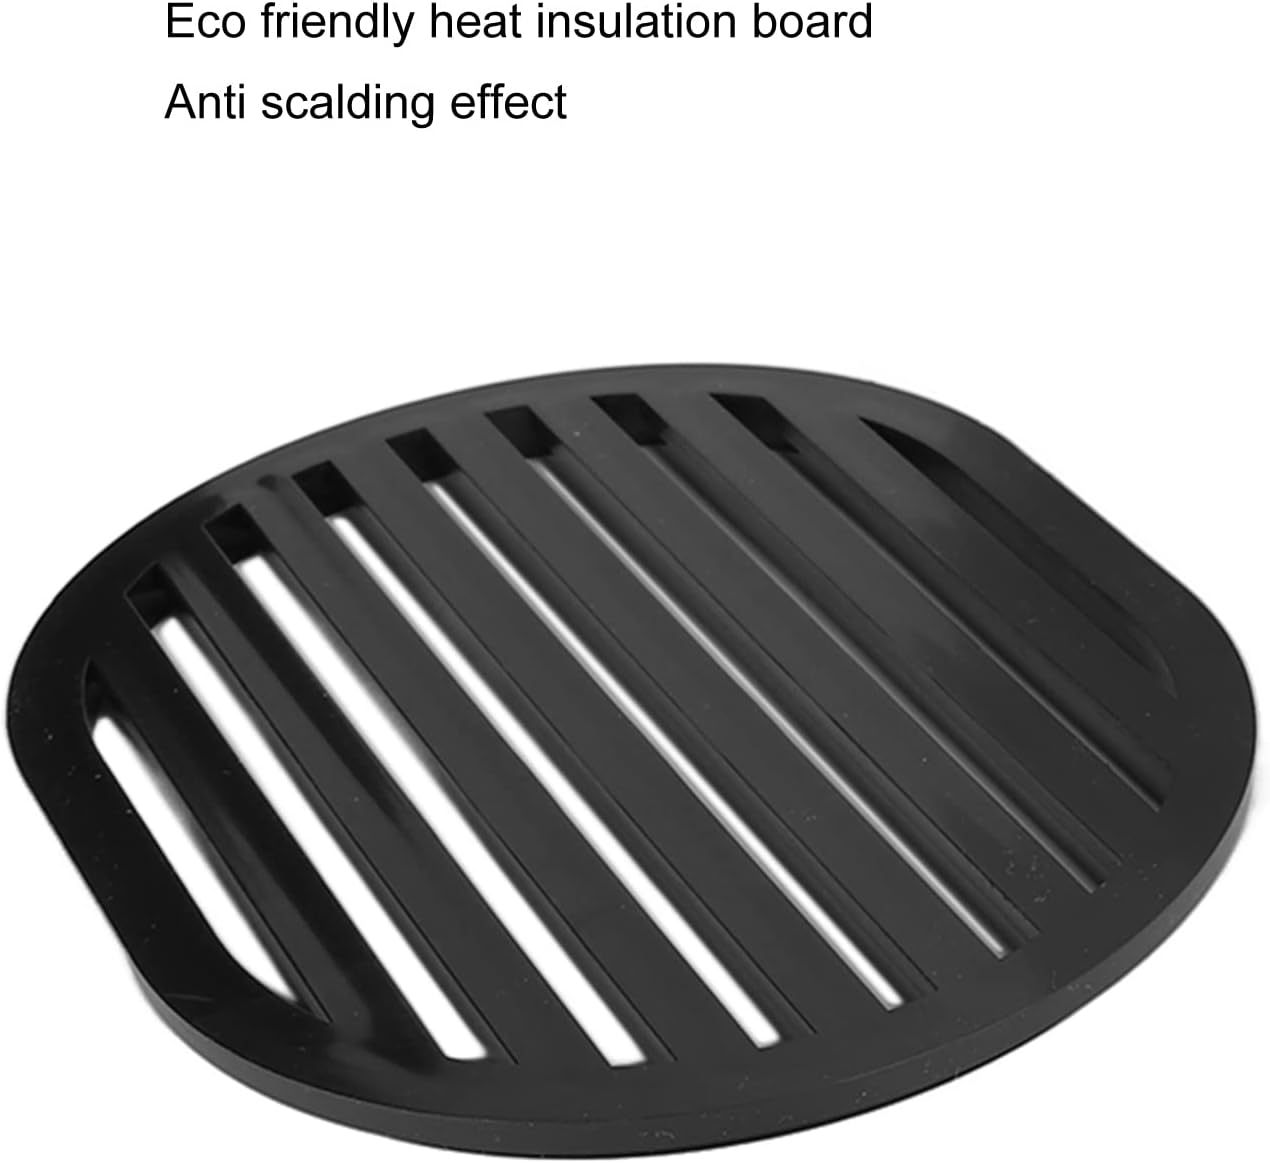
- Use the provided heat insulation board to prevent direct contact with the hot bottom of the pot.
Package Contents
Please check the package to ensure all items are present:
- 1 x Paraffin Wax Machine Host
- 1 x Lid
- 1 x User Manual
- 1 x Heat Insulation Board
Product Overview
Familiarize yourself with the components of your Fockety Paraffin Wax Machine:

- Liner: The internal aluminum alloy pot where the paraffin wax is melted. Designed for constant temperature melting.
- Lid: Covers the wax pot to retain heat and prevent contamination.
- Power Cord: Connects the machine to the electrical outlet.
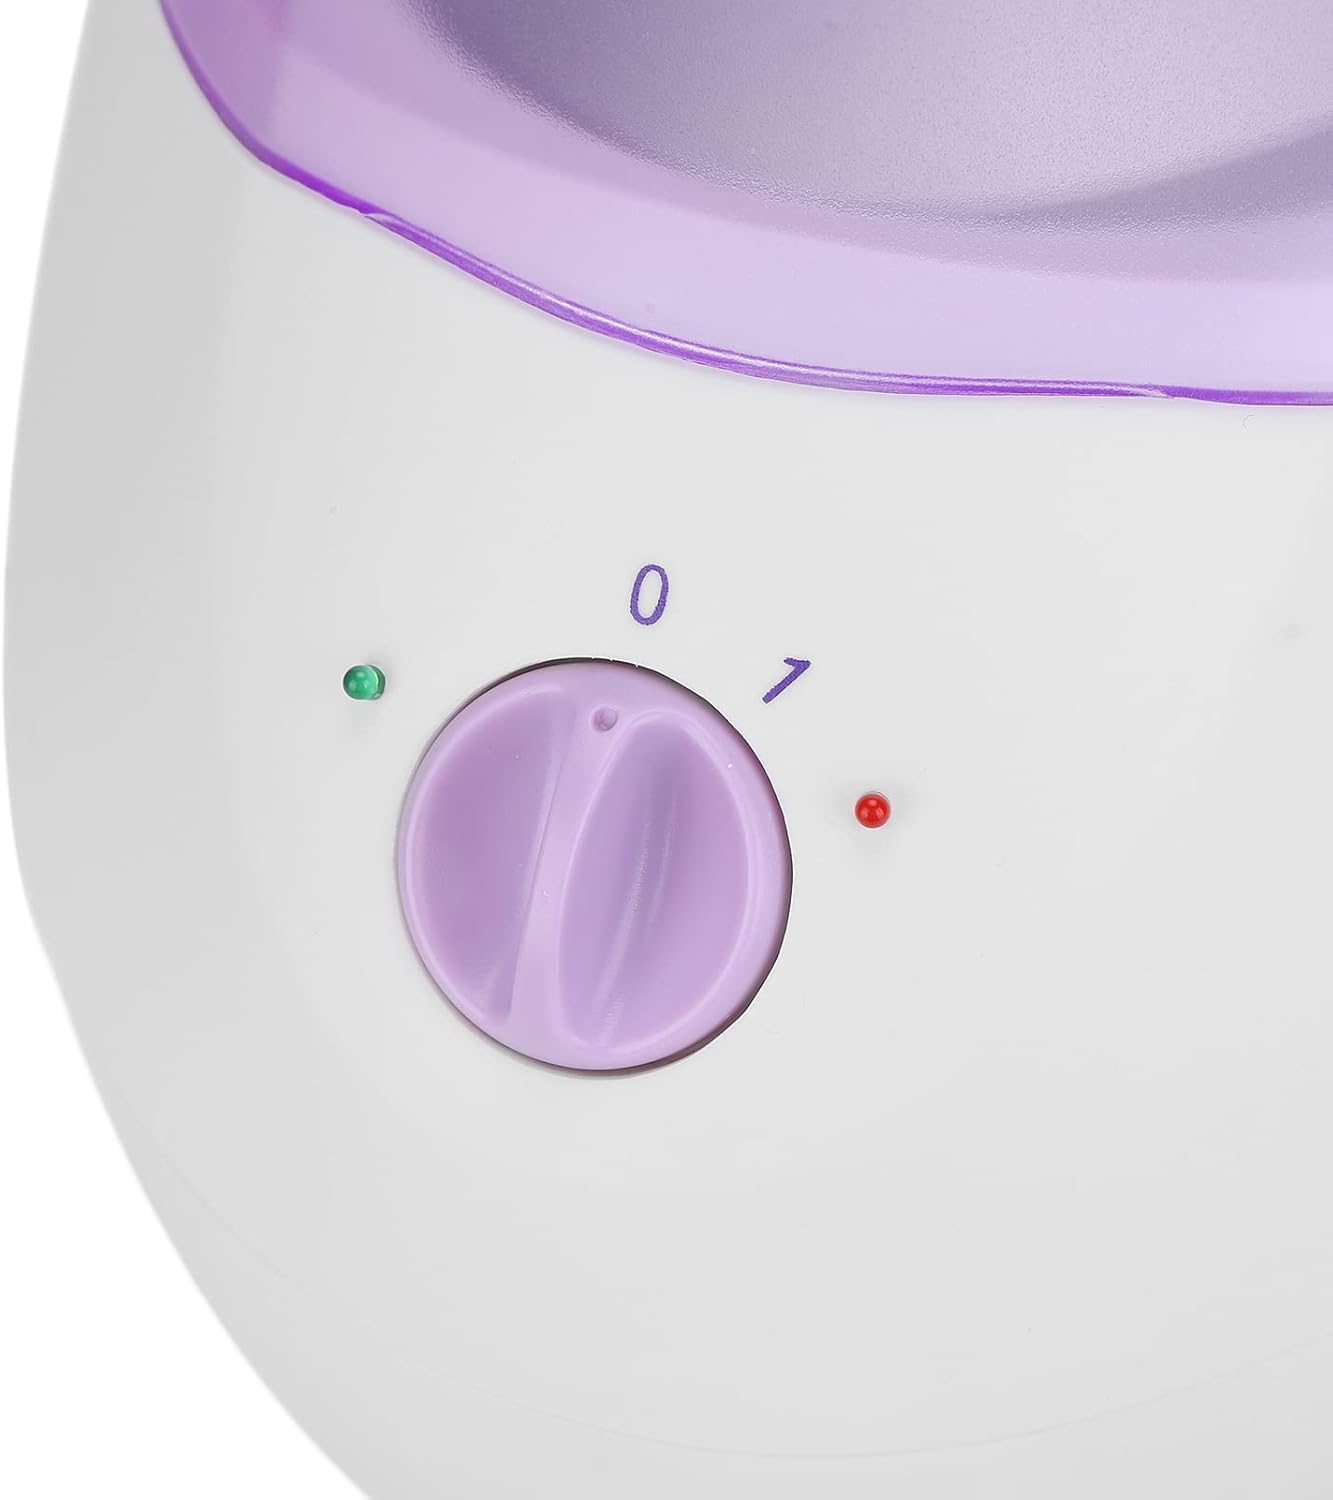
- Indicator Light: Illuminates to show the machine's operational status.
- Switch Knob: Controls the power (On/Off) and heating settings.
- Heat Insulation Board: A separate board placed at the bottom of the wax pot to prevent direct contact with the hot surface and provide anti-scalding protection.
Setup
- Placement: Place the paraffin wax machine on a flat, stable, and heat-resistant surface. Ensure it is away from water sources and flammable materials.
- Insert Heat Insulation Board: Place the heat insulation board at the bottom of the aluminum alloy liner inside the machine. This is crucial for safety.
- Add Paraffin Wax: Cut the paraffin wax block into small pieces or break it into smaller chunks. Place the wax into the aluminum alloy liner. Do not add water.
- Wax Level: Ensure the wax level is between the "Highest wax level" and "Lowest wax level" marks indicated inside the liner.
- Connect Power: Plug the power cord into a standard 110V US electrical outlet.


Operating Instructions
Follow these steps for a safe and effective paraffin wax treatment:
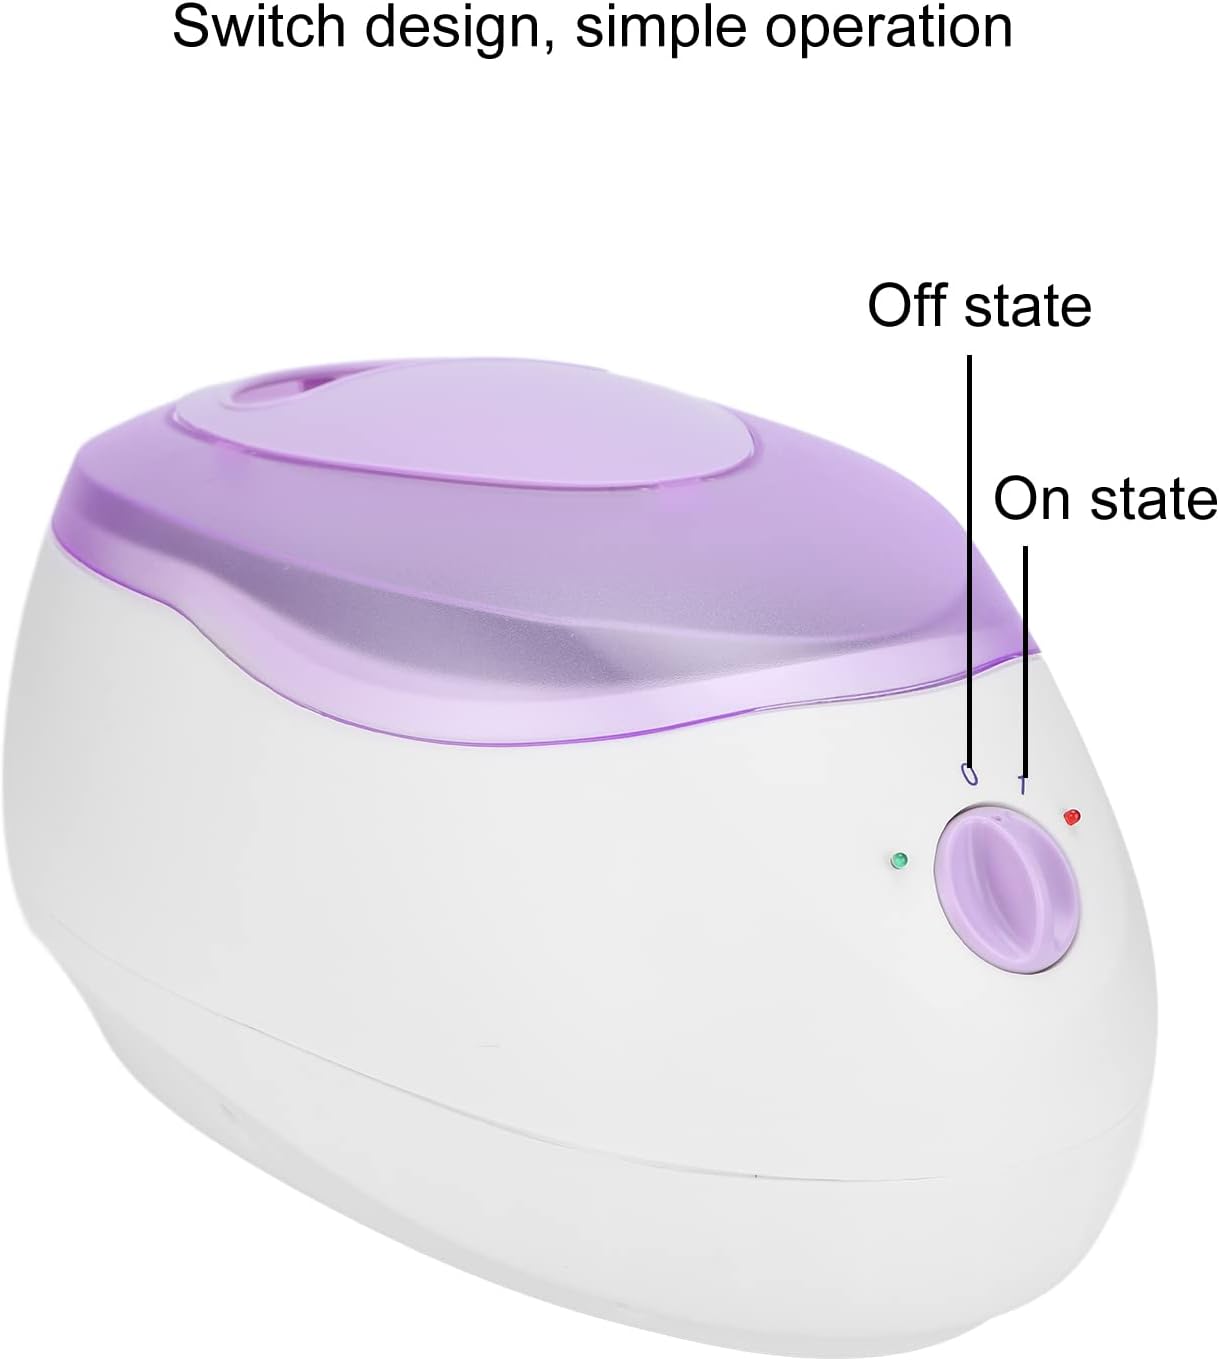
- Turn On: Rotate the switch knob from '0' (Off state) to '1' (On state). The indicator light will illuminate, signifying that the machine is heating.
- Melt Wax: Allow approximately 10 minutes for the wax to fully melt. You may add a few drops of essential oil to the melted wax to increase lubricity, if desired.
- Unplug and Cool: Once the wax is completely melted, unplug the power supply. This allows the wax to cool slightly to a safe and comfortable temperature for dipping. Ensure the heat insulation board is in place to prevent burns from the bottom of the pot.
- Check Temperature: Before dipping, test the wax temperature on a small area of your skin (e.g., wrist) to ensure it is comfortable and not too hot.
- Dip Hands/Feet: When the temperature is suitable, slowly dip your hand or foot into the wax for about 5 seconds. Remove and allow the wax to solidify slightly. Repeat this process approximately 5 times to build up a thick layer of wax. If you cannot soak, you can use a brush to apply the wax.
- Gloves (Optional): For easier peeling, you may put on disposable gloves or cotton gloves over the waxed area.
- Relax: Allow the wax to remain on your skin for about 10 minutes to maximize moisturizing and softening effects.
- Remove Wax: Gently peel off the wax. The removed wax can be placed back into the pot for reuse (can be used repeatedly 25-30 times).


Maintenance
- Cleaning: After use, allow the remaining wax to cool and solidify. Once solid, you can usually lift the entire block of wax out of the liner. If necessary, gently scrape any remaining wax from the liner using a non-abrasive tool.
- Exterior Cleaning: Wipe the exterior of the machine with a soft, damp cloth. Do not use abrasive cleaners or immerse the unit in water.
- Storage: Store the machine in a cool, dry place when not in use.
Troubleshooting
| Problem | Possible Cause | Solution |
|---|---|---|
| Machine does not turn on. | Not plugged in; power switch off; power outage. | Ensure the power cord is securely plugged into a working outlet. Turn the switch knob to '1'. Check your household's power supply. |
| Wax is not melting. | Machine not on; insufficient heating time. | Confirm the machine is turned on and the indicator light is active. Allow sufficient time (approx. 10 minutes) for the wax to melt completely. |
| Wax is too hot. | Insufficient cooling time after melting. | Unplug the machine and allow the wax to cool down to a comfortable temperature before use. Always test the temperature before dipping. |
Specifications
- Brand: Fockety
- Model: Focketyk7v02eib84-11
- Material: ABS (body), Aluminum Alloy (liner)
- Color: White (machine body), Purple (lid)
- Capacity: 2.3 Liters
- Input Voltage: 110V (US Plug)
- Melting Temperature: Approximately 70-80℃ (after heating)
- Package Dimensions: 15.2 x 10.8 x 8.1 inches
- Item Weight: 2.35 pounds
Warranty and Support
For any questions, concerns, or support regarding your Fockety Paraffin Wax Machine, please contact the manufacturer or your retailer. Refer to your purchase documentation for specific warranty details and contact information.