1. Introduction
Thank you for choosing the HOLIDAY TIME Christmas Village Battery Operated Train Set. This manual provides essential information for the safe assembly, operation, and maintenance of your train set. Please read these instructions carefully before use and retain them for future reference.
2. Important Safety Information
- Age Recommendation: This product is recommended for ages 12 years and up. It contains small parts that may pose a choking hazard for younger children.
- Battery Safety: Use only the specified battery type (2 AA batteries, not included). Do not mix old and new batteries, or different types of batteries. Insert batteries with correct polarity (+/-). Remove exhausted batteries promptly. Do not recharge non-rechargeable batteries.
- Indoor Use Only: This train set is designed for indoor decorative use. Do not expose to water or extreme temperatures.
- Supervision: Adult supervision is recommended during assembly and operation, especially with younger users.
- Handling: Handle all components with care to prevent damage. Avoid dropping the train or track pieces.
3. Package Contents
Verify that all components listed below are present in your package:
- 1 x Locomotive (Engine)
- 1 x Coal Car
- 1 x Red Freight Car
- 1 x Yellow Passenger Car
- 8 x Curved Track Sections
- 3 x Mini Decorative Trees

Image 3.1: All individual components included in the train set package.
4. Setup
4.1. Battery Installation
- Locate the battery compartment on the underside of the locomotive.
- Using a small Phillips head screwdriver (not included), open the battery compartment cover.
- Insert 2 AA batteries (not included) into the compartment, ensuring correct polarity (+/-) as indicated.
- Replace the battery compartment cover and secure it with the screw.
4.2. Track Assembly
- Arrange the 8 curved track sections on a flat, stable surface to form a complete circle.
- Connect the track sections by aligning the connectors and gently pushing them together until they click securely.
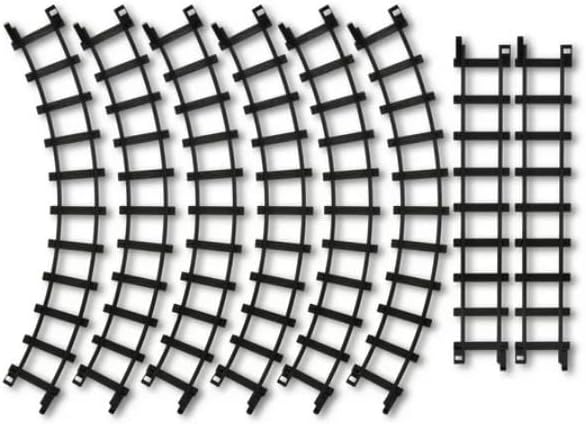
Image 4.2.1: The eight curved track sections ready for assembly.
4.3. Connecting Train Cars
- Connect the coal car to the locomotive using the hooks and loops provided on each car.
- Connect the red freight car to the coal car, and then the yellow passenger car to the red freight car, ensuring all connections are secure.
4.4. Placing the Train on Tracks
- Carefully place the assembled train onto the track, ensuring all wheels are properly seated on the rails.

Image 4.4.1: The complete train set assembled on the track with mini trees.
4.5. Decorating with Mini Trees
- Place the 3 mini decorative trees around the track or within your Christmas village display as desired.
5. Operating Instructions
- Once the train is assembled on the track and batteries are installed, locate the ON/OFF switch on the locomotive.
- Slide the switch to the 'ON' position to start the train. The train will begin to move along the track, and lights (if applicable) will illuminate.
- To stop the train, slide the switch back to the 'OFF' position.
- Always turn off the train when not in use to conserve battery life.
6. Maintenance
- Cleaning: Wipe the train and track components with a soft, dry cloth to remove dust. Do not use harsh chemicals or abrasive cleaners.
- Battery Replacement: Replace batteries when the train's speed decreases or lights dim. Always replace all batteries at the same time.
- Storage: When not in use, disassemble the track and store all components in their original packaging or a suitable container in a cool, dry place, away from direct sunlight. Remove batteries before long-term storage.
7. Troubleshooting
- Train not moving:
- Check if the ON/OFF switch is in the 'ON' position.
- Ensure batteries are correctly installed with proper polarity.
- Replace old or depleted batteries with new ones.
- Verify that all train wheels are properly seated on the track.
- Check for any obstructions on the track or wheels.
- Lights not working:
- Check battery power as described above.
- Ensure all connections between cars are secure.
- Train derails frequently:
- Ensure track sections are securely connected and form a smooth circle.
- Verify that the train cars are properly linked and not causing undue tension.
- Ensure the surface the track is on is flat and stable.
8. Specifications
| Product Dimensions | 10 x 10 x 9 inches (assembled) |
| Item Weight | 1.5 pounds |
| Power Source | 2 x AA Batteries (not included) |
| Recommended Age | 12 years and up |
| Indoor/Outdoor Use | Indoor Use Only |
9. Warranty and Support
For warranty information, please refer to the terms provided by your retailer at the time of purchase. If you require further assistance or have questions not covered in this manual, please contact the retailer or the manufacturer, HOLIDAY TIME, directly.


