
1. Introduction
This manual provides essential information for the safe and efficient operation of the DEWIN HDR-30-12 DIN Rail Switching Power Supply. Please read this manual thoroughly before installation and use, and keep it for future reference.
The HDR-30-12 is designed to convert input AC voltage into a stable DC 12V output, making it suitable for various industrial automation control systems, distribution boxes, instruments, and communication equipment.
2. Safety Information
Warning: Improper installation or operation can lead to electric shock, fire, or damage to the device. Always follow safety guidelines.
- Ensure the power supply is disconnected from the main power source before any installation, wiring, or maintenance.
- Installation should only be performed by qualified personnel.
- Verify input voltage and current ratings match the device specifications before connecting.
- Do not operate the device in environments with excessive moisture, dust, or extreme temperatures outside the specified range.
- Ensure proper grounding to prevent electric shock.
- Do not open the casing of the power supply; there are no user-serviceable parts inside.
3. Product Overview and Features
The DEWIN HDR-30-12 is a compact and efficient DIN rail switching power supply designed for reliable performance in various applications.
Key Features:
- High-Quality Components: Features a full copper transformer for strong conductivity and high-quality lacquered wire with a magnetic core for high temperature resistance and extended lifespan.
- Enhanced Safety: Constructed from flame-retardant PC material with a hollow design for efficient heat dissipation, ensuring durable operation and protection of internal components.
- Multiple Protections: Includes built-in safeguards against overvoltage, overload, overcurrent, and short-circuit conditions. An LED indicator displays the power status.
- DIN Rail Mountable: Designed for easy installation directly onto a standard DIN rail, offering a compact and practical solution.
- Universal Input: Supports a wide AC input voltage range (100V-240V).

Image: Front view of the HDR-30-12 power supply highlighting its protection features: Short circuit protection, Overload protection, Overcurrent protection, and Over temperature protection.
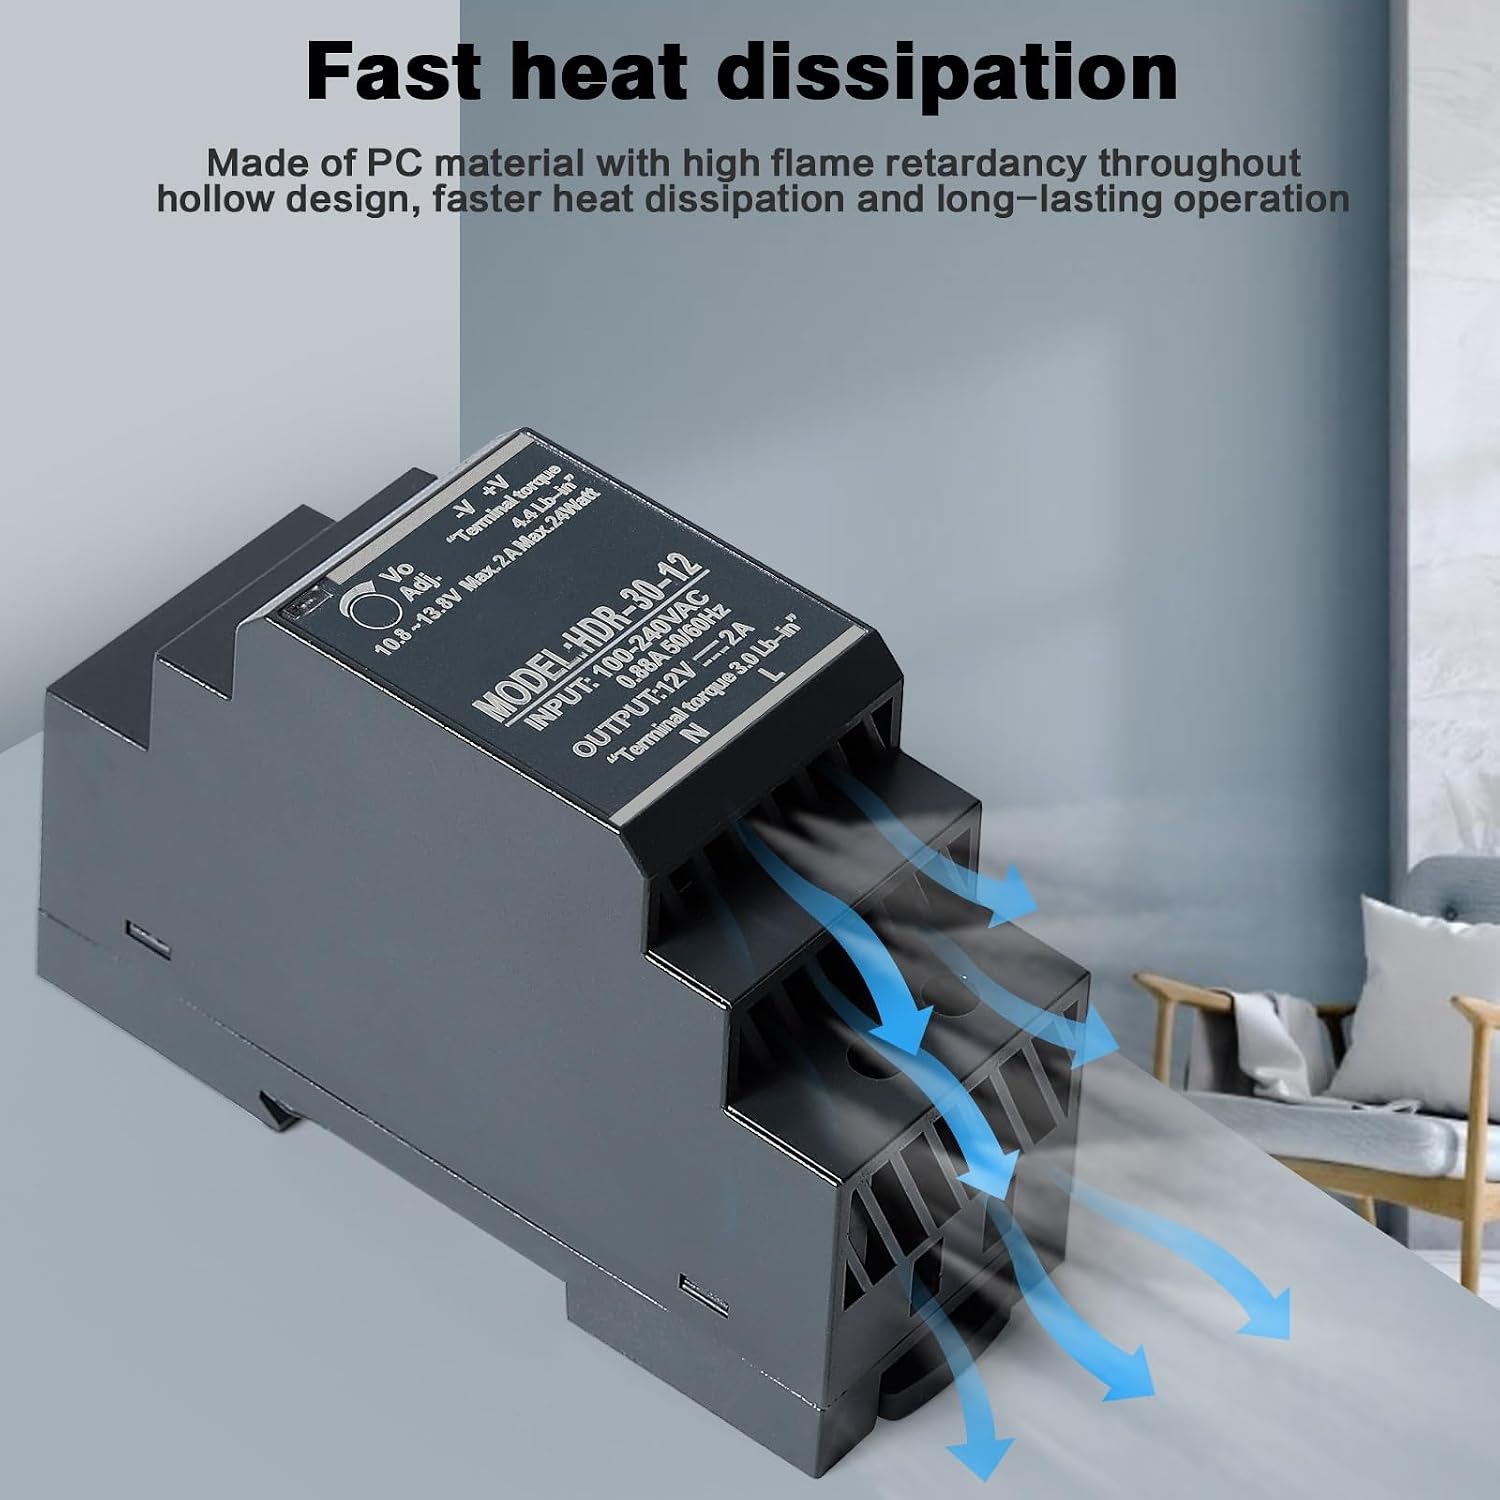
Image: Illustration of the HDR-30-12 power supply's hollow design, facilitating fast heat dissipation for long-lasting operation.

Image: Detailed view of the internal components, including high-quality capacitors, a pure copper transformer, and an EML filter for stable and interference-free operation.
4. Specifications

Image: Visual representation of the HDR-30-12 power supply's dimensions and a summary of its key electrical specifications.
| Parameter | Value |
|---|---|
| Model | HDR-30-12 |
| Material | PC (Polycarbonate) |
| Input Voltage | AC 100V-240V |
| Output Voltage | DC 12V |
| Output Current | 2A |
| Rated Power | 24W |
| Voltage Adjustment Range | 10.8V-13.8V |
| Voltage Accuracy | ±1.0% |
| Output Mode | Single Group Output |
| Working Temperature | -10°C to +50°C |
| Product Dimensions (L x W x H) | 90 x 35 x 54.5 mm |
| Item Weight | 70 Grams |
5. Setup and Installation
The HDR-30-12 power supply is designed for easy installation on a standard DIN rail (TS-35/7.5 or TS-35/15).
5.1 Mounting on DIN Rail
- Ensure the DIN rail is securely mounted within a distribution box or enclosure.
- Align the power supply's mounting clip with the top edge of the DIN rail.
- Press the power supply firmly downwards until it clicks into place on the rail.
- Verify that the power supply is securely fastened and does not wobble.

Image: The HDR-30-12 power supply securely installed on a DIN rail, demonstrating its guide rail design for easy mounting.
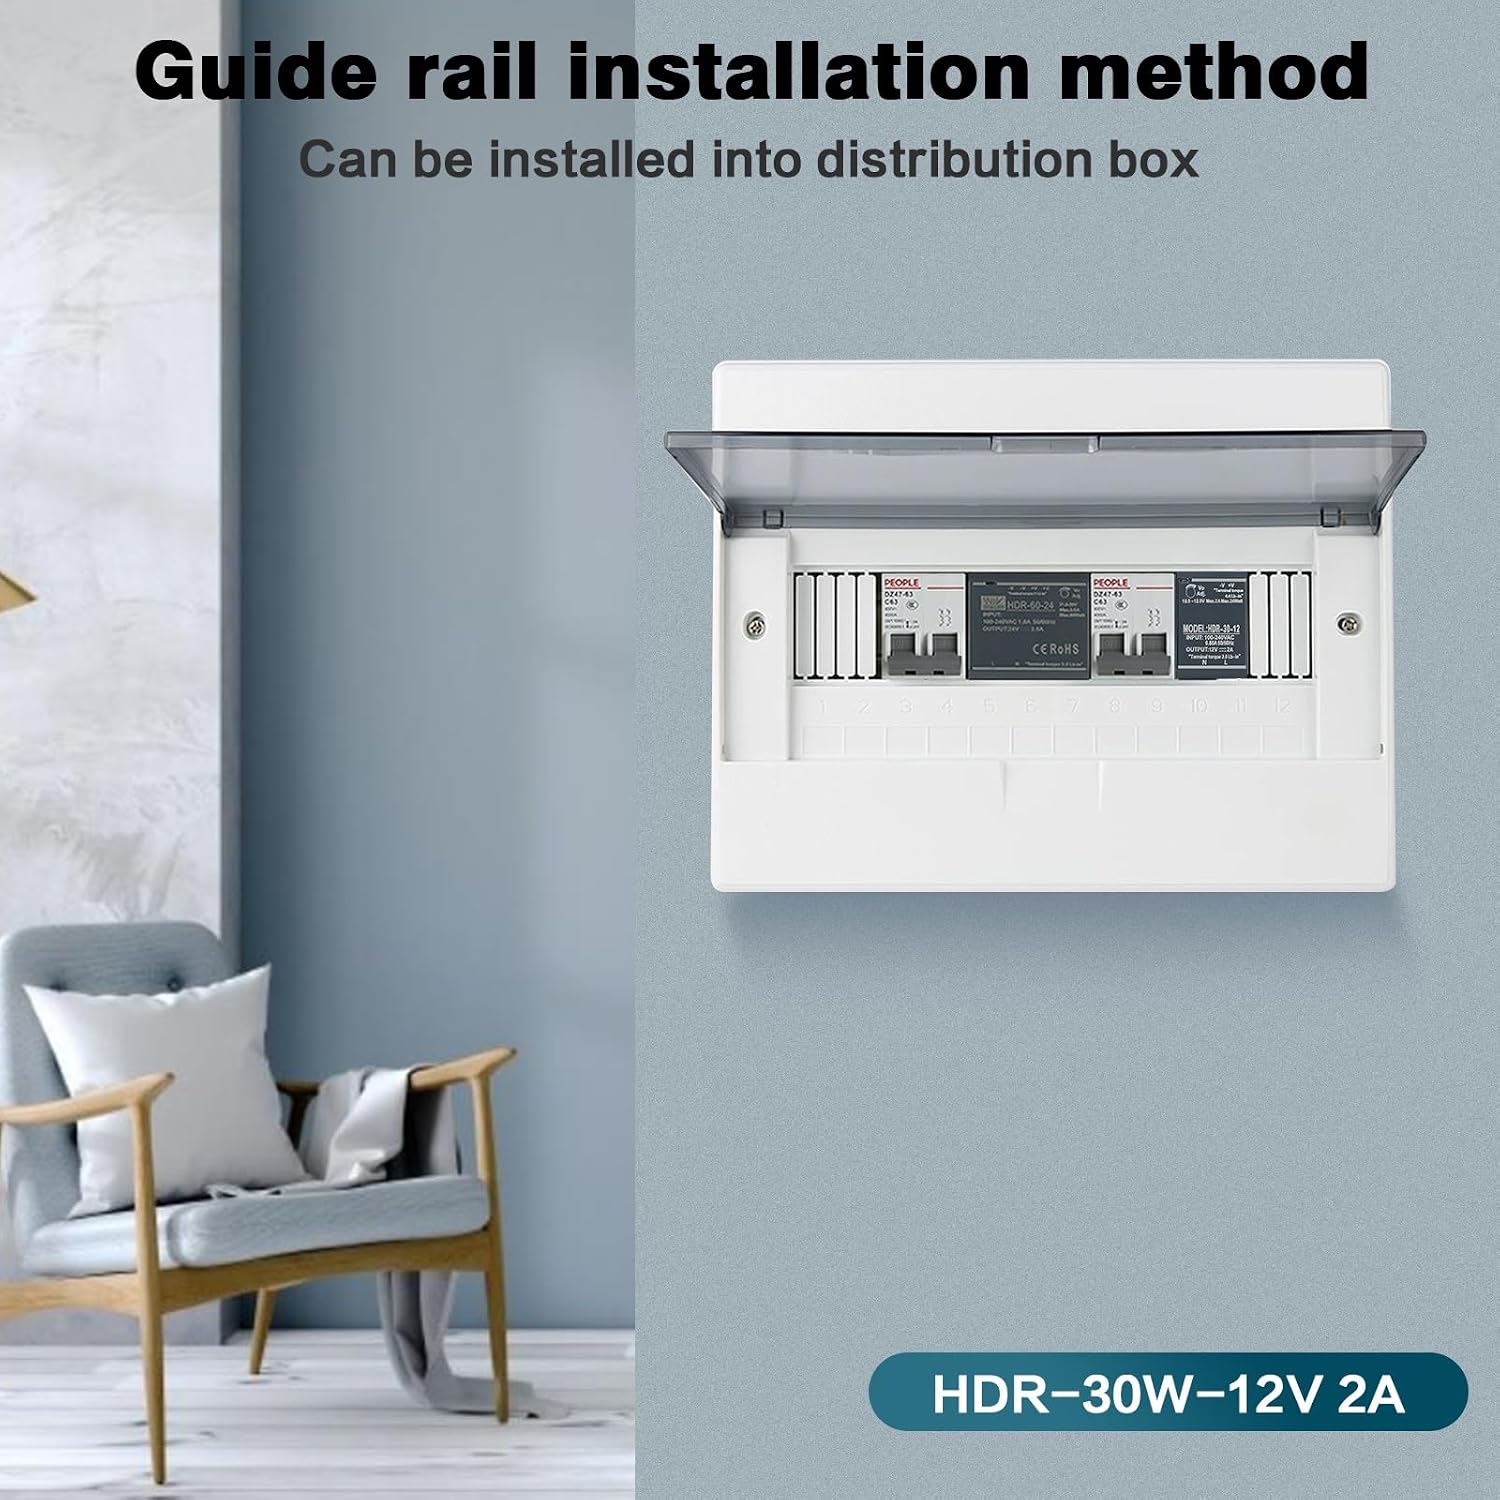
Image: The HDR-30-12 power supply integrated into a distribution box, illustrating a typical installation scenario.
5.2 Wiring Connections
Refer to the wiring diagram below for correct input and output connections. Ensure all connections are tight and secure to prevent loose contacts.

Image: Detailed product wiring diagram showing input terminals (N, L) and output terminals (Output +, Output -), along with the voltage adjustment potentiometer and work indicator light.
- Input (AC): Connect the AC input wires to the 'N' (Neutral) and 'L' (Live) terminals.
- Output (DC): Connect the DC load wires to the 'Output +' and 'Output -' terminals.
- Grounding: Ensure proper grounding of the system.
- Terminal Torque: Apply appropriate torque to the terminal screws (e.g., 3.0 Lb-in for input, 4.4 Lb-in for output as indicated on the device label in images).
6. Operating Instructions
6.1 Powering On/Off
- After completing all wiring connections, apply AC power to the input terminals.
- The LED indicator on the front panel will illuminate, indicating that the power supply is operational.
- To power off, disconnect the AC input power.
6.2 Output Voltage Adjustment
The HDR-30-12 features an adjustable output voltage potentiometer (Vo Adj.) on the front panel, allowing fine-tuning of the DC output voltage within the range of 10.8V to 13.8V.
- Use a small, insulated screwdriver to carefully turn the "Vo Adj." potentiometer.
- Turn clockwise to increase the output voltage and counter-clockwise to decrease it.
- Monitor the output voltage with a multimeter to ensure it is set to the desired level for your application.
- Caution: Do not exceed the maximum voltage rating of your connected devices.
7. Maintenance
The DEWIN HDR-30-12 power supply is designed for minimal maintenance. However, regular checks can help ensure optimal performance and longevity.
- Cleaning: Periodically clean the exterior of the unit with a soft, dry cloth. Ensure the power supply is disconnected from all power sources before cleaning. Do not use liquid cleaners or solvents.
- Ventilation: Ensure that the hollow design for heat dissipation is not obstructed. Maintain adequate clearance around the unit for proper airflow.
- Connections: Periodically check all wiring connections for tightness. Loose connections can lead to overheating or intermittent operation.
- Inspection: Visually inspect the unit for any signs of damage, discoloration, or unusual odors. If any issues are observed, disconnect power immediately and consult a qualified technician.
8. Troubleshooting
This section provides solutions to common issues you might encounter with the HDR-30-12 power supply.
| Problem | Possible Cause | Solution |
|---|---|---|
| No output voltage / LED indicator off | No AC input power Loose wiring connection Internal fault | Check AC power source and circuit breaker. Verify all input wiring connections are secure. If power is present and connections are good, the unit may be faulty. Discontinue use and seek professional assistance. |
| Output voltage is unstable or incorrect | Overload condition Incorrect voltage adjustment Loose output wiring | Reduce the load connected to the power supply. Adjust the "Vo Adj." potentiometer to the desired voltage using a multimeter. Check output wiring for secure connections. |
| Unit is excessively hot | Overload condition Insufficient ventilation High ambient temperature | Reduce the load. Ensure the total power consumption does not exceed 24W. Ensure adequate space around the unit for airflow. Clear any obstructions. Operate within the specified working temperature range (-10°C to +50°C). |
| Flickering LED indicator | Intermittent power supply Overload protection cycling | Check the stability of the AC input power. Reduce the load connected to the power supply. |
If the problem persists after attempting these solutions, please contact DEWIN customer support or a qualified electrician.
9. Warranty and Support
Specific warranty details for the DEWIN HDR-30-12 power supply may vary by region and retailer. Please refer to the warranty information provided at the time of purchase or contact your vendor for details.
For technical support or inquiries, please visit the official DEWIN website or contact their customer service department. When contacting support, please have your product model (HDR-30-12) and purchase information readily available.