
1. Product Overview
The BSIDE T2X Digital Coating Thickness Gauge is designed for non-destructive, fast, and precise measurement of coating thickness. It can measure non-magnetic coatings (e.g., aluminum, chrome, copper, enamel, rubber, paint) on magnetic substrates (steel, iron, magnetically charged alloys) and non-conductive coatings (e.g., enamel, rubber, paints, plastic anodized layers) on non-ferrous metals (aluminum, brass, zinc, tin).
This device is widely used in various applications including used vehicle inspection, electroplating, laboratory testing, metal processing, industrial painting, and shipbuilding. It is ideal for verifying paint quality and detecting defects on vehicles to determine if they have been factory-painted or repainted. It also assists in paint correction by ensuring uniform coating thickness.
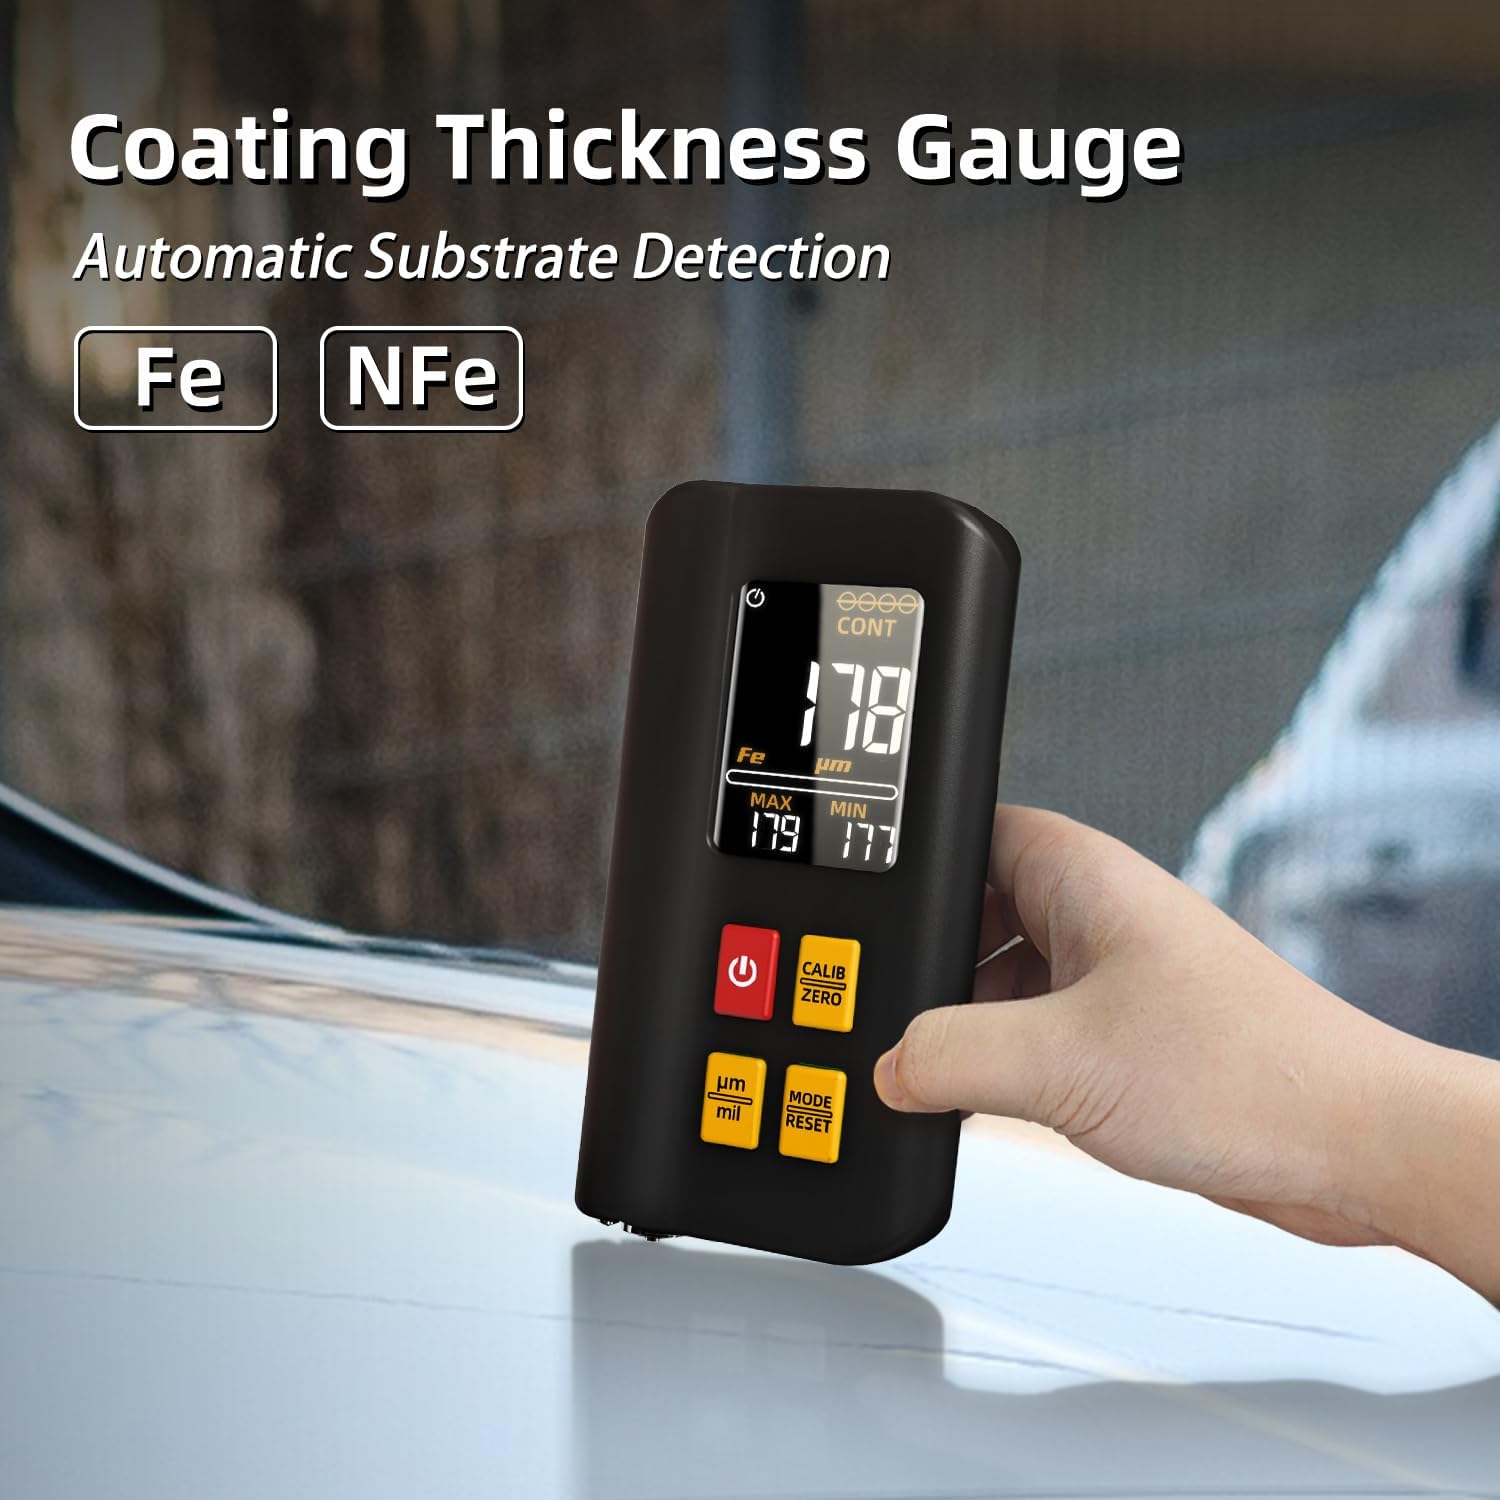
Figure 1: BSIDE T2X Digital Coating Thickness Gauge with automatic substrate detection (Fe/NFe).
Key Features:
- Rechargeable Battery: Equipped with a built-in rechargeable lithium-ion battery for extended operation.
- Triple Color Display: Simultaneously displays real-time, maximum, and minimum test results in large digits on an intuitive color LCD screen.
- High Precision: Provides non-destructive, fast, and accurate measurements within a range of 0-1500µm (0-59.1mils) with 0.1µm/0.01mils resolution and ±(3%+2µm) accuracy.
- Easy to Use: Compact design for portability, with automatic reading activation upon vertical contact with the surface.
- Wide Applications: Suitable for electroplating, painting, metalworking, laboratory use, industrial painting, and shipbuilding.
2. Package Contents
Verify that all items are present and in good condition upon opening the package.
- BSIDE T2X Paint Thickness Gauge
- USB Connection Cable
- User Manual (English)
- Calibration Foils (various thicknesses)
- Zero Calibration Plate (Fe and NFe)
- Carrying Pouch

Figure 2: Included components of the BSIDE T2X Digital Coating Thickness Gauge kit.
3. Device Layout and Controls
Familiarize yourself with the device's components and controls before operation.

Figure 3: BSIDE T2X Digital Coating Thickness Gauge layout with labeled parts and dimensions.
- Display Screen: Shows measurement results, unit, metal type, and mode.
- Sensor: Located at the bottom, used for making contact with the surface to be measured.
- Power Button (●): Turns the device ON/OFF.
- Calibrate/Zero Button (CALIB ZERO): Used for calibration and zeroing the device.
- Unit Switch (µm/mil): Toggles between micrometers (µm) and mils (mil) units.
- Mode Switch (MODE RESET): Changes measurement modes (e.g., single, continuous) and resets settings.
4. Setup and Initial Use
4.1 Charging the Device
The BSIDE T2X comes with a built-in rechargeable Lithium-ion battery. Before first use, or if the battery indicator shows low power, charge the device.
- Connect the provided USB cable to the charging port on the device.
- Connect the other end of the USB cable to a standard USB power adapter (not included) or a computer's USB port.
- The charging indicator light will illuminate. Allow the device to charge fully.
- Once fully charged, disconnect the USB cable. A full charge provides up to 10 hours of continuous operation.
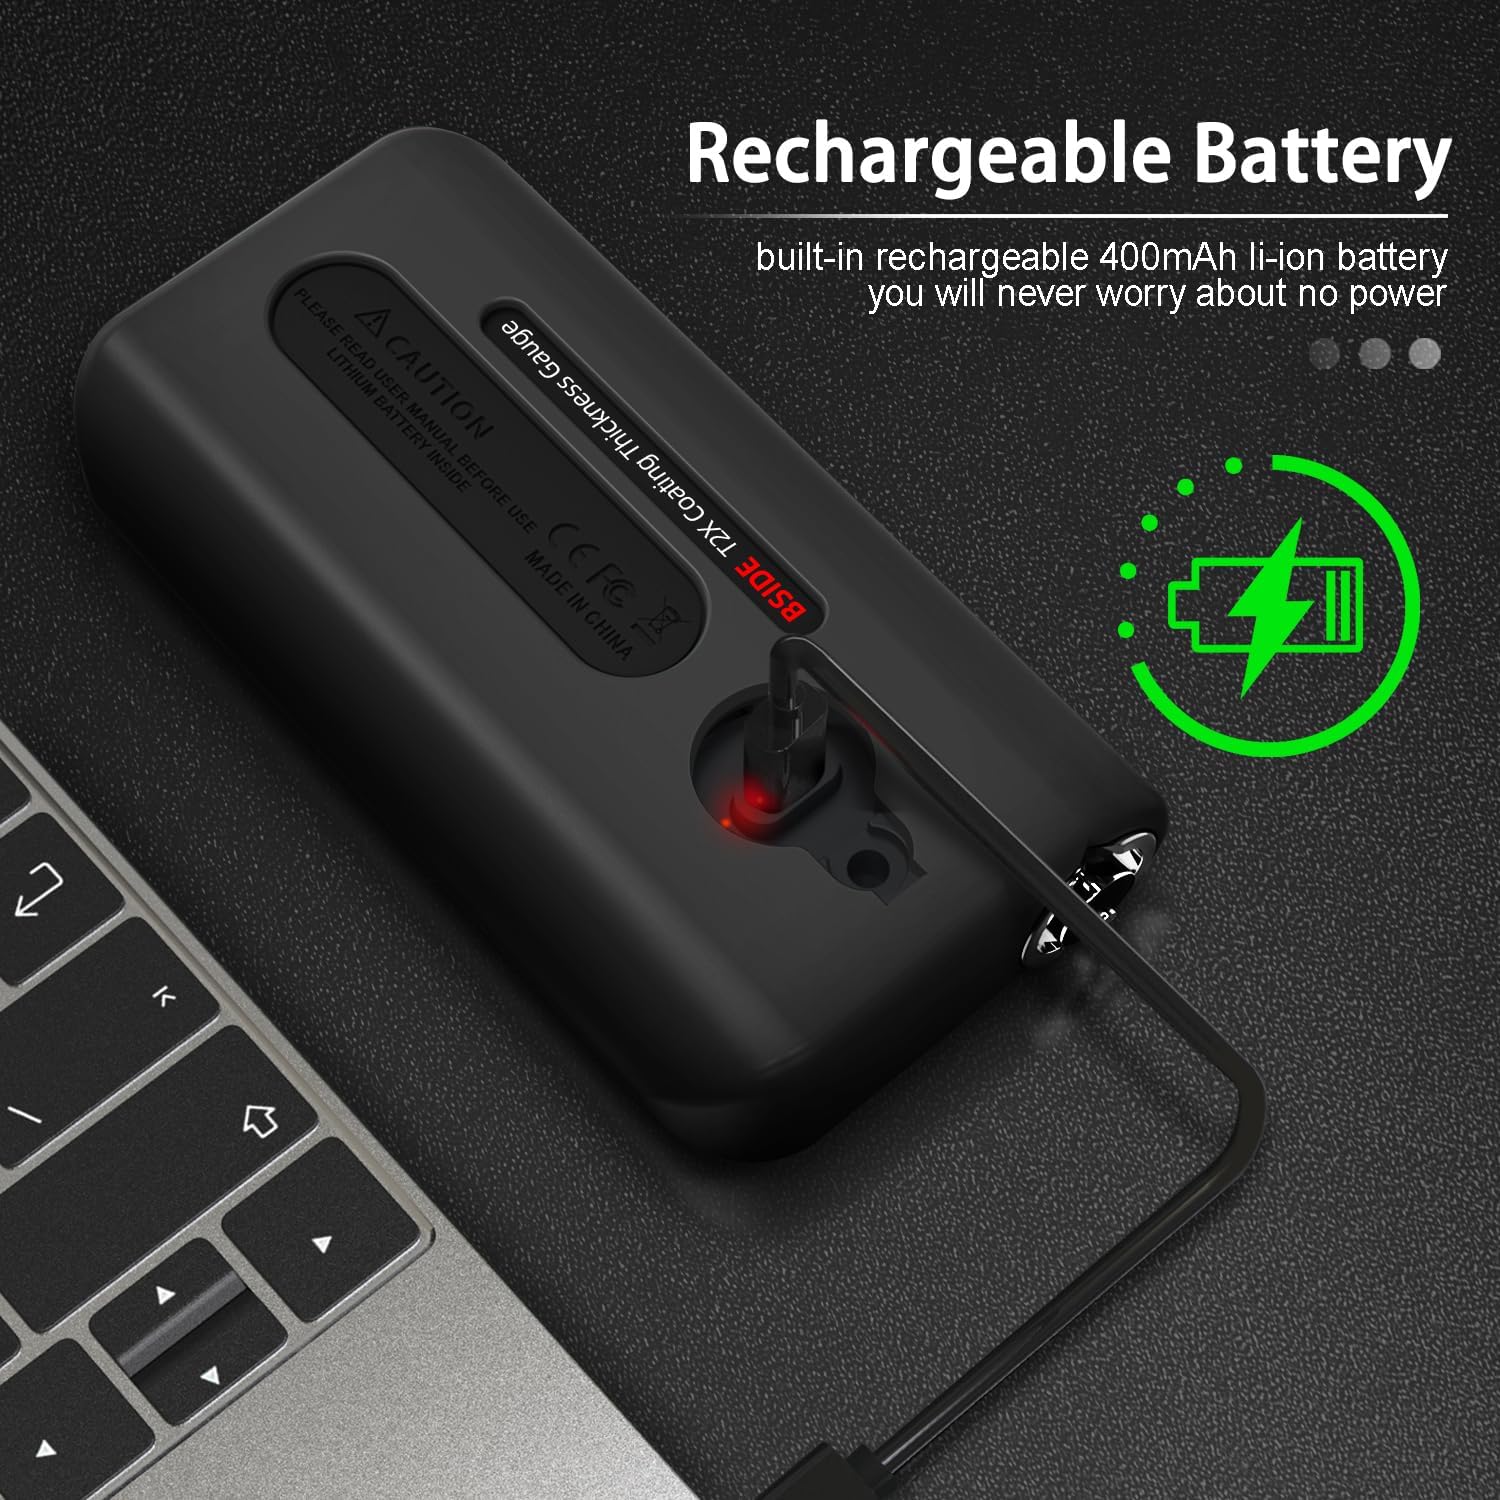
Figure 4: Charging the BSIDE T2X via USB cable.
4.2 Powering On/Off
- To Power On: Press and hold the red Power button (●) until the display illuminates.
- To Power Off: Press and hold the red Power button (●) until the display turns off. The device also features an automatic shutdown function to conserve battery.
4.3 Calibration
Regular calibration ensures measurement accuracy. Perform zero calibration before each use or when measuring different types of substrates.
- Ensure the device is powered on.
- Place the sensor firmly and vertically on the bare (uncoated) Fe (ferrous) calibration plate.
- Press the CALIB ZERO button. The display should show "0.0" or a value very close to zero.
- Repeat the process for the NFe (non-ferrous) calibration plate if you will be measuring non-ferrous substrates.
- For more advanced calibration, use the provided calibration foils of known thicknesses on the respective calibration plates. Consult the on-screen prompts or the full manual for detailed steps.
5. Operating Instructions
5.1 Taking a Measurement
The device automatically detects the substrate type (Fe/NFe) and displays the coating thickness.
- Ensure the device is calibrated.
- Place the sensor vertically and firmly on the coated surface you wish to measure.
- The device will automatically activate and display the measurement results on the screen.
- Lift the device from the surface to prepare for the next measurement.

Figure 5: Taking a coating thickness measurement on a vehicle.
5.2 Understanding the Display
The triple color display provides comprehensive information at a glance.

Figure 6: The BSIDE T2X's triple display showing real-time, maximum, and minimum measurement results.
- Large Central Number: Displays the real-time coating thickness measurement.
- MAX Value: Shows the maximum thickness recorded during continuous measurement or since the last reset.
- MIN Value: Shows the minimum thickness recorded during continuous measurement or since the last reset.
- Fe/NFe Indicator: Indicates the detected substrate type (Fe for ferrous, NFe for non-ferrous).
- Unit Indicator (µm/mil): Shows the current measurement unit.
- Battery Indicator: Displays the current battery level.
- Mode Indicator (e.g., CONT for Continuous): Shows the current measurement mode.
5.3 Switching Units (µm/mil)
To switch between micrometers (µm) and mils (mil):
- Press the µm/mil button. The unit displayed on the screen will change accordingly.
5.4 Measurement Modes
The device supports different measurement modes for various applications.
- Single Measurement Mode: For individual spot measurements.
- Continuous Measurement Mode (CONT): For scanning a surface and continuously updating the measurement, including MAX and MIN values.
- Press the MODE RESET button to cycle through available measurement modes.
- Press and hold the MODE RESET button to reset the MAX/MIN values or other settings depending on the context.
6. Maintenance
Proper maintenance ensures the longevity and accuracy of your BSIDE T2X gauge.
- Cleaning: Use a soft, dry cloth to clean the device. Do not use abrasive cleaners or solvents. Ensure the sensor area is kept clean and free of debris.
- Storage: Store the device in its carrying pouch in a cool, dry place, away from direct sunlight and extreme temperatures.
- Battery Care: Recharge the battery regularly, even if the device is not used frequently, to maintain battery health. Avoid fully discharging the battery for extended periods.
- Sensor Protection: Always protect the sensor from damage. Avoid dropping the device or applying excessive force to the sensor.
7. Troubleshooting
If you encounter issues with your BSIDE T2X, refer to the following common problems and solutions.
| Problem | Possible Cause | Solution |
|---|---|---|
| Device does not power on. | Low battery. | Charge the device using the provided USB cable. |
| Inaccurate readings. | Device not calibrated; dirty sensor; incorrect measurement technique. | Perform zero calibration. Clean the sensor. Ensure the sensor is placed vertically and firmly on the surface. |
| Display shows "ERR" or similar error. | Measurement out of range; sensor malfunction. | Ensure the coating thickness is within the 0-1500µm range. Try recalibrating. If the problem persists, contact customer support. |
| Device shuts off unexpectedly. | Low battery; automatic shutdown activated. | Recharge the battery. The device has an auto-off feature to save power; this is normal behavior if inactive. |
8. Specifications
Detailed technical specifications for the BSIDE T2X Digital Coating Thickness Gauge.
| Measurement Principle | Magnetic Induction (Fe probe) and Eddy Current Effect (NFe probe) |
| Measurement Range | 0 ~ 1500 µm (0 ~ 59.1 mil) |
| Units | µm and mil (switchable) |
| Resolution | 0.1 µm |
| Accuracy | ± (3% + 2 µm) |
| Minimum Substrate Thickness (Fe probe) | 0.5 mm |
| Minimum Substrate Thickness (NFe probe) | 0.3 mm |
| Operating Temperature | 0 ℃ to 40 ℃ |
| Power Supply | 3.7 V (built-in, rechargeable Lithium-ion battery) |
| Dimensions (L x W x H) | 111.9 x 56.6 x 22.4 mm |
| Weight | 109.3 g |
9. Warranty and Support
For warranty information or technical support, please refer to the documentation provided with your purchase or contact the retailer/manufacturer directly. Keep your purchase receipt as proof of purchase.
Manufacturer: BSIDE
Model Number: T2X Digital Thickness Gauge