
Introduction
Thank you for choosing BLACK+DECKER. This manual provides essential instructions for the safe and efficient operation of your 4-Slice Convection Oven (Model TO1313SBD) and EasyCut Extra-Tall Can Opener (Model EC500B-T). Please read all instructions carefully before use and retain this manual for future reference.
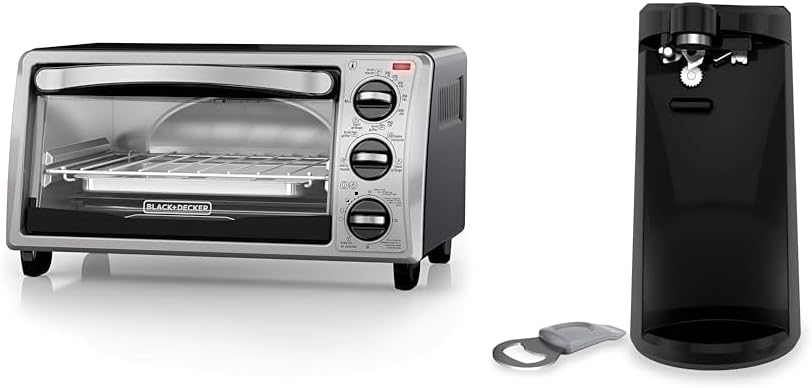
Image: The BLACK+DECKER 4-Slice Convection Oven and EasyCut Extra-Tall Can Opener.
Important Safety Information
When using electrical appliances, basic safety precautions should always be followed to reduce the risk of fire, electric shock, and/or injury, including the following:
- Read all instructions before using the appliance.
- Do not touch hot surfaces. Use handles or knobs.
- To protect against electrical shock, do not immerse cord, plugs, or appliance in water or other liquid.
- Close supervision is necessary when any appliance is used by or near children.
- Unplug from outlet when not in use and before cleaning. Allow to cool before putting on or taking off parts.
- Do not operate any appliance with a damaged cord or plug, or after the appliance malfunctions or has been damaged in any manner. Contact customer service for examination, repair, or adjustment.
- The use of accessory attachments not recommended by the appliance manufacturer may cause injuries.
- Do not use outdoors.
- Do not let cord hang over edge of table or counter, or touch hot surfaces.
- Do not place on or near a hot gas or electric burner, or in a heated oven.
- Extreme caution must be used when moving an appliance containing hot oil or other hot liquids.
- To disconnect, turn any control to OFF, then remove plug from wall outlet.
- Do not use appliance for other than intended use.
- Oversize foods or metal utensils must not be inserted in a toaster oven as they may create a fire or risk of electric shock.
- A fire may occur if the toaster oven is covered or touching flammable material, including curtains, draperies, walls, and the like, when in operation. Do not store any item on top of the appliance when in operation.
- Do not clean with metal scouring pads. Pieces can break off the pad and touch electrical parts, creating a risk of electric shock.
- Extreme caution should be exercised when using containers constructed of other than metal or glass.
- Do not store any materials, other than manufacturer’s recommended accessories, in this oven when not in use.
- Do not place any of the following materials in the oven: paper, cardboard, plastic, and the like.
- Do not cover crumb tray or any part of the oven with metal foil. This will cause overheating of the oven.
BLACK+DECKER 4-Slice Convection Oven (Model TO1313SBD)
Product Overview
The BLACK+DECKER 4-Slice Convection Oven is designed for baking, broiling, toasting, and keeping food warm. It features a curved interior to accommodate a 9-inch pizza or four slices of bread.
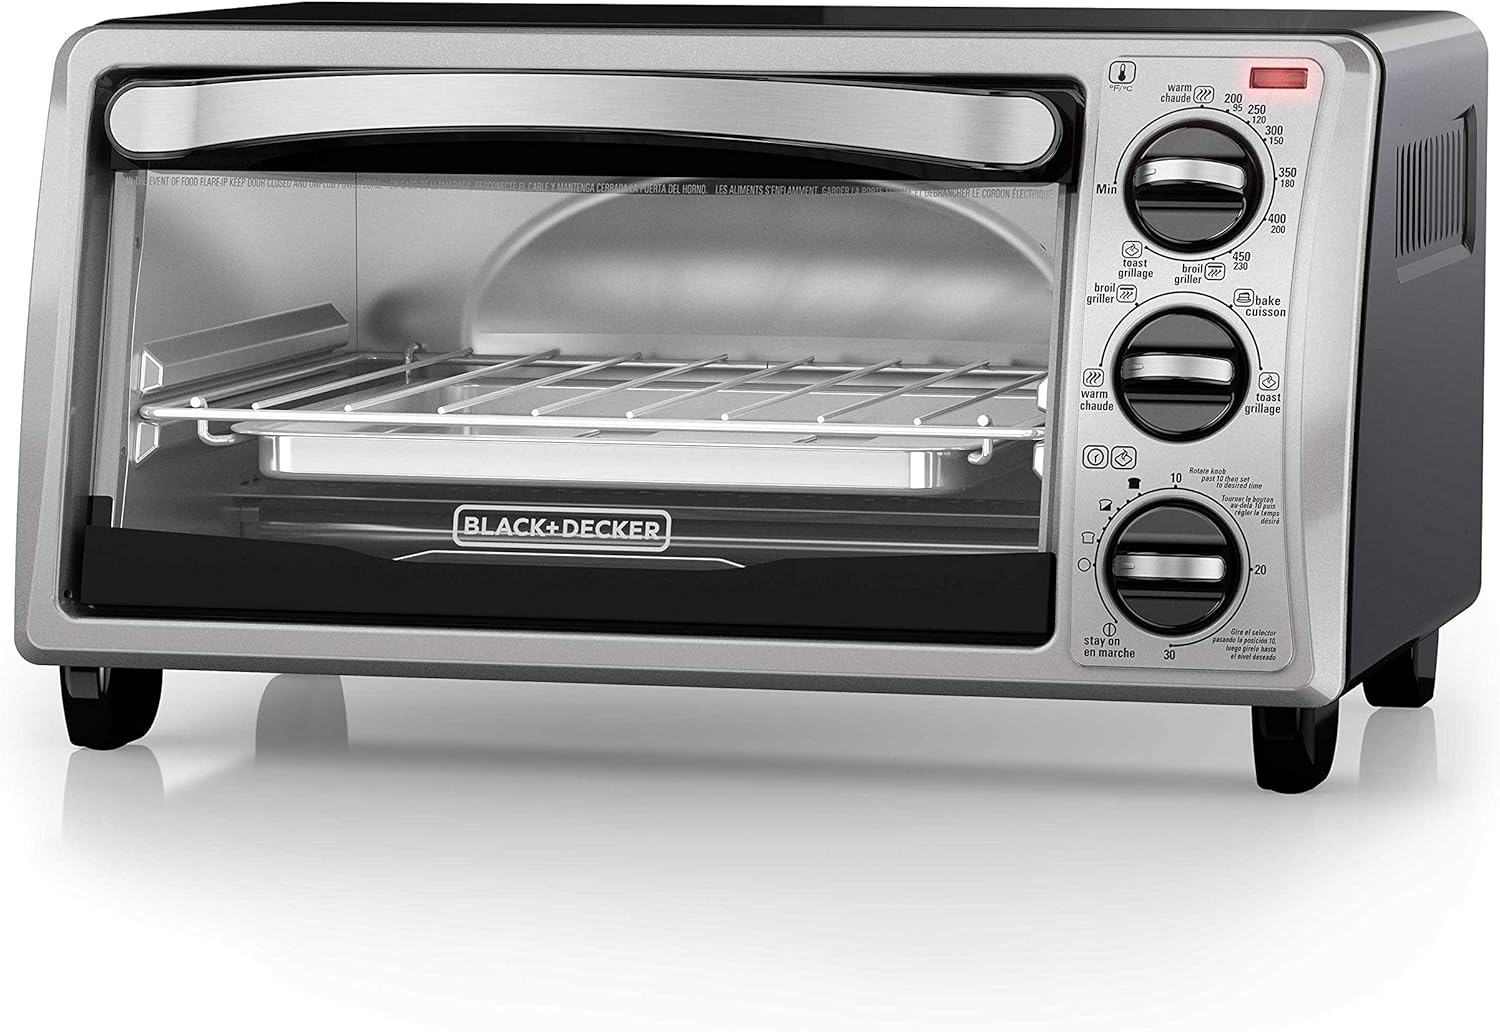
Image: Front view of the BLACK+DECKER 4-Slice Convection Oven, showing controls and interior.
Key Components:
- Temperature Control Knob: Adjusts oven temperature up to 450°F.
- Function Control Knob: Selects Bake, Broil, Toast, or Keep Warm.
- Timer Control Knob: Sets cooking time up to 30 minutes or selects Stay-On function.
- Baking/Broiling Pan: For cooking various foods.
- Wire Rack: Supports food and the baking pan.
- Removable Crumb Tray: Collects crumbs for easy cleaning.
- Glass Door: Allows viewing of food during cooking.
Setup
- Remove all packing materials, stickers, and plastic bands from the oven.
- Wash the baking pan, wire rack, and crumb tray in warm, soapy water. Rinse and dry thoroughly.
- Wipe the exterior of the oven with a damp cloth.
- Place the oven on a stable, level, heat-resistant surface, ensuring at least 4 inches of clearance on all sides for proper ventilation.
- Insert the crumb tray into the bottom of the oven.
- Before first use, operate the oven empty for approximately 10 minutes on the Bake function at 450°F to burn off any manufacturing residues. This may produce a slight odor or smoke, which is normal.
Operating Instructions
General Operation:
- Always preheat the oven for 5-10 minutes for best results, especially for baking and broiling.
- Use the wire rack for toasting and for supporting the baking pan.
Baking:
- Place food in the baking pan and position it on the wire rack.
- Close the oven door.
- Turn the Function Control Knob to BAKE.
- Turn the Temperature Control Knob to the desired temperature (up to 450°F).
- Turn the Timer Control Knob to the desired baking time. The oven will turn off automatically when the timer expires. For continuous baking, turn the timer past the 20-minute mark to the STAY ON position.
- When baking is complete, turn the Timer Control Knob to OFF and unplug the oven.
Broiling:
- Place food directly on the baking pan. For best broiling results, position food closer to the top heating elements.
- Close the oven door.
- Turn the Function Control Knob to BROIL.
- Turn the Temperature Control Knob to BROIL (maximum temperature).
- Turn the Timer Control Knob to the desired broiling time. Monitor food closely to prevent burning.
- When broiling is complete, turn the Timer Control Knob to OFF and unplug the oven.
Toasting:
- Place bread or other items directly on the wire rack.
- Close the oven door.
- Turn the Function Control Knob to TOAST.
- Turn the Temperature Control Knob to TOAST.
- Turn the Timer Control Knob to the desired toast shade setting. The oven will turn off automatically when the timer expires.
- When toasting is complete, turn the Timer Control Knob to OFF and unplug the oven.
Keep Warm:
- Place cooked food in the baking pan or an oven-safe dish on the wire rack.
- Close the oven door.
- Turn the Function Control Knob to KEEP WARM.
- Turn the Temperature Control Knob to KEEP WARM.
- Turn the Timer Control Knob to the desired time or STAY ON.
- When finished, turn the Timer Control Knob to OFF and unplug the oven.
EvenToast Technology
The EvenToast Technology optimizes heat distribution within the oven cavity to ensure consistent and even toasting across up to 4 slices of bread at a time. This feature helps eliminate hot spots and cold spots, resulting in uniformly browned toast.

Image: Diagram showing how EvenToast Technology distributes heat for even toasting.
Care and Cleaning
Always unplug the oven and allow it to cool completely before cleaning.
- Crumb Tray: Slide out the removable crumb tray and discard crumbs. Wipe the tray with a damp cloth and dry thoroughly.
- Baking Pan and Wire Rack: Wash in warm, soapy water or in a dishwasher.
- Interior: Wipe the interior walls with a damp cloth or sponge. For stubborn stains, use a mild liquid cleanser. Avoid abrasive cleaners or scouring pads.
- Exterior: Wipe the exterior with a damp cloth. Do not use abrasive cleaners.
- Do not immerse the oven in water.

Image: The BLACK+DECKER 4-Slice Convection Oven shown with its included bake pan and broil rack.
Troubleshooting (Oven)
| Problem | Possible Cause | Solution |
|---|---|---|
| Oven does not turn on. | Not plugged in. Timer not set. | Ensure the oven is plugged into a working outlet. Turn the Timer Control Knob to a desired time or 'STAY ON'. |
| Food not cooking evenly. | Incorrect rack position. Overcrowding. | Adjust rack position for optimal heat distribution. Avoid overcrowding the oven. |
| Smoke or odor during first use. | Manufacturing residues burning off. | This is normal for initial use. Ensure good ventilation. If it persists, contact customer service. |
Specifications (Oven)
- Model: TO1313SBD
- Capacity: Fits 9-inch pizza or 4 slices of bread
- Functions: Bake, Broil, Toast, Keep Warm
- Temperature Range: Up to 450°F
- Timer: 30-minute with Stay-On function
- Special Feature: EvenToast Technology
- Material: Stainless Steel
BLACK+DECKER EasyCut Extra-Tall Can Opener (Model EC500B-T)
Product Overview
The BLACK+DECKER EasyCut Extra-Tall Can Opener simplifies kitchen tasks with its tall design, accommodating most can sizes. It includes a built-in knife sharpener and a removable multi-tool for bottle caps and pop-tops.
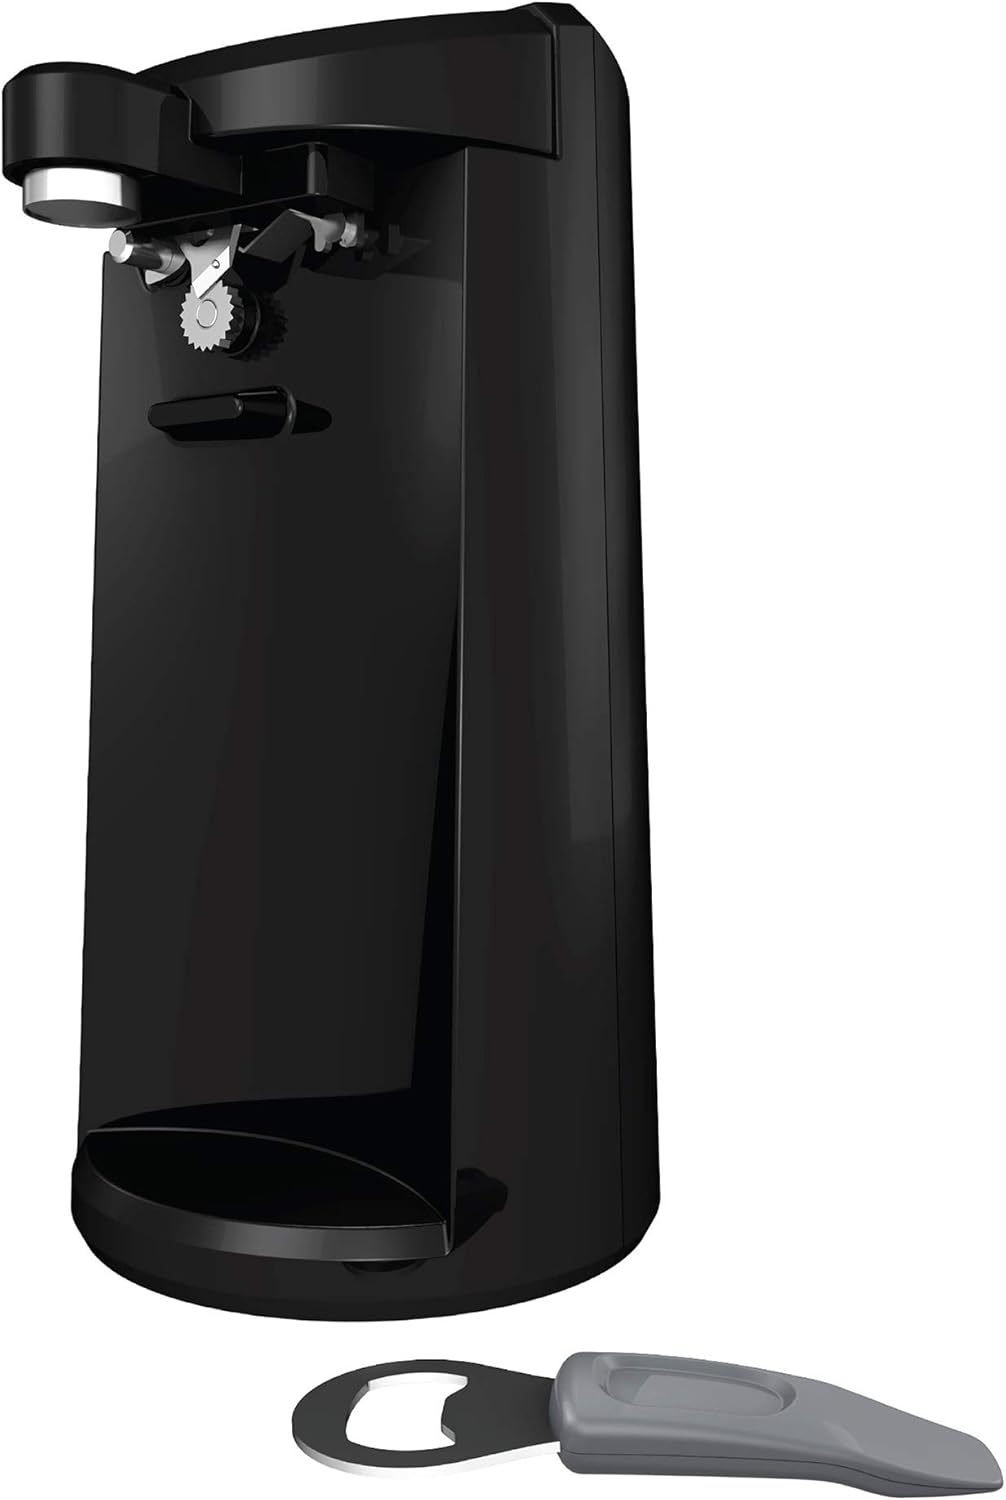
Image: Front view of the BLACK+DECKER EasyCut Extra-Tall Can Opener.
Key Components:
- EasyCut Blade Technology: For efficient can opening.
- One-Touch Lever: Activates can opening and lid retrieval.
- Stabilizing Wide Base: Provides stability during operation.
- Built-in Knife Sharpener: Located on the back of the unit.
- Removable Multi-Tool: For bottle caps and pop-tops, stored in the back.
Setup
- Remove all packing materials and stickers.
- Wipe the unit with a damp cloth.
- Place the can opener on a stable, level countertop surface.
- Ensure the multi-tool is securely stored in its compartment on the back of the unit when not in use.
Operating Instructions
Opening Cans:
- Plug the can opener into an electrical outlet.
- Lift the one-touch lever.
- Position the can so that the rim is under the guide wheel and the cutting blade is inside the rim.
- Press down firmly on the lever until the cutting blade pierces the can and the motor starts. The can will rotate automatically.
- Hold the lever down until the can has completed a full rotation and the motor stops.
- Release the lever. The can opener will hold the can and lid.
- Carefully remove the can and lid. The lid may be attached to the magnetic holder.
Knife Sharpening:
- Locate the knife sharpener slot on the back of the unit.
- Hold the knife with the blade facing down and insert it into the sharpening slot.
- Pull the knife towards you, applying light downward pressure. Repeat this motion 3-4 times.
- For best results, sharpen both sides of the blade.
Bottle Opening and Pop-Top Removal:
- Remove the multi-tool from its storage compartment on the back of the unit.
- For bottle caps, position the metal hook of the multi-tool under the cap and lift.
- For pop-tops, slide the thin end of the multi-tool under the tab and lift.
- Return the multi-tool to its storage compartment after use.

Image: The BLACK+DECKER EasyCut Extra-Tall Can Opener with its removable multi-tool.

Image: Close-up view of the multi-tool, designed for opening bottle caps and pop-tops.
Care and Cleaning
Always unplug the can opener before cleaning.
- Cutting Blade and Guide Wheel: Wipe with a damp cloth to remove food particles. A small brush can be used for hard-to-reach areas.
- Exterior: Wipe the exterior with a damp cloth. Do not use abrasive cleaners.
- Do not immerse the can opener in water.
Troubleshooting (Can Opener)
| Problem | Possible Cause | Solution |
|---|---|---|
| Can opener does not start. | Not plugged in. Lever not fully depressed. | Ensure the unit is plugged into a working outlet. Press the lever down firmly until the motor starts. |
| Can does not rotate. | Can not positioned correctly. Blade dull or obstructed. | Reposition the can so the rim is properly engaged with the guide wheel and blade. Clean the blade area. |
| Lid falls into can. | Magnetic lid holder not engaging. | Ensure the lid is fully cut and the magnetic holder is clean and free of debris. |
Specifications (Can Opener)
- Model: EC500B-T
- Features: EasyCut Blade Technology, One-Touch Lever, Stabilizing Wide Base, Built-in Knife Sharpener, Removable Multi-Tool (Bottle Opener, Pop-Top Remover)
- Color: Black
Warranty and Support
For warranty information, product registration, or customer support, please refer to the official BLACK+DECKER website or contact their customer service department. Keep your purchase receipt as proof of purchase.
Website: www.blackanddecker.com


