
1. Introduction
This manual provides detailed instructions for the safe and efficient use of your Janome 1522DG Sewing Machine. The 1522DG model is designed for a wide range of sewing projects, featuring a robust metal frame, 22 built-in stitches, and a one-step buttonhole function. Please read this manual thoroughly before operating the machine to ensure proper setup and optimal performance.

Figure 1.1: The Janome 1522DG Sewing Machine. This image displays the overall design of the machine, including the stitch selector, length and width dials, and the sewing area.
2. Safety Instructions
Always observe basic safety precautions when using electrical appliances to reduce the risk of fire, electric shock, or injury to persons.
- Read all instructions before using this sewing machine.
- Keep fingers away from all moving parts. Special care is required around the sewing machine needle.
- Always use the proper needle plate. The wrong plate can cause the needle to break.
- Turn the power switch to "OFF" when making any adjustments in the needle area, such as threading the needle, changing the needle, threading the bobbin, or changing the presser foot.
- Never drop or insert any object into any opening.
- Do not operate where aerosol (spray) products are being used or where oxygen is being administered.
- To disconnect, turn all controls to the off position, then remove the plug from the outlet.
- Unplug the machine from the electrical outlet when not in use, when servicing, or when making any adjustments.
3. Setup
3.1 Unpacking and Placement
Carefully remove the machine from its packaging. Place the machine on a stable, flat surface. Ensure adequate lighting for your sewing area.
3.2 Power Connection
Connect the power cord to the machine's power input and then to a suitable electrical outlet. Connect the foot controller to its designated port on the machine.

Figure 3.1: Side view of the Janome 1522DG, illustrating the power input and foot controller connection points. Ensure these are securely connected before operation.
3.3 Needle Installation
Turn off the power. Loosen the needle clamp screw, insert a new needle with the flat side facing the back, and tighten the screw securely. Always use the correct needle type for your fabric.
3.4 Bobbin Winding and Insertion
Place a spool of thread on the spool pin. Guide the thread through the bobbin winding tension disc. Place an empty bobbin onto the bobbin winder spindle and push it to the right. Start the machine to wind the bobbin. Once full, trim the thread and remove the bobbin.
To insert the bobbin, open the bobbin cover plate located on the sewing bed. Insert the bobbin into the bobbin case, ensuring the thread unwinds in the correct direction. Guide the thread through the tension spring and close the cover.
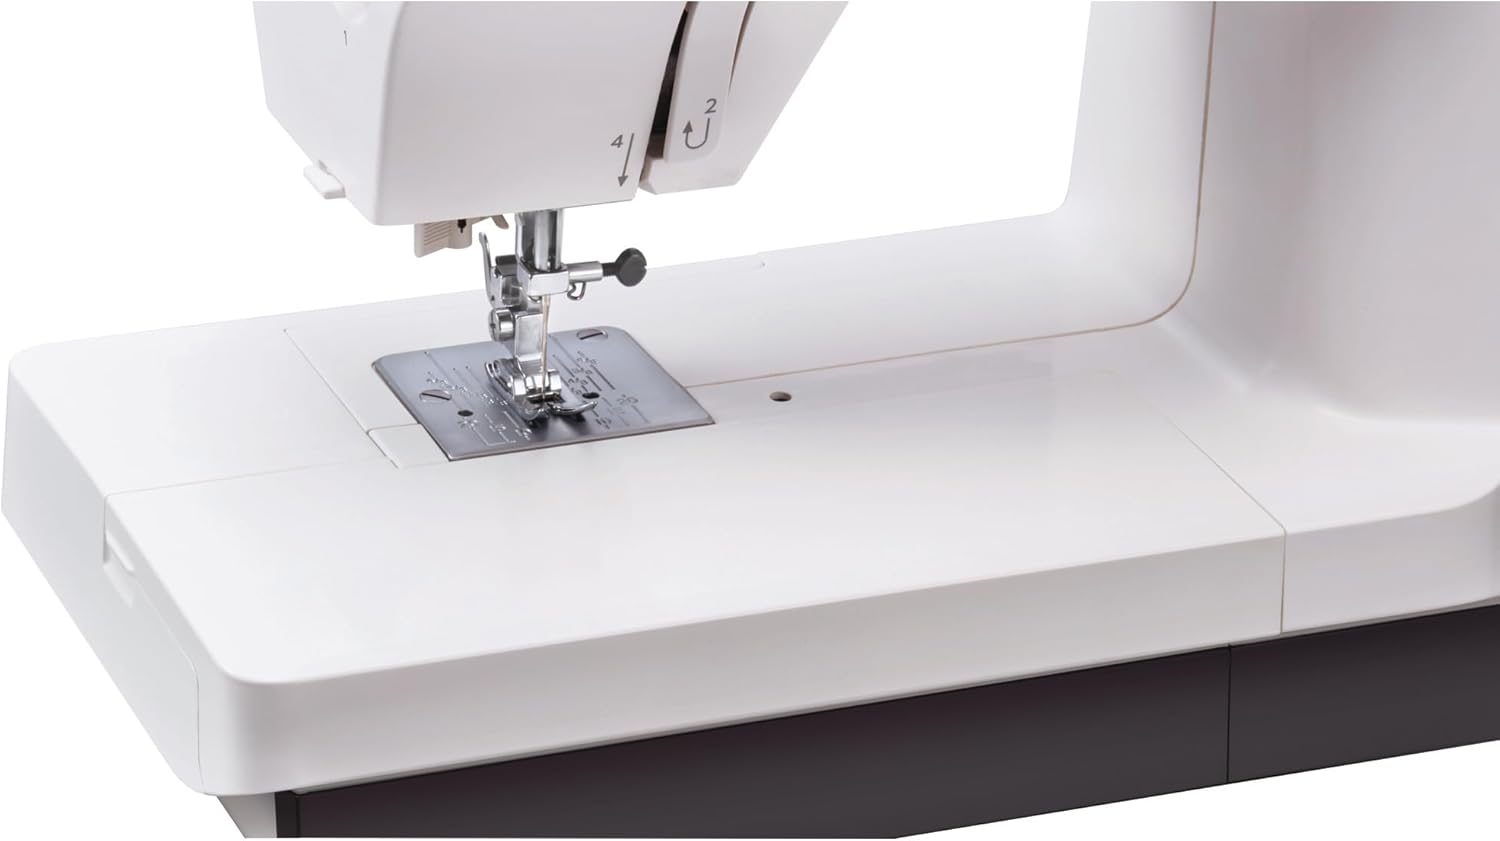
Figure 3.2: Detailed view of the needle plate and sewing area. The bobbin cover is visible on the left side of the needle plate.
3.5 Threading the Machine
Raise the presser foot and needle to their highest positions. Place a spool of thread on the spool pin. Follow the numbered threading path indicated on the machine, guiding the thread through the thread guides, tension discs, and take-up lever. Use the built-in needle threader for convenience.
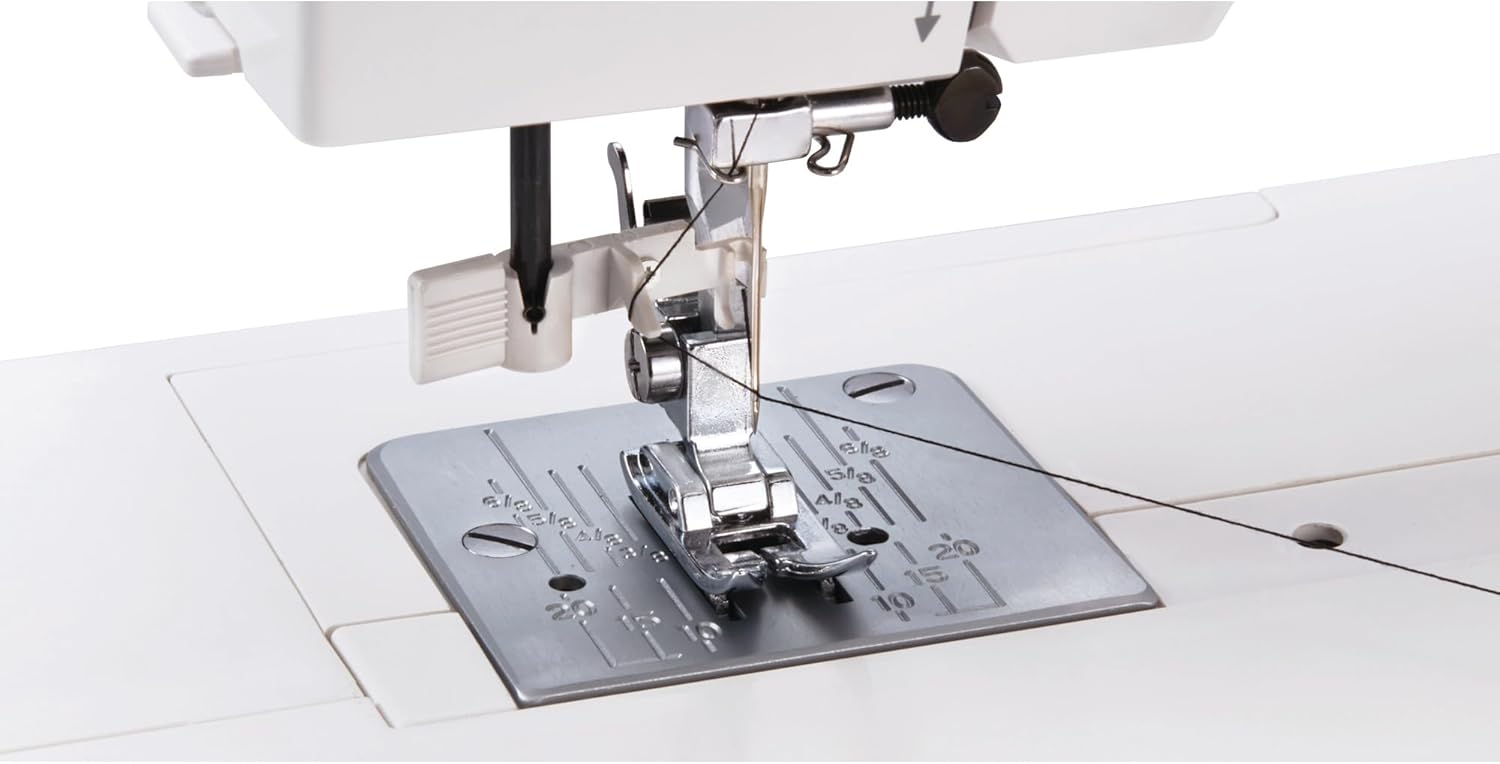
Figure 3.3: The automatic needle threader in action. This feature simplifies threading the needle, reducing eye strain and saving time.
4. Operation
4.1 Stitch Selection
The Janome 1522DG offers 22 built-in stitches. Turn the stitch selector dial to choose your desired stitch pattern. Refer to the stitch chart on the machine for visual guidance.

Figure 4.1: The stitch selection chart located on the machine, displaying various stitch patterns and their corresponding settings.
4.2 Stitch Length and Width Adjustment
Adjust the stitch length and width using the dedicated dials on the machine. Experiment with different settings on scrap fabric to achieve the desired result for your project.
4.3 Foot Pressure Adjustment
The machine features an adjustable foot pressure dial, allowing you to optimize pressure for various fabric types. Reduce pressure for delicate fabrics and increase it for thicker materials to ensure even feeding.

Figure 4.2: The foot pressure adjustment dial, typically located on the side of the machine head. This dial allows fine-tuning of the presser foot pressure for different fabric thicknesses.
4.4 Sewing Basics
- Starting to Sew: Place fabric under the presser foot, lower the presser foot, and gently press the foot controller.
- Reverse Stitching: Use the reverse lever/button to sew backwards, typically used for securing stitches at the beginning and end of a seam.
- One-Step Buttonhole: Attach the automatic buttonhole foot. Place the button in the foot's holder. The machine will automatically sew a buttonhole to the correct size.

Figure 4.3: The automatic buttonhole foot attached to the machine, demonstrating its use for creating consistent buttonholes.
4.5 Using the Free Arm
Remove the accessory storage compartment to reveal the free arm. This feature is ideal for sewing cylindrical items such as sleeves, cuffs, and pant hems.

Figure 4.4: The Janome 1522DG with the accessory storage box removed, exposing the free arm for sewing tubular garments.
5. Maintenance
Regular maintenance ensures the longevity and optimal performance of your sewing machine.
5.1 Cleaning
Turn off and unplug the machine before cleaning. Use a small brush to remove lint and dust from the bobbin area, feed dogs, and needle plate. Periodically remove the needle plate for a more thorough cleaning of the feed dogs and bobbin case area.
5.2 Needle Replacement
Replace needles frequently, especially when they become dull or bent, or when starting a new project. A dull needle can cause skipped stitches and fabric damage.
5.3 Accessory Storage
Store all accessories, such as presser feet, bobbins, and needles, in the integrated accessory storage compartment to keep them organized and easily accessible.

Figure 5.1: The accessory storage compartment, located at the front of the sewing bed, provides convenient storage for various sewing tools and attachments.
6. Troubleshooting
This section addresses common issues you might encounter. For more complex problems, consult a qualified service technician.
| Problem | Possible Cause | Solution |
|---|---|---|
| Skipped Stitches | Incorrect needle, bent needle, improper threading, wrong needle size for fabric. | Replace needle, re-thread machine, use appropriate needle for fabric type. |
| Thread Breakage | Improper threading, incorrect tension, poor quality thread, burr on needle plate or bobbin case. | Re-thread machine, adjust tension, use good quality thread, check for burrs. |
| Uneven Stitches / Puckering | Incorrect tension, wrong presser foot pressure, dull needle. | Adjust tension, adjust foot pressure, replace needle. |
| Machine Not Starting | Power cord not connected, foot controller not connected, power switch off. | Check all connections, ensure power switch is on. |
7. Specifications
| Feature | Detail |
|---|---|
| Model Number | 1522DG |
| Brand | Janome |
| Product Dimensions | 7.5 x 17.5 x 11 inches (19.05 x 44.45 x 27.94 cm) |
| Item Weight | 14.3 pounds (6.49 kg) |
| Built-in Stitches | 22 |
| Buttonhole Type | One-step automatic |
| Needle Threader | Built-in |
| Frame Construction | Solid Metal |
| Included Components | Zigzag foot, Zipper foot, Satin foot, Automatic buttonhole foot, Button sewing foot, Blind hem foot, Bobbins (5), Seam ripper, Needle set, Foot controller, Thread and stitch reference card, Semi-hard cover |
| UPC | 732212412431 |

Figure 7.1: Illustration of the internal solid metal frame construction, highlighting the machine's robust build quality.
8. Warranty and Support
Your Janome 1522DG Sewing Machine is covered by a manufacturer's warranty. Please refer to the warranty card included with your purchase for specific terms and conditions, including coverage duration and claim procedures.
For technical support, service, or to purchase genuine Janome parts and accessories, please visit the official Janome website or contact their customer service department. Keep your purchase receipt as proof of purchase for warranty claims.
Official Janome Website: www.janome.com