
1. Introduction
This manual provides comprehensive instructions for the installation, operation, and maintenance of your Garage Outlet Wall Push Button with Light, Model GO1122026. This 1-button wall console is designed as an aftermarket replacement compatible with various garage door opener systems, including Liftmaster 75LM, 41A4166, Chamberlain, Master Mechanic, Access Master, Wayne Dalton, and Craftsman models that utilize a green learn button.
Please read this manual thoroughly before installation and use to ensure proper function and safety.
2. Safety Information
- Always disconnect power to the garage door opener before performing any installation or maintenance.
- Ensure all wiring connections are secure and comply with local electrical codes.
- Do not install the wall button near moving parts of the garage door or where it could be accidentally activated.
- Keep children away from the wall button and garage door opener controls.
- This device is intended for indoor use only.
3. Package Contents
Verify that all items are present in your package:
- 1x Garage Outlet Wall Push Button with Light
- Mounting Screws and Drywall Anchors
- Instruction Sheet (this manual)

Image: The Garage Outlet Wall Push Button with Light, shown alongside the included mounting screws and drywall anchors.
4. Installation Instructions
Follow these steps to install your new wall push button:
- Disconnect Power: Before beginning, ensure the power to your garage door opener is disconnected at the circuit breaker.
- Remove Old Wall Button (if applicable): Carefully remove your existing wall button. Note the wiring connections. Typically, there are two wires connected to the old button.
- Prepare Wiring: Strip approximately 1/4 inch of insulation from the ends of the two low-voltage wires coming from your garage door opener.
- Connect Wires: Connect the two wires to the terminals on the back of the new Garage Outlet Wall Push Button. The polarity usually does not matter for this type of button, but ensure connections are firm.
- Mount the Button: Position the new wall button on the wall at a convenient height, typically near the garage entry door. Use the provided mounting screws and drywall anchors (if installing into drywall) to secure the button firmly to the wall.
- Restore Power: Once the button is securely mounted and wired, restore power to your garage door opener at the circuit breaker.
- Test Functionality: Press the button to ensure your garage door opener responds correctly. The integrated light on the button should illuminate when pressed or when the garage door opener is active, depending on your opener's model.

Image: An internal view of the wall push button, highlighting the two screw terminals for wiring connections.
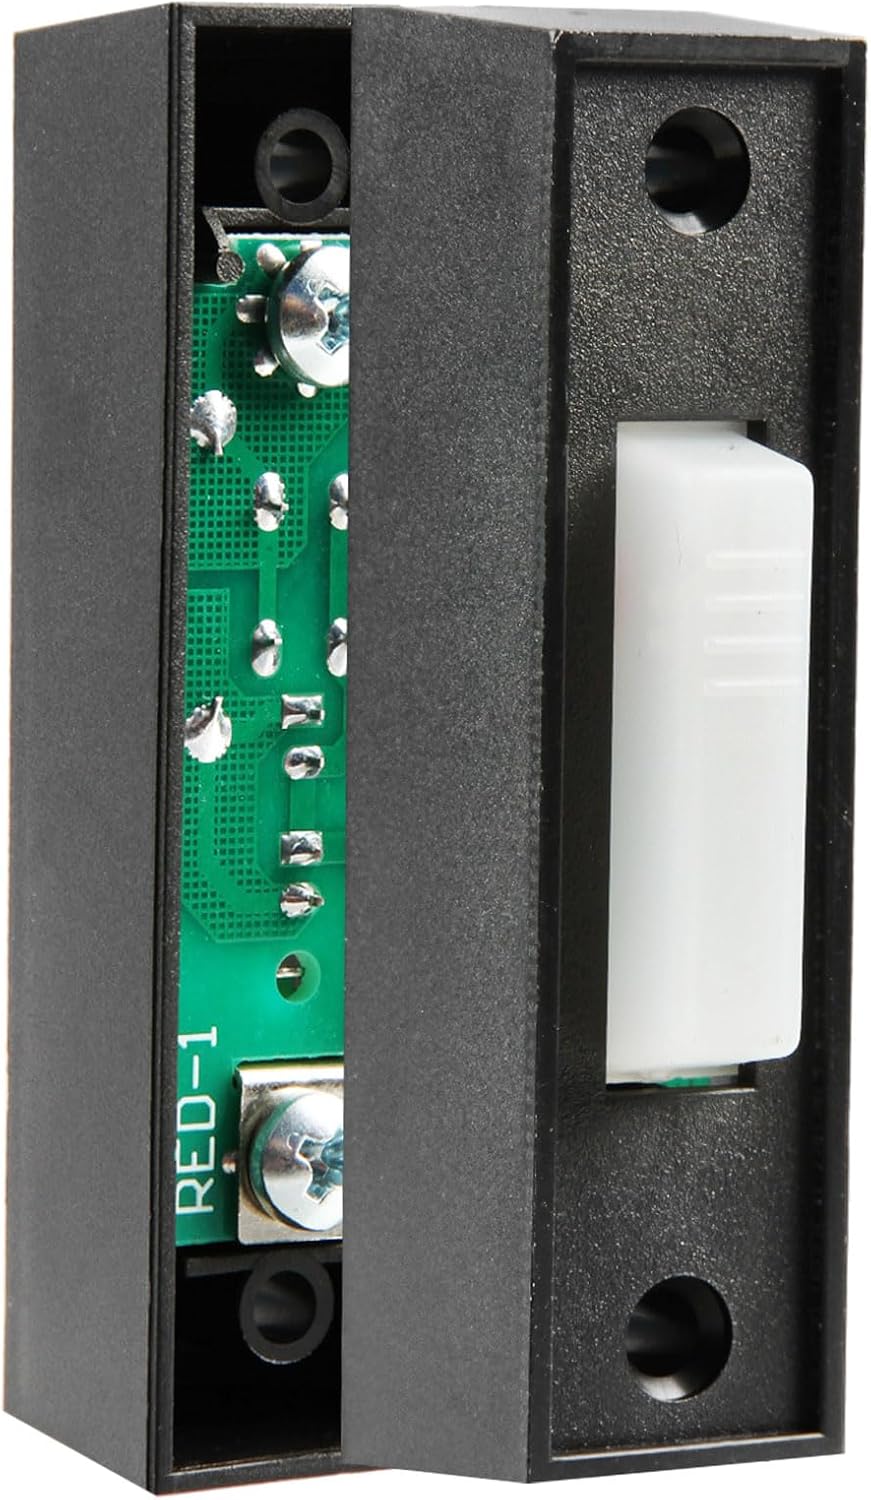
Image: A hand demonstrating the placement and installation of the wall push button on a wall surface.
Compatibility Note:
This wall push button is primarily designed for garage door openers that utilize a Green Learn Button for programming or are compatible with models like Liftmaster 75LM and 41A4166. Refer to your garage door opener's manual to confirm compatibility with a simple 1-button wall console.

Image: A diagram illustrating various types of garage door opener learn buttons (Yellow, Purple, Red/Orange, Green, Dip Switch) and their corresponding compatibility periods. This product is compatible with systems using a Green Learn Button (1992 to early 1997).
5. Operating Instructions
To operate your garage door using the wall push button:
- Press the button once to open the garage door.
- Press the button once again to close the garage door.
- Press the button during door travel to stop the door. Pressing it again will reverse the door's direction.
The integrated light on the button provides visual feedback, typically illuminating when the button is pressed or when the garage door opener is in operation.
6. Maintenance
The Garage Outlet Wall Push Button with Light requires minimal maintenance:
- Cleaning: Wipe the surface with a soft, dry cloth. Do not use abrasive cleaners or solvents.
- Wiring Check: Periodically inspect the wiring connections to ensure they remain secure.
- Functionality Test: Test the button's operation regularly to ensure it functions correctly.
7. Troubleshooting
| Problem | Possible Cause | Solution |
|---|---|---|
| Button does not activate garage door. |
|
|
| Light on button does not illuminate. |
|
|
8. Specifications
| Model Number | GO1122026 |
| Dimensions (L x W x H) | Approximately 2.75 x 1 x 0.75 inches |
| Weight | 0.634 ounces |
| Button Type | 1-Button Push Button with Light |
| Compatibility | Garage door openers with Green Learn Button (e.g., Liftmaster 75LM, 41A4166, Chamberlain, Master Mechanic, Access Master, Wayne Dalton, Craftsman) |
| Power Source | Low-voltage wired connection to garage door opener |
9. Warranty and Support
This product is covered by a standard return policy. For specific warranty details, please refer to your purchase documentation or contact the retailer.
For technical assistance or support, please visit the Garage Outlet store on Amazon or contact customer service through the platform where the product was purchased. Support resources and additional information may be available online.
Online Support: Garage Outlet Store
